





![Tg and Cracking in Conjugated Polymers - Mohammad Alkhadra's MS Defense - UCSD [inc vol]](https://i.ytimg.com/vi_webp/8QV1tin39n0/maxresdefault.webp)













In soft lithography, punching holes in PDMS requires using a punch tool with a cutting diameter 20-30% smaller than the tubing diameter to ensure a leak-free connection, as the compliant PDMS material will wrap around the inserted tubing; proper technique involves carefully aligning the punch with the inlet, slowly advancing through the PDMS until reaching the cutting mat, then continuing slightly further before stopping to avoid damaging the aluminum base, and finally removing any remaining PDMS plug from the hole.
Microfluidics Soft Lithography: Inlet/Outlet Punching Technique
Added:Fundamentals of soft lithography, particularly the preparation, mixing, and curing of Polydimethylsiloxane (PDMS) elastomer.
Basic anatomy of a microfluidic chip, including the purpose of microchannels, inlets, and outlets for fluid manipulation.
Mechanical properties of cured PDMS, such as its elasticity, tensile strength, and susceptibility to tearing or cracking.
Contamination control principles, as debris from manual punching can easily clog micrometer-scale channels.
Oxygen plasma bonding techniques to hermetically seal the punched PDMS layer to glass slides or other PDMS substrates.
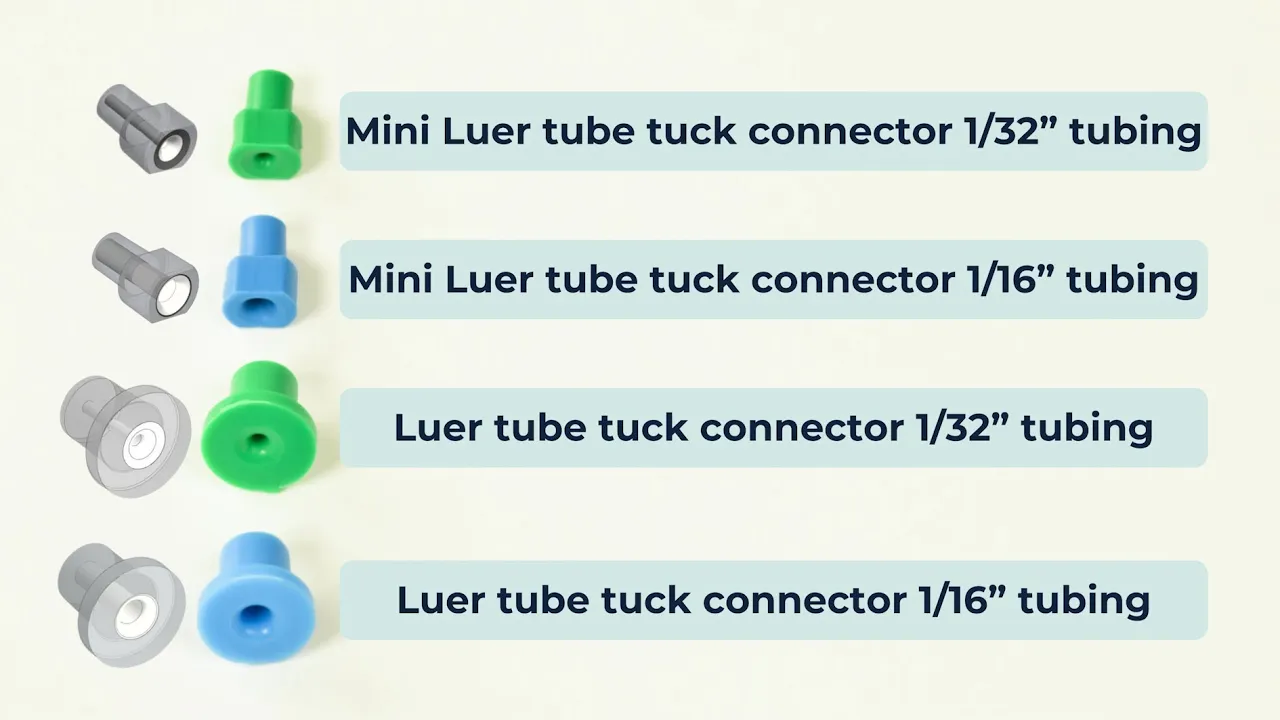
Selection and insertion of microfluidic tubing, connectors, and metal pins to establish secure, leak-free fluidic interfaces.
Priming and fluid actuation methods, including the use of syringe pumps and pressure-driven flow systems to introduce liquids into the chip.
Leak testing and flow visualization protocols using food dyes or fluorescent markers to evaluate device integrity under pressure.
952 views13likes13:30Original Release: 2022-05-13
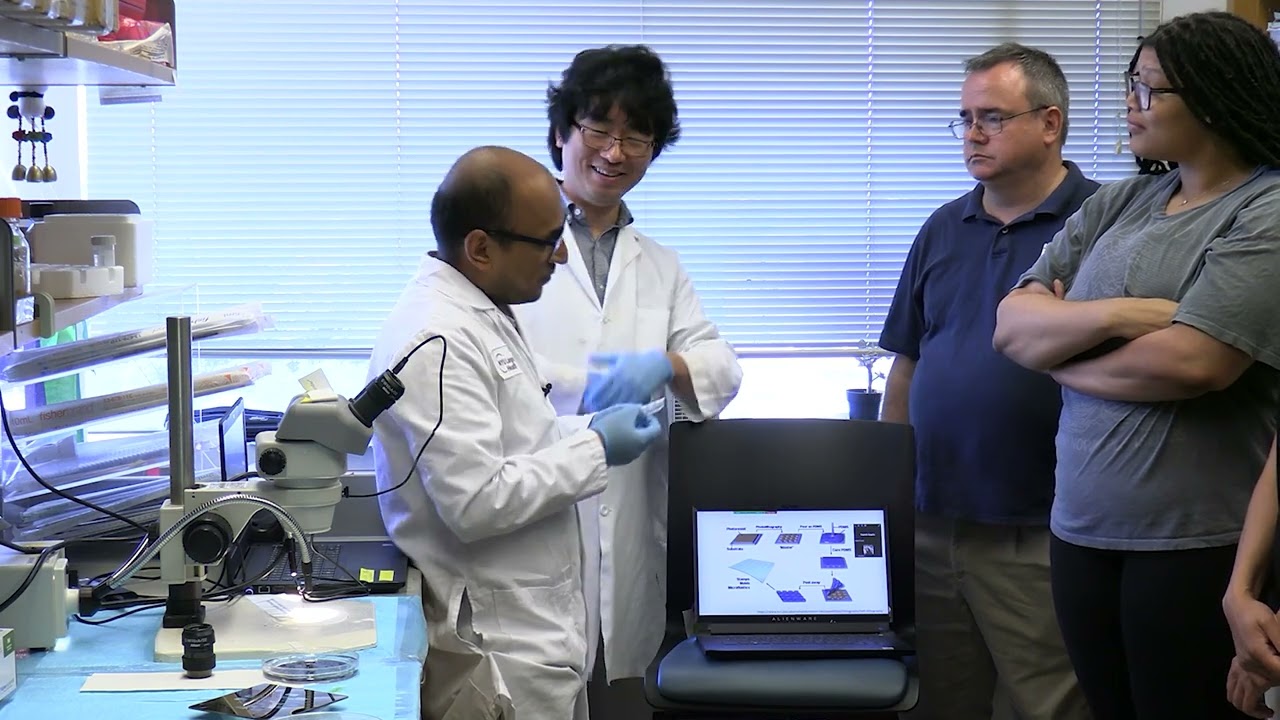
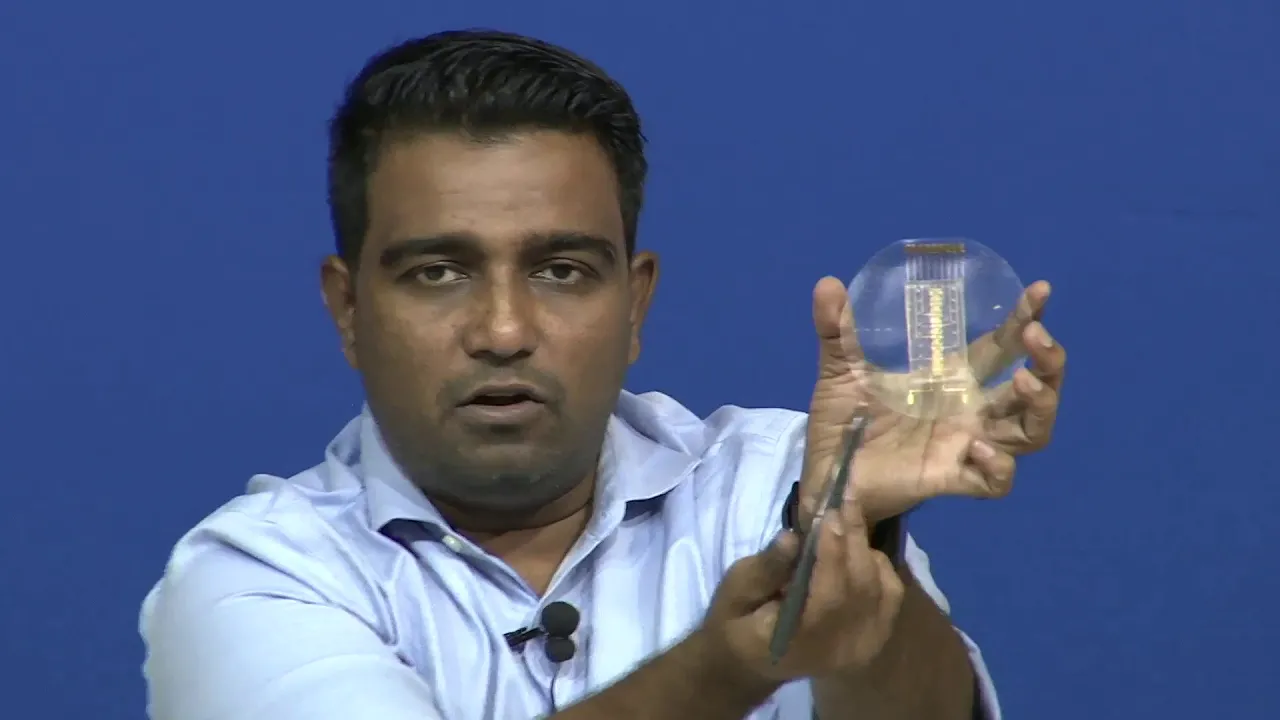
all right so here we have the sample that's been baking for uh two hours at 60 degrees c so that's now set uh so we can see the pdms is nice and solid inside the petri dish so we're gonna leave that here for now and we're going to prepare the punching so for the punching there are generally two options in this lab one is to use a manual punch that looks a bit like this one where you have a tube which is sharpened to a cutting edge at the very top and then you can use this to put your piece of pdms on the on the table or on a cutting mat and then you punch manually uh through the pdms and then it also has this plunger that allows you to push out a piece of pdms if it gets stuck inside the puncher itself so this is a manual option it's a sort of semi-disposable tool so you can use it for until it gets blunt essentially once you notice that it doesn't cut very well anymore uh you can just throw it away and and use a new one so today we're gonna instead use uh this uh punching machine here which is again it's a manual punch but um it's lever operated so we're going to hold the punch a cutting tube inside this chuck and then we're going to operate it with a lever and this guarantees that the cut is straight so the inserts for this machine are in this box and specifically the one that we will be using today is the one with a cutting diameter of 0.74 millimeters so of course refer to the notes of the course to know what kind of diameter you should be uh punching for the type of object that you want to insert into the pdms so specifically for this 0.74 millimeters punch we're going to then afterwards i'm planning to insert tubing which is about one millimeter in diameter 1.1 so you always want to make a hole that is maybe 20 to 30 percent smaller than the object you're trying to put into the hole and this guarantees that because the pdms is quite compliant it will uh sort of wrap around the thing that you stick into the pdms whether it's a piece of tubing or a metallic fitting and this will guarantee a leak-free connection so i'm going to take out the the insert so that is a cutting insert so this is a new one um so one in there is that works that it's as it should be so here you can see that we have one side that is coated and it has this yellow coating it's a titanium nitrate coating that is designed to make it a little bit more robust a little bit more hard wearing um in the use so one of the two sides for specifically the one that is coated is sharpened to a cutting edge so this side of the tube is sharpened to and tapered and that's the side that does the cutting so uh you can then pick up this cutting shoe and you can place it inside the chuck and here you have to be a little bit gentle so you want to insert it by maybe 10 to 15 millimeters it doesn't need to go in very far and then you gently want to rotate the chuck um uh the chuck itself the the self tightening chuck and then you want to make i'm going to insert it maybe a little bit more and then before you tighten it a little bit more strongly you have to check that it's um actually on the axis of the chuck itself it's very easy um because the tube is very thin when the chuck is undone to put it in at an angle but tightening it while it's at an angle you risk that the the jaws will crush the cutting tube also it will either a split or it will get damaged so make sure that before you tighten it finally be for for the cutting step that it's centered so you can look at it from one side on the other and make sure that it's on the axis so once that is done i will just gently tap tighten it a little bit more just to make sure it doesn't slide slide off and now we are ready for uh the cutting so before we do the punching itself of the the inlet hose i will do the cutting of the pms so for the cutting of the videomaster we'll just use a surgical blade but any sharp knife would work well these are particularly good because they're sharp and they're also disposable and you can replace the blade and there are many types of blades available so in the cutting you want to cut within the area of the glass so you don't want to go down to the level of the petri dish you want to stay within the region of the glass you want to stay probably a few millimeters away from the glass itself so you don't scrape the edges of the glass slide with the knife but also at the same time you want to stay let's say three to five millimeters away from any structures that are that you're trying to fabricate and that's because you want to have enough pdms around your structures to make sure that it can bond properly to the substrate that you use afterwards to make the actual device so here i'm going to just put it against the light to check where i need to cut because the contrast can be a little bit poor so i'm going to make two little marks with the knife a safe distance away from the structures that i'm trying to cut and at this point you just have to trust the the marks if you can't see it and then you go in with the knife try to go in at uh perpendicular to the surface and you can feel free to get down to the bottom of the glass so try to feel the resistance of the glass try to feel that you have reached the hard surface and then you just slowly but firmly drag it to make the cut in the pdms it won't cut very fast so you just slowly drag it and all the time you have to feel that you are in contact with the glass so don't worry about scratching the glass because you will not scratch it with this steel blade and you keep going with the cut until about here okay and now we're gonna do the same thing uh on all four corners and in particular it's very important that you intersect the cuts in the corners because otherwise you will not be able to peel it off so i'm gonna go in and cut a little bit more through here relatively close to the edge and that's the third cut it's not particularly important that the cuts are straight as long as they contain the structure that you fabricated and there we go so that's the cut now done so i'm gonna put the blade away and now i am ready to peel it off so we'll stick my tweezers in the gap in here and i will peel it off like so and if it's all cut correctly it should come off quite easily and this is now the piece of pdms with the channel structures so we're gonna leave the channel structures facing up and we're gonna put it over here now the for the punching itself we have to line up the the punch the punch needle with the inlet that we want to punch and this can be a little bit difficult if you're using a thin layer of sua so in this case you've got 15 micrometers and the contrast is not very strong so if you've got a good eye and you already know what you're looking for you can already line up the piece of pdms and specifically the inlets that you're trying to punch with the um with the punch itself but if you want to make your life a little bit easier you can actually use a small piece of tape specifically this uh tape this is 3m magic tape that's the the product name and this is this tape is slightly opaque so it's got this white translucent color and if you put it on top um it actually highlights the features of the channels and now i can see a lot better where i need to punch so this would be one of the inlets that i'm interested in and i'm not sure how much that is visible on the camera but you will be able to see it a little bit better with the tape so we will go ahead with the punching now so now i'm going to take the piece of pdms i'm just going to fold this piece of tape so it's a little bit easier to handle and now i'm going to put it on the cutting mat and lowering the lever just gently but a couple centimeters until i'm a few millimeters away from the surface i just check that i'm in the right place and once i've lined up the puncher with the hole i don't need to keep hold of the pdms chip anymore but now we come to the critical part about actually making the punch and punching the hole so um because this system instrument is quite delicate and specifically the attachment so the the cutting needle is very delicate so you have to know at what point uh you passed through the pdms and you got into the brown cutting mat but you definitely want to avoid hitting the bottom aluminium plate with the punching needle and so the punching tube must not touch possibly the aluminium block on the bottom and to see whether that is the case you want to keep an eye actively during the punch or you want to keep an eye on where the punch is inside the pdms so the best way to do that is to put yourself right in front of the pdms chip and you look at the cross cross-section of the chip and you're looking at when the punching um tube goes into the pdms and you follow the profile of the punching tube until it reaches the brown cutting mat and once you reach the brown cutting mat you keep going for about a millimeter or so and then you have to stop to avoid hitting the aluminium on the bottom so i'm going to go in now this might not be very visible on the camera but you just want to go very slowly and here we go we're going into the pdms and now we're sort of halfway through and a little bit more now we reach the brown bit i'm going to keep going for about another millimeter very gently without forcing it and then i have to be really careful at this point not to pull the lever accidentally particularly if you want to pull yourself up make sure you don't pull on the lever as well and at this point you want to hold with your fingers the pdms chip near where you punch the hole and you slowly retract the punch itself and as you retract it it will come off relatively easily and now you have to check where the cutout of the pdms is most commonly this piece there will be a piece of pdms sticking out on the back side of the chip so this is specifically the one that i'm looking for so with a pair of tweezers you can gently pick it up and pull it slowly and this will give you the cut out of pdms that you're looking for so make sure that every time that you punch a hole you are able to see that you've got your pdms plug removed from the hole 90 of the time this will come out on the other side of the pdms chip but sometimes it may get stuck um inside the the hole itself particularly if you haven't cut the hole all the way through or sometimes as well it can remain stuck inside the the punching tube if that happens there is a different accessory here which is looks like a long needle that is like this this normally would be uh mounted directly within the instrument uh through here uh however this got damaged a few weeks ago during the training process and so we're now unable to slide it all the way through but this is not a big deal we can keep still using the the punches and if you if it happens that the punch is clogged you can just undo this gently remove it and then using this accessory here you just slide the needle inside the punch and then it will come out to the other end and you can push out any piece of pdms that has remained stuck inside and that's it so using the tape um it actually from my experience tends to generate this problem a little bit more often so still most of the time you will have the pdms cut out coming out on the other end of the pdms chip but if you're using the type a little bit more often you might get the piece of pdms stuck inside the capping tube so make sure that you remove it with that and so after that you go on and punch all the different holes that you need to punch in your pdms chip and once you've done that you are ready for the bonding step
Up Next
96:01
BioMEMS Fabrication: Soft Lithography, Micro Molding & 3D Techniques
@MBLabWSU
2.9K views•2015-02-26

12:54
Triumph of Orthodoxy Icon: Byzantine Art & History Explained
@BenCallan
2.1K views•2024-08-06

9:56
Microfluidics Soft Lithography: Part 9 – Plasma Bonding
@dk-hu3er
847 views•2022-05-13

1:42
Game of Thrones Opening Credits: A Cinematic Analysis
@gameofthrones
46.3M views•2011-04-18
Related Study Plans & Knowledge Roadmaps
Structured learning paths in General & Interdisciplinary Studies
general-studies
Elevator Engineering: History, Physics & Cities
01From Hoists to Safety Brakes: The Dawn of Vertical Lift
02Hydraulic vs. Traction: The Engineering Physics of Elevators
03Modern Speed, Safety, and Algorithms
+ 2 more learning modules
12h5 modules
Explore Roadmap
general-studies
Rubber: Material Science, History & Geopolitics
01Origins of Natural Rubber & Mesoamerican History
02The Chemistry of Natural Rubber & Vulcanization
03The Geopolitics of the Rubber Boom & Colonization
+ 2 more learning modules
12h5 modules
Explore Roadmap
general-studies
Containerization: Evolution, Logistics & Trade
01Ancient Trade & Bulk Cargo: Amphorae to Barrels
02The Industrial Revolution & Cardboard Packaging
03The Containerization Revolution: Malcom McLean
+ 2 more learning modules
12h5 modules
Explore Roadmap
general-studies
Textile Tech: Evolution, Labor & Global Impact
01Pre-Industrial Textiles: Handloom & Cottage Industry
02Mechanization: The Spinning Jenny to the Power Loom
03The Factory System & Global Labor Transformation
+ 2 more learning modules
10h5 modules
Explore Roadmap