
















Atmospheric plasma bonding is a technique used to permanently attach PDMS microfluidic chips to glass substrates by exposing both surfaces to plasma, which creates covalent silicon-oxygen-silicon bonds; the process requires evacuating the chamber, introducing controlled gas flow, generating plasma for approximately 15 seconds, and then carefully aligning and pressing the PDMS chip onto the substrate to form a permanent bond.
Microfluidics Soft Lithography: Part 9 – Plasma Bonding
Added:Basic chemistry of Polydimethylsiloxane (PDMS) and its material properties as an elastomer.
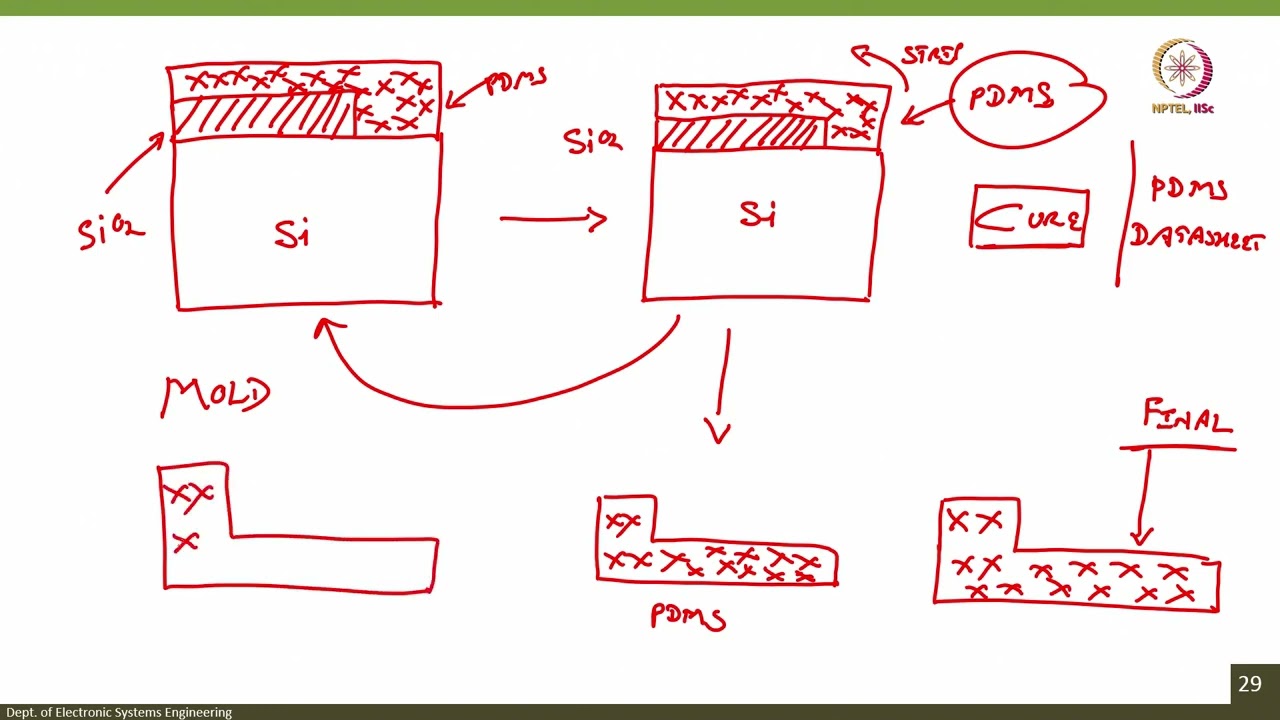
The fundamentals of soft lithography, specifically how PDMS channels are replicated from a master mold.
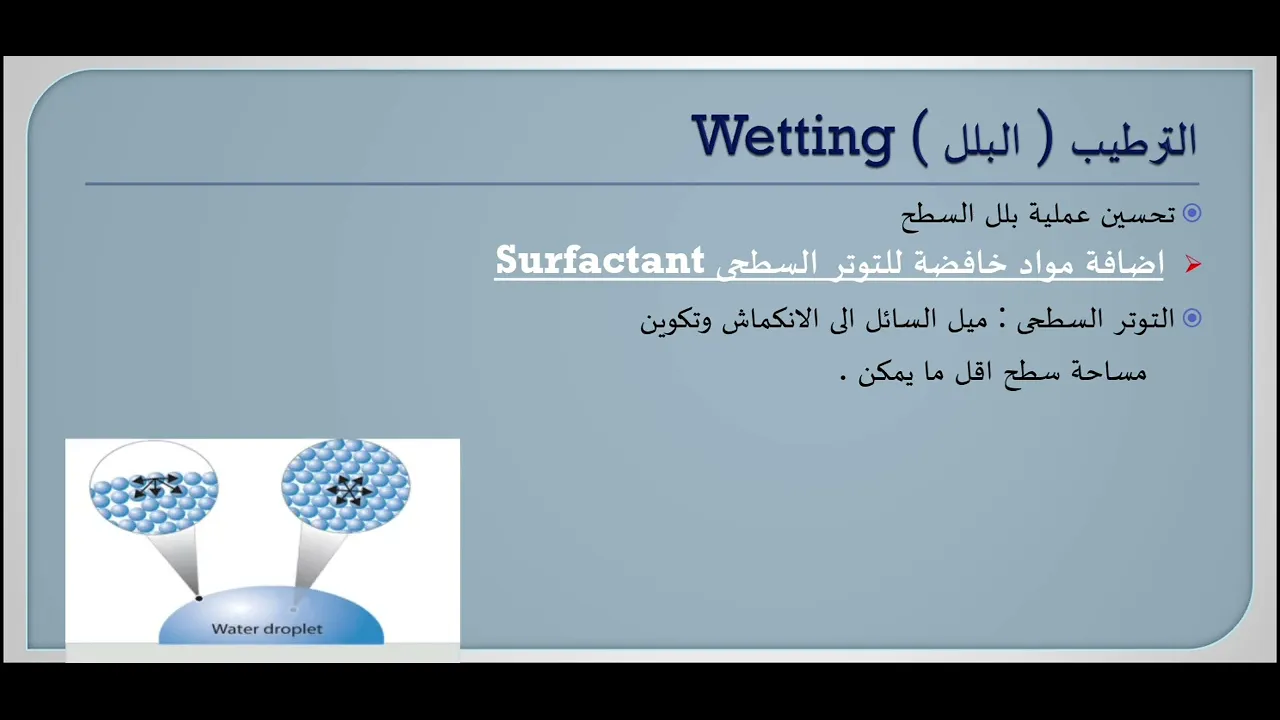
Concepts of surface energy, wetting, hydrophobicity, and the role of silanol (Si-OH) groups in covalent bonding.
An understanding of cleanroom protocols and contamination control to prevent bond failure.
Methods for assessing bond strength and quality, such as burst pressure testing of sealed microfluidic devices.
Techniques for connecting external tubing (fluidic interfacing) and introducing fluids using syringe pumps.
Strategies for surface modification of bonded channels to control hydrophobicity or prevent biomolecule adsorption.
Troubleshooting common bonding failures, such as incomplete sealing, channel collapse, or contamination-induced leaks.
847 views14likes9:56Original Release: 2022-05-13
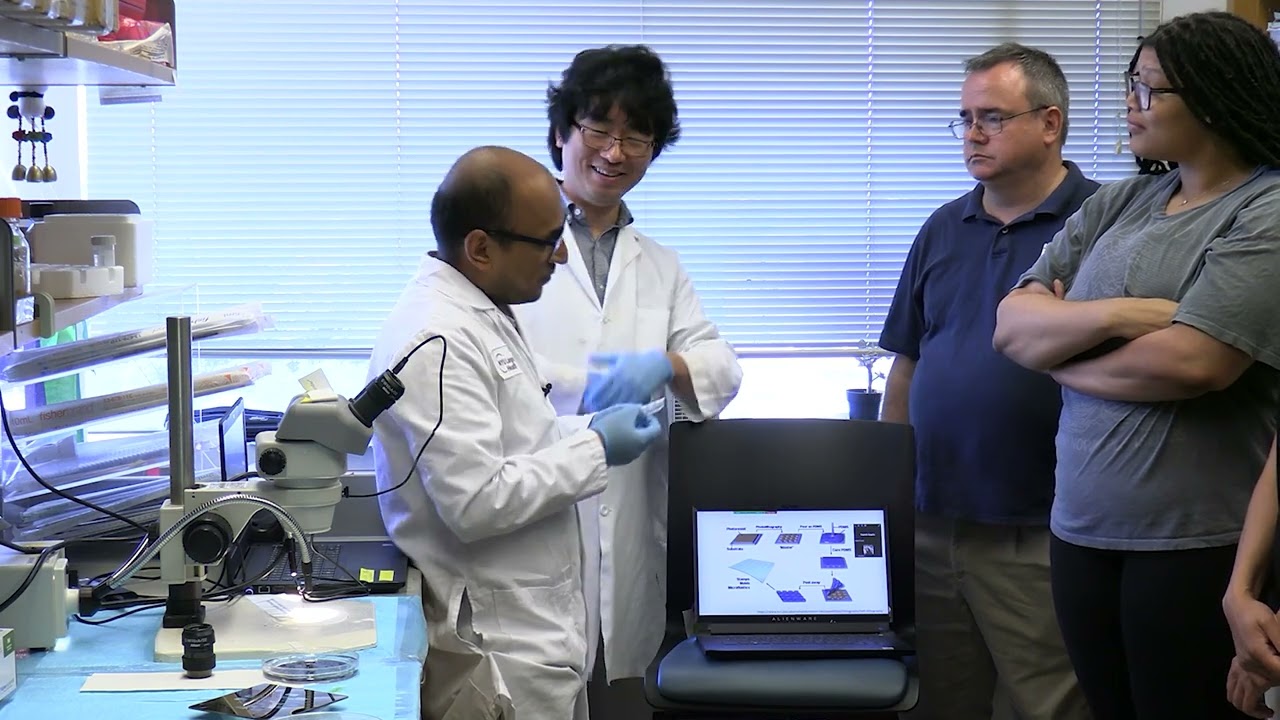
right so here we have the sample that has been punched so that's the pdms chip that's been punched uh with all the four holes for the four inlets that um i was using i'm gonna leave that here for for a second and we come to the last step which is the bonding step so for that we're going to use this plasma etcher here so it's a small unit and the first thing we need to do is to turn it on so we turn on the main power we make sure that the gas valve is closed and the power is at 100 so the first step here is to turn on the ventilation which is this green button here and this is to release the vacuum so we just uh keep a hold with our hand here to remove the lid and you can turn on turn off the ventilation as well so we take out this plate and on this plate we're gonna put the pdms chip and the substrate that we use for the bonding so this is going to be the final substrate that we're going to use in the experiment so for the sake of this demonstration i will use again a standard glass slide also for the the chip substrate so in an actual experiment this might be for example a piece of silicone wafer or maybe a glass coverslip which is perhaps more useful in actually doing imaging through in a microscope through an objective lens so again we have to go through a cleaning step for the glass slide so i'm going to take this one straight out of the box so for the sake of this demonstration i will just do a quick rinse with acetone and isopropanol the same that we did uh with the very first step at cleaning step in the in the processing for the su-8 spin coating but if you want to do it a little bit more thoroughly you would use again a sonicator and sonicate it maybe for five minutes in acetonizer properly so here i'm going to just quickly rinse it with acetone on both sides and this is to remove some kind of basic organic contaminants and particularly dust as well which is a big enemy of this process [Music] so i'm going to rinse it both sides with acetone and isopropanol and i'm going to blow dry it with the gun here on both sides and now i place that on the aluminium plate and i'm ready to pick up the chip that i punched earlier on and now with the side to the side with the tape i've left the tape on which also helps it to protect from dust while you're handling it before you're ready to do the bonding so i'm going to leave the channel side facing up and i'm going to attach the other one uh just lean it on the piece of aluminium plate the pdms itself is a little bit sticky as a surface which actually is helpful in this case because you can tap it gently with your fingers don't worry about damaging the channels with your fingers because you will probably not do that and you can i can just gently attach it to the aluminium plate and i can peel off the tape and the chip should stay in place so now we just do a very quick additional cleaning step which is just done with some fresh tape where we just take the tape and we tap it a few times on the side of the channels so we're just going to do it a couple times and this helps us get rid of any dust which might have settled onto the sample while we're handling the sample itself or during the cutting process so this is just to try and get rid of any um glass specs of dust i'm gonna just shift this over to the center of the plate and i'm going to take the plate and slide it inside the plasma etcher we slide it in and now close the door we hold the port closed and then i press the pump button at the bottom and this is going to start the vacuum pump which will evacuate the chamber so this will also keep the door closed and we now leave it to pump so there is no pressure gauge for this unit but after approximately two to three minutes um it should be ready uh to run the process so we just now leave it here to pump for about two minutes okay so here we go the the pump has been pumping for about two minutes now so we are now ready to let the gas in so the chamber is evacuated so we have a good vacuum going on in the machine right now and the next step is to open the gas valve so we are going to use a normal atmospheric plasma so we're just gonna slowly open the gas valve and we're aiming for roughly one normal liter per hour and so you see that as you open the valve the the dial will gradually drop in the position so you need to keep adjusting it over about a minute or so or maybe a little bit less so you get a relatively stable flow of gas within the chamber so uh right now there's an interplay between the pump pumping and the uh the gas needle valve letting air in so it's a it's a dynamic equilibrium of pressure so we need to reach the equilibrium first so we need to leave the valve open and regulate the the pressure to a stable value while the pump is running all the time okay so we will leave it for about a minute to two minutes until we see that the valve is in a stable position and then we are ready to turn on the plasma so this is now a relatively stable condition for for our purposes and we are ready to turn on the plasma so the next step is then to turn on the generator and uh once we hit the generator button we are expecting to see the plasma turn on and the way that you will notice is that the the chamber will start to glow in a purple color so if we get the pressure settings right uh then we're gonna get this glow inside the chamber if we don't get this glow once we press the generator button then we have to tweak slightly the uh the flow with the needle valve until we see the the purple glow so once if if the plasma turns on we're going to keep it on for about 15 seconds so i'm going to start the timer on my phone here so i'm going to start the timer for about 15 seconds once the generator is on okay so here we go i'm going to turn on the generator and let's keep an eye on the uh on the chamber of the plazmatcher and there we go so this is the plasma that we're looking for i'm going to start the timer and i'm going to look at 15 seconds approximately for the process to complete here we go we're 10 seconds in and 15 seconds so now i can turn off the generator i can turn off the pump and i can close the valve for the gas and turn on the ventilation to remove the samples and the final bonding step is now to take out the plate peel off the piece of pdms so make sure you don't drop it at this point so handle it very carefully and you want to line it up with your substrate lean it on and then gently tap it all the way around so you want to tap it very gently because if your channels are very thin you risk collapsing the channels and if you press too hard and then you can look against a bright light and if you see any local spots which have not bonded and you see any bubbles you can use one finger on one side of the glass side um to to push against and you can gently tap it with your other hand and this will get you relatively even adhesion throughout the whole sample so this is it this is now bonded remember that this bond is now permanent so if the process works correctly you only have one shot at the positioning of the pdms so don't expect to put it on the sample and adjust the position because if it works well it's a covalent bond forming a silicon oxygen silicon bridge between the pdms and the glass substrate so it is going to be a permanent bond and you will not be able to remove it so keep that in mind and things that can go wrong in this step are potentially surface contamination that can happen both on the glass and on the pdms so maybe you contaminated the surface of the pdms while you were handling it with your gloves or with your fingers uh so that can locally induce a contamination of the surface and because the whole process is very sensitive to the chemistry of the surface it might fail uh to bind in that particular position so if you have adhesion problems uh before uh troubleshooting the whole process um just do it a few times to check if it's if the issue is consistent but generally speaking the um the process should work well as it has in this case
Up Next
4:40
Caco-2 Cell Permeability Assay Protocol for Drug Absorption
@creativebioarray9401
12.8K views•2019-07-31

12:54
Triumph of Orthodoxy Icon: Byzantine Art & History Explained
@BenCallan
2.1K views•2024-08-06
13:30
Microfluidics Soft Lithography: Inlet/Outlet Punching Technique
@dk-hu3er
952 views•2022-05-13

1:42
Game of Thrones Opening Credits: A Cinematic Analysis
@gameofthrones
46.3M views•2011-04-18
Related Study Plans & Knowledge Roadmaps
Structured learning paths in General & Interdisciplinary Studies
general-studies
Elevator Engineering: History, Physics & Cities
01From Hoists to Safety Brakes: The Dawn of Vertical Lift
02Hydraulic vs. Traction: The Engineering Physics of Elevators
03Modern Speed, Safety, and Algorithms
+ 2 more learning modules
12h5 modules
Explore Roadmap
general-studies
Rubber: Material Science, History & Geopolitics
01Origins of Natural Rubber & Mesoamerican History
02The Chemistry of Natural Rubber & Vulcanization
03The Geopolitics of the Rubber Boom & Colonization
+ 2 more learning modules
12h5 modules
Explore Roadmap
general-studies
Containerization: Evolution, Logistics & Trade
01Ancient Trade & Bulk Cargo: Amphorae to Barrels
02The Industrial Revolution & Cardboard Packaging
03The Containerization Revolution: Malcom McLean
+ 2 more learning modules
12h5 modules
Explore Roadmap
general-studies
Textile Tech: Evolution, Labor & Global Impact
01Pre-Industrial Textiles: Handloom & Cottage Industry
02Mechanization: The Spinning Jenny to the Power Loom
03The Factory System & Global Labor Transformation
+ 2 more learning modules
10h5 modules
Explore Roadmap