An EDM build-up and drop is a structural technique where tension is gradually increased through rhythmic elements, filter sweeps, and melodic anticipation before releasing into a high-energy drop section, creating dramatic contrast and emotional impact in electronic dance music.
EDM Build-Up & Drop Tutorial: FL Studio Music Production Guide
Added:Deep Dive
Familiarity with the FL Studio user interface, including the Playlist, Channel Rack, Piano Roll, and Mixer.

FL Studio 21 para Principiantes - Guía Completa - Aprende desde Cero
292.2K
FL Studio provides comprehensive view and window management options. The View menu includes closing specific windows, closing all windows, and closing plugin windows. Custom Layouts allow saving preferred arrangements of windows and panels for different production tasks. Background Customization enables changing the interface background image. The Browser History and Undo functions allow accessing previous actions. The Pattern and Plugin Database provides access to all patterns and plugins in use. The Playlist provides comprehensive editing and arrangement tools including cut, copy, paste, and merge clips. The Export Playlist Tracks function exports individual tracks for separate processing. View customization options include changing grid colors, contrast levels, and track separator styles. Behind Clips Display options control how audio clips appear. Track Resizing functions adjust track widths. Mini Playlist Preview provides a compact overview of the entire arrangement. Time Markers allow labeling specific points. The Pickel Panel enables manipulating audio clips. Audio Clip Tools include the pencil for drawing, brush for filling areas, and knife for cutting audio. Audio Clip Playback functions allow previewing individual clips. Playlist Duplication creates multiple versions of arrangements. Pattern Editing Functions provide tools for modifying patterns within the Channel Rack. Automation Clip Creation allows creating clips for controlling parameters over time. Sample Editing Functions provide tools for manipulating audio samples. Sample Chopping functions divide samples into smaller segments. Make Unique Sample creates independent copies. Edit Sample opens the Edison audio editor. Pitch Correct Sample analyzes and adjusts pitch. Time Warp adjusts playback speed without changing pitch. Detect Tempo analyzes samples to determine their original tempo. Automate creates automation clips for controlling parameters. The Channel Rack allows enabling/disabling channels, adjusting volume and panning, and routing channels to specific mixer channels. The Piano Roll provides tools for creating and editing melodic content with detailed control over note placement. Scale Selection allows choosing musical scales for arrangements. Snap to Scale prevents placing notes outside selected scales. Quantize automatically adjusts notes to align with the grid. Legato automatically adjusts note durations for seamless connections. Quick Chop divides notes into smaller segments. Arpeggio automatically plays notes in sequence. Limit restricts notes to specific pitch ranges. Flip reverses the order of notes.
Click to watch →

Tutorial BÁSICO FL Studio (Tutorial FL Studio #7)
192.4K
FL Studio is a digital audio workstation with key components including the Playlist for arranging audio files, Channel Rack for creating drum patterns, Piano Roll for composing melodies, Mixer for combining and adjusting tracks, and Browser for managing files and plugins; the software uses a pattern-based workflow where users create reusable musical segments that can be arranged in the Playlist, with recording tools supporting both MIDI and audio input, and editing tools like the Pencil and Paintbrush for precise audio manipulation.
Click to watch →
FL STUDIO 20 - INITIATION COMPLÈTE | TOUT POUR BIEN COMMENCER | TUTORIEL BEATMAKING/MAO
75.9K
FL Studio's interface consists of interconnected tabs: Playlist (central music construction area with grid and tracks), Browser (for importing samples and managing backups), Channel Rack (for virtual instruments), Mixer (for audio mixing), and View (for toggling windows). The Playlist serves as the central hub where music is arranged on a timeline. Tracks can be muted (left-click) or soloed (right-click). The Browser imports audio samples that can be dragged onto the Playlist. The Channel Rack organizes all project elements into categories: All, VSTs (virtual instruments), and Audio (samples). Virtual instruments can be inserted via the plus button and played using computer keyboard or external MIDI keyboard. The Piano Roll is the visual tool for creating melodies with virtual instruments, displaying a piano keyboard where users click to place notes.
Click to watch →
![CURSO COMPLETO de FL STUDIO #1: 🍓 [Aprende cómo usar el programa desde cero] 👶](https://i.ytimg.com/vi_webp/djlAo_upIoU/maxresdefault.webp)
CURSO COMPLETO de FL STUDIO #1: 🍓 [Aprende cómo usar el programa desde cero] 👶
134K
FL Studio's interface uses a View panel for managing workspace components through mouse clicks or keyboard shortcuts (F5 toggles Playlist). The Playlist serves as the blank canvas for music composition, divided into multiple tracks for different instruments. Each track has a light indicator controlling activation or muting. Right-clicking mutes all tracks for isolation. The interface includes multiple components: Playlist (arrangement area), Step Sequencer (pattern creation), Piano Roll (note editing), Browser (sound library), and Mixer (volume control). Understanding this navigation system is fundamental for efficient music production workflow.
Click to watch →
FL STUDIO 21 - Aprende a manejarlo en 1 SOLO VÍDEO #principiantes #flstudio #tutorial
110.1K
FL Studio's interface consists of interconnected sections: the Browser for importing samples via drag-and-drop, the Playlist for arranging patterns and samples (up to 500 tracks), and the Mixer for audio routing (up to 125 tracks). The Channel Rack (F6) serves as a pattern sequencer for creating kicks and melodies, operating on a pattern-based system where users can create multiple patterns by pressing up/down arrows. The Piano Roll provides visual note editing for MIDI clips. The Mixer supports volume faders, effect slots (10 per channel), and routing visualization. Effects can be added to any channel, with unlimited effects possible using the native 'Patcher' plugin. Instruments are loaded via the Playlist's plus symbol, automatically creating MIDI clips and linking to mixer channels.
Click to watch →
Deep Dive
Understanding of basic EDM song structure and arrangement concepts, such as bars, beats, phrasing, and the relationship between tension and release.
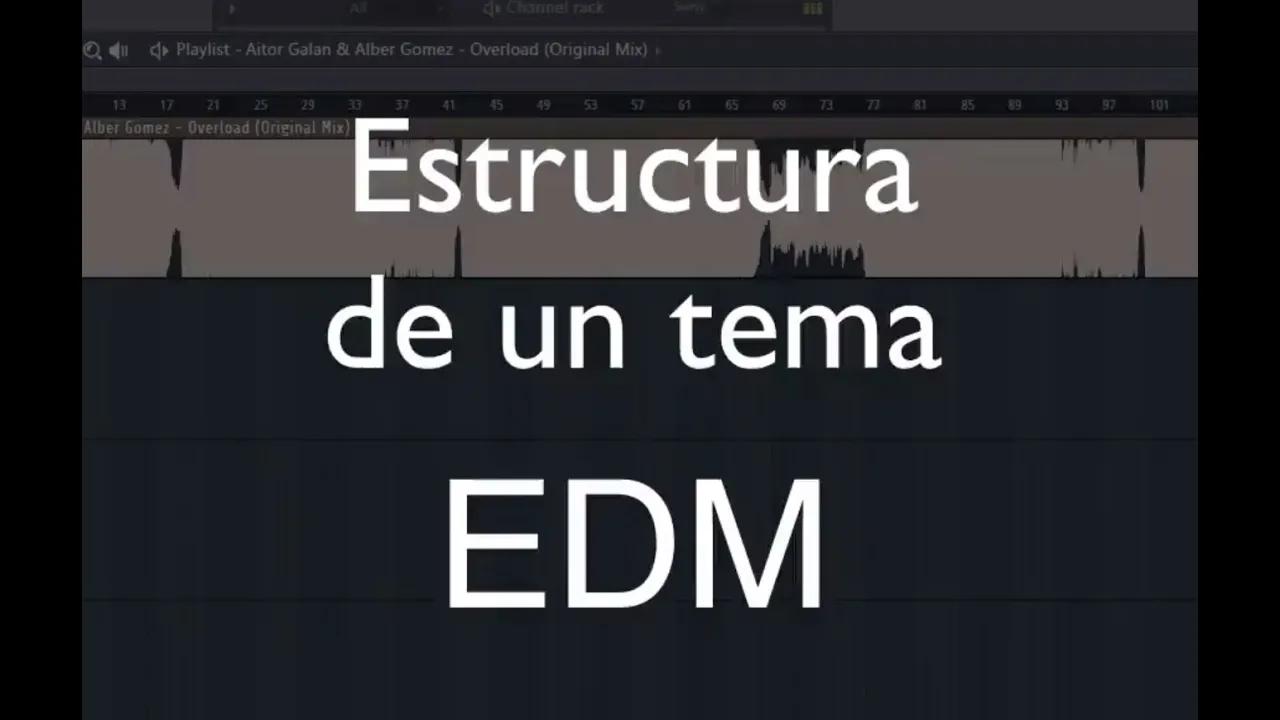
Cómo hacer EDM: la estructura de un tema EDM (break, drop, subida, melodía...)
35.6K
Electronic Dance Music follows a structured format based on 4x4 time units. A 'tiempo' (beat) is a single pulse, a 'compás' (bar) contains 4 beats, and a 'frase' or 'ronda' (phrase) consists of 8 bars. The song structure typically includes: an 'entrada' (intro) lasting 2-4 phrases (30-60 seconds), followed by a 'break' or 'parón' where the music slows down and introduces the main melody. The 'drop' is the climactic section with full energy, lasting at least 2 phrases. This creates a dynamic arc of tension and release throughout the track.
Click to watch →

EDM Song Structure: Arrange Your Loop into a Full Song 🎶
105.4K
EDM song structure follows a consistent pattern of intro, verse, build-up, drop, and outro, with the most common arrangement being A-B-C-D-B-C-C-Bridge-D, where the drop represents the highest energy point and the build-up gradually increases tension before releasing it; producers can expand their 8 or 16 bar loops into full songs by identifying which section their loop represents (typically the drop) and then applying this energy map structure to create an emotional journey for listeners.
Click to watch →
this ancient principle explains all music
11.8K
This segment examines how formal structure and arrangement utilize tension/release principles. Choruses function as consonant arrival points, while verses and bridges create tension by delaying resolution. This deprivation enhances the emotional payoff of returning to the chorus. Similarly, arranging techniques use instrumentation changes—dropping out drums creates suspense, returning provides satisfaction. Standard phrase lengths (4, 8 bars) feel stable; unusual lengths create discomfort through violated expectations.
Click to watch →
![[Tutorial] EDM-Structure [Full-HD]](https://i.ytimg.com/vi/x8hHCvN4ed4/maxresdefault.jpg)
[Tutorial] EDM-Structure [Full-HD]
5.2K
EDM songs follow a predictable structural framework: (1) Minimal intro with percussion, arps, or lead; (2) Build-up section lasting 8-16 bars (sometimes 32) with reverse sounds and increasing tension; (3) Drop section with main melody and impact sounds; (4) Break section after the drop; (5) Outro designed for DJ mixing with reversed elements. The final note of each section is often longer than initial notes to create resolution. This structure creates tension and release patterns essential to EDM's dance-oriented appeal.
Click to watch →
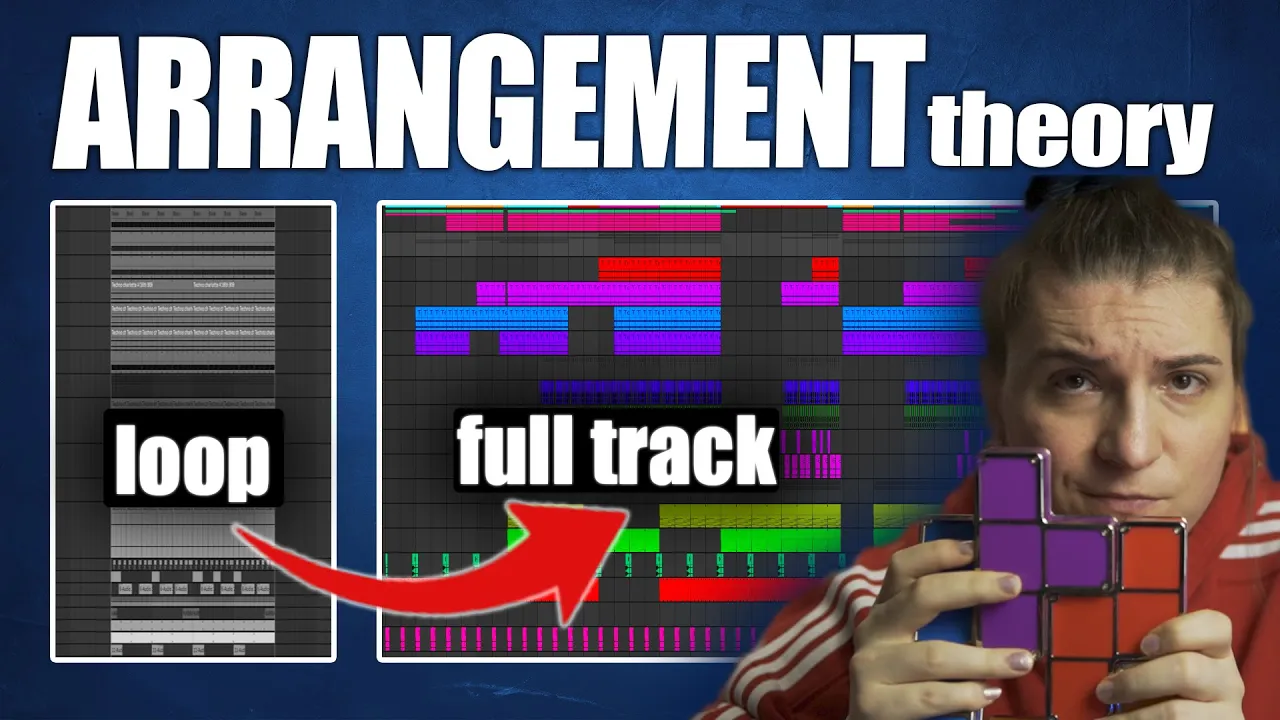
How to arrange any song
234.7K
This section covers the fundamental structural elements used in electronic dance music arrangement. The chorus is the most important structural part, containing the hook and serving as the richest section with high energy levels. The chorus-break-chorus structure is used in approximately 30-40% of techno tracks. An alternative chorus is a slightly different version of the main chorus to avoid repetition and create listener journey. The bridge connects contrasting structure elements and is typically less than four bars in modern EDM. A break is a longer version of bridges (more than four bars) that creates emotional pulse and relieves tension, serving as the most important contrasting element in the track. The drop is a special double structure where break and chorus come together, creating big energy difference in short time for euphoria. The verse is where the track evolves and develops ideas before reaching the chorus. Intros are percussive sections (up to 32 bars) that make DJ mixing easier by lacking tonal information.
Click to watch →
Deep Dive
Basic knowledge of automation clips and how to modulate parameters like volume, filter cutoff, and pitch over time.

Porter Robinson (TEACHES LUDWIG HOW TO PRODUCE MUSIC THIS TRACK WILL WIN 100s OF GRAMMYS) Twitch
357.2K
Automation clips control parameters over time. To create one, right-click a volume knob and select 'create automation clip.' This appears in the playlist. You can create control points by right-clicking anywhere on the line and moving them to shape the automation curve.
Click to watch →
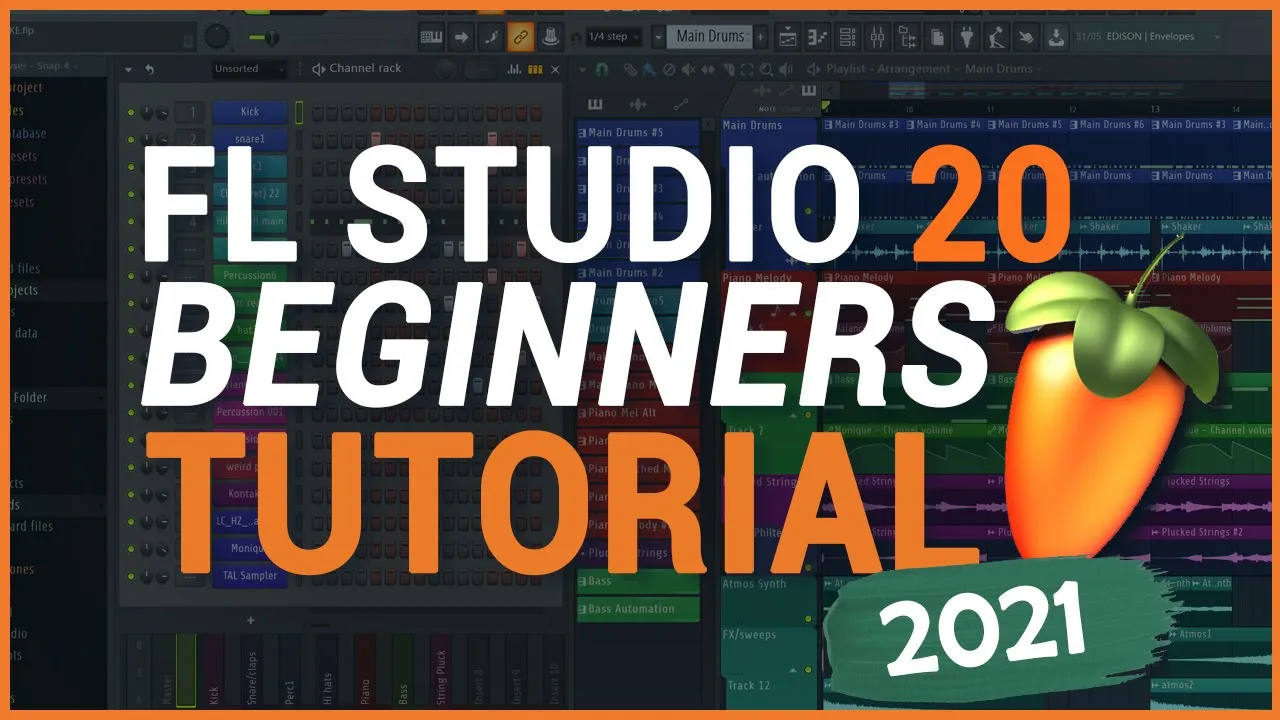
FL STUDIO 20 TUTORIAL | Complete Beginners Tutorial (2021)
377.8K
Automation clips allow you to automate specific parameters like volume, pan, or reverb over time. To add an automation clip, double-click and drag inside a bar to select the section, then right-click the parameter (like volume) and select Create Automation Clip. Drag nodes to shape how the parameter changes over time. Right-click nodes to add new ones, edit tension between nodes, and apply effects like Stairs, Pulse, or Wave. This creates dynamic changes such as fading in synths or adding filters during specific sections.
Click to watch →
500 Hours of Music Production Tutorials in 27 Minutes
174.6K
Automation equals life in music production because it brings dynamic movement to static tracks. Automation involves changing parameters over time - the most common being volume. In Logic, click 'A' on your keyboard to open the automation window, then click and drag dots to create volume changes. However, prefer automating gain plugins rather than direct track volume, as this preserves the ability to adjust faders later. Another powerful automation technique is low-pass filter automation, where the cutoff frequency gradually rises over time, adding energy and building intensity, particularly effective in EDM. Use the 'Latch' mode in automation to automatically record parameter movements as you play, then manually refine the curve afterward.
Click to watch →
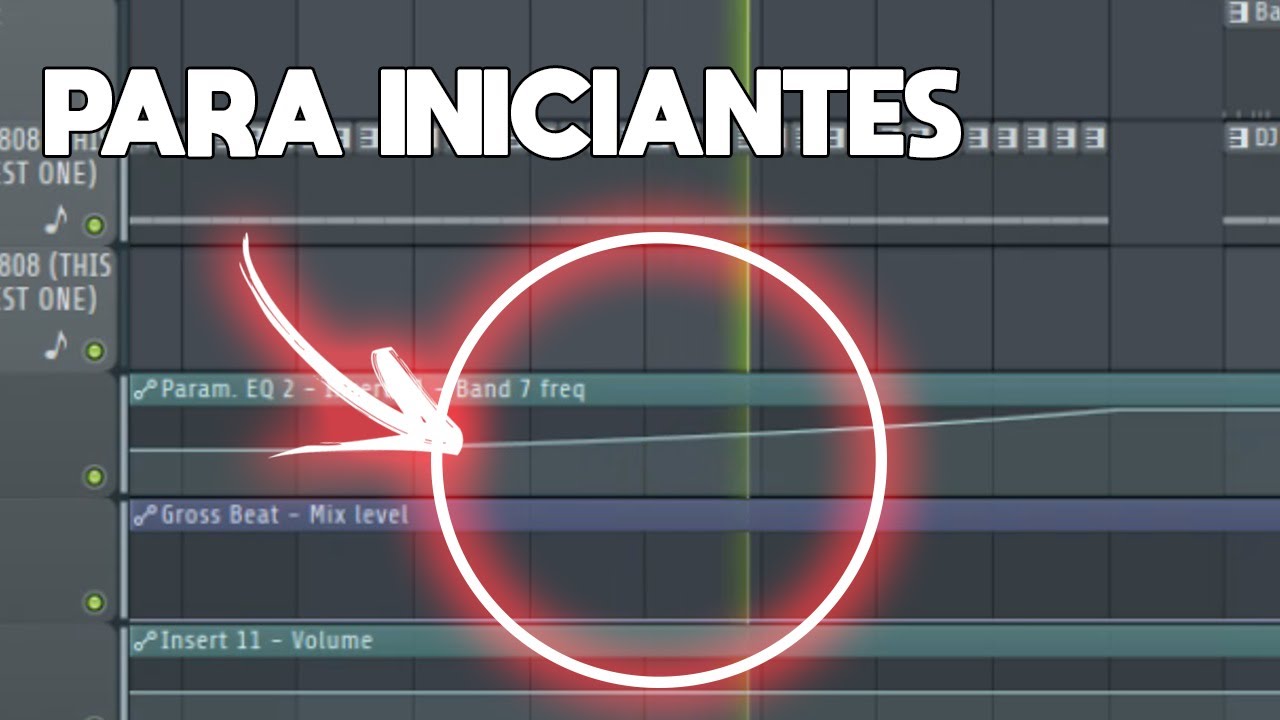
Como fazer Automation Clips no Fl Studio 20
2.7K
Automation Clips in FL Studio allow you to create dynamic changes to plugin parameters over time by drawing curves that control how values transition from start to end points, enabling effects like gradual volume fades, filter sweeps, and other time-based parameter modifications that can be applied to both native FL Studio plugins and third-party plugins.
Click to watch →
FL Studio Beginner's Guide | FREE FL Studio Course for Beginners | FL Studio Tutorial
117.3K
Automation clips allow you to record parameter changes over time, creating dynamic variations in your mix. To create an automation clip, right-click on the parameter you want to automate (such as a volume fader) and select Create Automation Clip. This creates a clip that records changes to that parameter during playback. For volume automation, you can create fade-ins by clicking and dragging the left node down, then adjusting the curve with middle nodes. Automation clips appear in the Playlist and can be moved, copied, and edited like regular patterns. This feature enables gradual changes like volume fades, panning movements, or filter sweeps that would be difficult to achieve manually.
Click to watch →
Deep Dive
Fundamental understanding of essential audio effects such as EQ, reverb, delay, and basic compression.

Mixcraft 7 Effects: Basic Effects Types
7.4K
This tutorial explains four fundamental audio effects used in music production: Equalizer (EQ) adjusts frequency balance using presets like dark, tiny, bright, and warm; Compression controls dynamic range by making quiet sounds louder and loud sounds quieter to prevent instruments from jumping out or getting lost in the mix; Delay creates timed repeats of sounds at musically relevant intervals like quarter notes; and Reverb simulates sound echoing in spaces like concert halls, creating a smear of sound rather than discrete repeats. Each effect features a wet/dry balance knob to adjust the level of the affected sound versus the original.
Click to watch →

Lesson 5: Audio Effects - EQ, Compression, Reverb, Delay
225
Audio effects manipulate sound through specific principles: Equalizers (EQ) filter frequencies using the frequency spectrum (measured in hertz, where 20Hz-20,000Hz is human hearing range), allowing producers to boost or cut specific frequency ranges; Compressors reduce dynamic range by making loud sounds softer and quiet sounds louder, creating consistent volume levels; Reverb simulates acoustic spaces by adding reflected sound to create depth; Delay creates echo effects by repeating sounds at specified time intervals. Together, these effects transform raw audio into polished productions, with EQ and compression being essential for vocal recordings and background noise cleanup.
Click to watch →

Signal Processing: EQ , Compression , Reverb & Delay Basics
695
Signal processing in audio production involves three main categories: frequency domain processes (which modify pitch and harmonic content to change timbre), time domain processes (which alter timing perception), and dynamics processes (which adjust the dynamic range—the difference between softest and loudest sounds). EQ (Equalization) changes harmonic content using filter types like peaking/bell curves, high-pass, low-pass, and shelving curves, with key parameters including center frequency, bandwidth, and Q control (where higher Q means narrower bandwidth). Compression reduces dynamic range by attenuating signals above a threshold according to a ratio setting, with attack and release times controlling how quickly the compressor responds and recovers; it's essential for balancing dynamic instruments like vocals against ensembles. Limiting is extreme compression that prevents any signal from exceeding a threshold. Reverb and delay are time-domain processes that add spatial characteristics—reverb simulates room acoustics while delay creates rhythmic echoes. Signal routing can be inline (processing before recording) or parallel (mixing processed and unprocessed signals).
Click to watch →
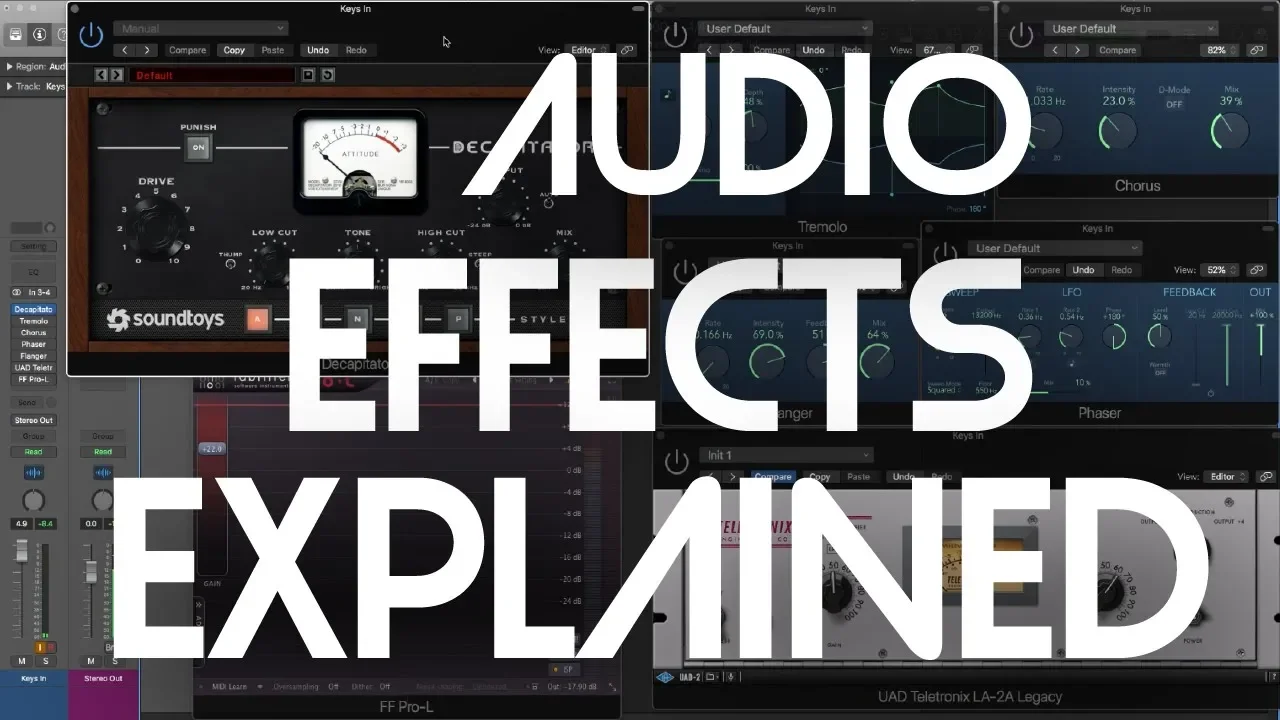
Audio Effects Explained for Beginners
69.9K
This section covers four foundational audio effects essential for beginners. EQ (Equalization) is the most critical mixing tool, allowing producers to boost or cut frequencies to brighten or darken sounds, and identify problematic 'trouble frequencies' by boosting them to reveal unwanted elements. Reverb creates spatial depth by generating rapid overlapping delays, with 'wet' describing sounds with significant reverb and 'dry' describing minimal reverb. Delay effects produce echoes at various intervals, with short delays adding presence and long delays creating depth. Gates silence signals below a threshold, eliminating bleed between microphones (like hi-hat sound bleeding into snare mics) and enabling creative effects like gated reverb popular in 80s recordings.
Click to watch →

giulioz: Sound Chip, whisper me your secrets!
8.3K
Audio effects modify sound through mathematical operations. Delay creates echo by repeating audio over time. Distortion amplifies and clips audio, adding harmonics—particularly pleasant for guitars. EQ boosts/removes frequencies using sum/multiplication. Reverb simulates room acoustics using comb filters (parallel delay lines with feedback) and all-pass filters (phase-shifting without amplitude change). These effects transform raw audio into more interesting sounds, with reverb being particularly complex as it can simulate rooms that don't exist physically.
Click to watch →
Prerequisite Knowledge
- Concept 01Familiarity with the FL Studio user interface, including the Playlist, Channel Rack, Piano Roll, and Mixer.
- Concept 02Understanding of basic EDM song structure and arrangement concepts, such as bars, beats, phrasing, and the relationship between tension and release.
- Concept 03Basic knowledge of automation clips and how to modulate parameters like volume, filter cutoff, and pitch over time.
- Concept 04Fundamental understanding of essential audio effects such as EQ, reverb, delay, and basic compression.
Subsequent Learning
- Step 01Advanced mixing techniques for electronic music, including sidechain compression and frequency carving to ensure the kick and bass blend seamlessly.
- Step 02Mastering chains and loudness optimization (LUFS) to prepare the finished track for commercial distribution and streaming platforms.
- Step 03In-depth sound design using subtractive and wavetable synthesizers to create custom, signature lead and bass patches for your drops.
- Step 04Arrangement strategies for full-length tracks, focusing on seamless transitions, intros, outros, and creating variation between the first and second drops.
Melodic Start
Rhythmic Flow
Audience Peaks
Sonic Crescendo
Finale Notes
Melodic Start
2:01Playing Section
- 1
Opening musical sequence establishes tone.
- 2
Applause signals audience engagement early.
The Critique of Formulaic Arrangement: Moving Beyond the Build-Up and Drop
While tutorials focusing on the standard build-up and drop structure are highly popular in commercial EDM, many electronic music producers, theorists, and underground artists criticize this formula as overly predictable and artistically limiting. Critics argue that a rigid reliance on the 'tension-and-release' drop paradigm reduces electronic music to a homogenized template, prioritizing immediate physical reactions over deeper sonic exploration. Opposing perspectives advocate for alternative structures—such as the gradual, hypnotic progression of minimal techno, the unpredictable arrangements of IDM (Intelligent Dance Music), or the continuous flow of classic house. By moving away from explosive drops and standardized plugin chains, producers are encouraged to explore organic modulation, complex polyrhythms, and sound design that develops dynamically over time, fostering greater originality and artistic longevity.
Deep Dive
Advanced mixing techniques for electronic music, including sidechain compression and frequency carving to ensure the kick and bass blend seamlessly.
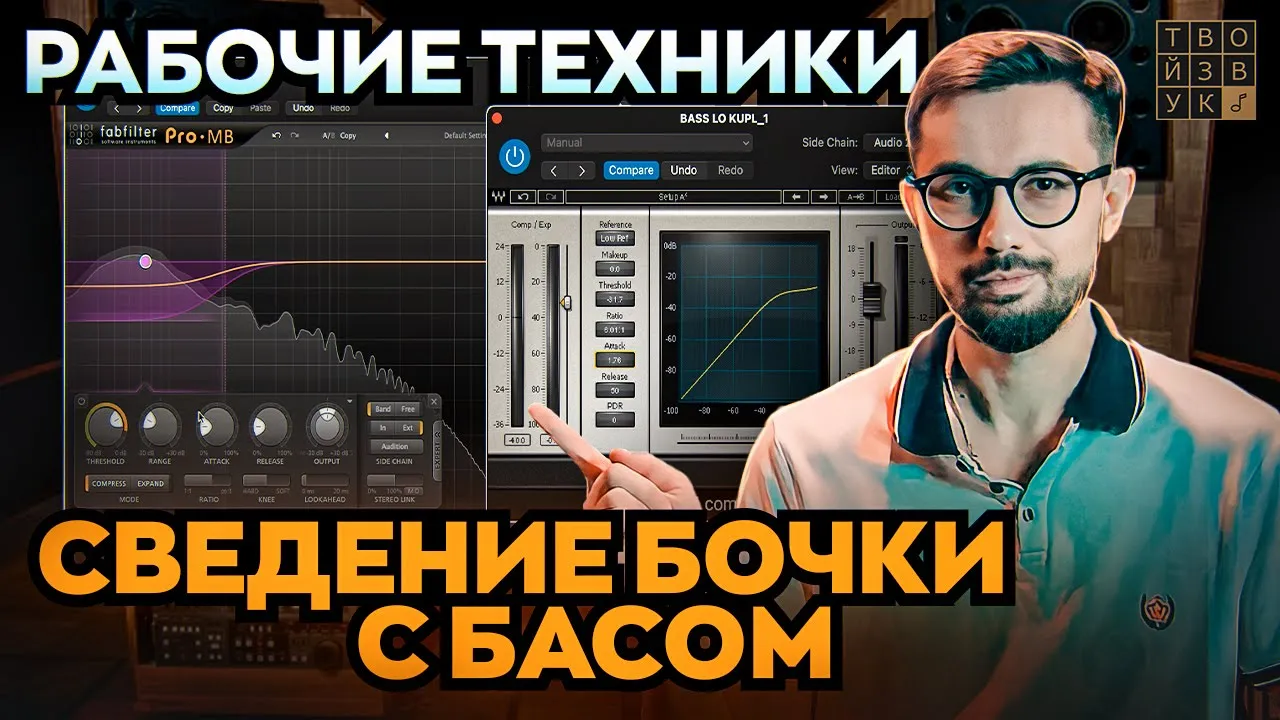
СВЕДЕНИЕ БОЧКИ С БАСОМ. Рабочие техники.
20K
Advanced mixing techniques for kick-bass separation include Pultec EQ for frequency carving, tonal separation by removing frequencies below the lowest bass note, and sidechain compression. Sidechain compression uses the kick drum as a trigger to duck the bass, with key settings including threshold, attack, and release. Multiband sidechain compression applies compression only to specific frequency ranges (e.g., 100-130 Hz), preserving mid and high frequencies. Bass tracks can be split into separate tracks for low and high frequencies using a crossover filter (e.g., at 150 Hz), allowing independent processing of each frequency range. These techniques provide nuanced control over the interaction between kick and bass, enabling clearer separation and better overall mix quality.
Click to watch →
How To Mix Beats The Easy Way
37.5K
This extended section covers the core technical mixing skills. Track levels should be set to -18 to -12 dB to maintain headroom for plugins. Each instrument needs its own frequency space—cut low frequencies from instruments that don't need them. Kick and snare should be the loudest elements. Sidechain compression creates space for the kick by making other tracks dip in volume when the kick hits. Apply this to hi-hats, 808 bass, and other tracks. The 808 should be loud but not so loud that it competes with the kick. Apply distortion to 808 bass to generate harmonics that enhance perceived bass, especially important for playback on smaller speakers.
Click to watch →

Mixing Low End: Everything You Need To Know!
54.8K
Sidechain compression automatically ducks the volume of the bass (or kick) whenever the competing instrument plays, creating space for the kick to punch through. Set the compressor's sidechain input to the kick track, so the bass volume lowers immediately when the kick hits. Adjust attack and release settings to control how quickly the ducking happens—fast attack for immediate response, release timed to keep the pumping effect in tempo with the track.
Click to watch →

Sidechain & Layering Tutorial | Laidback Luke VLOG #009
41.7K
This tutorial demonstrates how to balance kick drum and bass in music production using sidechain compression, where a ghost kick drum triggers compression on the bass track to create pumping effects that prevent frequency masking; the key technique involves setting the compressor threshold extremely low (around -29 dB) and timing the release to match the high hat pattern, while also using EQ to identify where the kick drum lives (typically around 50 Hz) and rolling off low-end frequencies (40-50 Hz) to reduce mud and increase master volume, with bass layering requiring multiple frequency ranges (sub, mid-low, mid, high) to fill the spectrum without overlapping the kick's frequency space.
Click to watch →

THE KICK AND BASS MIXING TRICK | How To Mix Low End
198.6K
To achieve clean separation between kick and bass in mixing, apply sidechain compression to the bass track triggered by the kick drum, using fast attack and release times (calculated based on BPM) and optionally routing the trigger from a duplicated kick or MIDI-triggered sine wave instead of directly from the kick itself to allow creative manipulation of the kick sound without affecting the sidechain.
Click to watch →
Deep Dive
Mastering chains and loudness optimization (LUFS) to prepare the finished track for commercial distribution and streaming platforms.
Ingeniero TOP corrige mi mezcla | Luis del Toro (Diferido TWITCH)
105.7K
Mastering involves achieving appropriate loudness for the target platform and genre. Industry standards vary: -10 LUFS is standard for pop (slightly compressed); -8 to -6 LUFS is very loud; -12 to -14 LUFS is softer and more dynamic. A typical mastering chain includes: limiter for loudness control, multiband compressor for dynamics, EQ for tonal adjustments, and saturation for harmonic enhancement. The chain should be designed before mixing begins. Understanding the relationship between loudness and dynamic range is crucial for achieving professional results.
Click to watch →
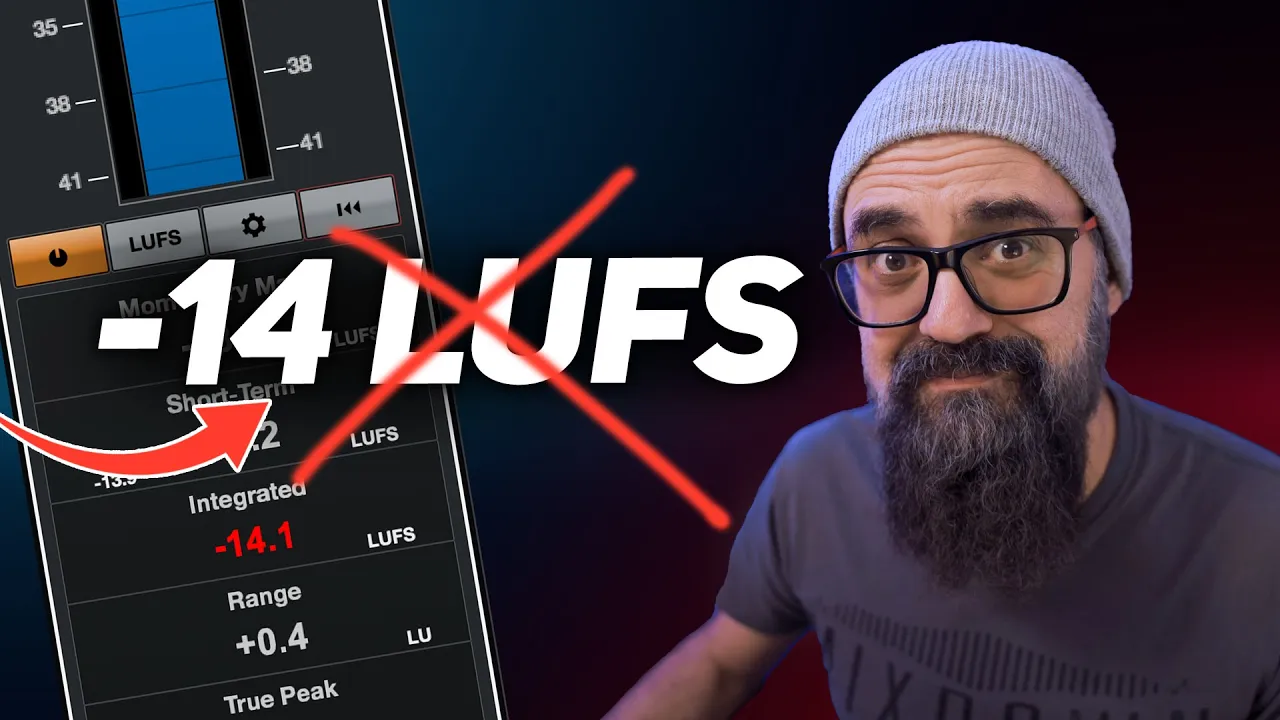
Don't Make This Loudness LUFS Mistake
120.5K
When mastering music for streaming services, producers should focus on short-term LUFS (-10 to -9 LUFS) rather than integrated LUFS (-14 LUFS), because integrated LUFS measures the average loudness across the entire song including quieter sections, causing masters aimed at -14 LUFS to actually sound quieter after bouncing; streaming services like Spotify normalize all content to -14 LUFS regardless of the original master level, so aiming too low results in a weaker final output.
Click to watch →

Loudness Targets for Mastering (...It's not what the streaming services tell you.)
33.9K
Streaming services recommend -14 LUFS for mastering, but most commercial releases are louder; safe loudness targets by genre are: Pop/Rock -13 to -10 LUFS, Hip-Hop -10 to -8 LUFS, and EDM -8 to -6 LUFS, with brighter, less bass-heavy music allowing for higher loudness without compromising sound quality.
Click to watch →

MASTERING para plataformas de streaming | A que nivel debo exportar un master? LUFS, True Peak?
69.2K
Understanding audio measurement is essential for mastering. True Peak measures the highest instantaneous amplitude, RMS calculates average power based on voltage, and LUFS measures loudness based on human ear perception, making it the industry standard. Streaming platforms like Spotify and YouTube normalize audio to ensure consistent listening experiences. Spotify recommends mastering to -14 LUFS integrated loudness with True Peak at -1 dBTP. If mastering exceeds -14 LUFS, ensure True Peak stays below -2 dBTP. LUFS meters display Integrated LUFS (average loudness of entire track) and Short-term LUFS (3-second intervals). To analyze track loudness, use a LUFS meter plugin like iZotope Loudness Meter 2. Different artists master to different loudness levels—a track showing 5.6 dB reduction means it was mastered around -8.4 LUFS. Mastering for competitive loudness involves using limiters to push volume until the track sounds compressed without losing musical dynamics. Different genres have different standards: classical music typically masters to -20 LUFS or lower, while electronic music often masters to -6 to -5 LUFS for club and arena playback.
Click to watch →

Сведение трека и мастеринг - Видеокурс (сведение вокала и обработка вокала)
203.4K
Mastering prepares tracks for distribution by achieving competitive loudness. Historically, mastering ensured consistent volume across album tracks. Modern mastering focuses on LUFS (Loudness Units Full Scale) targets, with -14 LUFS being common for streaming platforms. Limiters increase loudness while preventing clipping. Reference tracks (commercially successful songs) serve as benchmarks for loudness, frequency balance, and overall polish, helping achieve professional results. A useful tool for checking mono compatibility converts frequencies below a threshold (e.g., 150 Hz) to mono while keeping higher frequencies in stereo.
Click to watch →
Deep Dive
In-depth sound design using subtractive and wavetable synthesizers to create custom, signature lead and bass patches for your drops.
Tech House Track from Scratch in 1hr - Westend (Ableton)
64.6K
The drop is the main energy section requiring distinct lead sounds. Use sample pack leads or create Serum patches. For interesting patterns, hold option/alt while drawing notes to stretch them continuously rather than snapping to grid. Automate filter cutoff and resonance for evolving patterns. Create call and response using multiple synth instances. Add delay to fill spaces between notes. For effect sounds, draw notes and automate macros to create variations. The drop should feel distinct from previous sections while maintaining track identity.
Click to watch →
![🎨Diseño de Sonido - #36: Síntesis Wavetables - Práctica [CURSO COMPLETO] - Tutorial Sound Design](https://i.ytimg.com/vi_webp/HDnx9LHhmA4/maxresdefault.webp)
🎨Diseño de Sonido - #36: Síntesis Wavetables - Práctica [CURSO COMPLETO] - Tutorial Sound Design
15K
This tutorial demonstrates practical application of wavetable synthesis techniques to create diverse sound types including growl basses, leads, pads, and plucks by modulating waveform positions in real-time using low-frequency oscillators (LFOs), envelope generators, and oscillator layering with unison, while emphasizing that wavetable synthesis relies on continuous movement and transformation of waveforms to generate evolving timbres.
Click to watch →
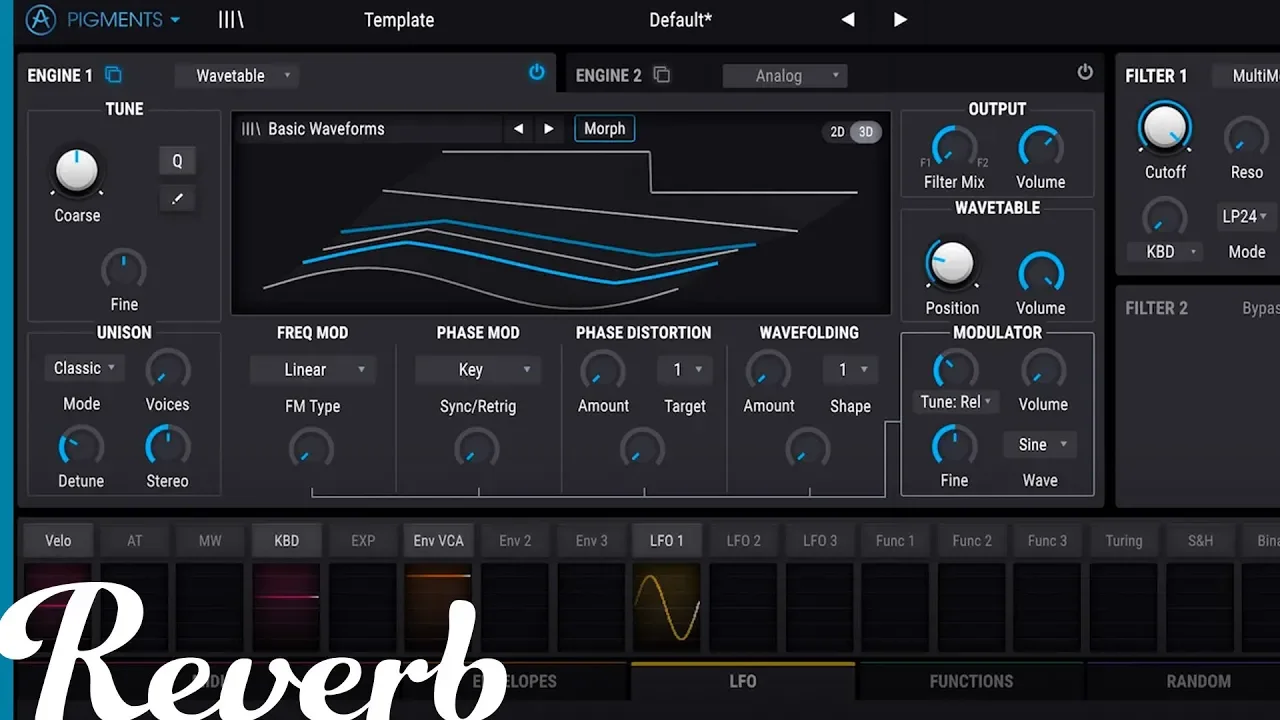
Wavetable Synthesis Explained | Reverb
125.1K
Wavetable synthesis is a digital synthesis technique that uses a table of pre-defined waveforms (such as sine, triangle, saw, and square waves) which can be modulated and morphed over time using Low Frequency Oscillators (LFOs) and envelopes, allowing for the creation of complex, evolving sounds that go beyond what traditional analog oscillators can produce; unlike subtractive synthesis which shapes fixed waveforms, wavetable synthesis enables continuous waveform evolution by sweeping or morphing between different slices of the wave table, making it particularly effective for creating atmospheric and evolving electronic music textures.
Click to watch →

Waldorf Iridium - monstrum syntezy
51.8K
The Iridium synthesizer uses wavetable synthesis with tables containing 64 samples representing successive harmonics added to a basic sinusoidal tone. Users can switch between samples manually or automate with LFOs at specified frequencies. The system uses 16 virtual variants of each sample to prevent machine-like repetition, with adjustable similarity between clones to avoid repetitive patterns. Users can copy oscillators to experiment with different modulators like aftertouch, which can control sample selection based on key pressure. The arpeggiator with memory function allows holding chords while the instrument plays them automatically, with options for rhythm patterns, tempo, note duration, and swing parameters.
Click to watch →
Add MOVEMENT & GRIT To Your Bass Sounds
151.1K
This segment covers the fundamentals of creating bass sounds using wavetable synthesis. Key concepts include using harmonics to connect with natural frequencies, shaping the envelope with attack, sustain, and release parameters to create the characteristic 'whoa whoa' wub sound, and using filter cutoff and resonance to add movement and depth. The presenter demonstrates how to create a web-like shape in the waveform and explains how to make the amp shape move automatically. FM synthesis is introduced to create natural variation, making sounds feel organic rather than repetitive.
Click to watch →
Deep Dive
Arrangement strategies for full-length tracks, focusing on seamless transitions, intros, outros, and creating variation between the first and second drops.
![How To Arrange Your Tracks QUICKLY & Stop Getting So Stuck [+Template]](https://i.ytimg.com/vi/D4-LE4SOOvc/maxresdefault.jpg)
How To Arrange Your Tracks QUICKLY & Stop Getting So Stuck [+Template]
16.8K
Professional electronic music arrangement follows a four-part structure: Intro (minimal elements establishing aesthetic), First Drop (main climax), Second Drop (variation/development), and Outro (conclusion). Breaking tracks into named sections makes arrangement less intimidating. Effective transitions use filtering and reverb automation rather than relying solely on dramatic risers: high-pass filters on kick/bass during breaks, low-pass filtering chord stabs, and reverb automation on grouped percussion. Strategic crash placement at major transitions serves as punctuation. Risers use white noise sweeps with multiple variations. Snare buildups use rapid 16-note patterns with volume automation. These techniques create dynamic energy while maintaining musical continuity, working across genres from house to techno.
Click to watch →

How to Fred Again (Step by Step)
17.3K
Effective arrangement creates emotional journeys through strategic placement of elements. Washed-out intros use short reverb, high-cut filtering, and wide stereo imaging that gradually contract over time. Transitions filter out all elements, introduce silence, then present drum fills and vocals for dramatic contrast. Drops employ minimalist arrangements on initial beats (kick + delayed vocal) to create anticipation. Full drops incorporate string pads, sustained textures, and stretched vocal elements. Kick timing shifts enhance groove. Vocal stretching uses warp and texture features with shift-hold to create evolving atmospheric textures. These arrangement techniques guide listener experience and maximize emotional impact.
Click to watch →
FINISH YOUR DROPS with VARIATIONS (Dubstep Sound Design and Arrangement Tutorial)
20.1K
Effective drop variations follow a structured approach: first a repeating section, then a four-bar variation marker, followed by an eight-bar variation section. The core principle is that smaller spaces require smaller variations while larger spaces demand bigger variations. The call and response format creates musical coherence through a call section followed by a response section. For second drops, the 'small stuff small, big stuff big' strategy applies—introducing smaller changes in shorter time spans and larger changes in longer time spans. This creates progression and escalation while maintaining musical tension and release.
Click to watch →
Production Tutorial: Cassian Melodic Techno | From Start To Finish (Ableton)
20.6K
Track arrangement follows a symmetrical structure. The intro opens with low end, drums, and pads on one root note, with automations on EQ, kick, and bass to slowly open elements. Add uplifters, downlifters, and risers. The buildup uses EQ automation to remove lower frequencies, removes kick in second part, uses Afterpinn to open synths, applies reverb to drums with dry/wet automation, and removes drums except field snares on last two beats. The first drop uses automations on kick, bass, and plucks with transition spots. The long breakdown slowly opens drums with Afterpinn, adds snare buildup, and adds eight-beat space between elements. The second drop omits plucks and uses main lead. The outro reverses intro automations for symmetry.
Click to watch →
How to modern Skrillex
123.2K
Transitioning between drop sections involves recycling elements in new ways. The FM bass from the intro becomes the lead melody, with the kick following its rhythm and being filtered out. Vocals from the intro are also played and gradually cut out. For the second drop section, bass steps are modified by changing octaves rather than replacing sounds entirely. The 808 is separated from the sub, and new bass shots are layered with previous subs. Vocals are pitched down 12 semitones with automated panning for spatial movement. This recycling approach maintains musical continuity while creating variation through subtle changes.
Click to watch →
Melodic Start
Rhythmic Flow
Audience Peaks
Sonic Crescendo
Finale Notes
Melodic Start
2:01- 1
Opening musical sequence establishes tone.
- 2
Applause signals audience engagement early.
The Critique of Formulaic Arrangement: Moving Beyond the Build-Up and Drop
While tutorials focusing on the standard build-up and drop structure are highly popular in commercial EDM, many electronic music producers, theorists, and underground artists criticize this formula as overly predictable and artistically limiting. Critics argue that a rigid reliance on the 'tension-and-release' drop paradigm reduces electronic music to a homogenized template, prioritizing immediate physical reactions over deeper sonic exploration. Opposing perspectives advocate for alternative structures—such as the gradual, hypnotic progression of minimal techno, the unpredictable arrangements of IDM (Intelligent Dance Music), or the continuous flow of classic house. By moving away from explosive drops and standardized plugin chains, producers are encouraged to explore organic modulation, complex polyrhythms, and sound design that develops dynamically over time, fostering greater originality and artistic longevity.
Familiarity with the FL Studio user interface, including the Playlist, Channel Rack, Piano Roll, and Mixer.
Understanding of basic EDM song structure and arrangement concepts, such as bars, beats, phrasing, and the relationship between tension and release.
Basic knowledge of automation clips and how to modulate parameters like volume, filter cutoff, and pitch over time.
Fundamental understanding of essential audio effects such as EQ, reverb, delay, and basic compression.
Advanced mixing techniques for electronic music, including sidechain compression and frequency carving to ensure the kick and bass blend seamlessly.
Mastering chains and loudness optimization (LUFS) to prepare the finished track for commercial distribution and streaming platforms.
In-depth sound design using subtractive and wavetable synthesizers to create custom, signature lead and bass patches for your drops.
Arrangement strategies for full-length tracks, focusing on seamless transitions, intros, outros, and creating variation between the first and second drops.
625.5K views16.6Klikes13:38@SATURN_SUNOriginal Release: 2017-01-29
n [Music] [Music] [Applause] [Music] [Music] [Music] [Music] [Music] [Music] [Music] [Music] [Applause] [Music] [Music] [Music] [Music] [Music] [Music] [Music] [Music] [Applause] [Music] [Applause] [Music] [Music] [Applause] [Music] [Music] [Music] [Music] [Music] [Music] he [Music] [Music] [Music] [Music] [Music] [Music] [Music] [Music]
Up Next

22:36
EDM Track Structure Explained: A Production Basics Guide
@SeamlessR
168.3K views•2014-08-13

12:54
Triumph of Orthodoxy Icon: Byzantine Art & History Explained
@BenCallan
2.1K views•2024-08-06

9:49
FastAPI vs Flask vs Django: Choosing the Right Python Web Framework
@TechWithTim
302.5K views•2024-05-26

1:42
Game of Thrones Opening Credits: A Cinematic Analysis
@gameofthrones
46.3M views•2011-04-18
Related Study Plans & Knowledge Roadmaps
Structured learning paths in General & Interdisciplinary Studies
general-studies
Elevator Engineering: History, Physics & Cities
01From Hoists to Safety Brakes: The Dawn of Vertical Lift
02Hydraulic vs. Traction: The Engineering Physics of Elevators
03Modern Speed, Safety, and Algorithms
+ 2 more learning modules
12h5 modules
Explore Roadmap
general-studies
Rubber: Material Science, History & Geopolitics
01Origins of Natural Rubber & Mesoamerican History
02The Chemistry of Natural Rubber & Vulcanization
03The Geopolitics of the Rubber Boom & Colonization
+ 2 more learning modules
12h5 modules
Explore Roadmap
general-studies
Containerization: Evolution, Logistics & Trade
01Ancient Trade & Bulk Cargo: Amphorae to Barrels
02The Industrial Revolution & Cardboard Packaging
03The Containerization Revolution: Malcom McLean
+ 2 more learning modules
12h5 modules
Explore Roadmap
general-studies
Textile Tech: Evolution, Labor & Global Impact
01Pre-Industrial Textiles: Handloom & Cottage Industry
02Mechanization: The Spinning Jenny to the Power Loom
03The Factory System & Global Labor Transformation
+ 2 more learning modules
10h5 modules
Explore Roadmap