




![[해부학] Hand(손) 골학 팔(UPPER LIMB) PART 4 아나토미 클라쓰 014](https://i.ytimg.com/vi/8MZVUtD0Y9g/maxresdefault.jpg)



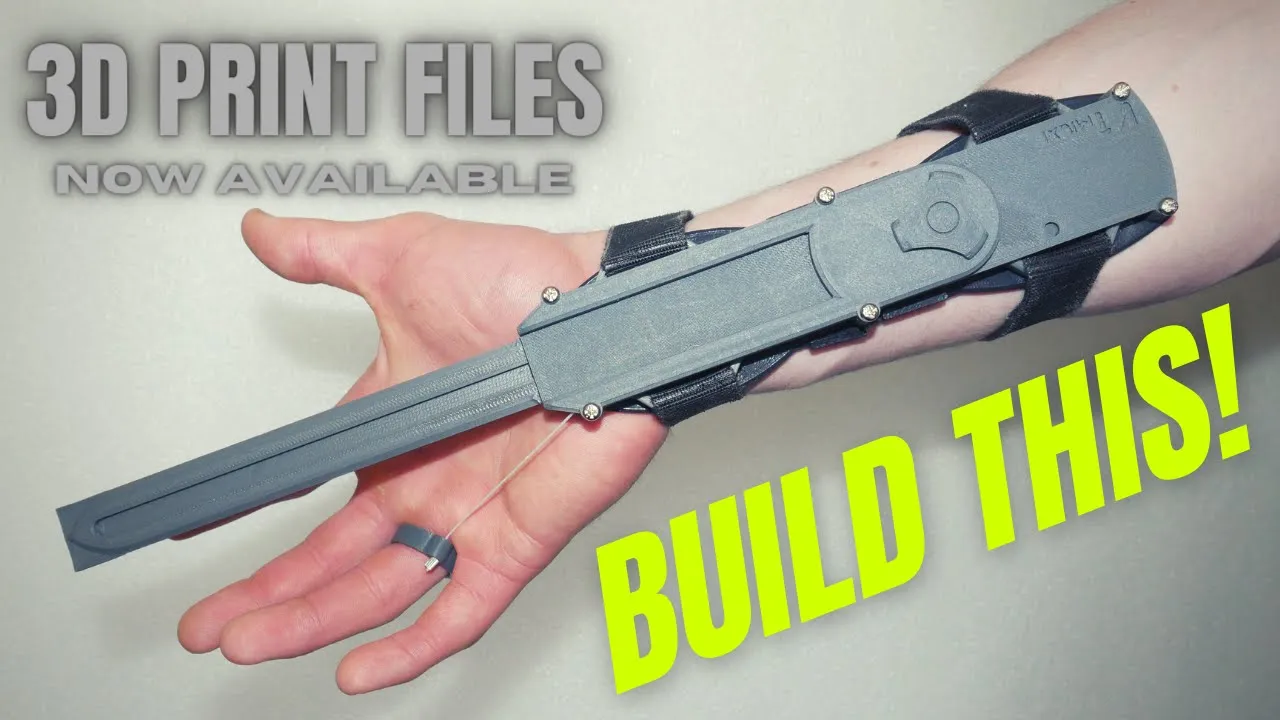








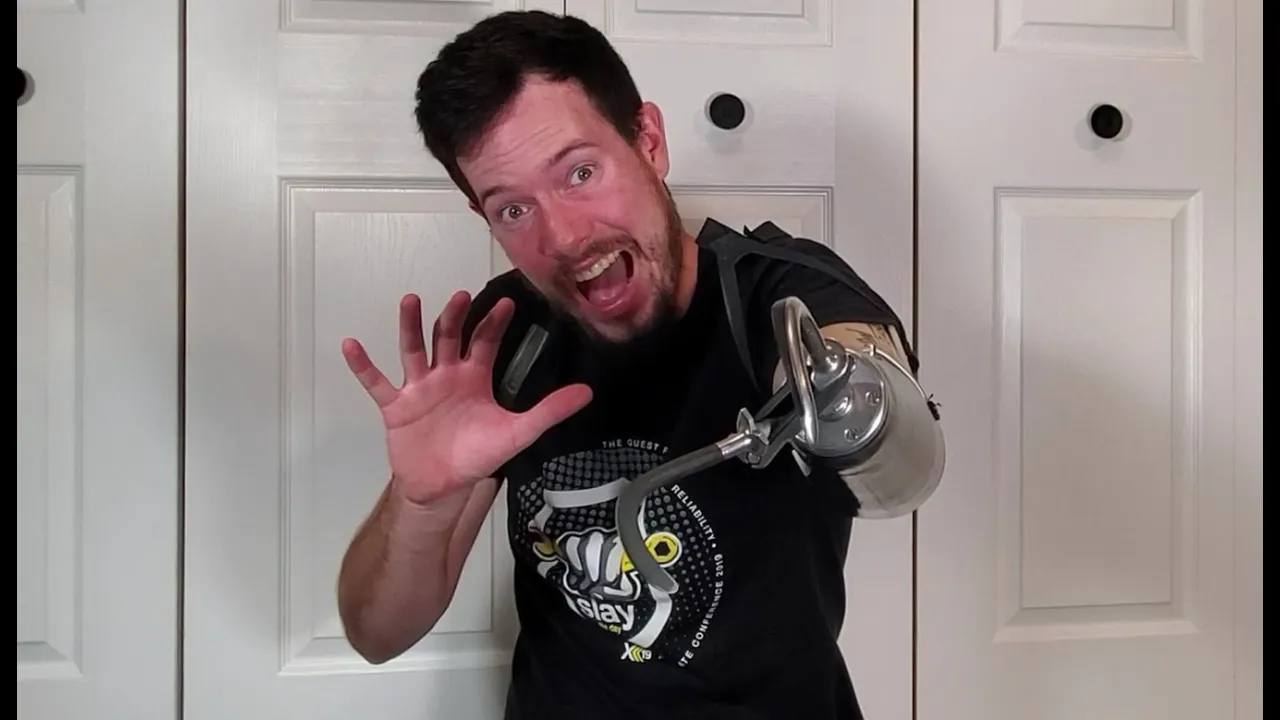




This tutorial demonstrates the complete process of preparing and assembling 3D printed prosthetic hand parts, including removing support material using various tools (fingernails, files, pocket knives, pliers), filing and sanding surfaces for smooth motion, installing snap pins and cables, and attaching elastic tensioners to enable natural finger movement.
Talon Hand 2.0 Assembly Tutorial Part 1: Post-Print Cleanup & Finger Assembly
Added:Basic understanding of FDM (Fused Deposition Modeling) 3D printing, specifically how support structures are generated and why they must be removed.
Familiarity with mechanical hand anatomy, including the functional relationships between knuckles, phalanges, and tendons.
Workshop safety and the proper techniques for post-processing plastic parts using tools like files, hobby knives, and sandpaper.
Fundamental principles of tension-based mechanical systems, particularly how elastic elements act as passive extension mechanisms in prosthetics.
Integration of assembled finger mechanisms into the palm chassis and connecting them to the wrist hinge.
Calibration of tendon tension and routing systems to achieve a coordinated, reliable grip.
Exploration of prosthetic actuation methods, contrasting body-powered mechanical linkages with active myoelectric (EMG-controlled) systems.
Ergonomic fitting protocols, including how to use thermoforming plastics to customize the prosthetic socket for a user's comfort.
11.6K views31likes41:25Original Release: 2014-03-29
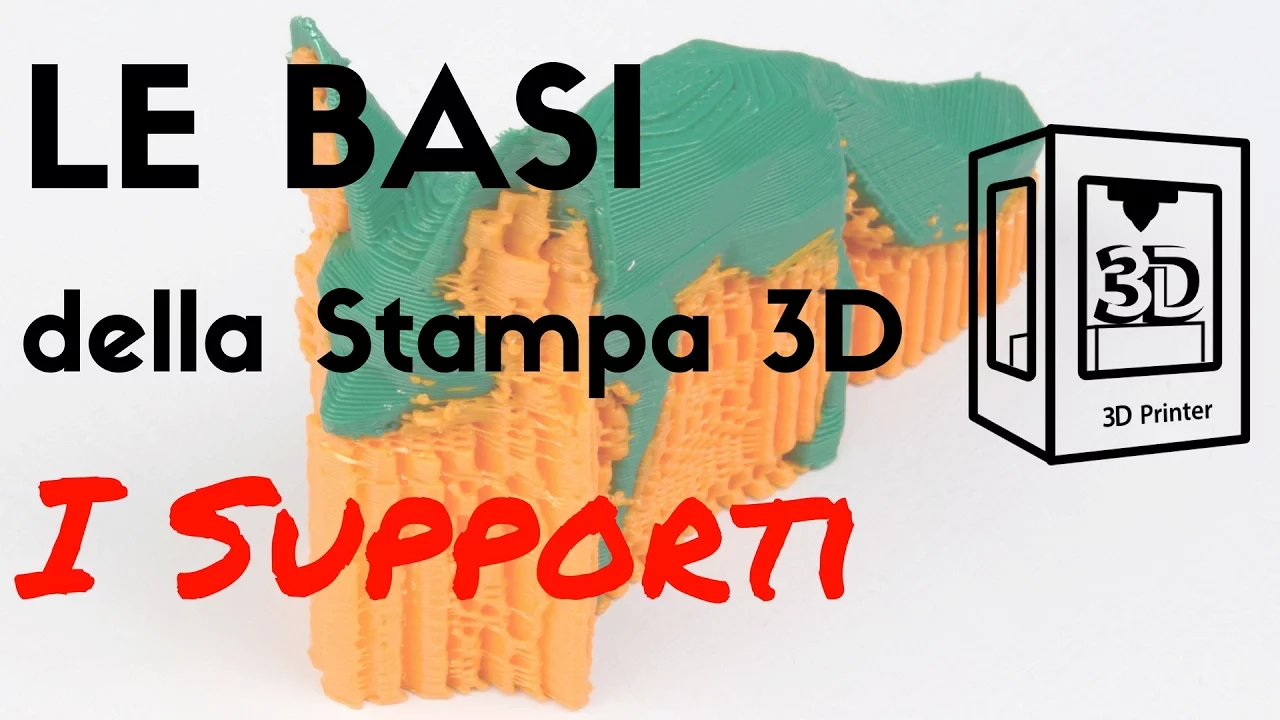
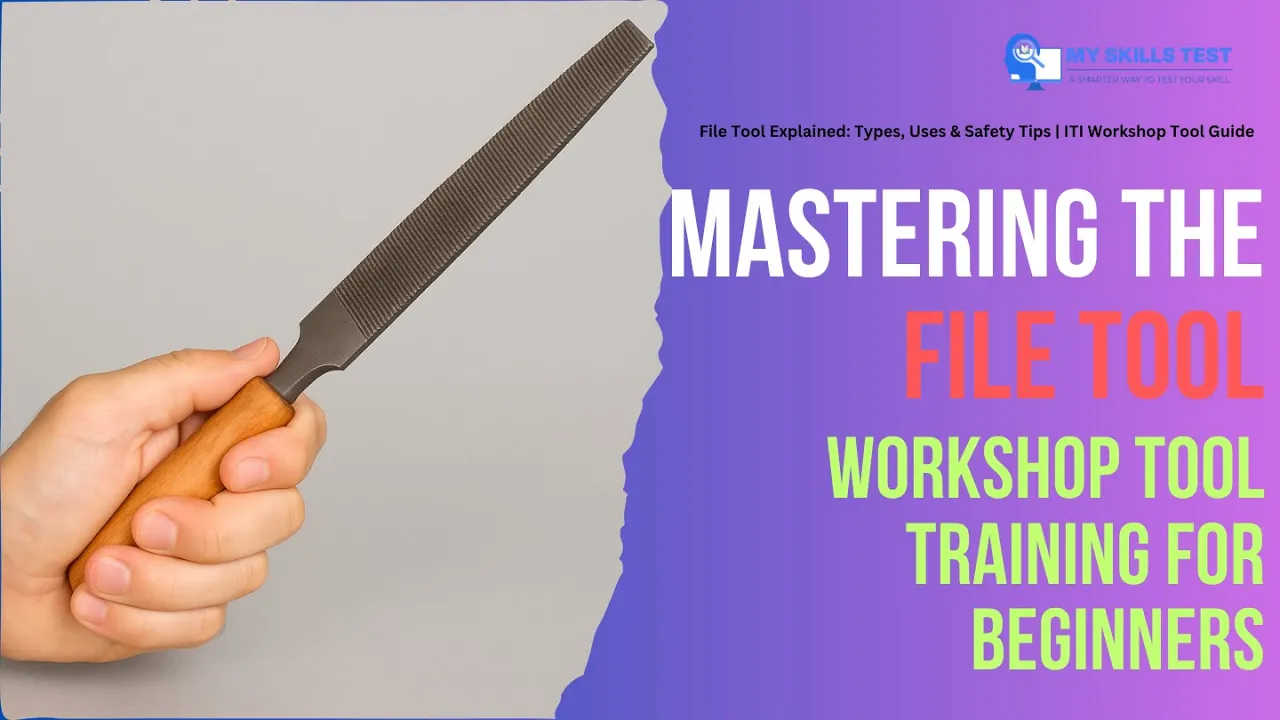
so after printing all of the parts they're going toh print some of them are going to print with support material like the palm and you can see the support material inside of the uh the slots for the fingers and also some support material underneath the thumb out and even in some of these holes here um the the forearm bars also you can see the support material and then on the fingers there's a little flap of material that that prints out here so all this material needs to be removed and and then filed to make it smooth so that all the parts will will move nicely starting with the fingers this can just be grabbed and snapped off by hand and then the edge that it leaves behind can be filed and smoothed down with the jeweler's file so that can be repeated for all of these fingers uh so next we have the uh the the angled portion of this uh this forearm bar some of it can be removed with the fingernails or a coarse file this is a this is a rasp has a lot of different surfaces but um I would use the most fine one of these to start by removing a lot of material another another option for removing this material quickly is to use a pocket knife and to kind of get underneath the layers of the support material and remove it as you can see this is actually one of the fastest methods so you chip away the bulk of the material and then after you have most of most of it off you can go back through with the file and clean it up until it's smooth for getting into these slots a pair of needl noose pliers is very helpful for that you can just sort of grab and twist and remove chunks of material that way and then again you can go back through with another tool to clean it up further and to get it all out of all the little crevices for these holes the same thing you can reach in with the tip of the needle nose suppers and remove that material and you can either use a round file or you can go in with this and give it a Twist and make sure that you get all the bits and pieces there's some places here where you can see there's a bit of support material on the side and that can just be sanded down so basically you want to go through and remove all of that material before proceeding to the next step and some of these areas here too you'll just have to get in with a combination of pliers and pocket knife and uh file to to get the material out of there after removing all of the support material the next thing that you'll want to do is to to go through and file uh and send any areas where the parts are going to be fitting together and moving to ensure that all everything moves smoothly so for instance if you insert the uh the proximal fangry here or the the first section of the finger into the knuckle block so you'll notice in this instance you know as it comes right off the printer there's some stiffness and friction there just like with um inserting it into the second section of the finger you'll feel some friction and stiffness and another location that that will need it is uh the the wrist hinges you'll notice the way it prints there's some uh there's some ridges so that'll need to be sanded to facilitate that motion so if we start with just one of the fingers here and this can be done with the Jeweler file you want to just take and sand the surface Okay so we've sanded the surface a bit on on this end where it's going to fit into a finger so let's uh select a finger now we're going to sand the the same surface that's the surface that it's going to come into contact with you test fit them together again and you'll feel difference there makes it a lot smoother um something that's also helpful is to just you know you can just kind of blow with a little air to get all the dust off another area that um that helps to sand is this surface here the rounded part of the finger uh which can sometimes hit and make contact with this this area of of the the first finger segment you'll hear that that kind of grinding noise there so sanding this surface will also help with smooth motion it's done by just lifting it up working on the printed layers and when you sand you'll notice that you get some material at the edge of sorry when you file you'll notice that you get some material at the edge of where you filing you can just take your uh fingernail or your pocket knife blade if you like and scrape that material that forms off of that edge same thing here so when you fit these parts together and try it again you get a smoother action so then you just repeat the those steps for all the other fingers and you'll want to do it to the other side of the of the first finger segment the side that fits into the knuckle block for the knuckle block you're going to sand and you know again anywhere where the parts are going to be moving together so inside these slots like this from One Direction then flipping over doing the same thing from the other direction and then you know test fitting the parts until you feel that you have a nice fluid motion so on the wrist hinges this is one that I already did a little earlier since you have some layers that need to be taken down um and it's a larger surface area this is where this tool comes in handy to get a lot of the work done really quickly and after you've done the majority of the work you can go through with a fine with a more fine file and continue to work it down and as you go you just kind of check and feel how it moves against the other surface next we're going to look at assembling each of the fingers with their corresponding snap pin so what you want to do is you want to test and and first test fit one of the pins to one of the holes in the uh first finger segment now ideally when you hold the pin and you just kind of flick it with your finger gravity should return it down to normal very smoothly so when I printed out these on my printer for instance this is a hole that I've already modified um this hole here is as it prints and it's very stiff and it doesn't uh doesn't move smoothly so I'll pull it back out of there with the pliers so to to fix that you you find a you go to your set of drill bits and you find one that is just slightly too large to fit through the hole so this is the hole that I've already drilled you'll notice it fits through nicely now but so so you find find a bit size that's just slightly too large and then you'll drill out that hole so that um the p pin then then is very smooth okay so now I have my uh my drill bit in I'm just going to hold this flat and and very tightly of course and it's a very very quick you probably just need to make one quick pass at it and then put the pin in and looks like we still have few little scraps of material in there so we'll just clear those out and after drilling it it makes a very uh makes makes for very smooth motion between the pin and the finger segment okay so you're going to want to go through and repeat that same process for drilling out the holes for each one of your your finger segments um don't drill the holes out on the fingertips though you want those to stay the size that they are because then it facilitates a really tight fit for the uh for the PIN to help it stay in place after you've installed it so now we'll go ahead and install one of the pins into one of the fingers so you line them up take your pin and push it through the first hole um SCP piece of wood is useful or doing this on a table that you don't really care about because then you can turn it over put the pin head against the wood and then push down really firmly until the tip of the pin head comes through the other side and then after you've done this you'll notice that at first this doesn't fall extremely smoothly or well I guess in this case it does but if it doesn't you can kind of apply pressure just a little bit of pressure as though you were going to you know try and snap them in the half in this direction a little bit of pressure and then work it back and forth and you'll hear that that kind of grinding noise a little bit of pressure this way so that's the pla plastic rubbing against itself and that's a way to clear out any other little bits and pieces that are keeping it from moving smoothly so when you're done what you should have is a fingertip that just Falls very naturally and easily via gravity but also doesn't have a lot of uh wiggle back and forth so we'll go through and we'll do this to all the fingertips and then move on to installing it into the knuckle block okay with all of the fingers assembled we can move on to uh attaching them to the Palm one one last area that you might want to do a little filing and sanding on is at the Leading Edge of the knuckle block the rounded portion and just taking a large file and sanding along there for the same reason that we uh sanded this surface of the fingertip because this portion this rounded portion here might uh rub against this portion here depending on the print so you just want to check and make sure that you have a nice smooth movement on all of these and then you'll want to uh set aside the thumb so the thumb is going to be the the thick of all the fingers and then you can set these up in terms of uh their length so we're doing a left-handed um a left-handed Talon this time so the longest of the fingers is going to be the middle finger the next shorter two are the index and ring finger so index and ring finger and then the smallest of them of course is the pinky so that's the order that they're going to go into there so I'll set some of these off to the side okay then you're going to take your two long snap pins and these are going to be the pins for the knuckle block um you may need um a hammer that to use to very lightly tap the pins into place also you'll notice that the top the tip of the pin is slanted and has a hole in it that hole is so that later so that if you need to replace a finger down the line you can screw in um a little eye screw and use that to pull the pin back out so to to start this the slanted portion of the pin tip should be in line with the taper of the Palm so this would be correct that would be incorrect so it's just going to be like that you can go ahead and get it started by Just Just By Hand by pushing it in so that you've got it partway through there you can keep pushing until it's almost sticking out through the hole and into the first slot then we'll take the index finger put it in there and then with our Hammer where you're going to lightly tap to start seing the pin okay so as you can see that pin is through the first finger so we're going to keep tapping this into place until we get you know until it's depth is about uh to where the tip is almost sticking out of this hole okay and then we'll take and put the middle finger in as you can see with this first one before we go ahead and do the middle finger you'll see that uh because of the sanding and everything that we did this finger just Falls with gravity it's very has a very smooth motion to it so next we'll put in the middle finger the easiest way to do this is just to get it into a position where you can hold it into place with the knuckle block um if needed you could also you could use some painters tape to hold it there while you do this but okay so we're most of the way there so we're just going to keep going and tap it until it's all the way in there we go so we have the pin in place after putting the pin in it might actually um tighten the uh the finger slots so you just kind of like we did when we assembled the uh the fingertip you can grab it grab the frame put a slight bit of pressure on it in terms of bending it you know in in this direction and work the finger back and forth and that'll help with to start loosening back up okay and as you can see after doing that then it moves nice and freely both of these fingers so now what we'll do is we'll flip this over and repeat the process with the other side um you'll notice that this this board isn't thick enough to keep to keep any pressure from hitting um hitting the uh the thumb Mount when you're hammering so you'll either want to put in another board until the the thumb Mount does not contact the surface of the table or you can move the board to the edge of the table and and do it there you just want to make sure that when you're hammering there's no stress being applied to the thumb Mount because you could risk breaking that so I'm just going to go ahead and uh I'll repeat the process with that PIN and these two fingers so now that we've repeated that step we have all four fingers installed and as you'll see they uh they just to open en close via gravity very smoothly so that the individual fingers should all move freely so that there's as little friction as possible the next step is going to be to install the thumb and for that we're going to use a Chicago screw since the thumb doesn't have the advantage of being surrounded by the the knuckle block uh we're going to actually use some metal hardware in there to make sure that it uh facilitates a very strong and secure connection okay so now we're going to now we're going to attach the thumb using a Chicago screw these are also um depending on the hardware store that you go to uh like my local hardware calls this end of it a a rivet nut but this is also referred to as a Chicago screw so this will act as the axle for the thumb and we'll go through the thumb Mount here so depending on where you go for your Hardware um I wasn't able to find one that was quite small enough for the hole so that being the case um you know you'll want to go ahead and and go from from the from your drill bits find one that's matched to the diameter of the shaft and then kind of like we did for the first finger segments you can modify the thumb Mount hole to be large enough to accommodate the uh the Chicago screw so after drilling the holes out a little bit larger you'll want to go back through with your file or and uh Andor your pocket knife remove any of the Little excess bits of plastic there we go okay so this will go through one end like that not the other end like so we'll slide the th Thumb in make sure that that everything's moving smoothly and we'll go ahead and seat that then you can just make sure that it's moving fluidly then on the other end we'll put a washer and then the screw and for this you don't want to actually tighten this down really really hard because what that'll do is it'll squeeze the thumb Mount together and then lead to the thumb not moving uh smoothly anymore instead after you've made sure that that this is to your liking and moving smoothly you want to use a little bit of Loctite on the threads to hold it in place so let's do that real quick here for that you can just unthread this most of the way and then just apply a little bit of the Loctite right there on the threads okay so we have some Loctite on there and then just rethread it and then just tighten it down just until it's snug actually that was a little bit too far so you just want it to be tight enough that it's holding everything together but not so tight that it that it impedes this from moving also I forgot to mention if if you want the option to be able to take this back apart later for maintenance or something uh get the removable lock tight as opposed to permanent okay so next step prior to uh doing the the cabling and bungees for the fingers we're going to attach the the cable guide to the back of the hand um this is going to be using little stainless steel Phillips head uh screws now for for finding the the correct size hardware for for all of this because because these files are going to be scaled to to fit a specific person um if you're just doing a you know a oneoff if if you're building this for for one individual um but what I would recommend is is taking you know print out the parts take them with with you to the hardware store so that you can size them appropriately for instance for this screw we're going to want one as you can see like you can hold it up the side and see that it's enough to go all the way through the cable guide and then bite into the the the the plastic of the Palm but see there's another hole on the other side here which is going to be for our leather uh Palm plate later and you want to be able to to uh screw into that from the other direction so that's why this one just goes partway into that hole to leave room for a screw to come from the other direction so for this and also uh as far as the thickness of the screw you want something that's going to be thick enough that the threads are going to bite into the wall of the the hole so what we'll start by doing is putting in four screws and threading them until they're just sticking out slightly so let's turn this a couple more times here okay so now we have the tip of the screw screw sticking out and that will make it easy for us to align this so I'm going to go ahead and do that three more times all right so I have the four screws started with just the tip sticking out and that way they'll just kind of lay into exactly where they need to go go then the idea is to just finish off screwing them in so that's installed there and you can see it's in place firmly now we're going to move on to adding elastic to the fingers to keep to to keep them in their open position uh for this I'm actually going to construct a tool um so I'm going to show doing this uh for for the cables that I'm going to do later I'm using uh this Power Pro microfilament braided uh fishing line it's used for uh for fly fishing um non-stretch this is 80 lb test line it can be found at a lot of um sporting good stores and it's a very uh it's an abrasion resistant uh very strong material so in addition to using this for the cables to close the Fingers um you can also use it to make a tool that makes threading the elastic a lot easier because some of these uh some of these holes for the elastics can be hard to to guide the the the elastic through so I'll take a length of it oh about twice as long as my palm let's say so about Loop up about that long and cut cut it off there um this can be pretty difficult to cut unless you have really sharp scissors so um you know I I often just use a knife or or in this case a little razor blade after cutting the length match up the two ends and fold it here I'm going to do this over the wood so that it can be a little easier to see fold it in half and then crease it at the end what this does is it it makes a little Loop but this line is stiff enough that you can pass it through a hole um in order to then pull back through the uh pull the elastic back through that hole so I'm going to show that to you now for the length of the elastics you want it to be long enough to have a knot in the end so that it doesn't pull through and then ex extra on this end to be able to tie it off so I'm going to make a length about that long just to be safe so we'll start by making two of these lengths for the first two fingers cuz we're going to tie the the slack of these off together on the underside of the hand okay so now we're going to do a double knot in the ends of these like so okay I'm going to cut our extra off so that it doesn't get in the way later okay so this is where this tool comes in handy let's start with our index finger we're going to come through into the slot here just push through until the loop comes out through the other end so you can see the loop here and you can open that up take one of your lengths of elastic and you know about about that far you know about as long as the fingertip put that amount of length through pull back on the loop until it starts to pull it through the hole wrap this around your finger and then give it a nice firm pull and that'll pull it through that first hole then you can take and tighten this down and kind of guide it into the hole there give it a tug and now it's seated inside the hole the uh the second the second uh pathway through through the uh the first F you the the the uh the first finger segment that's much easier to pass the elastic through so I found that this tool isn't really necessary for it and so you just keep that keep the finger straight push it through and it'll come out of the hole on the back here and you take up the slack so you'll notice now that if I just hold this down with my finger that it it very smoothly returns up so next we're going to repeat this same process with this finger now to uh finish this part of the process off you can take your two lengths of el last cord and tie it off here and this is where there's kind of there there's two options really you can either tie it off right here if you're wanting to keep um the elastics out of the way as much as possible or you can buy a little um ey screw and screw it into the frame somewhere you know like here or even into this block here and then tie it back to there um uh Peter and paragen uh the Father and Son team that that developed um the the the the changes to the basic design um that resulted in the Talon uh have found that moving moving the cable anchoring point back here seems to to create make the uh opening opening motion of the finger smoother so it's kind of a personal preference thing as to whether you tie it here or anchor it somewhere else this is the more simple method so that's what I'm just going to demonstrate here and as far as the amount of tension you want to kind of take up the slack until the fingers return to uh their neutral position on their own so once you have the right amount of tension on the line you finish off your Knot Just a basic uh Square KN is fine okay so you see that now these can move down and return to neutral and then let's put let's put one more hitch in the knot okay and we can cut off the excess and repeat these steps for the next two fingers and then I'll I'll show you uh doing the same with the thumb the thumb will be a little different cuz it has its own anchoring Point uh right here for the elastic as opposed to tying off to another piece so as I was doing the pinky on this one the uh the channel the the the pathway for the for the elastic on this on this finger is a little tighter so I just thought I'd show a way to um to get past that if you run into it um so something to solve that problem is to use a pair of pliers to better grip the the the tool that we made out of fishing line so so you have it already started you grip it with the teeth of your pliers grip really firmly so it won't slip and that'll give you a better grip to pull it through on the thumb the only difference is going to be that the cable as you can see sorry the the the elastic as you can see goes through a hole on the side here and before you tie it off you want to get it the tension adjusted so that the thumb returns to its neutral position very easily this is where using something like a Jeweler's file is helpful so you can get underneath and then guide the uh elastic back up like so and then guide it through so let's get this back open so we can guide it through there on this one I probably cut the elastic a little short which is making it hard to tie the knot but so we can tighten so right now it's a little too loose so you can grab one end of the loop here and tighten it up and you just keep doing that until you reach the point where it returns to its neutral position on its own once you have that you kind of cinch it down pass it through again like so and put the second hitch in to tie off the knot okay so now so actually that'll need a little bit more tightening there we go okay so there we have and I I like to tie it so that the knot is over on this side and then what we'll do later is we'll little use a little bit of glue to secure that there that just gives it a little bit more length so that it makes for a a smoother return pull so now we have all of our elastics in before moving on to stringing the fingers now that we have the the tension adjusted on the on the elastics I'm going to just use a little bit of super glue and apply a bead of super glue to the uh to the kn knots of the elastics and what this will do is this will just help to really um to to secure these knots and prevent them from coming loose or untying we'll also do this to the thumb here and then we can just let that dry now we're going to run the control caes for the fingers uh for that I'm going to use what I showed earlier which is this Power Pro uh microfilament braided fishing line um at an it's a 80 lb line and then also I'm going to use some of the scrap elastic for this process um the reason for for using the scrap elastic is that we're going to cut it into little pieces and then um and then tie the the the end of the fishing line that's going to be in the tip of the finger we're going to tie that around the little piece the reason being that just uh just tying this into a knot makes a knot that's small enough that it'll it'll actually pull through that hole tying it around a little bit of material gives uh extra thickness to the knot to prevent that from happening so I'm going to use uh my razor blade because I like to work with that um you could you know use a pair of sharp scissors for this as well and I'm just going to go through and create five little chunks of the elastic material and it doesn't have to be the the elastic either you could um you could use oh scraps of leather or just any any other little little bit of material that you can then tie the the fishing line around for the length on the on the cables you'll just want to leave yourself a lot of excess on the other side of slack so that later on um when it's time to tie it to the tensioner you'll have a lot of material to work with so I'm probably going to go ahead and extend it out about that far so after I've figured out my length an easy way to just measure this out real quick is to go to the end of that length Fold It measure out the next length of it and repeat that until you have five lengths stacked on top of each other so now that gives me five lengths of fishing line all right so let's flip this over here I'm going to start by grabbing one of these pieces of elastic go ahead and start my KN my knot and I'm just not going to tighten it all the way I'm going to leave a little Loop there that's just a little bit larger than my elastic that way I can slide the elastic into there and then tighten it down so we'll do that here okay then I can tighten that down and then put another hitch in it to complete the knot okay and I I like to put a third hitch in just just in case all right there we go and then after doing that put this down on the board and I'm just going to trim off the excess bit of fishing line there okay so now I'm going to take and start with the index finger here it's going to go through the hole in the tip of the index finger and you'll see I don't know if it can be seen on the camera really easily but you know if you get the if you get a nice straight shot it should go all the way through here we got it bowing up a little bit so went all the way through or what you can do if you like is you can get it through the first part reach in there with with a a knife blade or in this case I'm using a Dr Jeweler's file and just go ahead and pull it all the way through the fingertip so you notice that this will pull in and there we go and keeps it from pulling further then we can go through the second finger segment and again lift that up okay and then next we're going to uh oh excuse pardon my cell phone making a noise there um next we're going to go through a whole a cable channel that's inside the knuckle Block it's one that comes out you can kind of see it right there it's these holes so you find that hole and guide your guide your fishing line through the hole there come out the other side and go ahead and pull it tight okay so now you see if I pull this cable it activates the finger and then you'll want to put it through its course responding hole on the cable guide the first hole here is for the thumb second hole is for the index finger and so on oh I accidentally looped the pinky while I was doing that there we go okay so now it's through the cable guide as well and this will lead back to the later this is going to Anchor to the tensioner and so there we have our index finger attached so now we're going to repeat this this process for all the other digits so now all of the fingers have their cables through them um something that I'm going to do to help uh just help keep the cables nicely locked into the fingertips asz I've just got a uh common crafting hot glue gun and we'll take and go to each fingertip put a little bead of hot glue into the hole that the cable goes into then using something like something a a cold piece of metal like this pocket knife blade I'm going to hold it on there for a few seconds to flatten to flatten the glue you want to hold it for a few seconds until the cool glue cools down enough that it's not going to stick to the uh the blade of the knife and that flattens off the the surface of the hot glue
Up Next
15:00
Biomimetic Bionic Hand: Build & Control Guide
@WillCogley
203.6K views•2024-04-12

12:54
Triumph of Orthodoxy Icon: Byzantine Art & History Explained
@BenCallan
2.1K views•2024-08-06

9:49
FastAPI vs Flask vs Django: Choosing the Right Python Web Framework
@TechWithTim
302.5K views•2024-05-26

1:42
Game of Thrones Opening Credits: A Cinematic Analysis
@gameofthrones
46.3M views•2011-04-18
Related Study Plans & Knowledge Roadmaps
Structured learning paths in General & Interdisciplinary Studies
general-studies
Elevator Engineering: History, Physics & Cities
01From Hoists to Safety Brakes: The Dawn of Vertical Lift
02Hydraulic vs. Traction: The Engineering Physics of Elevators
03Modern Speed, Safety, and Algorithms
+ 2 more learning modules
12h5 modules
Explore Roadmap
general-studies
Rubber: Material Science, History & Geopolitics
01Origins of Natural Rubber & Mesoamerican History
02The Chemistry of Natural Rubber & Vulcanization
03The Geopolitics of the Rubber Boom & Colonization
+ 2 more learning modules
12h5 modules
Explore Roadmap
general-studies
Containerization: Evolution, Logistics & Trade
01Ancient Trade & Bulk Cargo: Amphorae to Barrels
02The Industrial Revolution & Cardboard Packaging
03The Containerization Revolution: Malcom McLean
+ 2 more learning modules
12h5 modules
Explore Roadmap
general-studies
Textile Tech: Evolution, Labor & Global Impact
01Pre-Industrial Textiles: Handloom & Cottage Industry
02Mechanization: The Spinning Jenny to the Power Loom
03The Factory System & Global Labor Transformation
+ 2 more learning modules
10h5 modules
Explore Roadmap