



![LAZO ABIERTO y LAZO CERRADO ✅ [Sistemas de CONTROL] #009](https://i.ytimg.com/vi_webp/CxGFoeJ7SD8/maxresdefault.webp)






![Controlador PID via Integral del Error 💥 [Sintonia]](https://i.ytimg.com/vi_webp/GH0sjyPOztQ/maxresdefault.webp)


![OMRON TRAINING - [2] FIXED ROBOT BASIC - ACE 4.3 SOFTWARE](https://i.ytimg.com/vi/e_8EDsOErn0/hqdefault.jpg)
![⚡ Curso de Electricidad del Automóvil (13): Centralita de Motor [Sensores y Actuadores + Señales]](https://i.ytimg.com/vi_webp/Lb5ckjiu2V0/maxresdefault.webp)








Linear actuators are simple devices that convert electrical energy to linear motion using a DC motor and threaded rod, requiring external components like limit switches and motor controllers for basic operation; they can be controlled via polarity reversal for direction change, DPDT switches for basic on/off control, or motor controllers with PWM signals for speed control, and optionally with potentiometer feedback for position control. Linear servos integrate all these functions into a single unit with a built-in circuit board, motor controller, limit switches, and potentiometer, allowing direct PWM position control without external controllers, though polarity must be maintained correctly. Both types use similar internal mechanisms including metal gears for torque reduction and an Acme threaded rod with a delrin nut for linear motion, but linear servos offer more sophisticated position control capabilities suitable for microcontroller-based projects.
Linear Actuator vs Linear Servo: A Comprehensive Guide
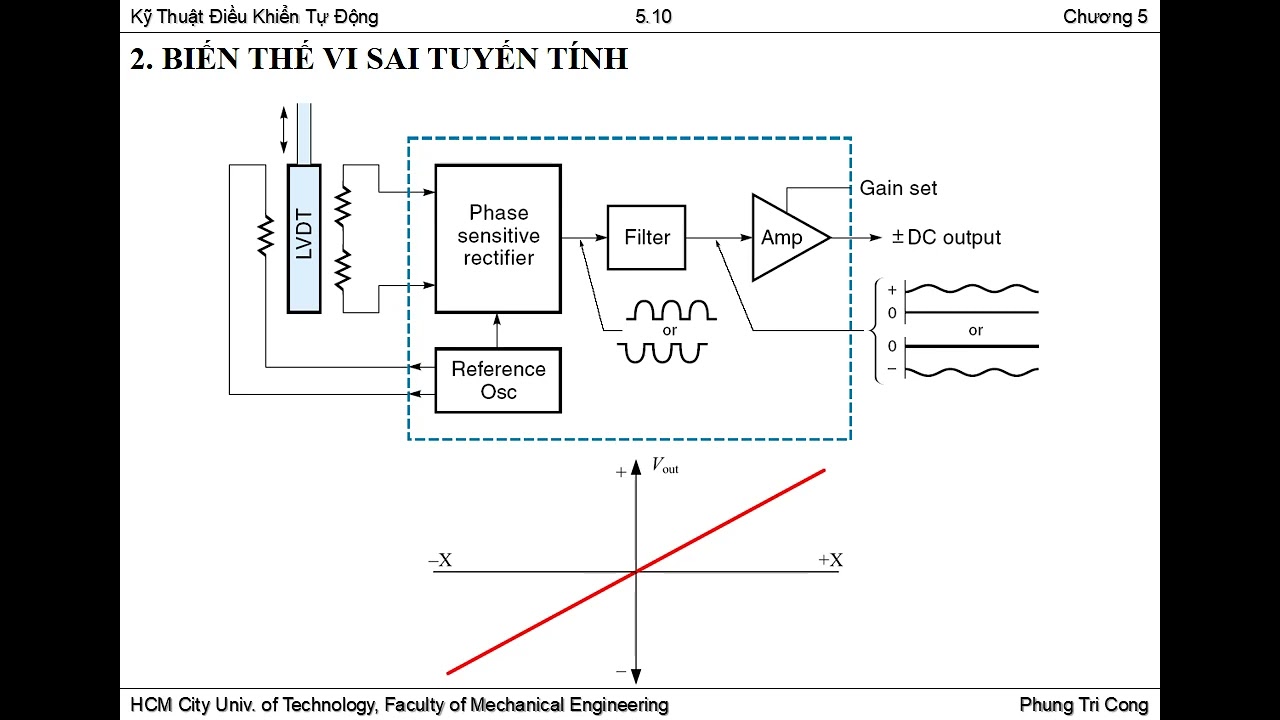
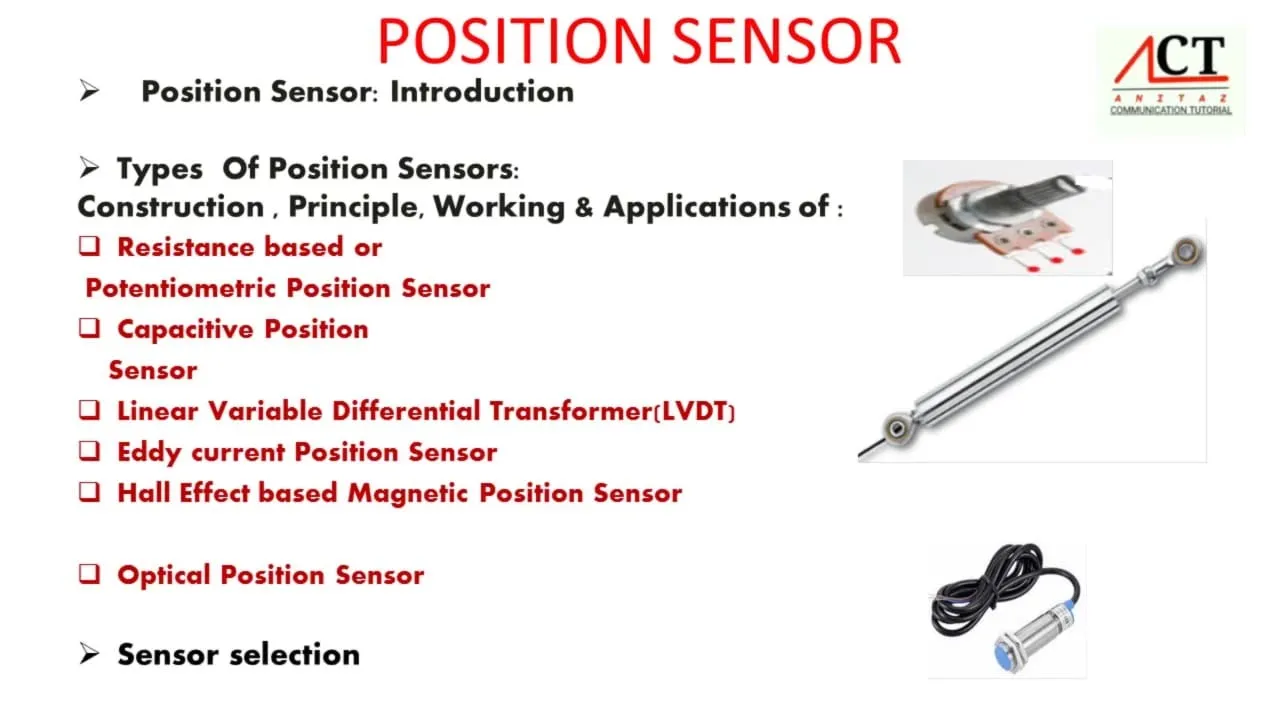
Added:hey guys I'm Kyle and this is Jason today we're going to talk to you about linear actuators and linear servos and different ways to operate them so for starters I brought in a linear actuator we're just going to supply power from a 12vt battery to this and watch it run so you'll notice I've got a huge lawnmower battery here you don't have to use one of those you can use a small lipo pack or a power supply or about anything that's going to supply 12 volts to it so Jason if you want to hold that up uh basically I'm just going to connect power to the motor it's going to run out until it hits a limit switch and then it's going to kill power um once it's hits hit the limit switch it's not pulling any current so it could set there for a long time it's not going to drain your battery when you're ready to run that back in all you got to do is reverse polarity to the motor I'm going to switch it at the battery and it's going to make the motor run in the reverse Direction till it hits the inboard limit switch so that's about the most simple setup that you can get with the linear actuator so let's say you want to run this on an application like a dump bed on a UTV and you want to run that off of a switch that'd be pretty simple to do as well all you need to do is supply power to the switch and wire the actuator in and what you're going to need is a dual pull dual throw switch dpdt and you can get a momentary or non-m momentary version so if for example you wanted to flip F the switch all the way down make it run out and hit the limit switch or flip it all the way up and make it run in without holding that switch in position then a non-m momentary is what you would need um if you want to actually have to hold that switch in place to make it run and whenever you release the switch it pops back to Center then you'd want the momentary version so those are the pretty simple options um I'm going to let Jason talk to you about some of the more complex options to get more functionality out of the linear actuators right so those options work great um if you don't care about speed control um and for a linear actuator application you might not um but there might be a situation where you want to control the speed throughout the stroke um so in that kind of scenario you're going to want to some have some sort of a motor controller um so any motor controller that can drive a 12vt DC brush motor would work great for these linear actuators um in this particular case I've got a 12vt uh linear actuator here connected to a actobotics dual motor controller um and it's worth noting that in this first example we're only using the black and red wires um because those are the wires that are going directly into the motor to run it forward and backwards um and I'm going to have be in RC mode or mode one on this motor controller so that it's going to drive the motor uh based on the signal coming in on the input one um and that's going to be listening for a pwm signal like you'd get from an RC receiver or like you could output from an Arduino or some other microcontroller um so I'm going to go ahead and connect my little lipo here and this is controlling the speed and the direction as I turn it out here and I'm just using the actobotics uh manual dual Sero dual Servo driver to create that pwm signal so essentially this is just a slightly more refined version of that where you're just driving the motor back and forth and the the thing you gain here is you have speed control as you do it next I wanted to show um if you were to take and utilize the other three wires that you have here um you could uh have feedback as to where uh this is and control where you want it to be so to do that I'm first going to add some jumpers here to put this uh dual motor controller into Mode 4 which is position uh control mode and in that mode it's going to be reading uh data from the Pod it's going to be reading an analog input signal essentially and that'll tell the motor controller where the uh linear actuator is within its stroke and then it's also going to be still listening to that pwm signal to to determine where it should be so it'll look at where it is and where it should be and move the linear actuator to adjust all right so the thing to note here when you're connecting the linear your actuator like this is you want to make sure you uh know which wire is which so you want to refer to the documentation in this case the blue wire is the wiper on the pot and it literally is just a potentiometer that's built into this case here that's being driven by the motor so you saw immediately that jumped to a particular position based on where this knob was when I powered up the unit so as I turn this knob it's going to move just until it gets to that POS position so it's going to be proportional um comparing the overall stroke to the overall rotation amount on on the dial here so Jason here's a techie he's talked to you about the motor controller connected to the linear actuator and the different options that it gives you um basically to recap on that you have speed control and position control speed control the knob position is going to determine how fast the actuator moves while position control the knob position is going to determine the position of the shaft on the linear actuator um so not that this is too complex but uh I try to go simple on my projects so I want to talk to you about the linear Servo instead of the linear actuator um you'll notice that the body is basically the same you know it looks almost identical however the wiring is different um this already has a circuit board down inside and it's tied to the motor and it's tied to the limit switches and potentiometer so it kind of does all that work for you so all you need to do is connect this and I'm going to switch my polarity that way I have negative to negative positive to positive that's important on the linear Servo so I'm going to connect the toaya and then I'm going to take the servo lead and plug it into the servo controller it moved all the way out because my knob is all the way to one end so you'll see that this is position control just like the second mode that Jason talked about it kills power at either limit switch on this setup it is going to pull just a little bit of juice when setting on the limit switches because you do have a Servo controller that's getting power from it the other nice thing about this setup is this has a 5vt BC buil bu in to the circuit board so we're plugging in 12 volts here it's breaking that out it's sending 5 volts to the servo controller and so it's powering that as well you only need to maintain one battery one power source with the [Music] setup for you visual Learners out there I'm going to go ahead and dissect one of these linear actuators that way we can see the inner workings of them while he does that I'm going to touch on some of the differences just to summarize between linear actuators and linear servos so linear actuators have probably the simplest setup option all you need at the most minimum um it would be a battery and you can change the direction by changing the polarity of the uh red and black wires while on a linear Servo you don't want to change the polarity of the red and black wires the polarity is important um on a linear Servo if you're going to take um a pwm signal to control the position that's a much simpler setup um but it can be done with a linear actuator and um even though a little bit more complicated uh because you have to use an external motor controller whereas the linear Servo has a built-in motor controller if you're doing a project with a microcontroller this might be a really nice way to go because you can read that um pot value as an analog input into your project and then your program can know where it is within the stroke all right so I'm going to start at the top here and go ahead and take the cover off which is going to expose the shaft that extends out uh this cover has a profile that's going to hold the limit switch rail so you've got an outboard and an inboard limit switch and it's held in place nicely when that's put in and then you've got the aluminum extension tube which is going to expose the Acme Rod it's a uh basically a threaded rod that's um nice and Polished and then it's got a delin um delun nut on it that runs up and down so as this Rod is rotated by the motor that Delon nut is going to move up and down and with this in place uh the little finger off the side of the nut is going to contact the limit switch at either end and just kill power so that's kind of the the end of it um we'll get into the backside here I've already taken the screws out just to save some time in the video you'll notice there is a potentiometer and then there's a series of plastic gears inside of here um now if you look at the specs on the linear actuator you're going to notice that we say Metal Gears um don't get too caught up in these plastic gears that are just for the potentiometer which is your position control um they don't take any torque or anything like that so they're not going to break or wear out they're just driving this potentiometer shaft and I'll go ahead and cut that wire so we can get into the gearbox I'm cutting the red and the black wire that run uh through this part of the gearbox and they actually go down into the um IND limit switches that we had talked about because the motor is then tied to the limit switches all right so once we have these taken out you'll notice all the gears in these are are the gears that actually drive the system so you've got these Metal Gears um that mate to there's actually a plastic pinning gear here on the motor just because it's very highe speed uh the plastic pinion is not going to take much torque at all it just needs to spin very quickly in order to drive these and so each gear in here is going to step that down slow it down increase your linear thrust coming out of the actuator and then you've got your plastic gear on top that is going to drive the potentiometer assembly that we had talked about um so if you break it down and look at it this way it's fairly simple it's just a DC motor uh running a series of gears and then you've got a potentiometer for feedback if you guys want to use it if you're just running on a switch or just running on battery power you don't even need to use those three wires well Jason and I have gone through all kinds of different ways to run linear actuators as well as a look at the linear Servo um if you guys have any questions be sure to email Tech servos city.com if you like the video go ahead and press the like button thank you
Up Next
ArduRover Firmware Flashing and Initial Setup Guide
@under0tech
516 views•2025-12-18

Triumph of Orthodoxy Icon: Byzantine Art & History Explained
@BenCallan
2.1K views•2024-08-06

FastAPI vs Flask vs Django: Choosing the Right Python Web Framework
@TechWithTim
302.5K views•2024-05-26

Game of Thrones Opening Credits: A Cinematic Analysis
@gameofthrones
46.3M views•2011-04-18
Related Study Plans & Knowledge Roadmaps
Structured learning paths in General & Interdisciplinary Studies