






















This tutorial demonstrates the complete process of flashing ArduRover firmware onto a SpeedBee F405 flight controller using Betaflight Configurator, followed by initial configuration in Mission Planner including setting FRAME_CLASS=1 (Rover), FRAME_TYPE=0 (Undefined), MOT_PWM_TYPE=4 (Brushed Bi-Polar 4WD), configuring servo functions for differential drive, calibrating the radio controller, assigning RC5_OPTION=153 for arming/disarming and RC7_OPTION=55 for guided mode, disabling GPS parameters, and configuring serial protocols and WP_SPEED=0.5 m/s for safe operation.
ArduRover Firmware Flashing and Initial Setup Guide
Added:Basic understanding of autopilot hardware architectures (such as Pixhawk or STM32-based flight controllers) and their physical interfaces.
Familiarity with Ground Control Station (GCS) software, specifically Mission Planner or QGroundControl, and how to establish a connection via USB.
Fundamental concepts of RC (Radio Control) systems, including transmitters, receivers, and signal protocols like PWM, PPM, or SBUS.
Basic DC electrical wiring principles, including power distribution, ESC (Electronic Speed Controller) operation, and safe handling of LiPo batteries.
Completing essential hardware calibration procedures, specifically for the accelerometer, compass, and RC transmitter.
PID (Proportional-Integral-Derivative) tuning methodologies to optimize the rover's steering, throttle, and navigation loops for stable ground movement.
Designing autonomous missions using waypoint planning, geofencing, and configuring safety fail-safes (such as Return-to-Launch).
Integrating advanced peripheral sensors and hardware, such as GPS/GNSS modules, telemetry radios, LiDAR for obstacle avoidance, or companion computers running ROS (Robot Operating System).
516 views7likes32:58Original Release: 2025-12-18
[music] As you remember from the previous video, uh our major goal is to build the autonomous ground rover with the Ardu rover firmware on board. Uh to uh implement this we have to update our speedbf 405 flight controller with the ardu rover firmware. And now I am going to show you how to do that.
Okay. So to update our flight controller with the Ardu Rover firmware, uh we have to go to the official firmware Arduilot.org uh web site here and um um find the latest latest firmware.
And uh here we have to find our speedb speedb speedb f 405 here where we have mini. [sighs] It's another one.
[laughter] Mic.
Uhhuh. Here. Okay. So, we have it in here. PDBF 4 version 3. Our flight controller is PDB F4 version 3 here. And uh everything we need it's this hex ard rover with BL hex file.
We have to download it.
It's already downloaded.
Okay. Now we have to go.
We have it in here. Ardorov with bale hex 2 3 m.
Yeah. We go to beta flight configurator.
here. Uh then we press the button on our speedbf 405 and in the same time put the USB device into into the port. And here we have the Fu STM 32 bootloader.
So go to update firmware.
Update firmware.
and uh choose a board speedb speedb F4 F405 version three doesn't matter no reboot sequence full chip rise load firmware on uh load firmware local go to them lots with BL hick here. So it has 834536 bytes less than 1 mabyte and uh flash firmware. We have to click in here to flash our firmware errorizing fleshing.
So it is flashing now with an actual Ardur rover firmware.
Just have to wait for a one minute or a little bit more.
Very fine software which was flashed and we have the success in here. So it's okay.
Now we can reload.
Yeah. in Betaflight. Now we cannot connect because the firmware which was flashed to the um flight controller is the different and it uh can communicate with the software with a different protocol M link uh either than the MSP protocol in better flight for configuration. So we have to close this software. We have to go to mission plure and uh in here.
No, we don't want to update.
And then here we have it's it in here. Ardu Pilots PDB Ardup Pilots PDB Connect.
Connect. Disconnect.
Connect. Disconnect.
Ard pilots PDB.
USB are the pilot PDB.
Uh, honestly, I don't know why it's it has a problem here.
Uhhuh.
Feels safe. And if I will move the rover now it um has a reaction in our in our mission ploner.
Mhm. Okay. So looks like we did everything right.
We really did it right.
Okay, as we have our Ardu rover firmware flashed on the ground rover. So now we have this uh software and it's time for initial setup. Um in the book AIdriven Opus of Pedron development uh we have the comprehensive instructions not only how to assemble this rover but also how to flash here the Ardor rover firmware. This step we already done. And uh the the next one is the Ardor Rover configuration configuration. And here we have everything we need for initial Ardu setup.
So I'm going to I am going to configure it now.
To configure our ground ruer, I am going to use this electronic version of the FPV book.
And uh here I have ardover configuration uh section and uh everything I need for the right configuration. It's this config config section full parameter list. So let's go to the book and we'll copy each parameter. Uh frame class is is the first one. So we put cursor in here and frame class.
Okay. By default, it's the one and uh um because it's the rower and uh we need it's one. Yeah. Frame type uh should be equal to zero undefined frame type. Okay.
Frame type must be zero. It's zero now. Yeah, looks like it's already configured. Mod PVM type is responsible for the type of the rower as we have uh we have four VD motors we have to use um in this parameter for brushed B polar rower.
So let's set up it into the brushed brushed B polar rower which is four. Mode PVM type should be equal to four. After we change each parameter we have to write params parameter successfully saved. Okay. Rob uh uh reboot is required for some parameter to take effect. Okay.
Okay.
Must be rebooted. So yeah, here we have our USB port disconnected and now connected again. So I will reconnect after move link.
parameters and we can check if our parameters are in mode PVM type is equal to four. Yeah, looks good.
Okay, the next one. Ser one function 73 TR throttle left. Uh for this I prefer to go to the uh setup and mandatory hardware.
And uh here we have server output.
Server output. And for the first one, server one, I will use throttle left. For the second one, I will use the throttle left again according sero one function 73 trot left. Throttle left enable reverse. So it must be reversed here.
Uh for the third one it will be throttal right and for the fourth it will be throttle right reverse. As far as I remember server three server 4 74 74 total right enable reverse.
Yeah, looks looks good.
Looks good.
Actually, we can check it in the full parameter list now. So, uh sero function ser function ser function ser function.
Uhhuh. Let's check it in here. Ser ah sero one sero one function is 73 and ser one reversed is um zero which is not reversed. Servo second second is 73 again through to left and sero second reversed is one which means that it it's reversed. The same for 7 uh server 3 uh which is 74 and not reversed and servo 4 which is 74 and reversed. Yeah.
So in this way set let's go to the setup again to set up again. And uh what we have in here server outputs are uh configurate now.
So we can proceed with other parameters and uh another part which is really important here it's radio calibration radio controller and um and RC5 option 153 switch to arm disarm RC5 option let's actually check it with the radio controller. I will power on it. Now power on the radio controller to be able to bind with the rower.
>> Welcome to HTX.
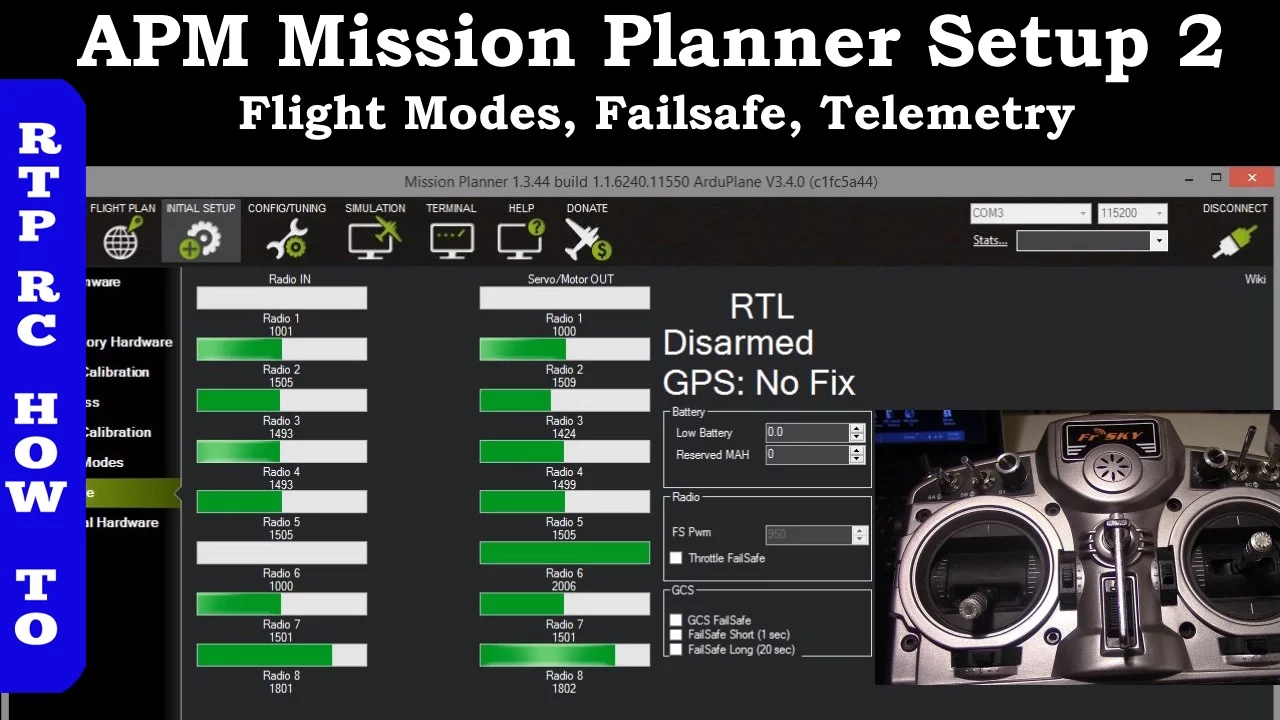
>> Yeah. And uh after uh I powered on the radio controller, I can reconnect it to the Ardu pilot software and the same time it will bind with the radio controller. It must so we have to see in here. Yeah. So now we can see here when I move the throttle up and down we have an appropriate reaction in ardu rover how you can see in here. So radio 5 is the tumbler which I usually use to arm and disarm. So now you can see radio 5 is 999 and when I push it [snorts] it's 2,000 2,000. So we have to uh to have an appropriate configuration.
Uh let me check the role. Role is okay.
uh u is okay, throttle is okay and pitch also is okay. Okay, so we can move again to the full parameter list. Find here RC5 RC5 and assign for the RC5 option.
um RC5 option 153 which will switch to arm and disarm. So arm and disarm arm disarm 153 right parameters here. Yeah. So now when we go to the data we can see that it's disarmed and uh I will uh I will switch the tumbler RC5 to arm uh position now. Yeah. Prearm compass one not healthy. So it it uh it failed to create log arm compass one not healthy. So we can't arm because of different uh reasons but it has an attempt. So now it's disarmed arm again when I push it. Uh compass one uh compass one not healthy. Again we have the message in here. [snorts] So it has um an attempt had an attempt to arm but uh fail failed failed. So at least um RC5 now works uh for arming and disarming.
Yeah.
Okay. Let's continue with our list with our list. Arming check. Uh yeah, aring check temporary disables aring checks.
So uh the the reason why we were not able to uh arm uh is the arming check.
And now we will eliminate this obstacle.
Armen check needs only for development reasons. Armen.
Armen.
Armen. Armen.
Armen.
Armen. Check.
Armen. Check.
Look.
Armen in here.
Okay.
Aring options.
We have in here aring options, but we don't have an aring check.
Probably it's because this is a newer version of the software. Uh and uh in my experimentation, I had the same I think 470 470.
But aring check equal to zero must be equal to zero. Aring options I see in here but I can't find any aring check.
[laughter] Okay.
Let's aring skip checks to skip prior to aring motor.
I don't know.
Probably let's go back to this little bit later.
Yeah. RC7 option 55. Switch to guided mode. Uh, switch to guided mode. RC7 option. Okay, let's go to the RC7 here and find the option and 55 uh 55 which is 5 55 must be guided mode. So to be able to switch the rover um to the guided mode we have to somehow configure it in here. So now go let's go to the to the main uh screen and uh here I can switch into guided mode. As you can see in here it's a guided mode. Now I use the RC7 to toggle to toggle it into guided mode. So it will work in here.
Let's go again to the config.
Um GPS one type equal to two blocks. Uh actually we will not use any GPS any GPS.
So we can uh I think GPS one type we can go to GPS one GPS one and and and set it into none none. So we are not going to use the GPS at all. write parameters here.
Uh the number of available parameters change a full parameter refresh will be done to show all parameters.
Yeah, I agree. GPS type uh equal to none.
Aring aring check I'm surprised because of aring check.
It's not here now.
It's not here now.
Okay. So, let's go to another parameter.
Serial one B rate is 38400.
[snorts] B rate for GPS module. E K3 GPS check disables GPS check. Okay.
Let's go.
Let's go to EK EK3.
EK3 GPS check GPS check should be set to [sighs] should be set to zero.
So I think it will be zero.
Yeah, this is zero. Write parameters in here. Okay.
Okay. Serial for about rate uh for telemetry module. We will set up little bit later. serial for proto link as well.
Actually I we have in the setup uh tab uh here is the serial ports and uh each each parameter u regarding serial ports we can configure in here. So for serial port 4 uh we have to set up 57 57 the about rate and the mink protocol mink second one is which is here so and another parameter vp speed equal to 0.5 limit limits rover speed to 0.5 m/ second in guided mode.
So let's set up this parameter also.
VP VP speed VP speed 0.5 0.5 0.5 Okay. Okay. Right. parameters saved successfully. And I'm still wondering why we can't.
We can't find an aring check. Aring check probably the aring checked moved to some another parameter checks to skip prior to aring motor. This is bit mask.
Bit mask of checks before an aring that will be skipped for most users. It is recommended to leave this uh at the default of zero. No checks skipped. In extreme circumstances circumstances a value of minus one can be used to skip all non mandatory current and future checks.
Aring skip check probably checks to skip prior to aring motor.
This is a bit mask of chairs before allowing armenting that will be skipped.
RC channel GPS log probably barometer compass. We can uh skip uh GPS lock board, battery level, login available, hardware, safety switch, GPS configuration, mission, rangefinder, rangefinder, camera, a visual tree, FFT. I don't know what does it mean.
Okay, probably like this. Armin skip requirement disable until some requirements are met.
Aring require.
Aring require after minimum PVM when aring options set bit mask.
Okay. Anyway, the initial configuration I uh I think is finished. uh not ready to arm. In here we have uh it's because of battery level because GPS GPS satellite count is equal to zero but uh anyway first um uh but powering from the battery battery pack will be a little later in the next video and uh in even in this configuration it must work at least in manual mod. Um, so, so the initial setup for Ardu Rover for our ground rover is completed now. And, uh, this is just the first step. And in the next video, I'm going to proceed with um powering this rover with the actual 14 volts from the battery pack. So, it's going to be it's going to be very uh interesting.
Up Next
10:53
Complete DJI F550 Flamewheel Naza Hexacopter ARF Build Guide
@AerialMediaPros
260.8K views•2012-03-26

12:54
Triumph of Orthodoxy Icon: Byzantine Art & History Explained
@BenCallan
2.1K views•2024-08-06

9:49
FastAPI vs Flask vs Django: Choosing the Right Python Web Framework
@TechWithTim
302.5K views•2024-05-26

1:42
Game of Thrones Opening Credits: A Cinematic Analysis
@gameofthrones
46.3M views•2011-04-18
Related Study Plans & Knowledge Roadmaps
Structured learning paths in General & Interdisciplinary Studies
general-studies
Elevator Engineering: History, Physics & Cities
01From Hoists to Safety Brakes: The Dawn of Vertical Lift
02Hydraulic vs. Traction: The Engineering Physics of Elevators
03Modern Speed, Safety, and Algorithms
+ 2 more learning modules
12h5 modules
Explore Roadmap
general-studies
Rubber: Material Science, History & Geopolitics
01Origins of Natural Rubber & Mesoamerican History
02The Chemistry of Natural Rubber & Vulcanization
03The Geopolitics of the Rubber Boom & Colonization
+ 2 more learning modules
12h5 modules
Explore Roadmap
general-studies
Containerization: Evolution, Logistics & Trade
01Ancient Trade & Bulk Cargo: Amphorae to Barrels
02The Industrial Revolution & Cardboard Packaging
03The Containerization Revolution: Malcom McLean
+ 2 more learning modules
12h5 modules
Explore Roadmap
general-studies
Textile Tech: Evolution, Labor & Global Impact
01Pre-Industrial Textiles: Handloom & Cottage Industry
02Mechanization: The Spinning Jenny to the Power Loom
03The Factory System & Global Labor Transformation
+ 2 more learning modules
10h5 modules
Explore Roadmap