















![MAVLink Anywhere - Control Your Drone Anywhere [2024]](https://i.ytimg.com/vi_webp/_QEWpoy6HSo/maxresdefault.webp)






This video demonstrates the complete assembly process for the DJI F550 NAZA ARF hexacopter, covering motor mounting with M3 screws and Loctite, power distribution board wiring with proper polarity (positive to red, negative to black), ESC soldering with flux for quality connections, LED module installation, receiver and NAZA controller wiring with correct orientation (motors facing front, receiver inputs facing rear), motor direction configuration (odd motors counterclockwise, even motors clockwise), and auxiliary channel setup for flight mode switching and LED control.
Complete DJI F550 Flamewheel Naza Hexacopter ARF Build Guide
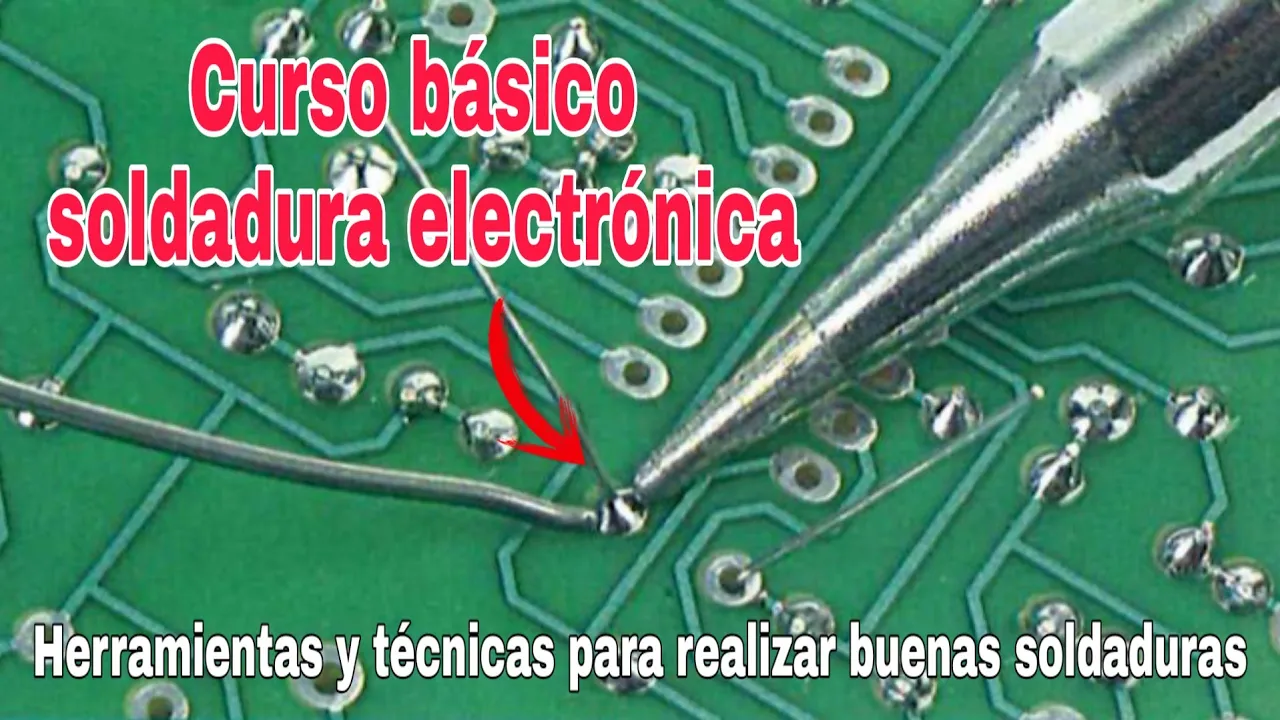
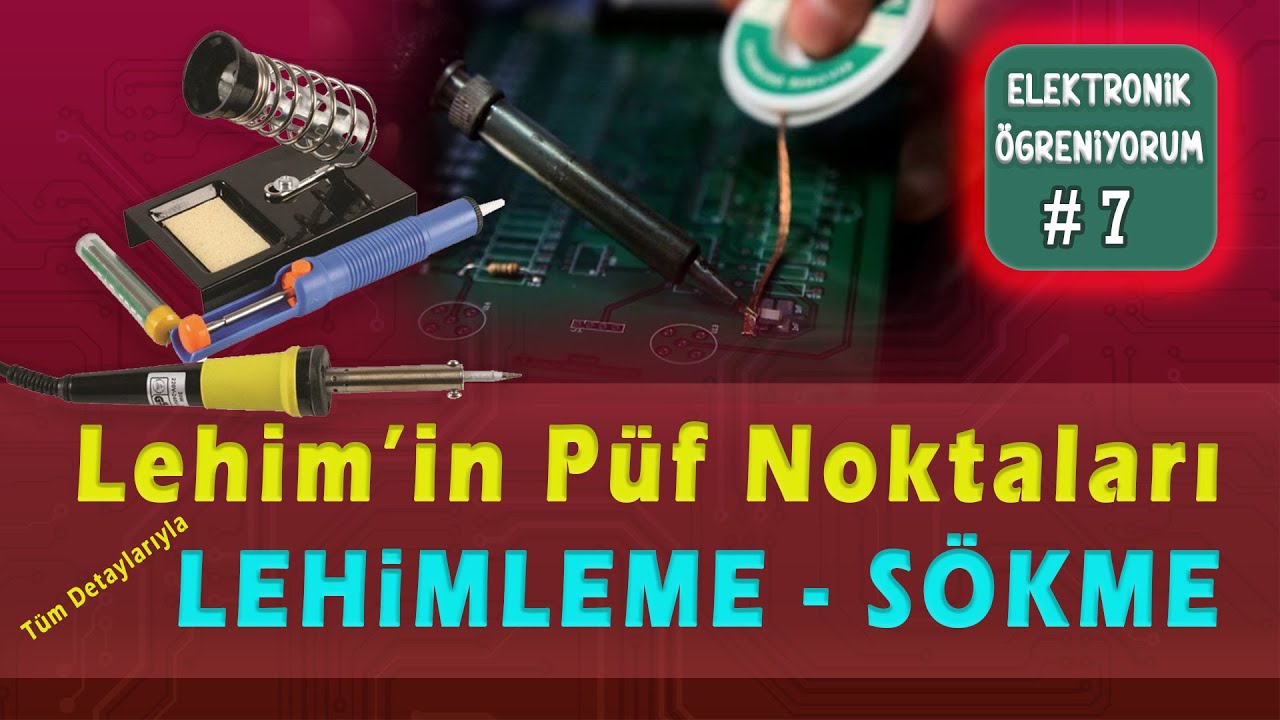
Added:Basic soldering techniques and electrical safety, including understanding polarity, wire gauge, and preventing cold joints.
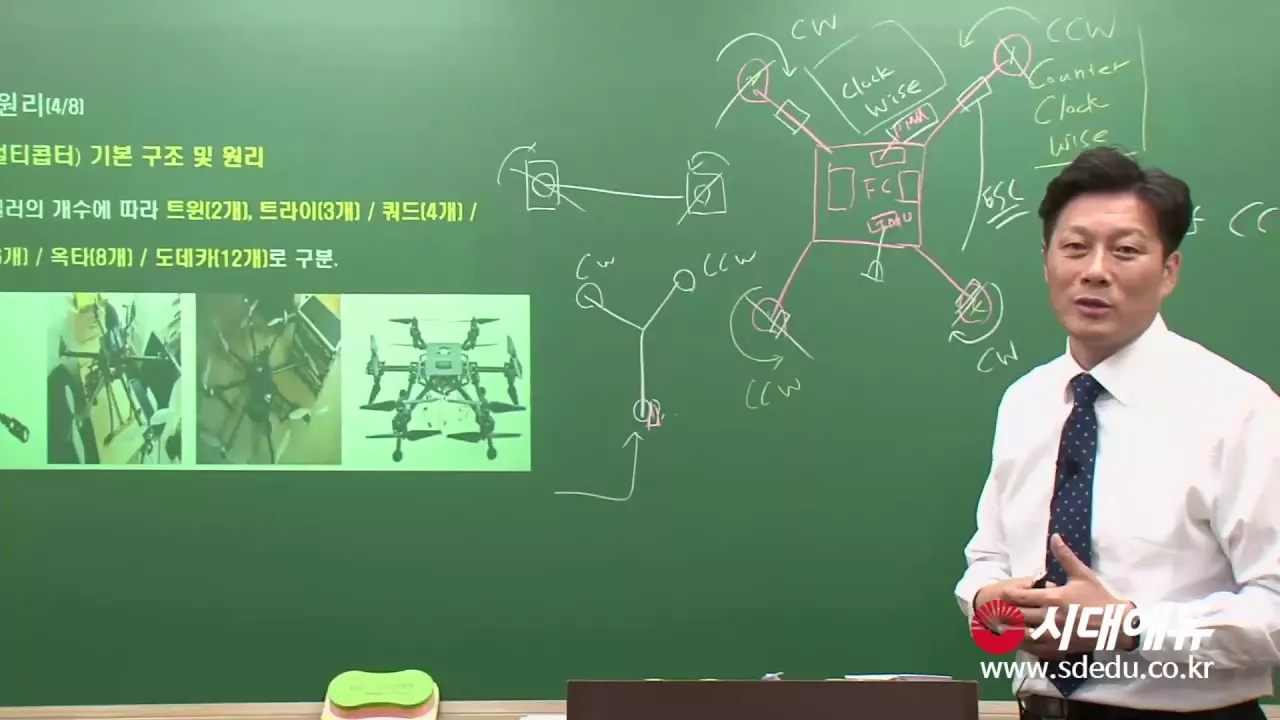
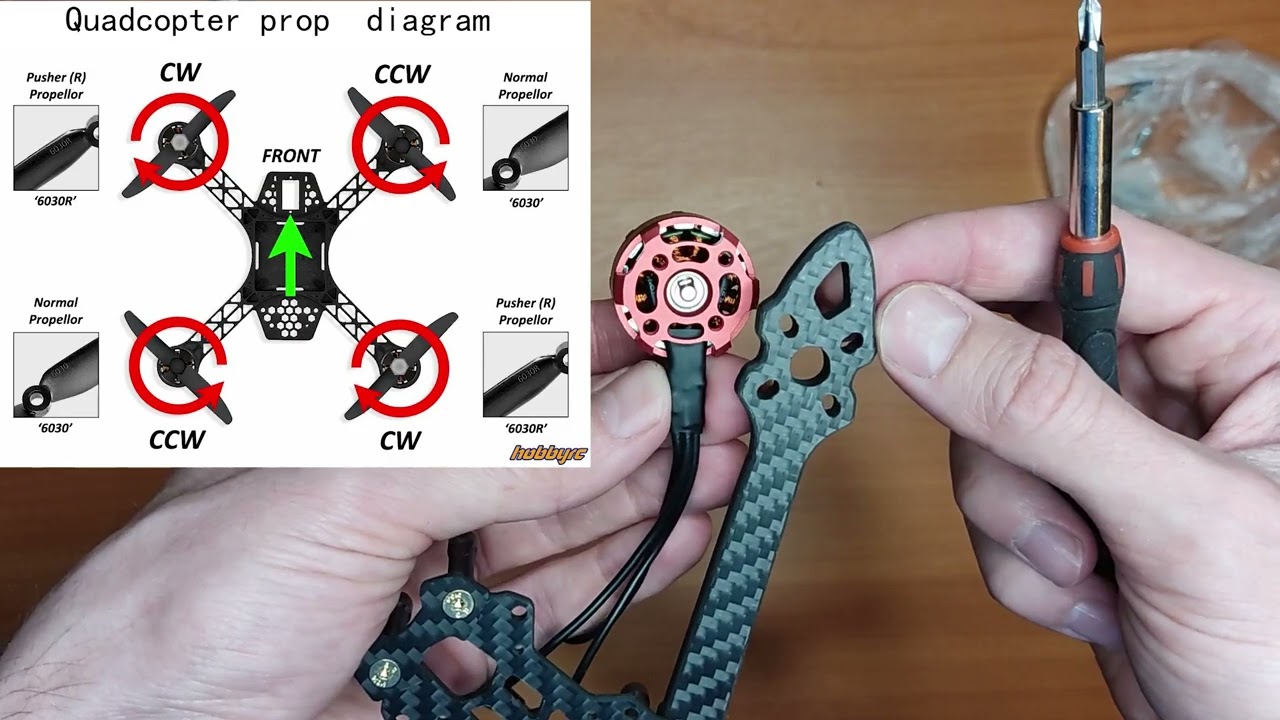
Fundamental concepts of multirotor flight physics, including torque cancellation, pitch, roll, yaw, and the differences between CW (clockwise) and CCW (counter-clockwise) propellers.
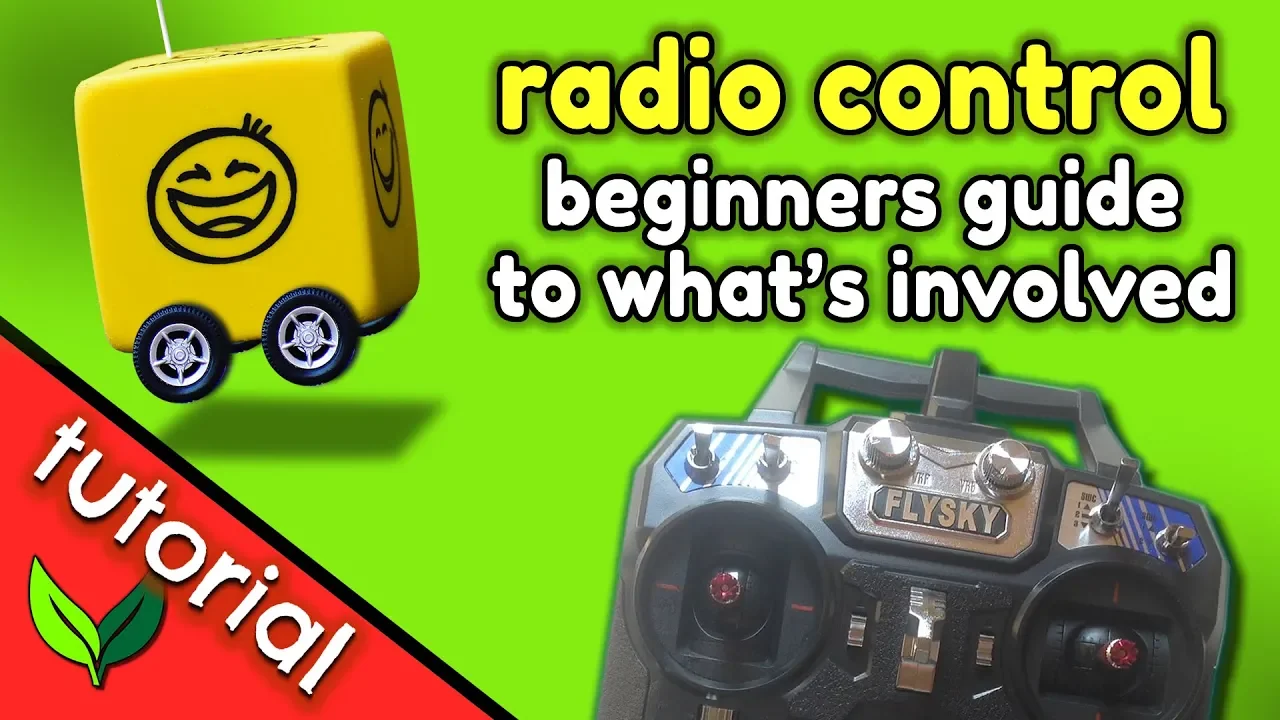
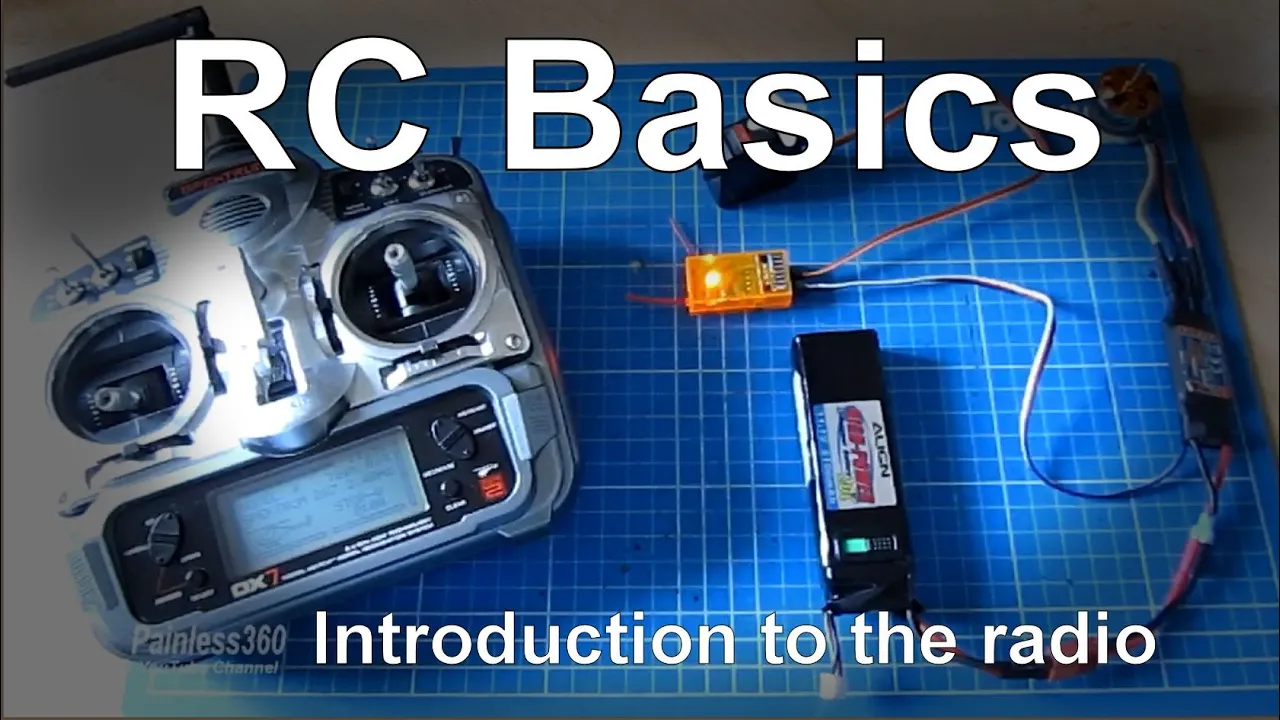
Introduction to RC (Radio Control) systems, including the functions of transmitters, receivers, channels, and basic binding processes.
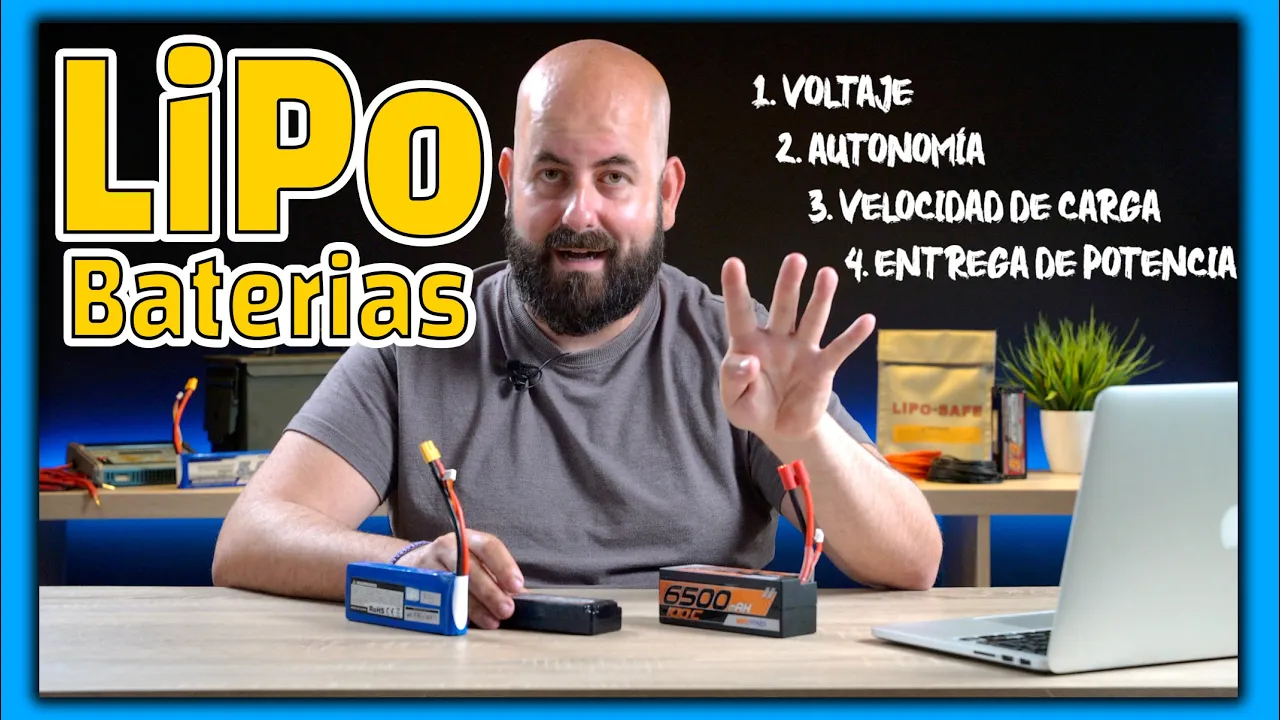
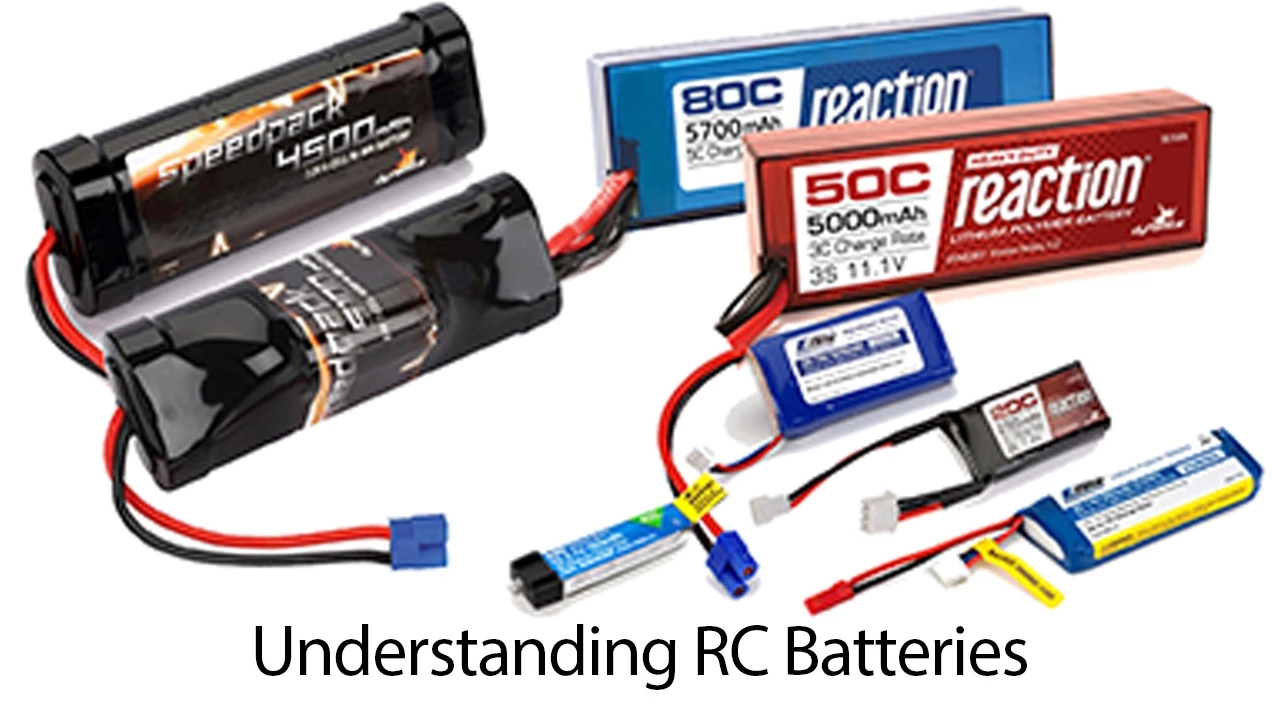
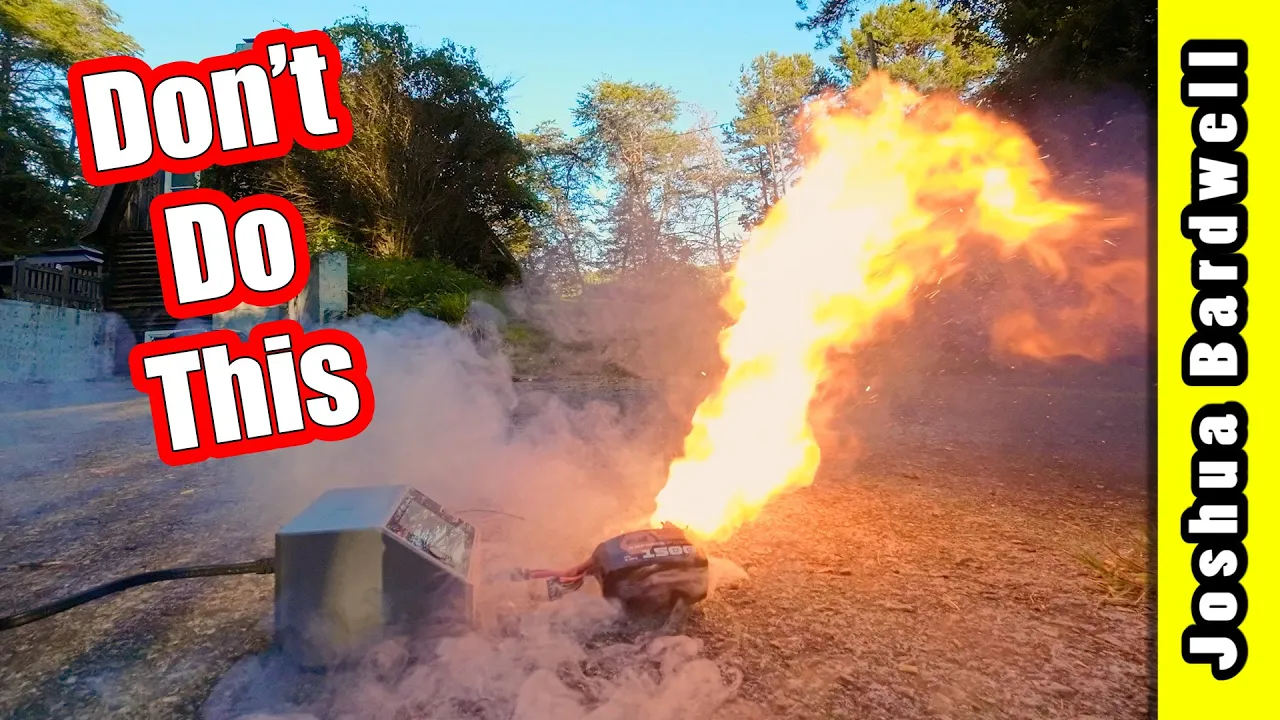
LiPo (Lithium Polymer) battery safety, handling, charging practices, and understanding voltage, capacity, and C-ratings.
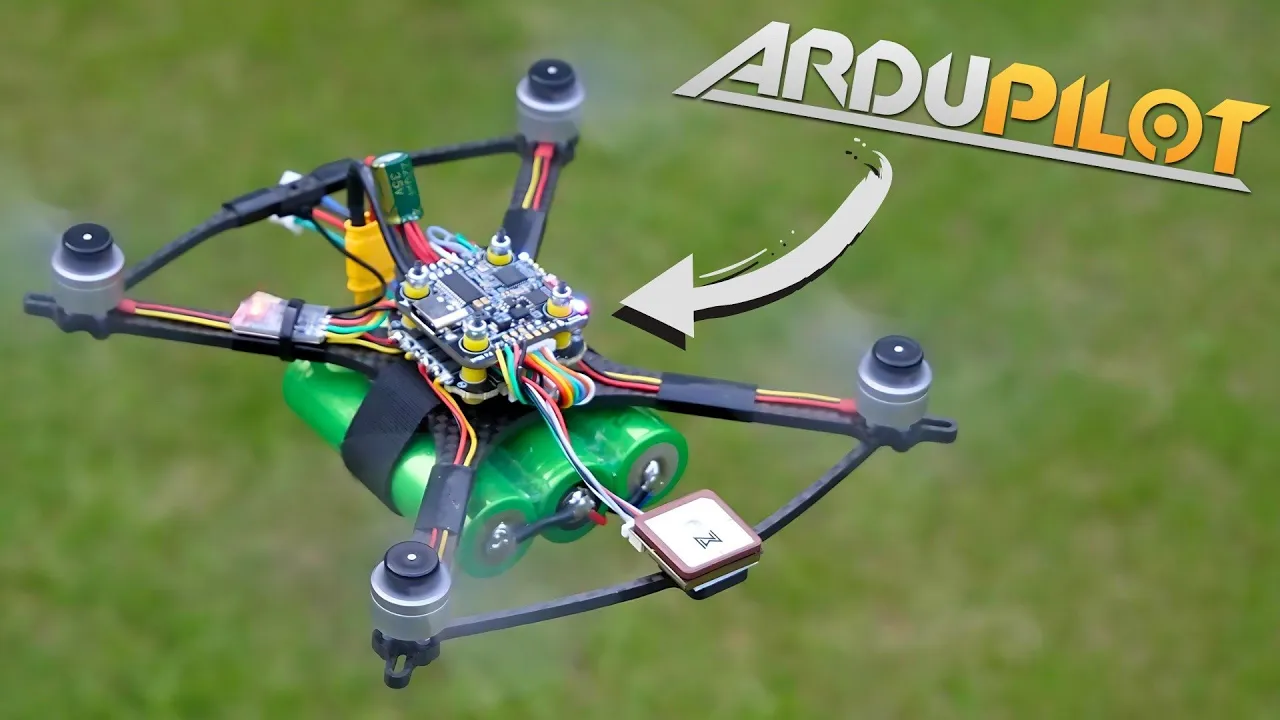
Advanced flight controller configuration, including PID tuning, GPS calibration, fail-safe settings, and return-to-home (RTH) setup.
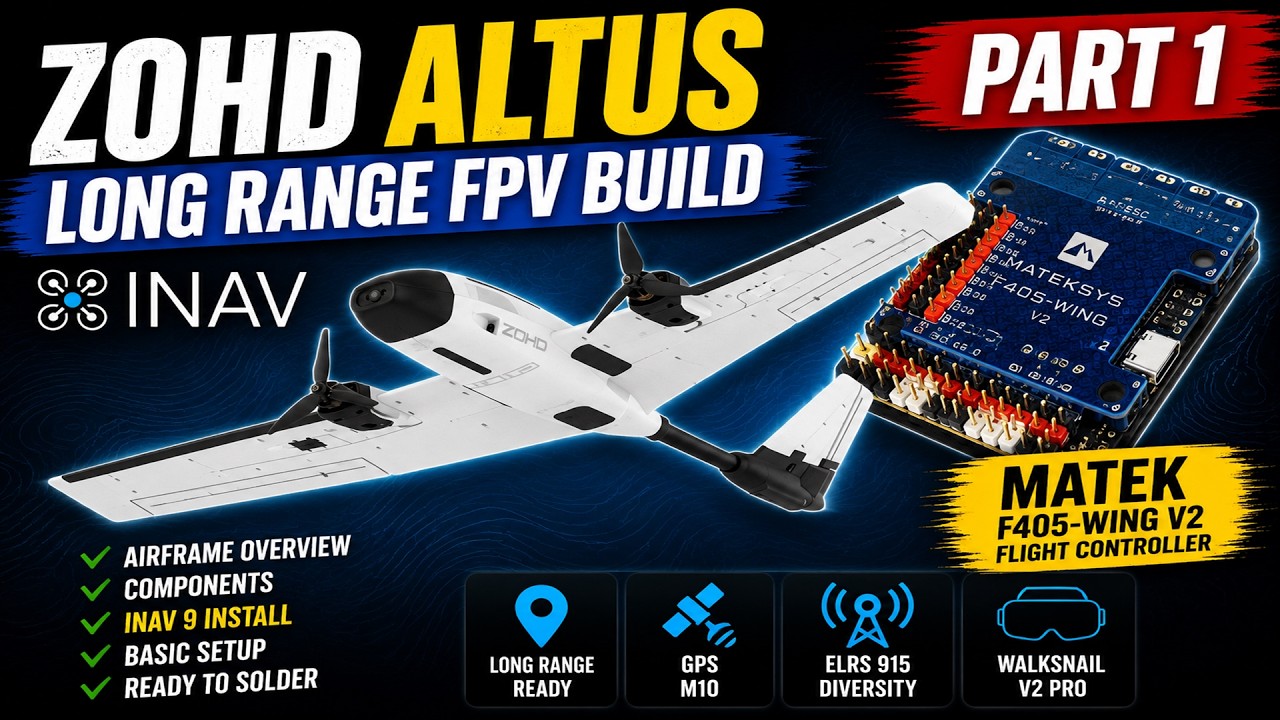
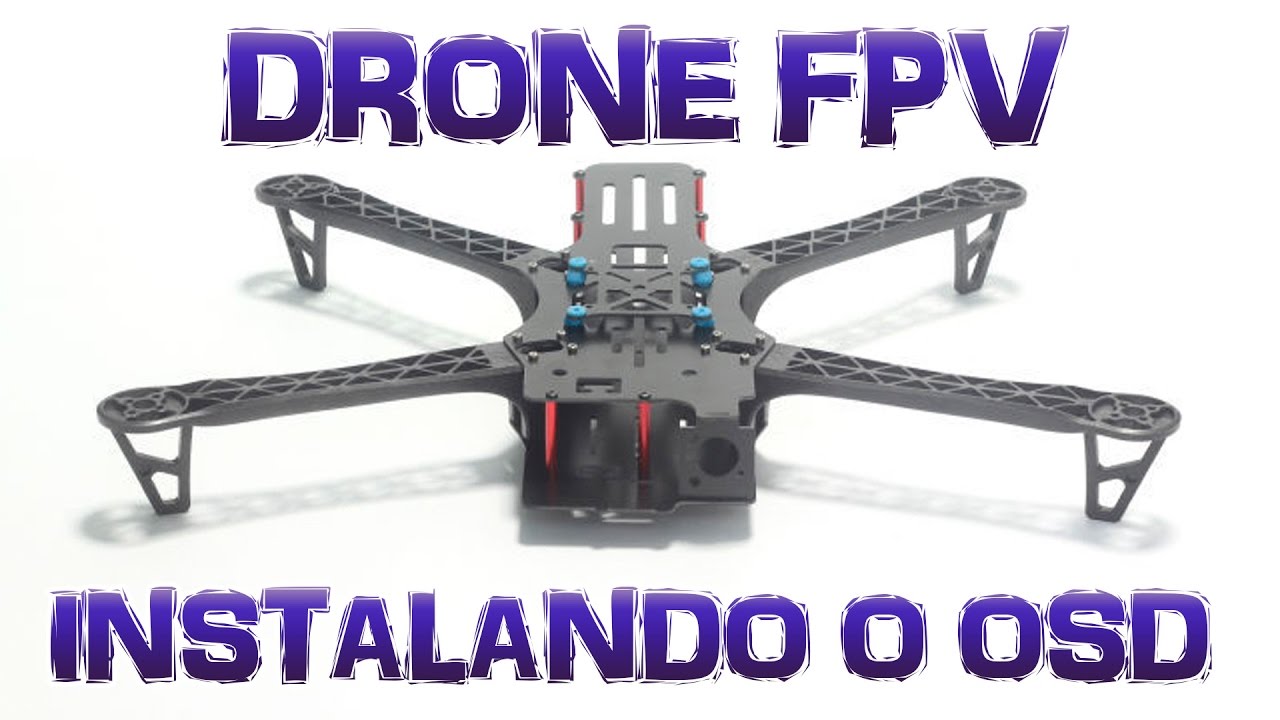
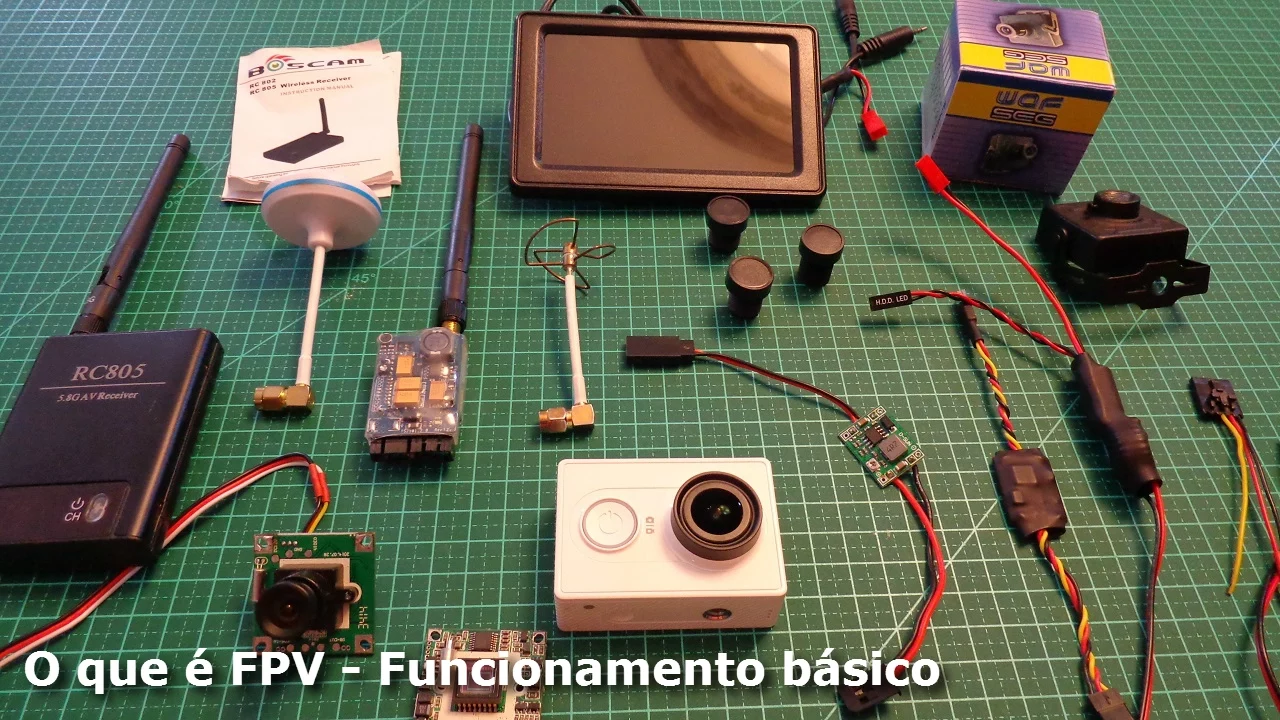
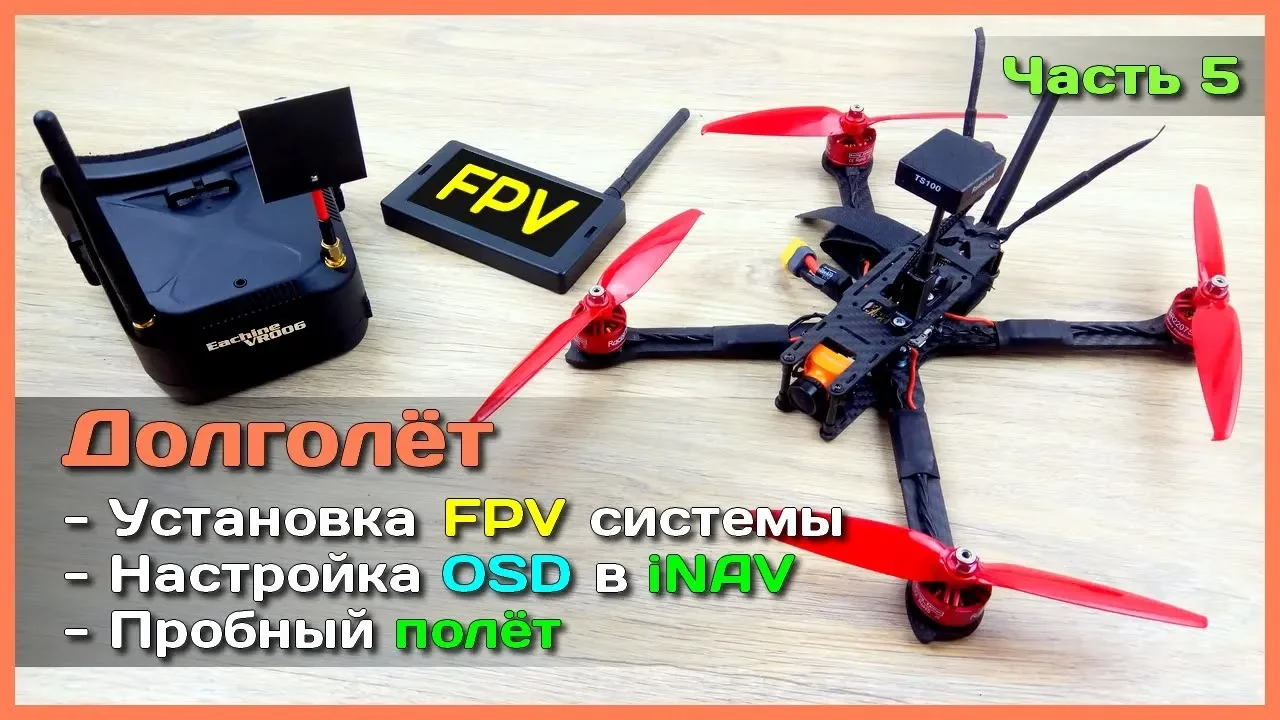
Integration of FPV (First-Person View) systems, including camera mounting, video transmitters (VTX), and OSD (On-Screen Display) configuration.
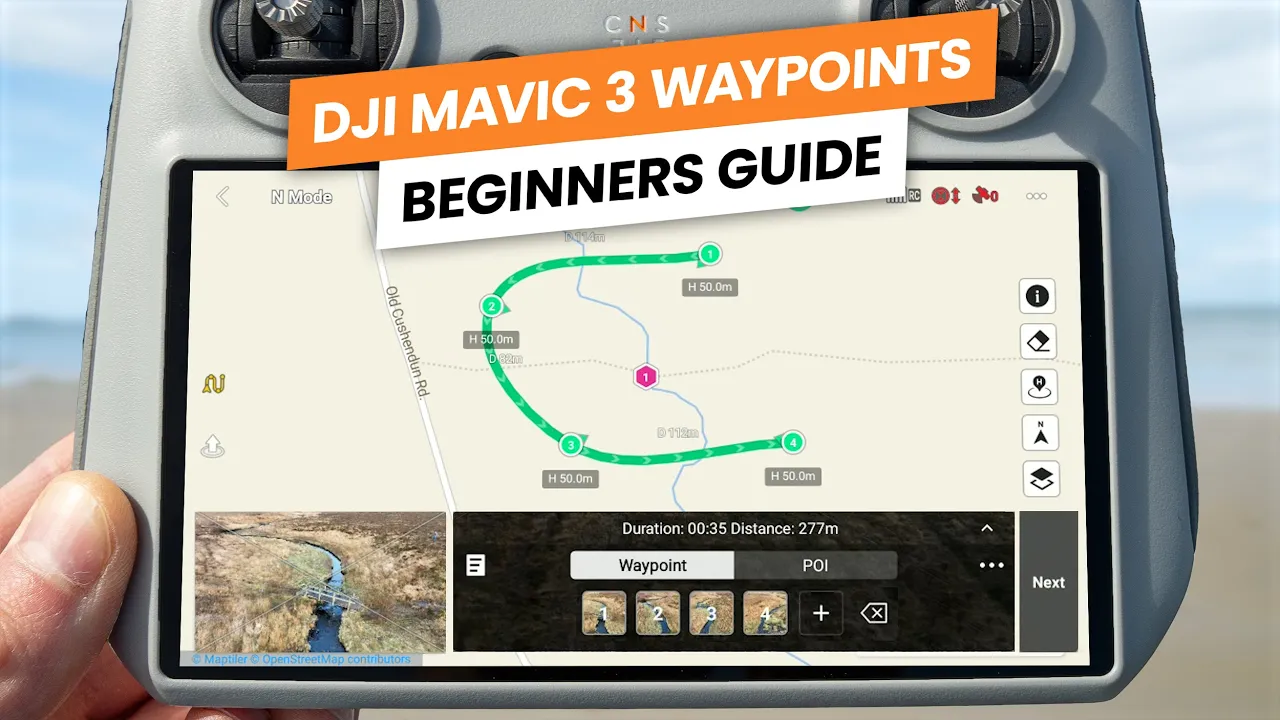
Telemetry systems and ground control station setup for real-time monitoring and autonomous waypoint mission planning.
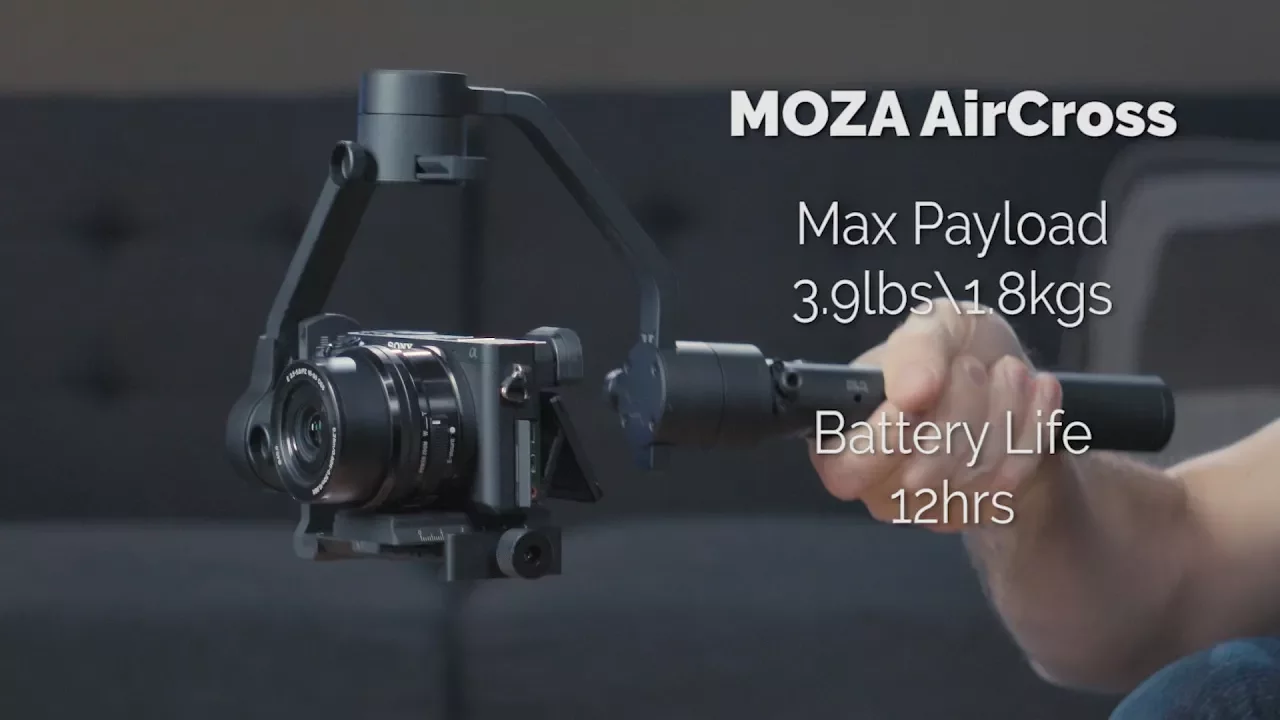
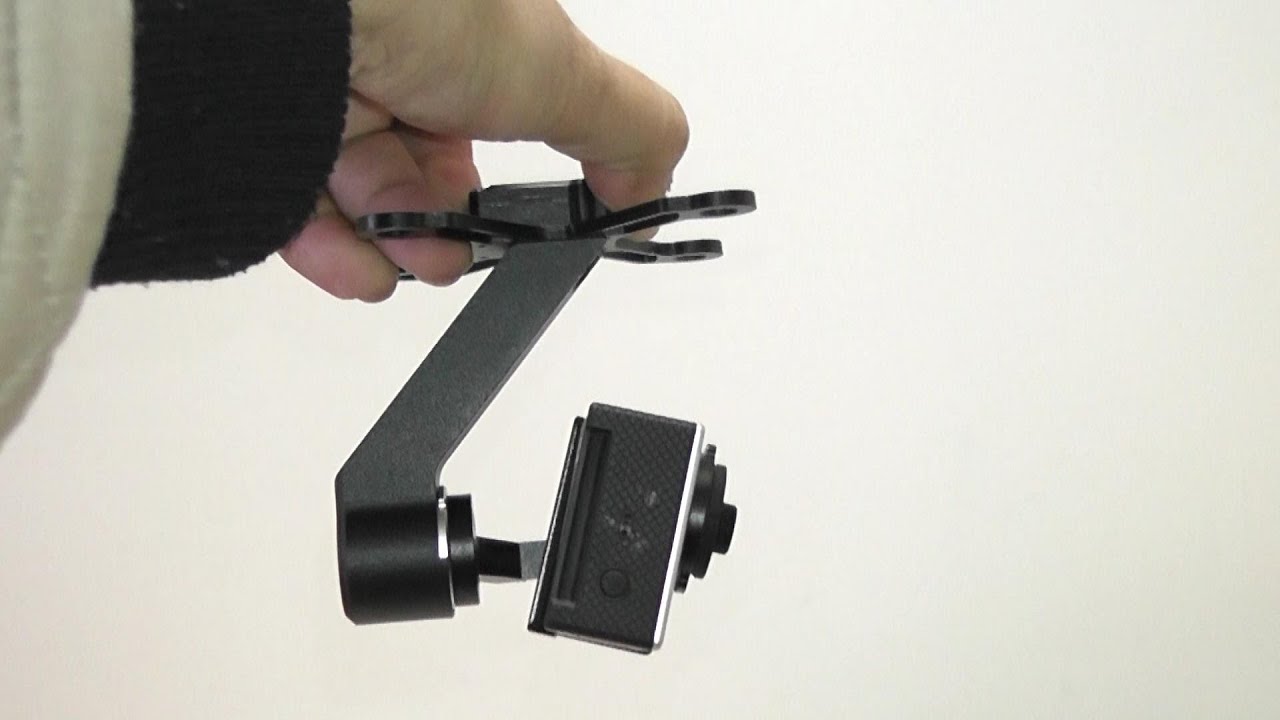
Payload integration and aerial photography mechanics, focusing on brushless gimbal stabilization and camera control interfaces.
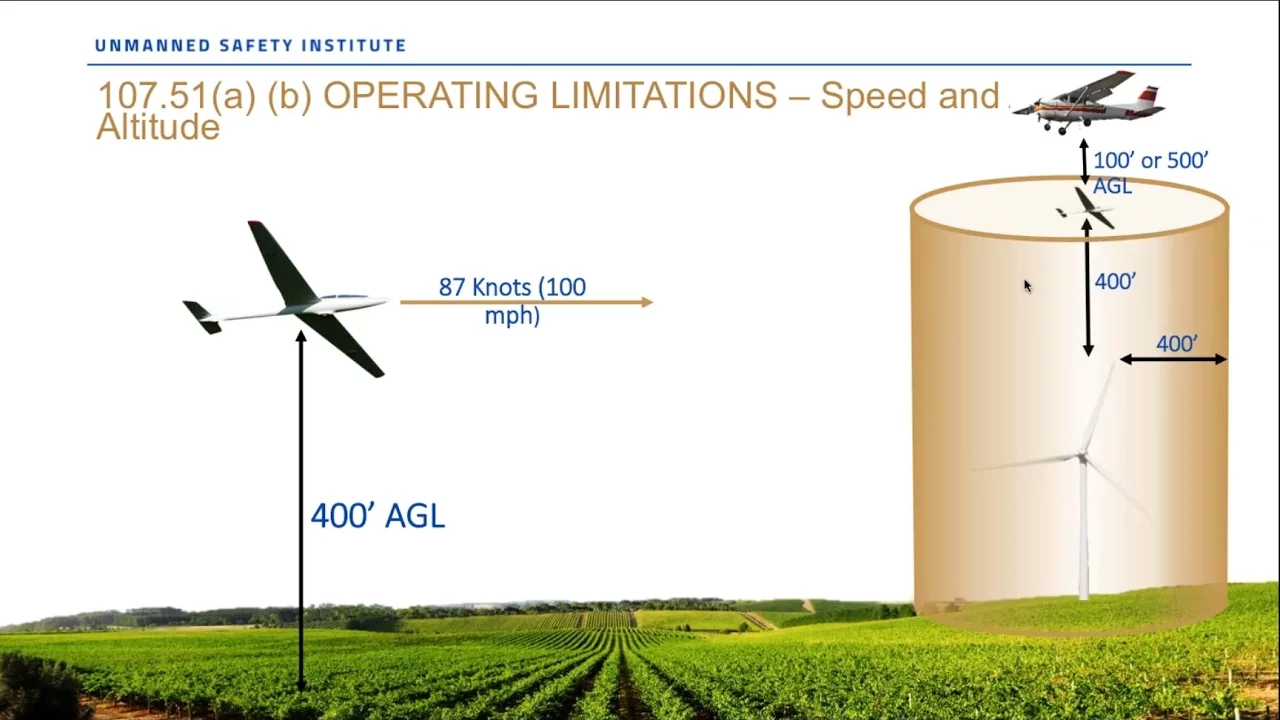
Airspace regulations (such as FAA Part 107 in the US) and standard operating procedures for safe, legal commercial or recreational piloting.
260.8K views1.1Klikes10:53Original Release: 2012-03-26
All right. So, we got the 550 Naza ARF.
It's all unpacked. Got your NAZA controller here. We'll open that up here in a little bit. Power distribution boards, ESC's, motors. All right. First thing you're going to do is I like to mount the motors to the arms.
For that, we'll use the M3 screws. You have M2.5 for most of the frame stuff, and then the M3 are going to be used to mount the motors to the arms. I like to take the bullet connectors, feed those through the frame first. That way, when we're all done, we get the ESC's ready, those will be up underneath and ready to mount there. If you got a power drill, it'll make it a lot faster. Just make sure you set the uh if it has a torque on it, set it down low. That way you don't drive the screws through your plastic frame. And we'll use the M3. And to prevent flyaways, use a little bit of Loctite. You don't want your motors coming off.
Set that to the side and go to the next one. So now we're ready to move on to the next step, which is going to be getting the ESC's and the battery lead to the power distribution board. Okay, now we got the bottom power distribution board, the bottom frame piece. Just have it kind of laid out to give you an idea. It's pretty simple on how it goes. Plus goes to red, minus goes to black, and it goes all the way around. Plus, minus, plus minus, plus minus. Your ESC's are going to go on the ends of the arms. And then there's one other spot on the board right here, and that's going to be for your battery connector, uh, your lipo connector, whichever you decide to use.
I'm going to use a Deans, so I'll solder that on there. You can also use this power spot as additional power source for you're going to put your LED module there. And you can also use it for if you want to do uh LEDs on the arms, you use that power source there. So, I'm going to get the ESC's ready. What I've done over here is I like to use the shield, little wire shield, wire mesh shield. Okay. So, I'm going to feed the wire mesh over first. That nice and snug. Take heat shrink tubing. This is just the first end. Go ahead and feed that over. I like to work it down into the heat shrink that's already on the DJI ESC. Get there nice and snug. Then take your heat gun.
Make sure you get the tubing shrunk correctly, but at the same time, you don't want to sit there and toast one of your ESC's. All right, we moved over to the solder station. We got all the ESC's ready to be soldered. I went ahead and made a quick Dean plug. Put some shielding over that. Also, get the solder uh tip tin the tips already. Get that all ready. And then we have our board.
What I'm going to do is I'm going to tin each of these pads first and then we'll come back and then we'll put the ESC's on. Okay. Always use flux. Flux is going to help the solder flow much better.
It's going to create a better connection and it'll avoid cold solder joints which can lead to problems and just not as good as a connection.
So right here you can see this one's for your lipo terminal. Place a little bit of flux on there. Clean my tip. Okay, so we got that ready. Now we have our lipo lead, the Deans connector. Same thing. I'm going to leave this heat shrink in the back. And then once we're done, I'll bring that up and move it closer. I'm put just a little bit flux on each tip. That'll help it flow in and connect to the board a lot simpler.
Nice. Should look like Mercury. little ball of mercury on there when you do it right. If it's all gray and looks like an old battery terminal in your car or something, probably want to redo it.
Makes it simple. All right, so that's the battery terminal. Now, we're going to start on your ESC's. Same thing. I'm going to flux each of these pads and then I'll start doing the ESC's. I'm going to turn the fan on for this. Keep this smoke out of my face.
So that is all prepped and ready to add our ESC's.
Again, ESC is pretty simple. You go plus is red, black is minus.
Little bit of flux each of those.
Nice solder joint right there. And the heat shrink down. Cover that and move on to the next one. Okay, so we got all the soldering done. So the next step is we're going to apply the bottom board to your arms right here. The two screws at the bottom. And for that we're going to use the smaller screws right here. The only thing you want to make sure you do is that you get the red arms on the front of the copter. And then you'll use the white for the rest. I put the battery at the back and make this the front. So I'm going to use these two right here.
This is why we put the shield on the wire is to make sure that it's not going to pinch, grab anything in there. Feed this into the arm here.
Okay. You don't have to crank it down all the way just yet.
I want thread lock, but I at the same time I don't want it stealing out and getting all over the frame. There's the bottom piece. Next, we're going to flip it over and move on to mounting the electronics. All right, so what we've done is went ahead and installed the LED. Put the positive the positive minus to minus. That's where your lipo goes in. Same thing. I covered it that way it doesn't cut on the edge of your board.
And I'm just going to fold it under and use double-sided tape to secure it to the bottom. That way I can see it in all orientations. Now I like to do is go ahead and put the receiver wires and your naza wires. Go ahead and place all those in their proper positions right now. That way later on you can twist it and get a nice clean configuration. Okay, so what we done is we went ahead and mounted everything with gyro tape for both the Naza and my receiver. When you're plugging this in, just make sure that your motors are all facing to the front of the copter on the NAZA. your motor inputs are facing the front and your inputs for your receiver are facing the rear. That's how it needs to be set up.
And then you just uh do throttle to throttle, you know, elevator, elevator, rudder, rudder. Then what you want to do is on a two-osition switch, usually your gear, you run that into your two- position switch right above the X1, the uh looks like the V. Then for X1 and X2, I use that on my auxiliary 3 and auxiliary 4 for the slider switch on my JR11X. That way I can control the gains for both atti mode and for normal free mode. And the last one, X3, is going to be your input from your LED module.
That's going to control your LED module, let it know when you have low uh battery voltage and stuff like that. So, we went ahead and mounted all those. We have motor one is the first arm on the right.
Motor 2, 3, four, five, and six. Plug those in accordingly. I'm sorry. The even motors are going to go clockwise.
And the odd motors are going to go counterclockwise. So, this would be one counterclockwise, two clockwise, counterclockwise, clockwise, etc. You got that all done. The wiring is nice and neat. Make sure this is final. You have your radio binded. So, just in case you have to get your bind plug in there, make sure that's done now because once we to put the top plate on, it's going to be a lot harder to get these in. If you want to set up the auxiliary channels for the X1 and two, make sure you do that now cuz it uh it can be hard to get to it once we're done. So, now we're going to install the top plate.
So, keep your battery going along this center section and get those all ready to be bolted in.
And there you go. Full frame. Much better and ready to go. Last thing I'm going to do is zip tie the amps uh the speed controllers to the arms and then we'll move on into the software calibration.
Up Next

37:40
LiPo Battery Charging and Maintenance: A Comprehensive Guide
@crazyhobbies4695
432.5K views•2020-06-04

12:54
Triumph of Orthodoxy Icon: Byzantine Art & History Explained
@BenCallan
2.1K views•2024-08-06

9:49
FastAPI vs Flask vs Django: Choosing the Right Python Web Framework
@TechWithTim
302.5K views•2024-05-26

1:42
Game of Thrones Opening Credits: A Cinematic Analysis
@gameofthrones
46.3M views•2011-04-18
Related Study Plans & Knowledge Roadmaps
Structured learning paths in General & Interdisciplinary Studies
general-studies
Elevator Engineering: History, Physics & Cities
01From Hoists to Safety Brakes: The Dawn of Vertical Lift
02Hydraulic vs. Traction: The Engineering Physics of Elevators
03Modern Speed, Safety, and Algorithms
+ 2 more learning modules
12h5 modules
Explore Roadmap
general-studies
Rubber: Material Science, History & Geopolitics
01Origins of Natural Rubber & Mesoamerican History
02The Chemistry of Natural Rubber & Vulcanization
03The Geopolitics of the Rubber Boom & Colonization
+ 2 more learning modules
12h5 modules
Explore Roadmap
general-studies
Containerization: Evolution, Logistics & Trade
01Ancient Trade & Bulk Cargo: Amphorae to Barrels
02The Industrial Revolution & Cardboard Packaging
03The Containerization Revolution: Malcom McLean
+ 2 more learning modules
12h5 modules
Explore Roadmap
general-studies
Textile Tech: Evolution, Labor & Global Impact
01Pre-Industrial Textiles: Handloom & Cottage Industry
02Mechanization: The Spinning Jenny to the Power Loom
03The Factory System & Global Labor Transformation
+ 2 more learning modules
10h5 modules
Explore Roadmap