








![[SOLDERING STREAM] Learning to solder :3 Results may vary ✨](https://i.ytimg.com/vi/TdJvYGc1sis/maxresdefault.jpg)






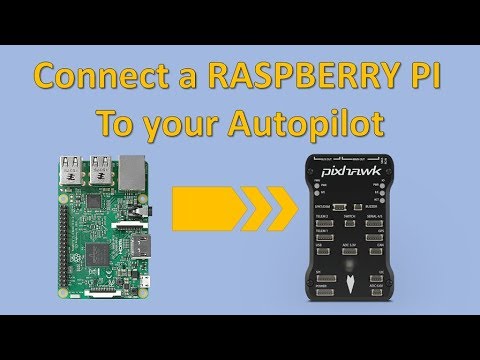



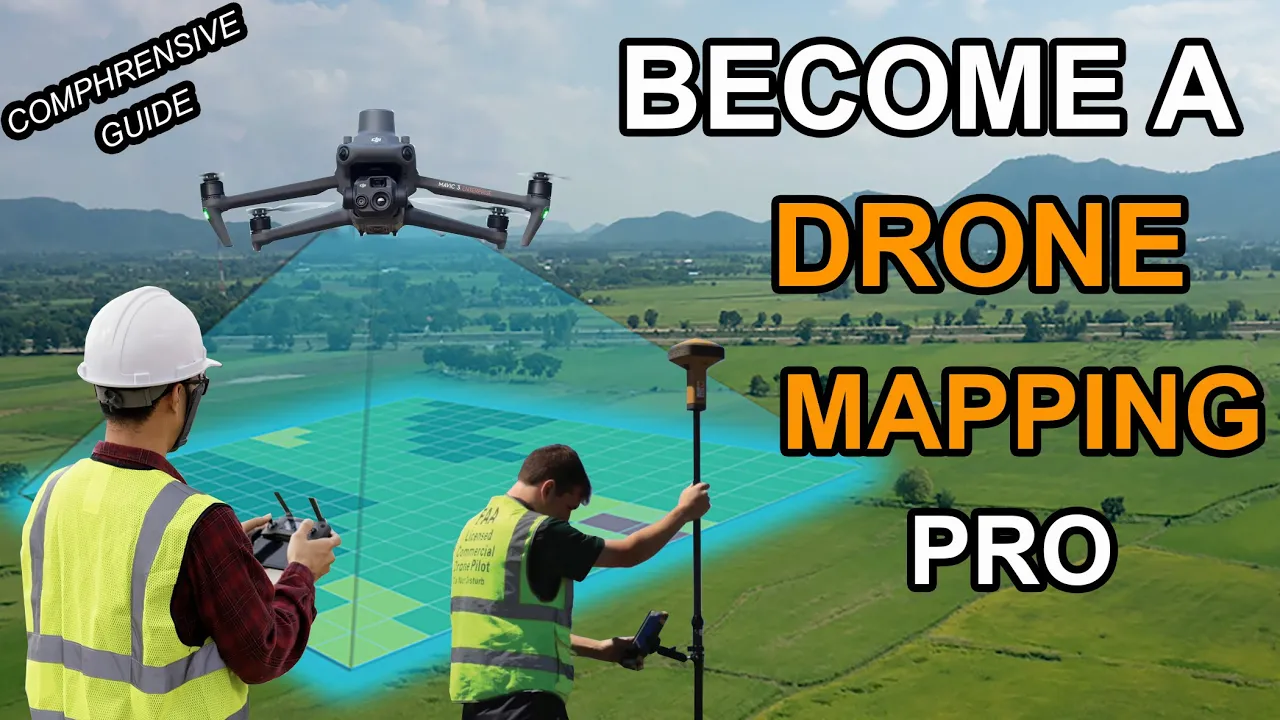
Pixhawk flight controllers differ fundamentally from Betaflight controllers used in FPV drones; they run PX4 or ArduPilot firmware that enables autonomous capabilities like GPS missions, loitering, and position hold, featuring redundant sensors (dual gyros, accelerometers, compasses) for reliability, standardized interfaces for easy peripheral connection, and require configuration through QGroundControl software including frame type setup, receiver protocol configuration (like SBUS for ExpressLRS), sensor calibration, and flight mode assignment, making them ideal for commercial and industrial drones where reliability and automation matter more than manual control responsiveness.
Exploring Ardupilot: An FPV Pilot's First Pixhawk Build
Added:Basic multicopter flight mechanics and hardware, including the role of ESCs, brushless motors, and LiPo battery safety.
Familiarity with standard RC (Radio Control) systems, receiver protocols (such as SBUS, IBUS, or ELRS), and basic transmitter setup.
An understanding of basic flight control software paradigms (e.g., Betaflight or iNav) and the operational differences between manual/acro flight and stabilized/assisted flight modes.
Fundamental electronics skills, including soldering, continuity testing, and understanding DC voltage distribution.
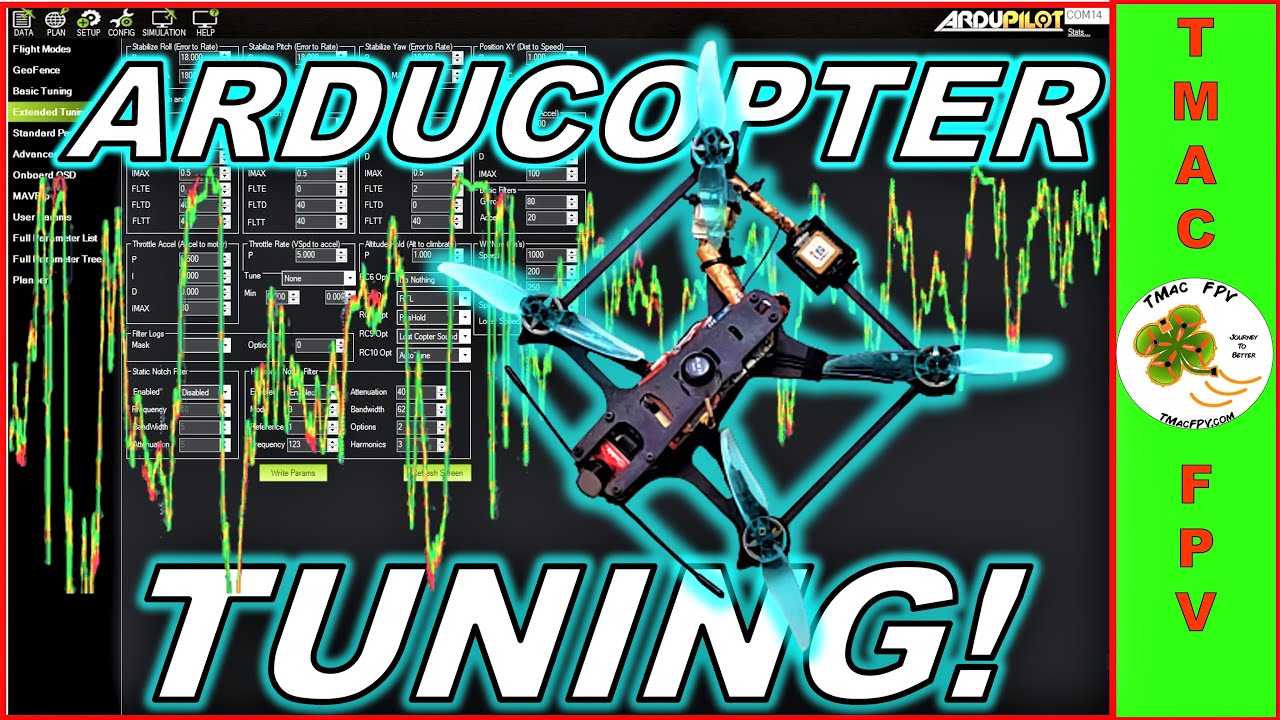
Advanced PID tuning and harmonic notch filtering in Ardupilot to optimize flight stability and reduce physical vibration noise.
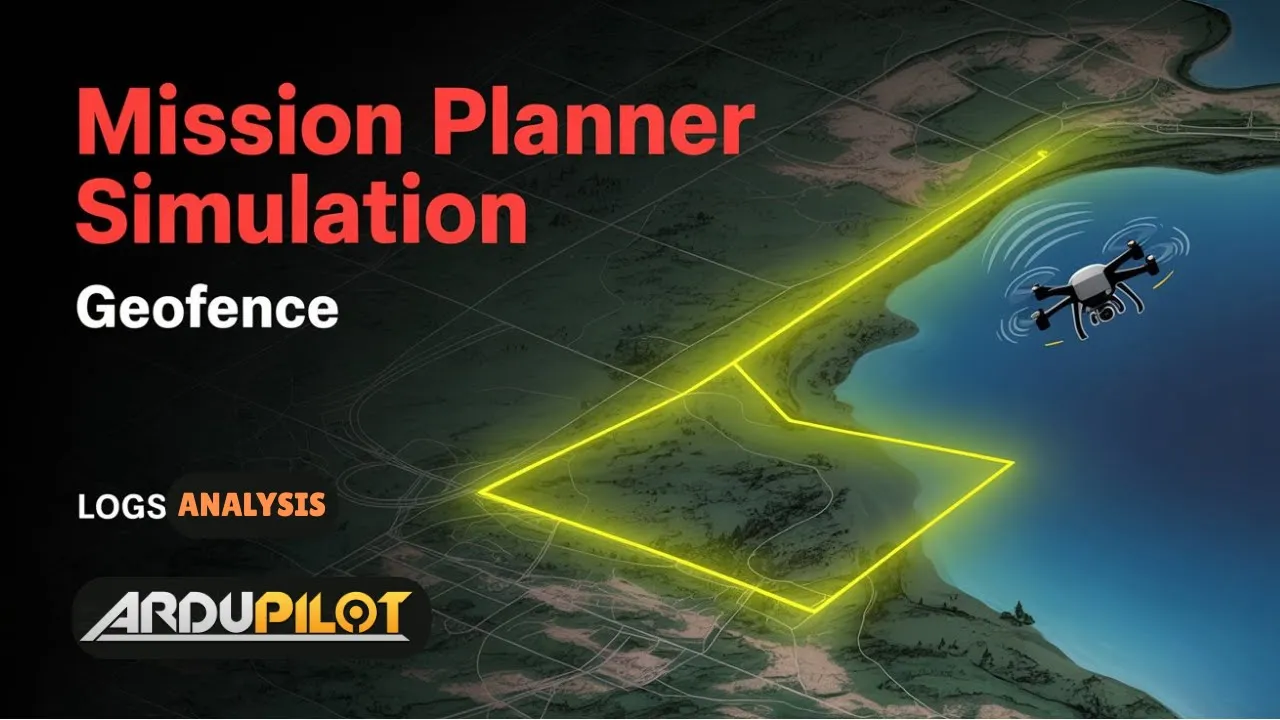
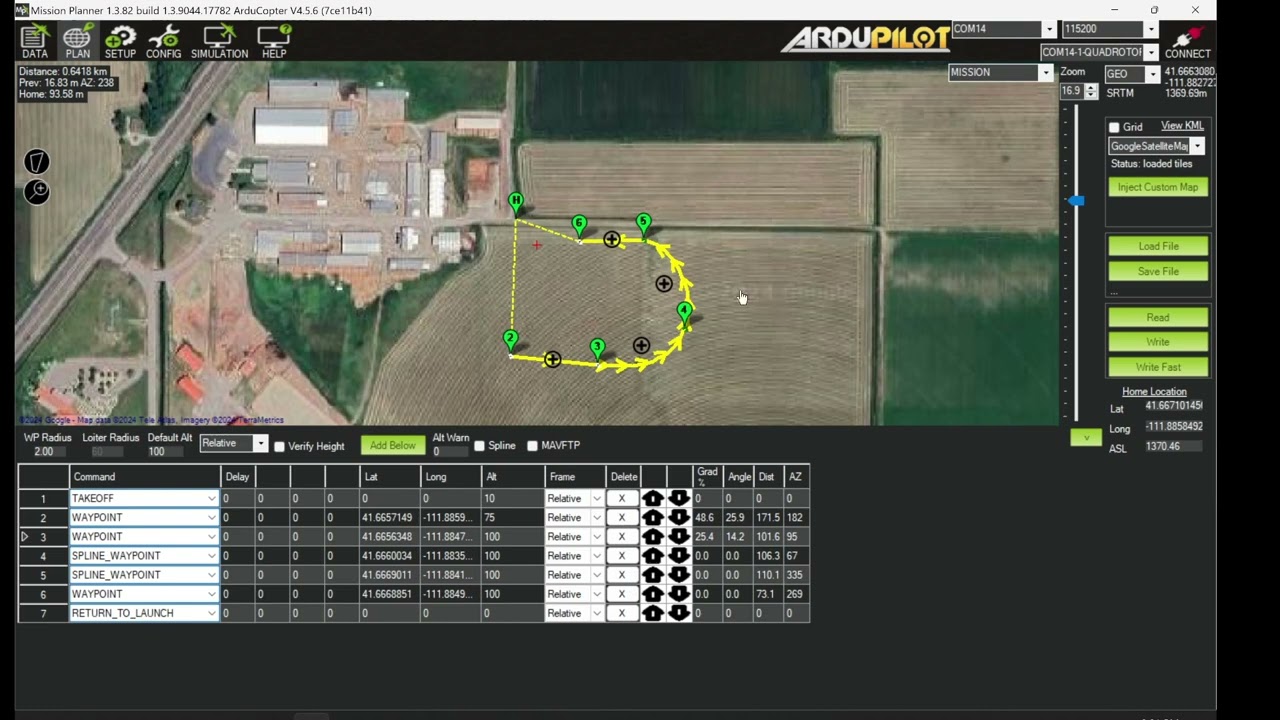
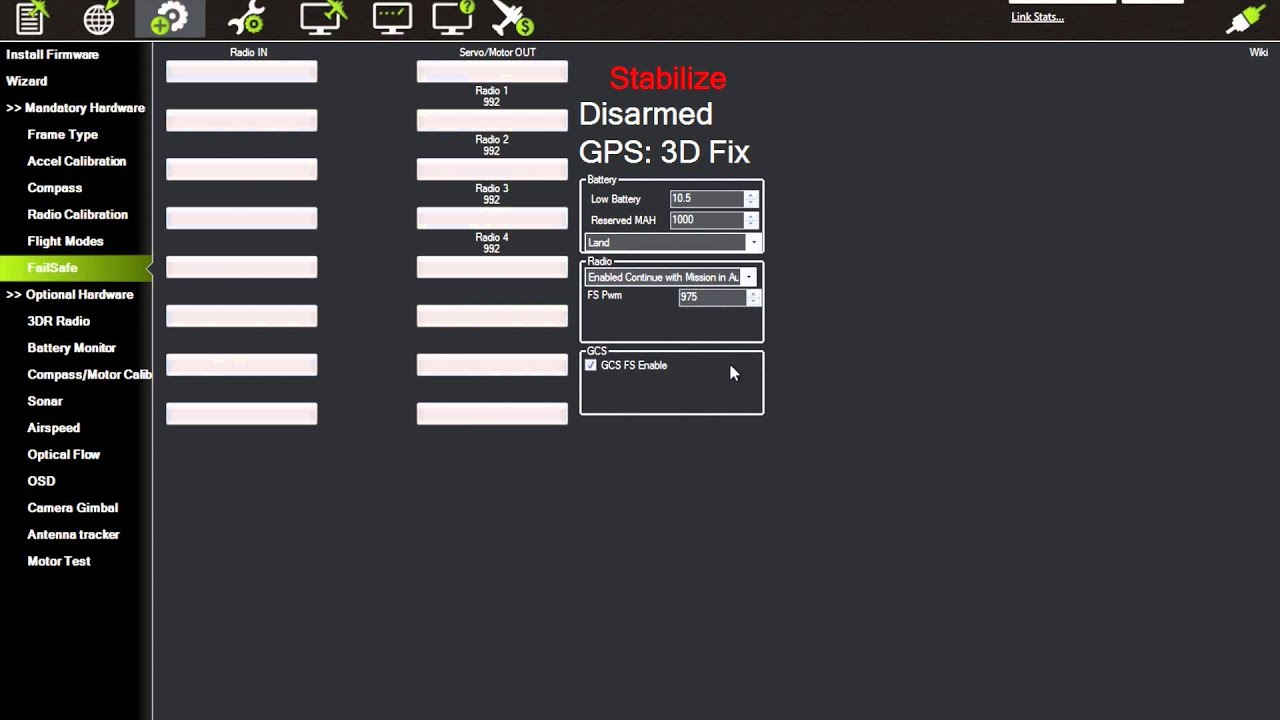
Autonomous mission planning and execution using Ground Control Stations (GCS) like Mission Planner or QGroundControl, incorporating waypoints, geofencing, and automated return-to-launch (RTL).
Integration of companion computers (e.g., Raspberry Pi, Jetson Nano) via the MAVLink protocol for edge computing, obstacle avoidance, or custom software scripts.
Configuring advanced sensor payloads, such as RTK GPS, LiDAR, optical flow sensors, and 3-axis camera gimbals for mapping or commercial applications.
190.8K views4.2Klikes38:03Original Release: 2023-11-21
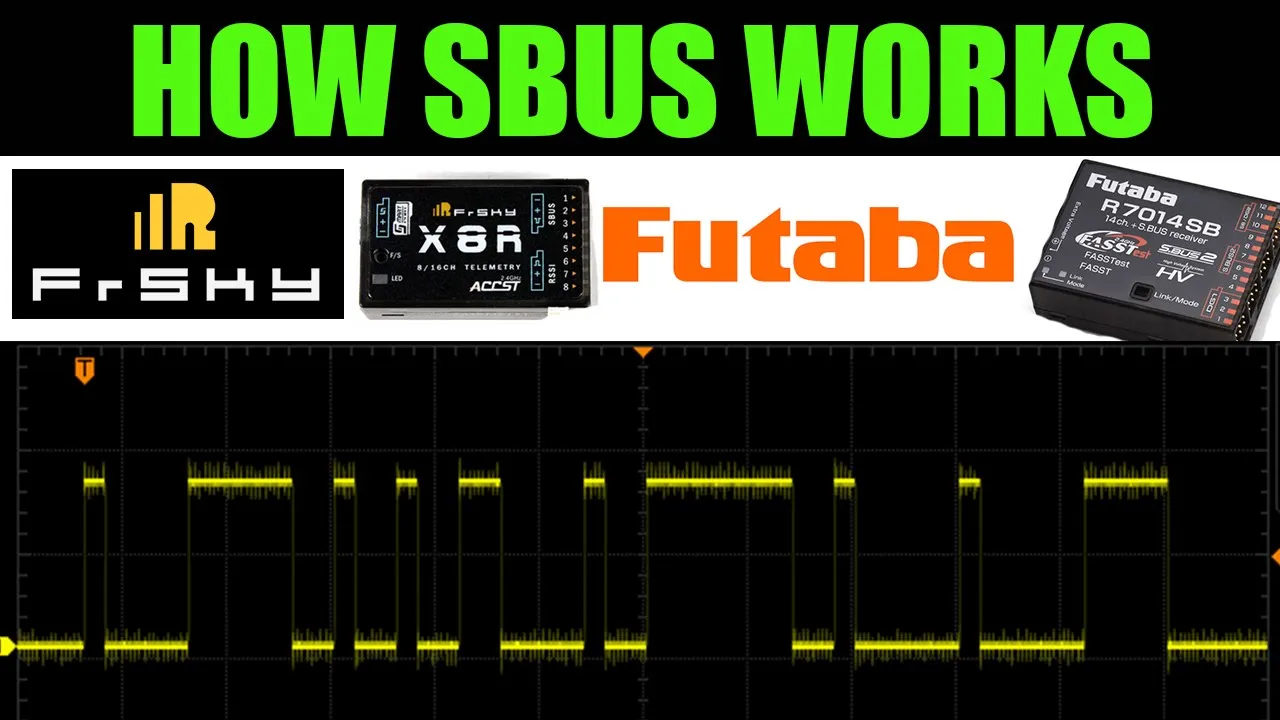
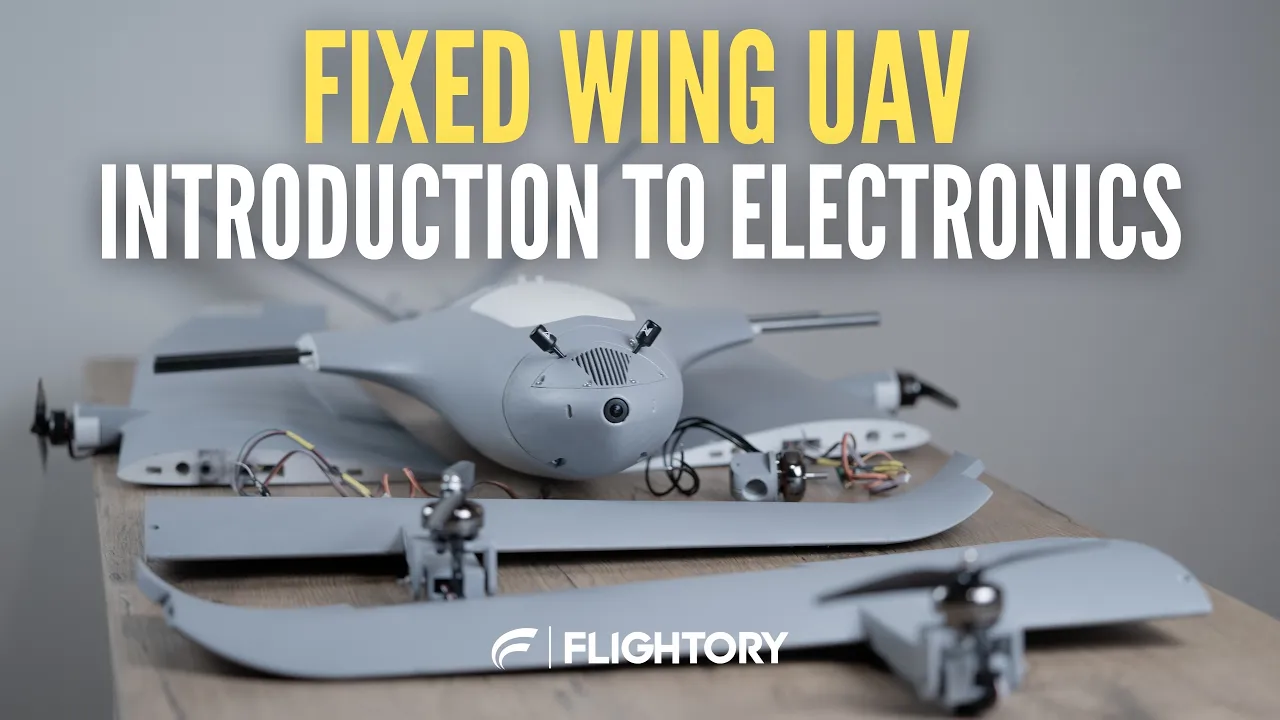
it's not very often that I can say that I'm about to do something for the very first time on this channel because when it comes to the world of fpv drones I've kind of already done most of the things that there are to do but today we're not building an fpv drone at least not in the sense that I usually think of it this is the holy bro development kit and what makes this so interesting ah here it is what makes this so interesting is the flight controller the flight controller that comes with this kit is the pixhawk 6X and what makes it different is that it doesn't run beta flight or any of the other firmwares that we typically associate with fpv drones it runs pixhawk firmware because this kind of quad cter can do things that fpv drones can't things like loiter things like fly a GPS Mission things like fly through the air without having to be manually controlled all the freaking time and there are a lot of commercial and Industrial drones out there that need the kind of capabilities and performance that this flight controller has that flight controllers like beta flight that are traditionally found on fpv drones simply don't have oh did I mention reliability this flight controller has redundant sensors dual Gyros dual accelerometers dual compasses it's got two of just about everything and the ability to detect if one of those isn't working and then figure out how to like not have the drone crash this is a whole new level of capability and it just seems a shame that I'm completely unfamiliar with it I hate it when there are things I don't know how to do I'm Joshua Bardwell you're going to learn something today the first thing I want to say before I get into this build is that the reason I have selected the holy bro development kit is that I want to spend as much time and energy as possible learning about pixhawk and as little time and energy as possible actually building the gosh darn drone I have put together a lot of drones in my day and that's not sort of fun or exciting or novel that's not novel to me uh and the holy bro development kit really makes it as easy as possible at least that's the promise I've never built one before and so we're going to find out together inside the kit we do have the Holy bro pixhawk 6X flight controller this is the highest end version of this flight controller there are some cheaper less capable ones but I figured if I was going to go I was going to go all the way Whole Hog uh one of the things that makes pixhawk flight controllers so interesting is that the interfaces that is the inputs and outputs are standardized for all pixhawk flight controllers unlike betaflight or inav flight controllers where there's just a whole bunch of solder pads and plugs and they're different for every flight controller and so the process of plugging in your peripherals is different for each of them with these pix flight controllers this is this interface layout itself is actually an open- Source standard and you can get multiple flight controllers that all share the same interface and what that means is that when it comes time to hook up the peripherals like the receiver and the GPS there's not going to be any big troubleshooting flowchart about where you plug them in you're just going to plug them in and that's pretty freaking cool we've also got in this kit a set of telemetry radios these are 900 MHz and they are used to transmit a long-distance data link back to a ground station software running on a computer we are used to in the fpv world having our Telemetry connection be shared with our control link but in the case of of pixhawk it's often a separate radio so that if you for example lose your control link for some reason you can still use the long-distance data link to control the quad for example to put in a waypoint or issue a command to return to home and so forth this this is a difference in the way of thinking between these semi-autonomous or autonomous uh drones and the sort of manually controlled drones that fpv Pilots more commonly use with manually controlled drones if you lose your control link you're just done that there's nothing more for the Drone to do with this style of flight controller that is not the case in fact sometimes they're even flown just with the ground station software with no controller whatsoever it's kind of blowing my mind I'm super happy that the motors come pre-installed on the arms ready to go going to save me some trouble there no soldering or any nonsense like that we do have instructions here for assembling it but it looks like we don't have to I am always extremely happy when manufacturers separately bag and label their screws so that I can easily refer to the instructions find the bag of screws and know I have the correct screws for this step it's a small thing but it definitely Ely makes a difference here we come to the first time where it seems like the instructions don't exactly line up with the hardware that I've got this looks like uh the power distribution board I can see here that it's got a soldered on xt60 battery lead and it looks like these are the solder pads where the esc's would go the the power to the esc's would go in our case our power distribution board or pdb looks like this it comes pre-soldered and it has plugs instead of solder points I'm thinking this this must be what it's referring to even though it doesn't exactly match up with what we've got pictured in the instructions and it looks like the xt60 lead is facing the side of the Drone with this platform so it would face back and it would line up with these holes here and have some standoffs underneath it um this probably would have been easier to do if I had done it before or oh yeah if I had done it before installing it cuz now I won't be able to get my screw yeah I'm going to take this battery plate off sadly so I can get my screwdriver in here kind of just pop it off yeah I can don't need to unscrew it it'll just pop off won't it I think it will please don't break please don't break it's always a good sign isn't it you're just shouting please don't break in the middle of a build um all right and then the feet are going to go on I think I have to loosen this first yeah okay don't drop that nut though oh dropped the nut H you want to what am I doing oh there's another screw there's a third screw I have to loosen is that it yeah I think so can it loosen up now yeah can great I guess these are sized correctly that they'll squeeze the arms with the right amount of force and they can't really overtighten and crush the carbon you would think but I'm probably going to do it by hand just to be safe oh yeah it's fine oh this is going to be a pain in the ass uhhuh I can tell can already tell okay we got this going to go does this just snap on oh that's nice oh I'm I'm no does it does it have little clippy clips that snap it on it sort of does it sort of does yes it does okay all right that's actually pretty slick let me show you what I just discovered each of the leg pieces has these little retention clips that let you install this and it stays on the leg and then it just stays in one piece so you don't have to have it all falling apart on you while you're uh while you're screwing it on that's very good that's very good I'm I'm happy about that good thinking holy bro so we'll do that first and I love that there's a little indexing nub anytime you've got round carbon fiber arms there's a chance that they'll twist and rotate in the mount and then the motors won't be square to the frame so they've got little holes drilled and little indexing Nubs on these blue brackets to help make sure the arms stay aligned correctly that's that's smart it's not like groundbreaking but a lot of some frame designers would overlooked it three still going to be annoying it doesn't matter this is just for power so it doesn't matter where these get plugged oh it's nice 1 2 3 4 5 6 it's a setup for a hexacopter that's nice it doesn't matter where these get plugged because that's just power so you can plug them in to any of these xt30 connectors doesn't matter and then H let's go right side up yeah this is still GNA be kind of annoying how am I going to do this can I just do it one at a time and just have it be loose if I just stick them through will it kind of hold maybe it'll just hold oh it kind of will I bet it will okay this is turning out to be less annoying than I had [Music] feared nice already tell I'm going to kind of wish the top of this was off while I'm wiring things up like for example here is the main battery lead and I believe that this device here is probably a current sensor and that's going to plug into the flight controller oh power yeah Power output for the flight controller so probably we're going to want to tear into this bag of doohickeys that came with the flight controller and we're going to want to find the plug that goes with that oh my God there's so many plugs uh that looks that looks promising yeah it looks like a power plug let's see here oh yeah see the beauty of standardization there's no way for me to have gotten this wrong just plug right in no soldering no nothing I'm going to need to there we go plug that into the pdb right there which I kind of should have done before I oh is it going to go up through the bottom I think it is this is the end that the battery it's going to come out and go to the battery this is going to go like so I like so does it just go like this oh it sticks out a little oh okay it goes like this yes this is the kind of thing that would have been good to do before before I put all this together we'll make it work just fish all all this in here oh please tell me I can do this without having to take the top off shut up shut up why would you show me to put the top plate on before a oh it's going to go it's going to go o oh what if we oh okay I got it what if we feed the xt60 through yes what if we fish the xt60 through like this aha then install this piece then pull it back through well that sounds like a good idea a lot of things sound like a good idea until you find out they're stupid now ha now I have to plug this one into the pdb there is no way I will be able to show you video of me doing that so you'll have to take my word for it okay got it uh the GPS M makes sense does that have a nut no it just goes right into the plastic yeah it does okay so we won't overtighten and we won't strip that out okay oh there we go OCD person inside me wants these screws to be lined up GPS is mounted with this 3M double-sided adhesive that comes with the kit we'll just save that we'll Mount the GPS later it's a little I'm a little uh less than thrilled with that but I guess you're not really supposed to crash this thing anyway so you crashed it you already done screwed up huh and we're going to mount this like so with the remaining M3 screws and three lock nuts H the frame's built Tada that took uh 1 hour 15 minutes is how long I've been recording so I've heard people say you can build it in as little as 20 minutes well maybe that's true for them the next thing I got to do is figure out to the hold the flight controller there's a there's no instructions for that part I'll have to figure that out I guess the first thing I'm going to do is take this here old piece of VHB tape that came with the flight controller and stick the flight controller onto the plate the frame plate or the top plate uh is there a front-facing Arrow there is a front-facing Arrow so presumably that needs to face the front we'll get that nice and lined up good and square have I inst oh I installed this plate wrong this Plate's supposed to be rotated this direction it's not going to matter cuz we're not screwing our flight controller down if we were screwing our flight controller down then we would need to have rotated this plate so it faces the correct direction but we're just going to tape it down and that ain't going that ain't going nowhere that ain't going nowhere that VHB tape will hold till Kingdom Come stands to reason that this guy is going to go in power one oh those would be great to pass these wires through but I'm not taking 16 dang screws out for this nonsense I am not doing it I am not doing it I'm not doing it I'm just not doing it FM pwm out is that the motors or is it IO pwm out I don't know I will have to look it up I don't want to look up instructions I just want to know how to do everything already learning is lame did I go like this up the side oh yeah that's good could I have done that with this thing probably could have let's try it oh oh yeah oh yeah oh see just I'm G to make sure that the fact that I mounted this board side uh plate sideways is not going to come back and bite me you see kids the reason I prefer to mount this top plate 90° sideways it gives you the flexibility to come in from either side and in my experience uh that is uh that flexibility opens up some possibilities for wire routing that uh [Applause] better okay um good we got the GPS wow I'm nearly what is this nonsense oh that's the radio yeah I got figure where to put that GPS it's going to go forward facing okay no problem okay and let's see if there's a label for the GPS GPS 1 great well that's what I assume this is going to be GPS one oh my God no soldering no looking up wiring diagrams just click done now I feel like I might ought to like zip tie this maybe not pixhawk 6s where to plug Motors Motors and servos are connected to the io pwml Main and fmw out oxport IOP pwm out main I op pwm out there we go it's labeled right there and therefore we're going to go one ooh let's see oh it's marked on the side okay my long ago days when I worked with servos it's labeled right here minus plus and S uh minus is ground and it's going to go on bottom s is on top we're just going to go like so mineus on so black on bottom white on top M1 M2 next up the Telemetry radio there is no indication and the instructions on where to put it it comes with a P piece of 3M sticky this is a USB adapter presumably for your computer and we've got the radio telemetry radio and I don't think it matters they're already paired up and I don't think it matters which one goes on the computer and which one goes on the yeah they're identical so clearly this side has the uh the GX connector I think it is with the Locking plug there's only one way to do that and then where does it go on the pix Hawk 6X Telemetry radio plug holy bro pixhawk 6X wiring quick start oh that's convenient Telemetry radio goes to tm1 but that's not the right plug oh they're not identical I see this one has two of the GX connectors that I had the wrong cable to L one and boom love it we're going to put this I guess it doesn't matter just put it anywhere maybe it does matter I have no idea I'm so out of my depth I love it it's been a long time since I've felt this completely out of my depth hey there folks it's Joshua from the future I have just spent an hour trying to figure out how to get a Express lrs receiver working with this flight controller and I'm going to tell you where I've come to but I'm also going to tell you a deeper Insight that I think is important that we keep in mind that I keep in mind for sure first I discovered that there's two firmwares that this flight controller can run one is pixhawk or PX4 but that's also the name for a flight controller anyway and the other is arju pilot and when you're looking at documentation for how to do things they don't have the same feature set the arju pilot documentation doesn't apply directly to pixhawk so the first thing I learned was that pixhawk doesn't support Crossfire just so all the documentation I was finding that said oh here's how you get Crossfire working on this flight controller only works works if you're running RG pilot so then I flashed RG pilot and I came to this other Insight which is that RG pilot technically does support Crossfire and express lrs but it's a giant pain in the ass and I couldn't get it working even though I followed all the instructions I could think of how to follow and in the end here's what I did I wired up the receiver to a standard Servo plug and we're going to use sbus which is what the flight controller expects you to be doing and the deeper lesson is this when you show up and you're the new guy in town and you don't know the sort of norms and standards When in Rome do as the Romans do as they say it turns out that the kind of multi roers that fly this flight controller usually use sbus they're not racing drones they don't need an ultra ultra low latency controll L and everything is set up around the use of sbus or Spectrum uh receiver and uh trying to like going no that's not the way we do it and then trying to shoehorn myself into that situation was just making me miserable I'm sure it can be done but instead I'm going to try to fit myself into the box and then and then once I've made myself comfortable in the arju pilot box then maybe I'll start thinking about ways to break out of the box but the first thing you got to do when you're the new guy in town is settle in and fit in and see how things are and why they are the way they are instead of showing up and going I don't like this this isn't how I want them to be and trying to shake shake the the apple cart as it were now it's time to set up the flight controller and in order to do that I've downloaded this piece of software Q Ground Control Q Ground Control is going to be used to flash firmware to the flight controller and configure the flight controller and then in addition to that once the quad cup is actually flying it can be used to manage the quad cter during flight again this is not like an Acro drone where the way that we fly it is to manually fly it with our RC controller this is a autonomous or semi-autonomous drone where we can just go into Q Ground Control and click where we want it to go and sort of manage it with a little more hands off away but that's going to be for after we finish the configuration and we get the dang thing in the air I've working at this for several hours now and uh have failed many times and you're now going I didn't want to make you watch two hours of me failing to get it working and so you're going to now benefit from sort of the fruits of my failures and the first thing I ended up doing was changing the firmware on the flight controller so this piece of Hardware is known as the uh pixhawk 6X flight controller and it runs a piece of firmware called PX4 but PX4 can also be hard hardware and there's another firmware out there called arju pilot that also runs on this Hardware that I have decided is right for me to use and the reason for that is that in general rju pilot seems to have more documentation more tutorials out there for it than PX4 so every time I was searching for well how do I do this or how do I do that I came across an rju pilot tutorial and then I ended up asking madtech Ian Lewis for help with something and he also uses RG pilot so I'm just like okay I see which way the wind is blowing so the very first thing we're going to do is we are going to actually unplug USB and we are going to go to the firmware update page in Q Ground Control and then we're going to plug in USB and that is how we initiate a firmware update and we're going to choose RG pilot and multi-rotor and the board type is going to be pixhawk 6s and then we're going to hit okay and it's going to flash the firmware so in order to confirm that you've got the same firmware version as me you're going to go to the summary tab tab in Q Ground Control and look and you should see firmware version 443 but everything else is completely unconfigured so let's get started and the first thing I'm going to do is go to the frame uh Tab and we're going to click and tell it that we have a quad copter here and the frame type is X that's correct that is the motor layout and frame type that we've got there is no save button these changes just seem to take effect as soon as you make them so don't worry about that although some as you may have seen in that message some of these changes will require a reboot in order for uh them to actually take effect next we're going to go to the radio Tab and we're going to hope that we've got movement of our sticks as I move my sticks we should see the channels and joysticks moving um You probably don't uh and the reason for that is if you're doing Express lrs like I am or if you're doing Crossfire you need to go into the express lrs or the the crossfire leis script and configure the receiver to Output sbus instead of the crossfire protocol that it normally does in order to get your Express all receiver to Output sbus we're going to go into the express lrs leis script we're going to need the receiver turned on and bound and if we do that down here at the bottom we can find other devices and sure enough right there is Our receiver then we'll go into the receiver options and right here at the top we have the protocol option and we can click and we can change that to sbus and that will cause Our receiver to output sbus on the TX pin and make it work with the uh pixhawk flight controller oh incidentally I think you might need to be on Express 330 uh it used to be that this option didn't exist so if you don't see that option there you may be on too old of a version of Express lrs just go check and see if it's there and if it's not you may need to update your firmware but you can see here I do in fact have movement and the next thing I'm going to do is calibrate okay and we're going to go through these steps lower the throttle stick all the way down and we'll hit next move the throttle stick all the way up the next thing we're going to do is go to the sensors Tab and calibrate some of the sensors on the flight controller and you can see some of these are marked as red indicating they need to be calibrated so we'll start with the accelerometer yep that's correct we will start with hold C cor orientation press next one right okay great uh where is next there it is next okay and we want to be nose out and on the right side to try and hold this as close to 90° as I can next nose out and on the left side or the right side actually left side like it shows in the picture okay going back to the sensors here we can't calibrate the compass here inside on the desk so we're going to have to skip that one and everything else seems good to go next let's go to the flight modes Tab and set up our switches basically uh and there are two main switches that it seems like the flight controller wants us to set up one of them is the flight mode which is things like Acro you know stabilized mode GPS assist loiter Etc and we can see here that can have up to six flight modes but I think I'm going to keep things simple and just have three of them 1 two three cuz I've got a three position switch that's a two position switch three position switch right here um and it wants the flight mode to be on Channel 5 you'll see here that I've got my flight mode Channel set as Channel 6 whereas the default is Channel 5 and the reason for that is that I'm using Express lrs and express lrs forces Channel 5 to be a two position switch which must be used for arming and arming must be high and disarm must be low that is a mandatory requirement when using Express lrs there they have reasons for that we're not going to go into them right now so we can't use Channel 5 as our flight mode Channel we have to use something else so I've set it to channel 6 and if we look here as I move channel six we can see look notice that flight mode one is yellow I can see I've got it set for stabilize position hold and loiter I don't know I may tweak that uh you'll also notice I'm not using flight mode modes two and five and three because I would just have a three position switch and it's easy to use I could always use something else if I wanted more I've also got Channel 7's option as return to launch uh and I've got that set up on switch SD right here so at any time I pull that switch and I think it'll override the flight mode and force a return to home I don't know that's how I felt like setting it up uh the last thing we need to do is we need to set channel 5 to be the arm disarm Channel and in order to do that we can't do that here we have to go to parameters and manually I believe if I type rc5 here yes we can see rc5 option is set unknown should just be arm arm disarm why is it unknown that's weird save that's weird it was working too anyway we want rc5 options set to arm disarm and that will give us arming on let's see here what about this Telemetry radio we're got to get this Telemetry radio working so we'll get this other Telemetry radio here and do we just unplug the USB here from the there we go oh now it's not powered up we need to power it up we'll plug this one in and I think this should just work we got a blinking green LED here I'm going I guess that's going to go solid when they link up there we go solid it's talking do we need to oh look at that sick radio on com 3 autoconnect communication lost can we communicate oh my gosh I think it's working is it working like if I move the quad does the compass it does USB I will never USB again okay well this is the first time I've truly been impressed with this stupid thing um let's see here the radio is working that just automatically worked fantastic now that we finished building and configuring the quad cter the only thing to do is give it a test flight and I cannot wait to find out how good this freaking thing is compared to something like a DJI drone which has many of the same capabilities if not more we'll go ahead and plug wait the controller needs to be on first is it on it is on woo so oh they're already talking we'll go ahead and plug this in and turn it on and we will hold down this button on the GPS which is the safety switch that prevents it from taking off and spinning the motors before you are ready and we can see see that the computer has already picked up on the Drone uh we're running the Q Ground Control software here and we've got this 900 MHz radio here uh which is passing the connection through just automatically picked it up and ready to fly we are ready to go except that's cuz we're in stabilized mode there we go now we've starting to get some GPS satellites we'll be ready to fly even in GPS assisted mode loer flight mode yeah see if I switch to loer flight mode it says not ready um because we don't have enough GPS locks yet but in stabilized mode we could take off um so let's give it a try let's uh let's go ahead and take off in stabilize mode and see how well it flies oh Motors are spinning let's raise the throttle and start to lift off oh it's getting light why is it tipping like okay there we go that's not great oh there there we go we're hovering boys we're drifting a little because of the wind but we are hovering we have a maiden and if I sit her down and lower the throttle will it automatically disarm no I'll disarm it manually woo okay okay well seems like the accelerometer could use a little bit of calibration cuz it kind of tipped like that but no big deal Let's uh let's do something that we can't do with a beta flight flight controller let's put it into Acro flight mode no not Acro loer mode flight mode loer mode means that it is going to try to hold position exactly precisely and it's only got a GPS that it can use to do that it doesn't have things like a optical flow sensor which is what DJI uses to uh be like super locked in when it's close to the ground or inside uh pixhawk does support Optical flow sensors I just haven't put one on this drone let's see well it hovers all right we're going to lift her straight off uh oh I see I see we are no longer in direct control of the motors at 50% throttle it just kind of stays where it is if I raise the throttle it'll start to climb oh God it is drifting why is it drifting like that that's not good it's all over the place come on do better it's still drifting come back come back baby don't climb descend a little okay now stay in place stay hover hover that's descending it's getting a little close to the ground let's see if we can get it to climb climb a little okay there we go it's really drifting come on figure it out figure it out you're drifting figure figure it out you got 18 satellites why are you drifting get back there okay I'm doing that I'm doing that 18 satellites it should have pretty good Precision the um altitude is done primarily with a barometer which can be less than perfectly precise it's normal to see some drift in altitude um because like the movement of the props causes the air pressure to change if you really really want locked in altitude control you need something like a a downward facing Rangefinder which again the flight controller does support I just don't have one okay hands off the controls hands off the controls No Hands on the controls how's she doing oh she seems to be 18 SATs still seems to be doing better should like really stay within like a like a 3 m box for sure for anybody who's concerned about the fact that my uh GPS location is being broadcast it's okay please don't freak out I've had races and other events at my house uh this is a fact of life that I accept as a consequence of being a content creator thank you for your concern it's doing okay like if it were you know why it's drifting though it's getting come back why are you getting further away what are you doing what are you doing where do you think you are I mean it's not bad it's doing okay oh get back come back come back come back okay okay you know what's even cooler is that I can actually completely configure this flight controller if I go in here I can configure this flight controller in its entirety fail through this wireless link this is a full connection everything on the flight controller I don't need to plug in USB like ever again as long as I have this radio can you flash over this I'm not sure if you can Flash maybe you can even flash wouldn't put it past him you know normally when I build a quadcopter it's because I'm excited to fly it High Performance Racing and freestyle drones that you can tear around the sky this isn't that this is a tool for getting a job done and in a way the experience of finally maiding it was a little bit underwhelming it just kind of sat there and waited for me to tell it what to do and that's something you got to keep in mind if you're thinking about building a platform like this the reason to get this development kit and build a platform like this is because you want to get more familiar with the kind of tools that people building large industrial drones some cin lifters and so forth you want to get familiar with the flight controller that is almost universally used on those great big drones if you've got a small 10 or maybe even a 13in c lifter and you want high performance out of it you're probably going to use a beta flight flight controller but the bigger and more expensive the drones you're flying and the bigger and more expensive the payloads you're flying like big expensive of Cinema cameras the more you're going to want to lean into a flight controller that doesn't just fall out of the freaking Sky the minute that something goes wrong and that's this if you're interested in delving into this world I've got links down below to this development kit and I think it is a great way to get into the world of pixhawk all of the hardware is ready to go it's easy to assemble and you can focus like I did on learning about the flight controller and less on kind of building the platform I'm really excited to to continue to explore what we could do with this platform could we add an optical flow sensor could we add a downward facing Rangefinder could we add like a camera ooh putting a camera on a drone that's a novel idea isn't it I'm going to start a playlist of pixhawk related stuff that I do with this drone and I'm not sure how often I'll update it or how many additional stuff how much additional content I'll make but as I do I'll add it there and hopefully you can keep an eye out and enjoy that let me know what kind of cool things can this flight controller do that I don't know about that you'd like to see me explore I'll see you in the next one
Up Next

22:06
Reinforcement Learning for Quadruped Locomotion: Part 3
@sentdex
59.6K views•2022-01-01

58:25
MathWorks Virtual RoboSub Simulation Environment | Webinar 2026
@RoboNationInc
209 views•2026-03-10

11:04
How to Build a Self-Balancing Robot: Arduino Nano & MPU6050
@easytechzones
16.8K views•2022-03-09

25:22
Micromouse: The Fastest Maze-Solving Robots on Earth
@veritasium
23.5M views•2023-05-24
Related Study Plans & Knowledge Roadmaps
Structured learning paths in Robotics
robotics
Building Delta Robots: Kinematics & Pico
01Foundations of Delta Robots & Mechanical Design
02Electronics and Microcontroller Setup with Pi Pico
03Delta Robot Kinematics and Coordinate Math
+ 3 more learning modules
65h6 modules
Explore Roadmap
robotics
Building Ballbots: Dynamics, Kalman & LQR
01Embedded Electronics & Omniwheel Actuation
02Ballbot Kinematics & Rigid Body Dynamics
03IMU Sensors & Kalman Filter State Estimation
+ 2 more learning modules
42h5 modules
Explore Roadmap
robotics
Micromouse: Hardware, PID Control & Flood-Fill
01Electronics & Teensy Microcontroller Basics
02Sensors and Actuators: Motors, Encoders & IR
03Precision Movement: Implementing PID Control
+ 2 more learning modules
35h5 modules
Explore Roadmap
robotics
CDPR: Kinematics, Arduino & Winch Control
01Foundations of Arduino & Basic Electronics
02Stepper Motors and Winch Mechanics
03Kinematics of 2D Cable-Driven Robots
+ 2 more learning modules
28h5 modules
Explore Roadmap