![🎮 GameObjects und Components! || Spiele Entwickeln für Anfänger mit Unity [01-03] 🎮](https://i.ytimg.com/vi/NkvIvo7VpoQ/maxresdefault.jpg)
![Learn Unity in 17 MINUTES! [2026 UPDATED PINNED COMMENT]](https://i.ytimg.com/vi_webp/E6A4WvsDeLE/maxresdefault.webp)


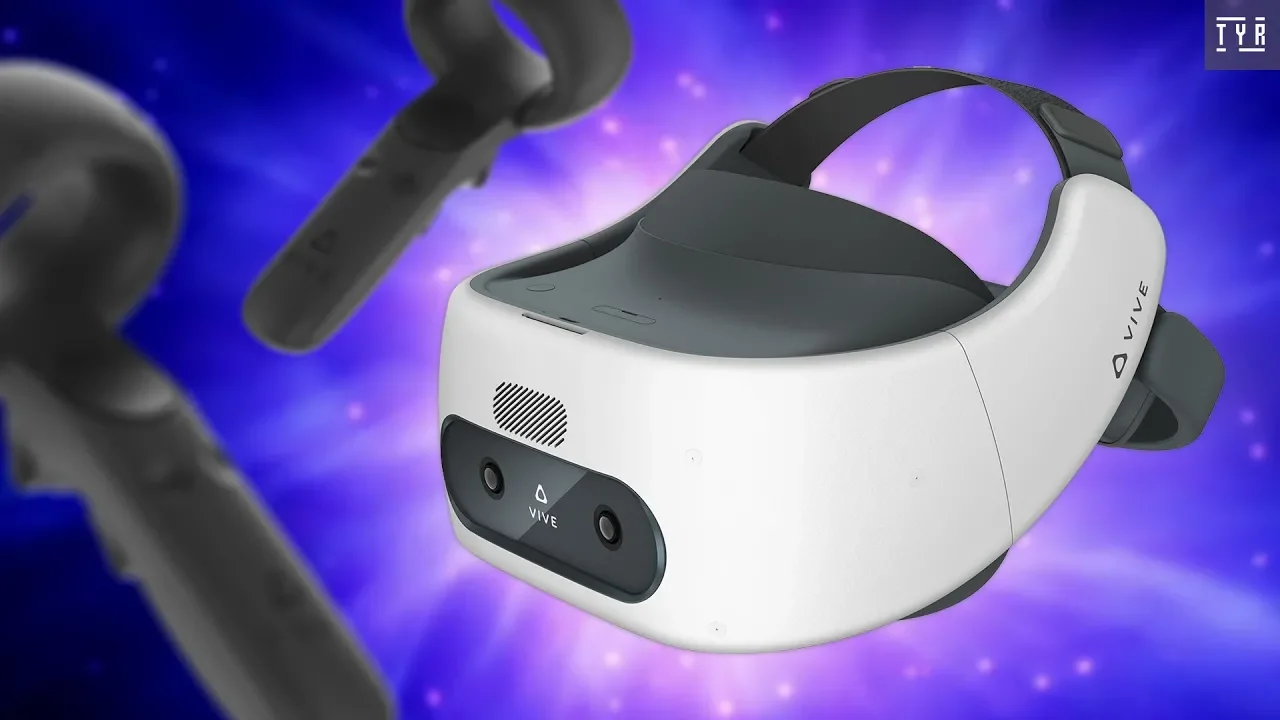

![[유니티 TIPS] 다양한 입력 장치를 손쉽게 지원하는 Input System 패키지 공략](https://i.ytimg.com/vi_webp/dsLBzrbo-Vs/maxresdefault.webp)





![Inverse Kinematics Explained in 10 minutes + 20 min of application [Make Your Own Short Film Part 8]](https://i.ytimg.com/vi_webp/zpr4JIutT80/maxresdefault.webp)

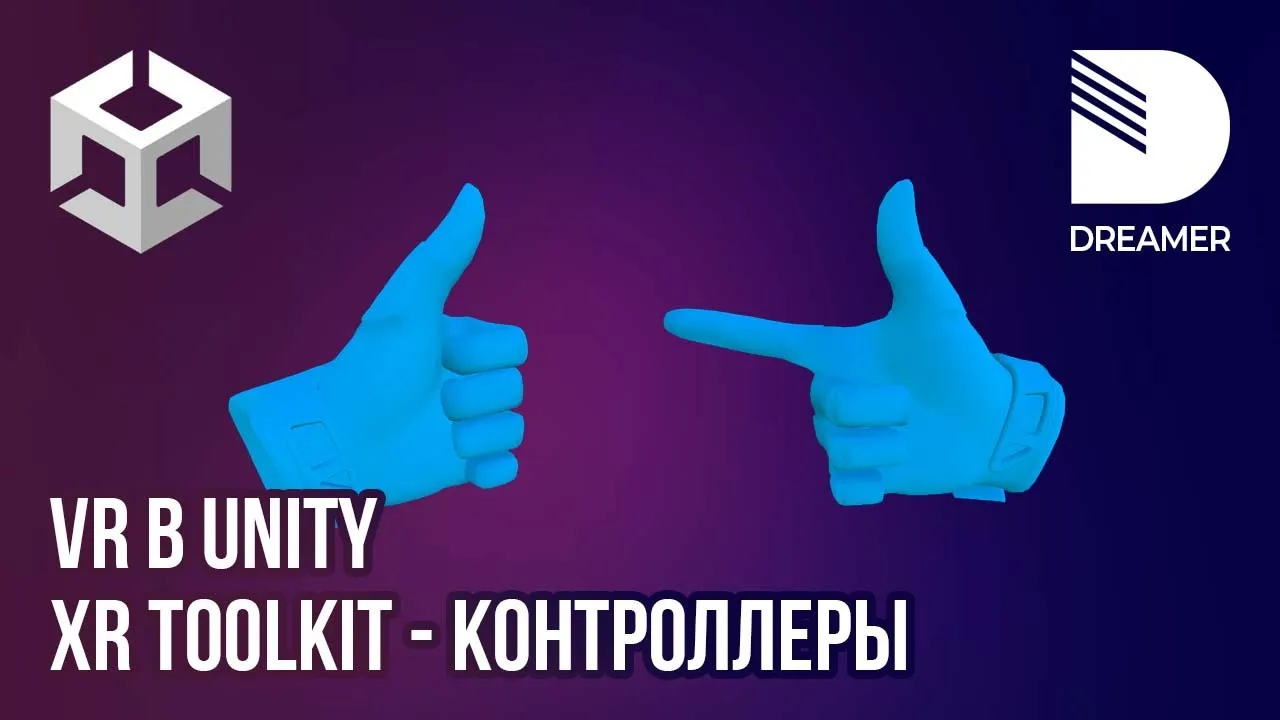
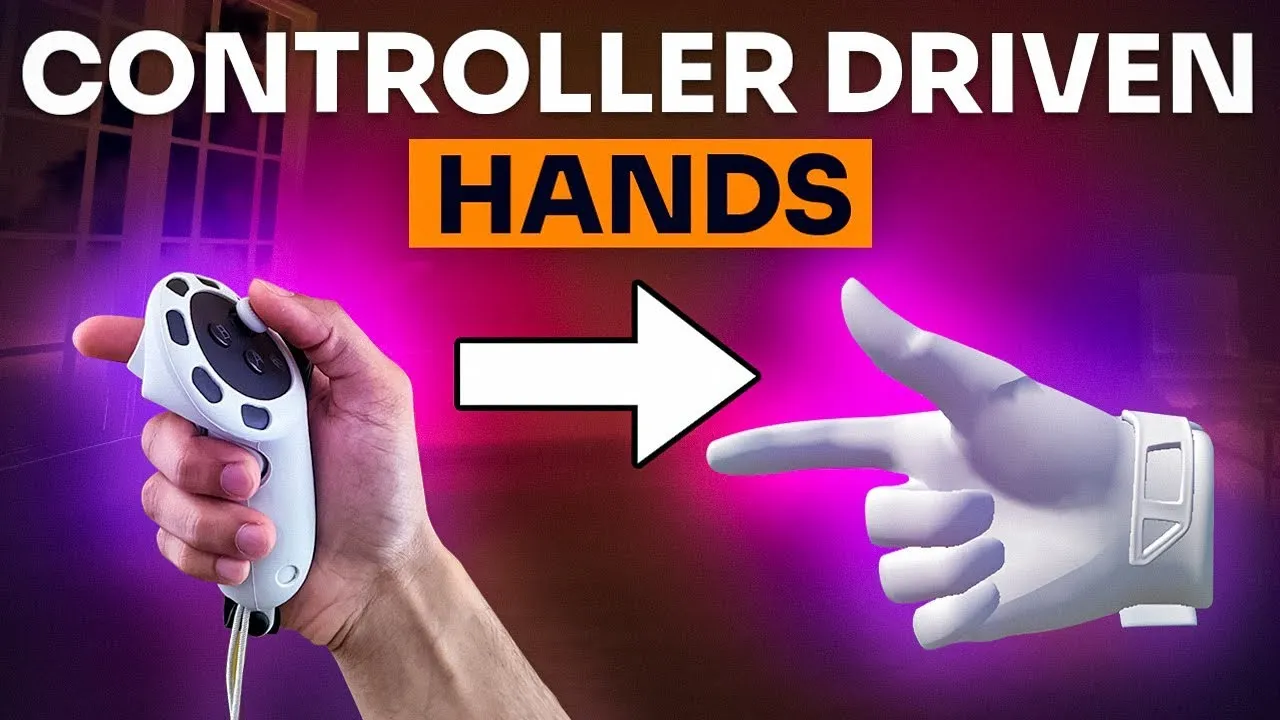



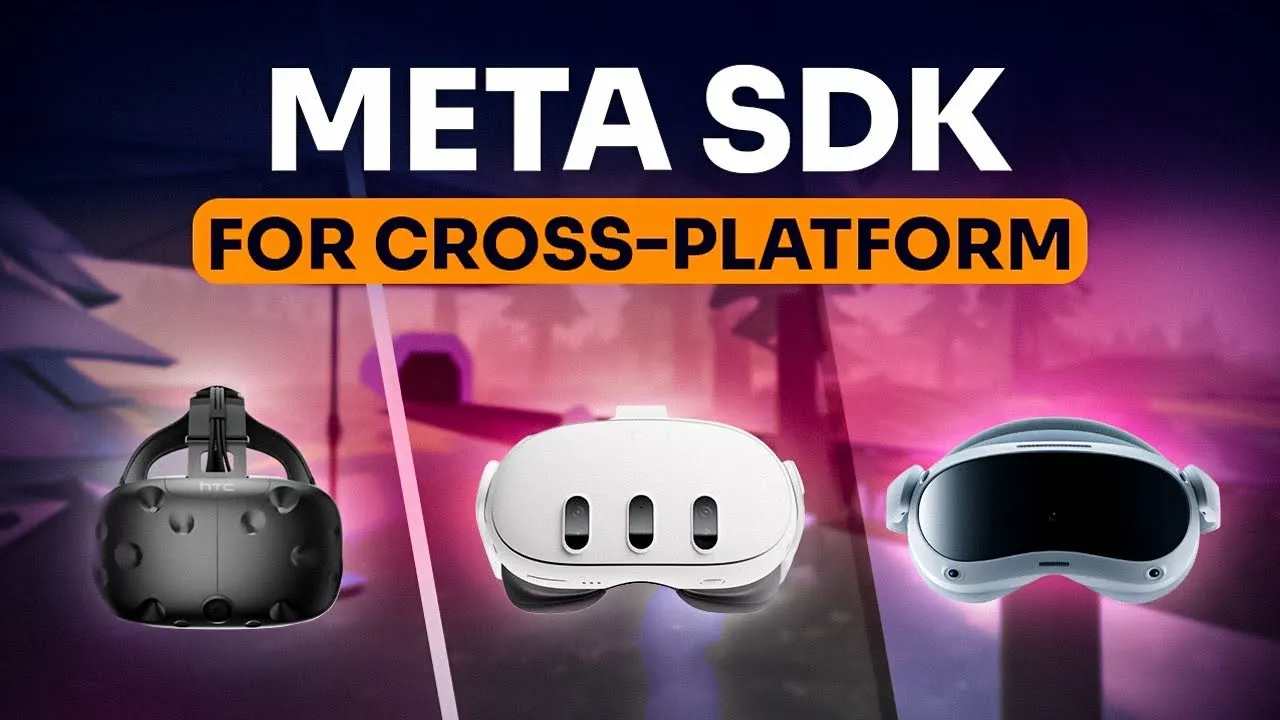
In Unity XR Interaction Toolkit 3.0, controller tracking is implemented using the Tracked Pose Driver script, which retrieves tracking data from hardware devices through configured actions (position, rotation, and tracking state inputs) and applies it to virtual controller objects, enabling synchronization between real-world controllers and their virtual representations; this represents a significant architectural change from pre-3.0 versions where the XR Controller Script handled both tracking and input processing in a unified manner.
Unity XR Interaction Toolkit 3.0: Controller Tracking Tutorial
Added:Basic proficiency with the Unity Editor, including GameObjects, components, and the Transform hierarchy.
Fundamental concepts of XR (Extended Reality), specifically 6DOF (Six Degrees of Freedom) spatial tracking for HMDs and controllers.
Familiarity with Unity's Input System package, including Input Actions, Action Maps, and bindings.
Understanding the basic structure of an XR scene in Unity, specifically the architecture of the XR Origin (XR Rig).
Implementing XR Interactors (such as Ray, Direct, and Teleport Interactors) to utilize the tracked controller poses.
Setting up and animating custom visual representations (like controller models or virtual hands) that map to the tracked pose data.
Transitioning from physical controller tracking to skeletal hand tracking using the Unity XR Hands package.
Configuring advanced input-driven interactions, such as physics-based grabbing, joint constraints, and haptic feedback.
1.6K views20likes25:22Original Release: 2024-12-27
learn VMR come to the spatial XR Community hello everyone welcome to the unity XR crossplatform development tutorial Series in this tutorial I will introduce how to track the posture of the controller this is also one of the significant differences between versions of the XR interaction toolkit before and after 3.0 in the old version of the XR interaction toolkit we used an XR controller script to uniformly handle the posture tracking of the controller as well as its input actions however in the new version of the XR interaction toolkit the XR controller script has been deprecated and it uses other methods to handle the posture tracking and input processing of the controller let me first open an old version of the xri project for demonstration in the old version of the XR interaction toolkit when we create an XR origin player object it comes with a left hand controller and a right hand controller which are used to control the left and right controllers respectively you can see that these two objects have an XR controller script attached this script contains some parameters that reference actions configured in the input system input configuration file the these actions are mainly divided into two categories the first category is used for tracking the posture of the controller looking at at the tracking section of the configuration in the XR controller script you can see that these actions are used to synchronize the movement and rotation of the hand or controller model in the virtual world with the real world controller the other category of actions is related to the controller input looking at the input section of this script for example if I want to grab an object in the virtual world I need to know which button on the controller should be pressed to perform the grab action so we can configure The Binding relationship between actions and controller buttons in the input configuration file and then configure the grab action in the XR controller script in this way when the corresponding controller input is detected the grab action can be triggered and the XR interaction toolkit will handle the logic related to grab in therefore the XR controller script was mainly responsible for tracking the posture of the controller and handling the corresponding controller inputs combining these two modules into a single script when we created an XR origin you could see that it would automatically include these two objects by default each with a XR controller script attached however in versions of the XR interaction toolkit after 3.0 the XR controller script has been deprecated let me demonstrate this returning to the new version of the xri project I can now create an XR origin player object in this new version the default XR origin object has a hierarchy structure that looks like this it only includes the essential camera object without the left-hand controller or right-hand controller objects that were present in the old X Project so how do we develop controller related features in the new version of xri actually the new xri works similarly to the old version it still splits controller related features into two modules one for controller tracking and another for controller input the difference in the new xri specifically in versions after 3.0 is that these two modules are now separate rather than being combined into a unified XR controller script let's first take a look at the main camera object in the player object hierarchy since it can track the user's head there must be a script responsible for processing tracking data from the headset if we select the camera object and scroll down in unity's inspector panel we can see a script called tracked pose driver this script is used to retrieve tracking data from the headset by configuring parameters in the script and signing corresponding actions to those parameters it can use these actions to obtain the relevant inputs for example the position input on this script retrieves the positional data from the headset device while the rotation input retrieves the rotational data with this information we can apply the tracking data to the virtual world's camera allowing the camera in the virtual world to synchronize with the posture of the headset in the real world therefore we can also add the tracked pose driver script to a game object and configure actions related to controller tracking in the script this allows the game object to retrieve real world controller tracking data enabling the virtual object that represents the controller to to synchronize its posture with the real world controller now let's return to the player object in the scene in a previous lesson I had already created an XR origin player object so I'll first delete the XR origin object we just created then select the camera offset child object of the player object and create two empty objects under it the first one I'll name left hand controller to represent the left controller and then I'll create another empty object named right hand controller to represent the right controller I'll place these two objects at the same hierarchy level as the main camera object making them easier to manage next I'll add the tracked pose driver script to the object representing the left controller make sure to select the version of the script that has input system at the end then we need to configure the three parameters below with corresponding actions you can click the three dots next to each parameter and switch to use reference which allows us to directly reference an action asset from the input configuration file the position input parameter is used to represent the positional data of the controller so we select the action named XR I left position since we are configuring the left controller right now we must choose left this action can be found in the official input configuration file next we configure the other parameters for the rotation input parameter we select the action named xri I left rotation finally for the tracking State input parameter we select the action named xri left tracking state next we'll configure the right controller the steps are the same except now we need to switch the actions to the corresponding ones for the right controller for position input select XR WR position for rotation input select x r i right rotation finally for tracking State input select XR I WR tracking now we've configured the tra pose driver script for the objects representing the left and right controllers which theoretically enables us to track the real world controllers next I'll use an official controller model to test whether the virtual controller model can track the real world controller in unity's Project Window search for an object and you'll find the official controller model it's located in a specific folder within the project so you need to import the official xri starter assets sample package the sample package is typically imported alongside the XR interaction toolkit the starter assets include Two controller models one for the left controller and one for the right controller both of which are prefabs in unity now I can drag the left controller model onto the left hand controller object making the controller model A Child object of left hand controller similarly I can drag the right controller model onto the rightand controller object making the right controller model A Child object of that since child objects fully follow the parent object's movement and rotation and because these parent objects have the tracked pose driver script configured with actions for controller tracking these parent objects can retrieve tracking data from The Real World controllers and synchronize with them consequently the child objects the two controller models will also synchronize this means that the virtual controller models in the virtual world can synchronize their posture with the real world controllers now we can run the unity scene to test the effects of the configuration ations we just made in the scene you will see the virtual controller model appear and it can now synchronize with the real world controller moving and rotating in sync to match the real world controller's posture Additionally the official virtual controller model includes controller animation effects for instance when you press a button on the real world controller the corresponding button on the virtual controller model will also be pressed in the virtual world for example pressing the trigger on the right controller will cause the trigger on the virtual controller model to press and moving the thumb stick will make the virtual controller models thumbstick move as well these animation effects are achieved using the official controller animator script it supports animations for the thumb stick trigger and grip therefore as long as we add a tracked pose driver script to an object and configure the actions for tracking the object can retrieve tracking data from the hardware if you want to replace the controller model you can assign a new model as the child object of left-hand controller or right-hand controller for example if I import a gun model and want to use it as the left controller model I can drag the gun model into the scene and make it a child object of the left-hand controller object when I run the scene I notice that the gun model is too large and its rotation angle does not align with the overall rotation of the controller to fix this I adjust the gun models transform component data in the scene first I modify the scale by clicking the settings icon next to scale I adjust the X Y and Z values initially setting the scale to 0.1 makes it too small so I adjust it to 0.2 which fits perfectly then I adjust the rotation and position of the model until it looks satisfactory after making these adjustments I click the three dots on the right side of the transform component and select copy component to copy the current transform data After exiting play mode I click the three dots again and select paste component values to paste the transform data I adjusted during runtime into the component since modifications made to component data during runtime are not saved you need to manually copy the runtime data and restore it to the component After exiting play mode then you can delete or hide the original left controller model when you run the program again you'll see that the left controller model has been replaced with the gun model configuring controller tracking is actually quite simple with the core being the use of the tracked pose driver script however if you want to develop interaction functionality for the controller in addition to obtaining the control roll's posture you also need to capture inputs from the controller such as when the grab button is pressed or when the trigger button is pressed to trigger certain actions in the application in versions of xri before 3.0 the XR controller script was used to uniformly handle both tracking data and controller input in versions of xri after 3.0 tracking data from Hardware devices is obtained via the tracked POS driver script in this lesson I introduced how to configure the tracked pose driver script to retrieve tracking data for the controller as for inputs from the controller versions of xri after 3.0 distribute the related configurations across various interactor components do you still remember what an interactor is it's the object that initiates interactions in the XR interaction process we know that XR interactions require two objects one is the interactor which initiates the interaction and the other is the interactable which is the object that can be interacted with now let's look at the fully functional player object provided by the official package that we added earlier let's examine its hierarchy okay you can see that it also has left controller and right controller objects configured both of these objects have the tracked pose driver script so they're able to retrieve the posture data of the controllers let's expand one of the controllers for example the left controller you'll notice that its child objects include various interactors for example if I select the near-far interactor you'll see that it has relevant actions configured here additionally there are other places where actions are also configured for example in the select input field the input configuration file defines the select action which is added here we can open the input configuration file to see that the select action is indeed defined here this action is triggered when grabbing an object it's bound to the grab button on the controller and the near-far interactor handles both Clos range and long range interactions if we configure the select action for this interactor script when the controller approaches an object provided that the object has the required interactable script attached and we press the grab button on the controller the input system will detect the grab button input this input is equivalent to triggering the select action when the select action is triggered and since we've configured it here in the select input the near-far interactor script will process the grabbing functionality so this essentially binds the interaction related scripts in the XR interaction toolkit with the actions we Define in the input configuration file when the system detects the corresponding input the scripts provided by the XR interaction toolkit handle the respective category of interaction for another example let's select the teleport interactor object this object primarily handles teleportation functionality you'll notice it has an XR Ray interactor script which is responsible for Ray interactions as teleportation itself requires the use of a ray this script also has various configured on it and and these actions also come from the input configuration file therefore in xri inputs from the controller are now distributed across different interactor scripts I believe this change makes the logic clearer because we can intuitively see which controller inputs are bound to which interaction functionality you can directly bind the actions defined in the input configuration file to the relevant interactor script these actions are in turn bound to specific inputs on the controller okay so this is the most significant ific change introduced in xri 3.0 in the upcoming lessons I will introduce the basic interaction features provided by the XR interaction toolkit in a modular manner I'll explain in detail which scripts are required to implement a specific interaction feature and discuss the important parameters on these scripts by adjusting these parameters we can customize the interaction functionality to meet specific needs if you want to quickly develop a project I recommend using the official fully functional player object provided by xri this player object already has the necessary scripts configured and the interaction features it supports are comprehensive you'll only need to make minor modifications to it later which can save a lot of time compared to manually configuring everything yourself however if you're interested in understanding the underlying principles or want to explore the parameters of these scripts and learn how modifying them can achieve different effects then my upcoming lessons will be perfect for you this concludes the content of this tutorial stay tuned for the next lesson
Up Next
14:42
Urdf Import in Unity and Robot Motion Control with ROS | Teleop Twist Keyboard
@RoboticsWithHrithik
10.9K views•2022-01-26

12:54
Triumph of Orthodoxy Icon: Byzantine Art & History Explained
@BenCallan
2.1K views•2024-08-06

9:49
FastAPI vs Flask vs Django: Choosing the Right Python Web Framework
@TechWithTim
302.5K views•2024-05-26

1:42
Game of Thrones Opening Credits: A Cinematic Analysis
@gameofthrones
46.3M views•2011-04-18
Related Study Plans & Knowledge Roadmaps
Structured learning paths in General & Interdisciplinary Studies
general-studies
Elevator Engineering: History, Physics & Cities
01From Hoists to Safety Brakes: The Dawn of Vertical Lift
02Hydraulic vs. Traction: The Engineering Physics of Elevators
03Modern Speed, Safety, and Algorithms
+ 2 more learning modules
12h5 modules
Explore Roadmap
general-studies
Rubber: Material Science, History & Geopolitics
01Origins of Natural Rubber & Mesoamerican History
02The Chemistry of Natural Rubber & Vulcanization
03The Geopolitics of the Rubber Boom & Colonization
+ 2 more learning modules
12h5 modules
Explore Roadmap
general-studies
Containerization: Evolution, Logistics & Trade
01Ancient Trade & Bulk Cargo: Amphorae to Barrels
02The Industrial Revolution & Cardboard Packaging
03The Containerization Revolution: Malcom McLean
+ 2 more learning modules
12h5 modules
Explore Roadmap
general-studies
Textile Tech: Evolution, Labor & Global Impact
01Pre-Industrial Textiles: Handloom & Cottage Industry
02Mechanization: The Spinning Jenny to the Power Loom
03The Factory System & Global Labor Transformation
+ 2 more learning modules
10h5 modules
Explore Roadmap