![[2강] 아두이노 IDE 설치 및 실행 / 아두이노를 컴퓨터에 연결하기 / println() 함수 실행하기](https://i.ytimg.com/vi/zUqAlf5FoZY/maxresdefault.jpg)



![[EET 1015C - Fundamentals of DC Circuits] Setting Up a Simple DC Circuit on the Breadboard](https://i.ytimg.com/vi/9R0H_p17HMw/maxresdefault.jpg)
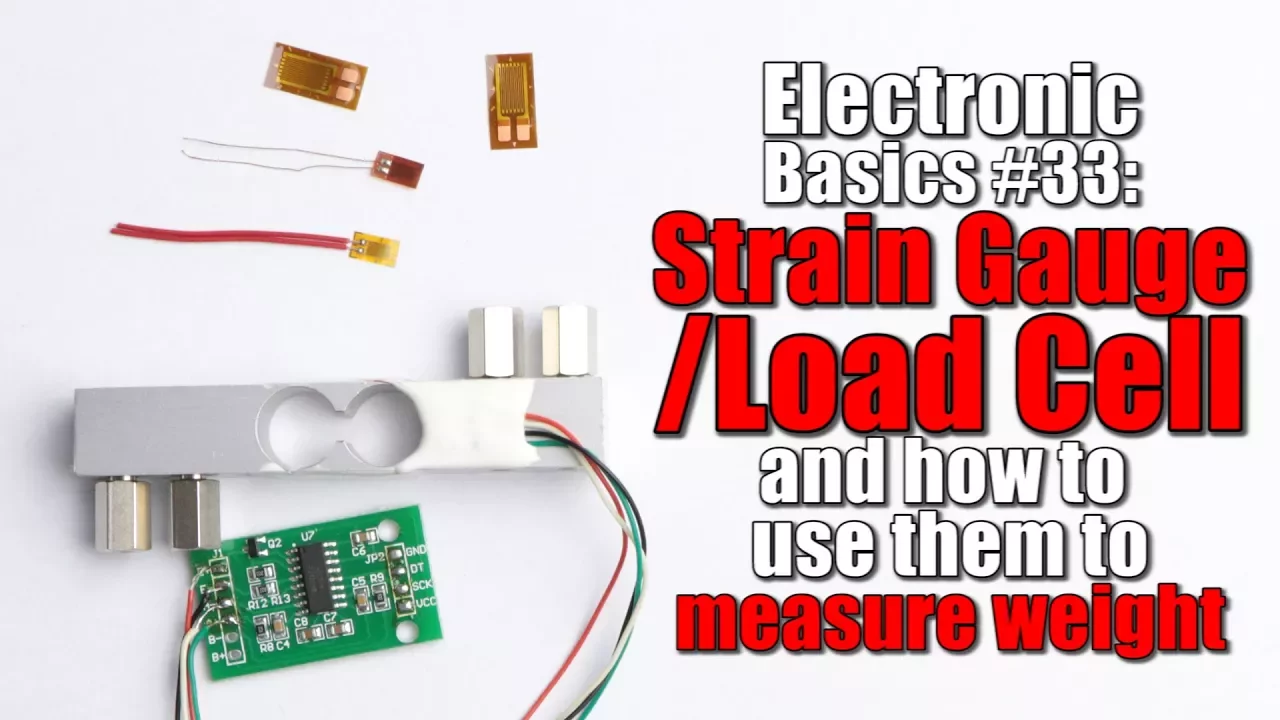
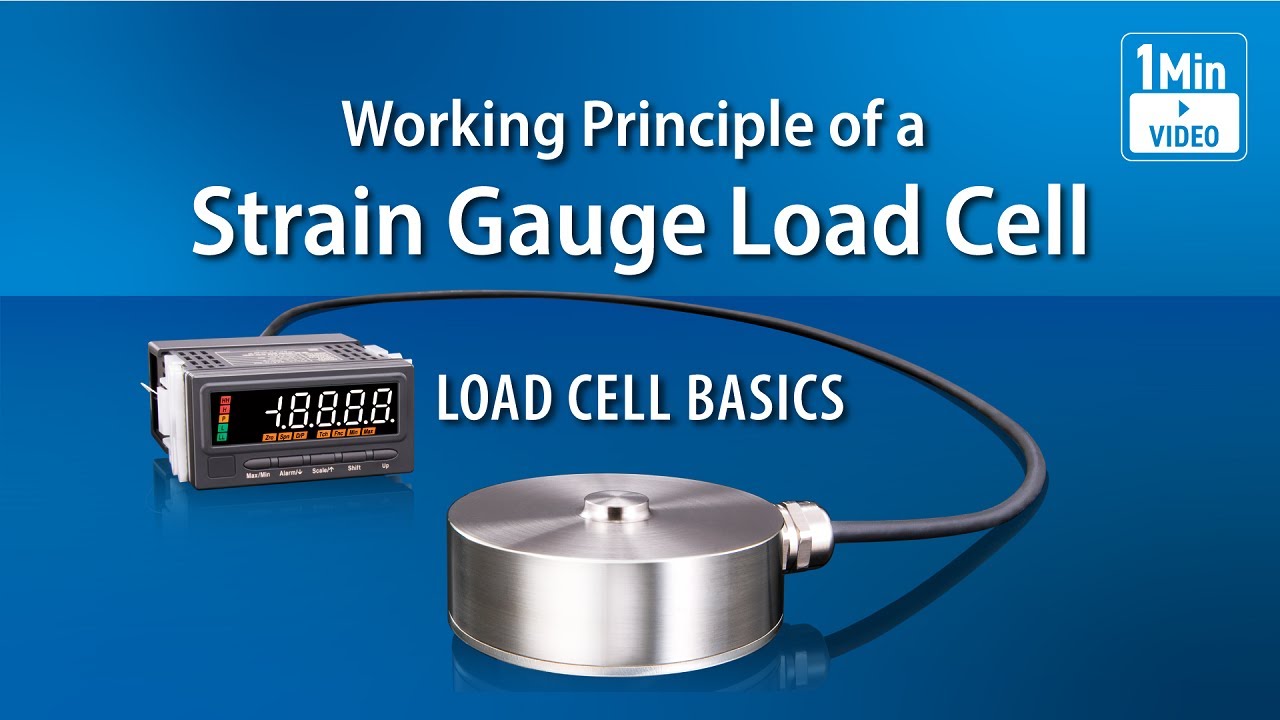
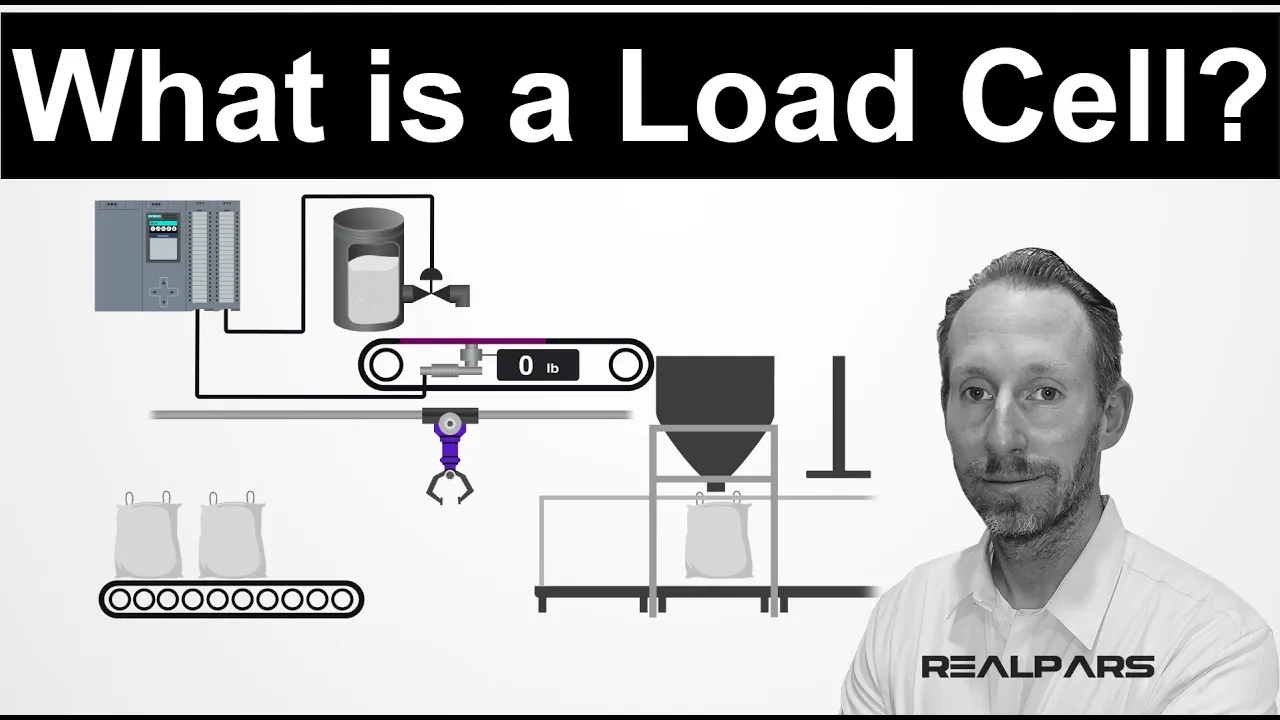

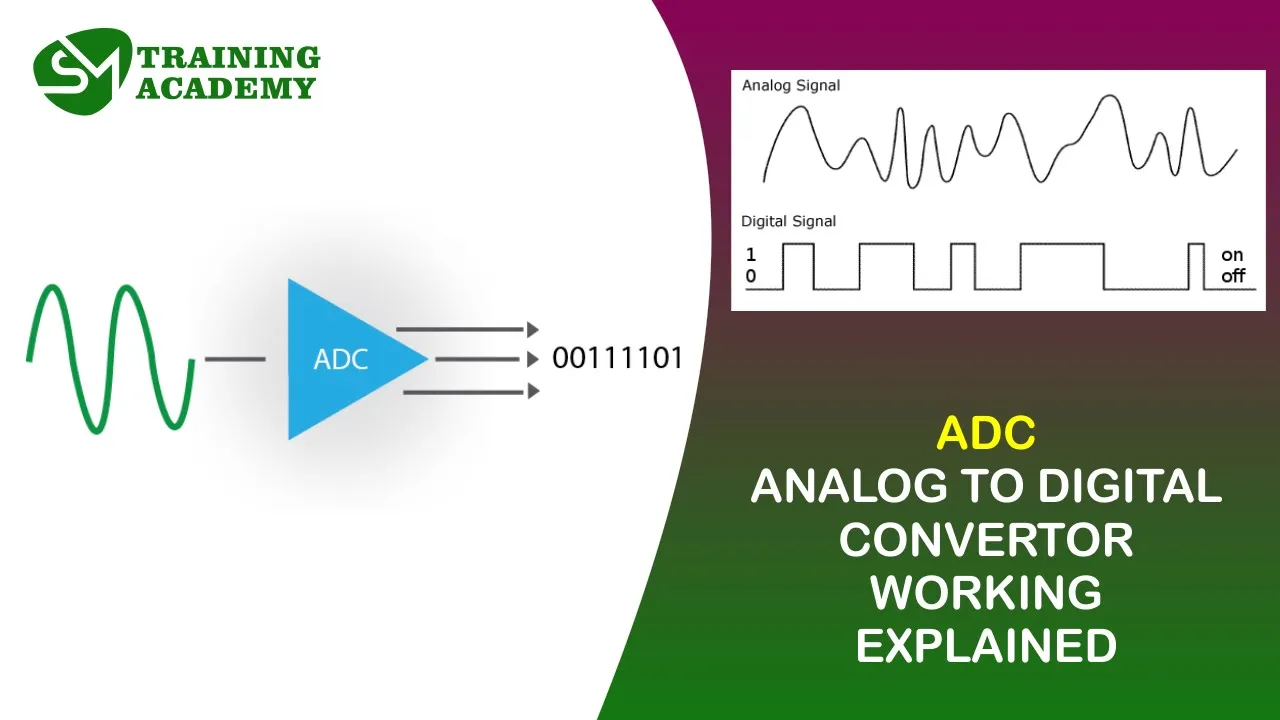



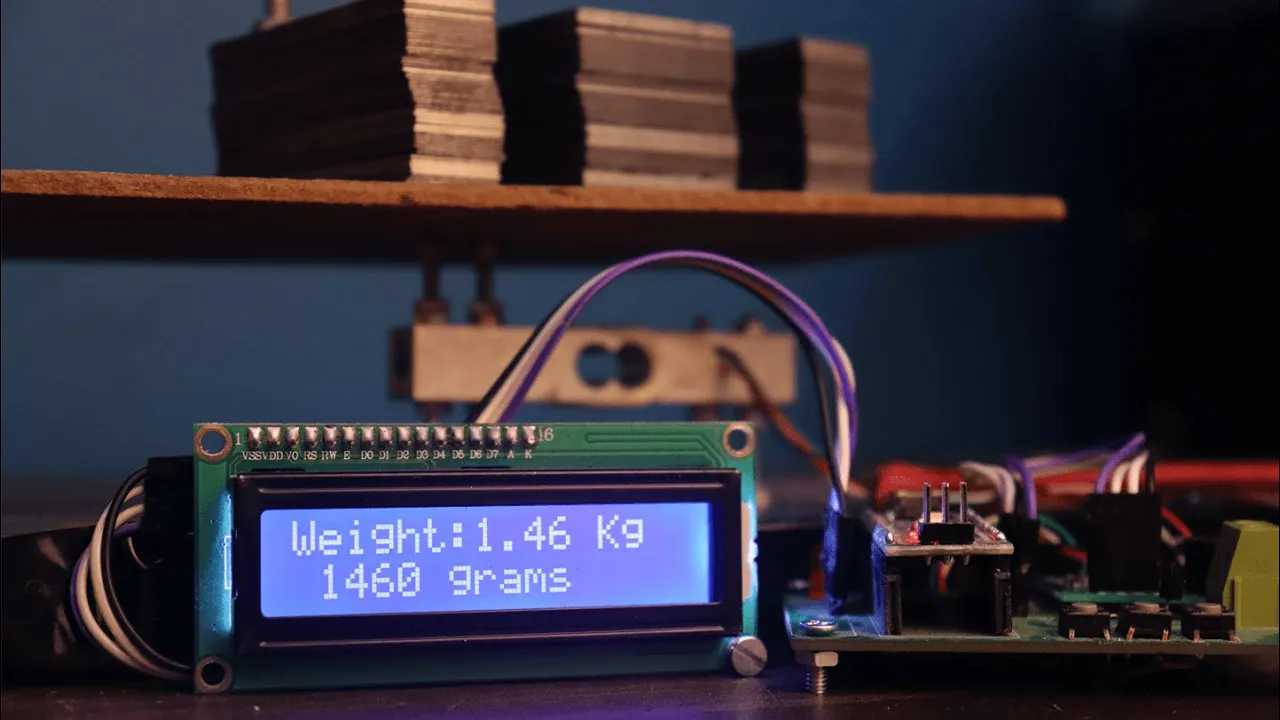
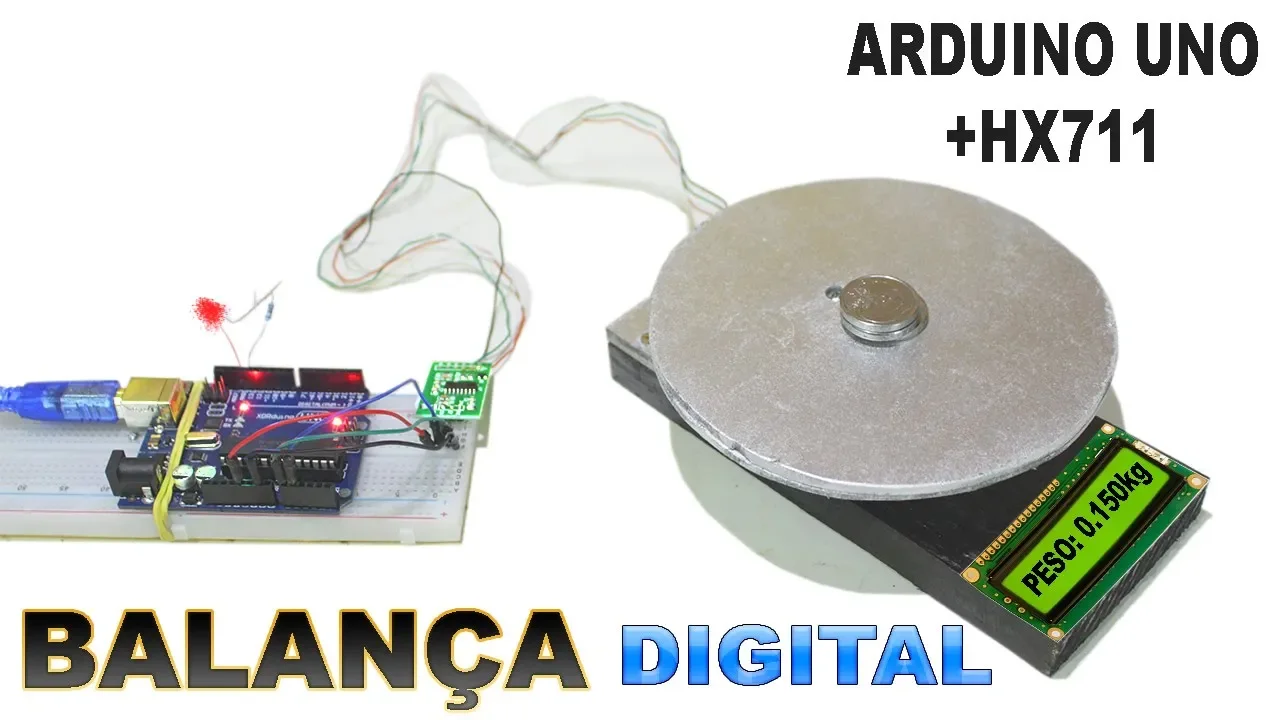
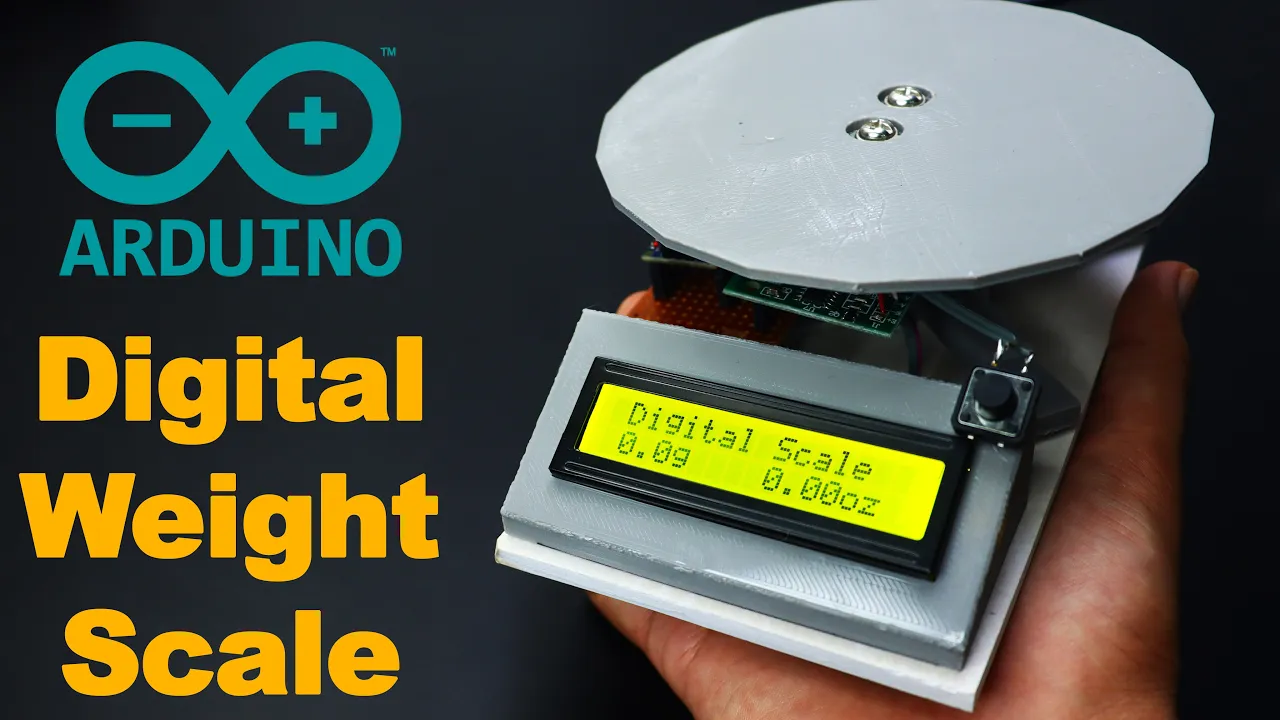









This tutorial demonstrates how to measure weight using a 5kg load cell connected to an HX711 24-bit ADC amplifier with Arduino. The HX711 provides a maximum gain of 128 and requires proper circuit connections (red wire to A+, black to E-, white to A-, green to A+) along with a calibration factor (typically around 419640) to convert raw sensor readings to actual weight values. The Arduino program reads multiple samples, averages them, and displays the weight in kilograms. Calibration involves placing a known weight (like 1kg) on the scale and adjusting the calibration factor until the reading matches the actual weight.
HX711 Load Cell Calibration with Arduino for Accurate Weight Measurement
Added:Basic Arduino programming and familiarity with the Arduino IDE, including uploading sketches and using the Serial Monitor.
Fundamentals of DC electronics, specifically voltage, ground, and how to read basic circuit schematics for breadboard connections.
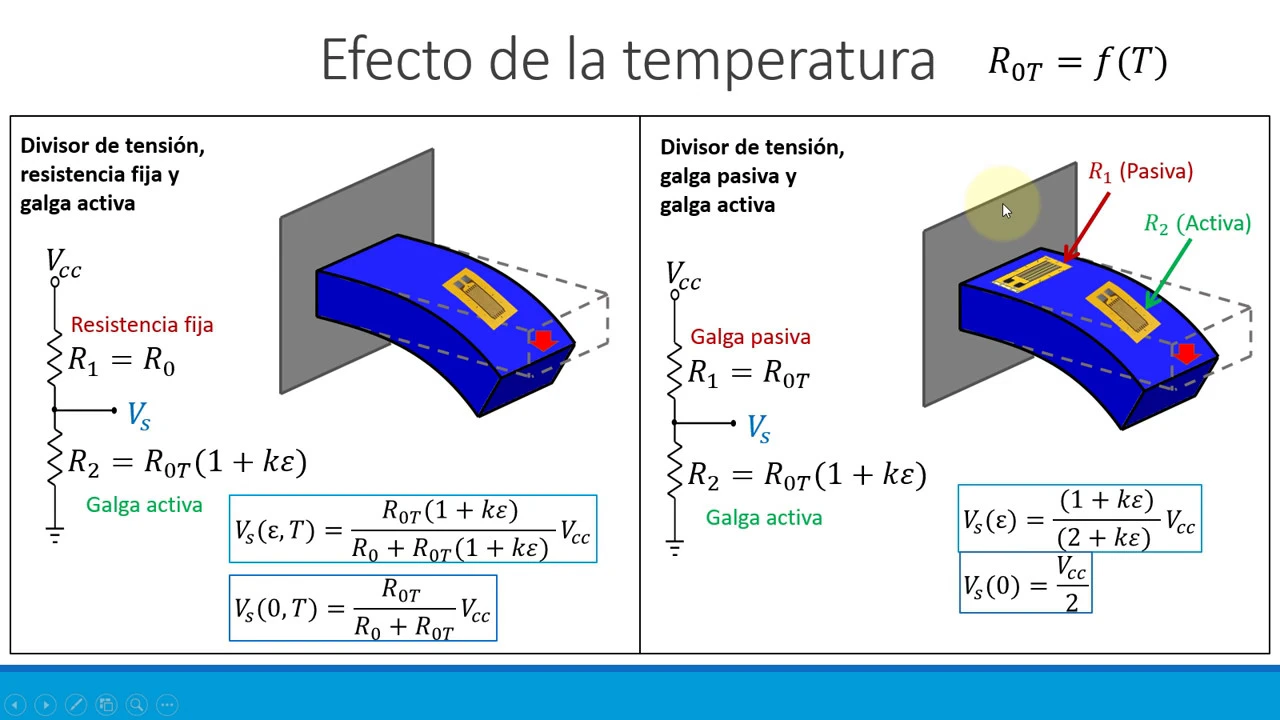
The basic physical concept of how a strain gauge load cell converts mechanical force/weight into electrical resistance.
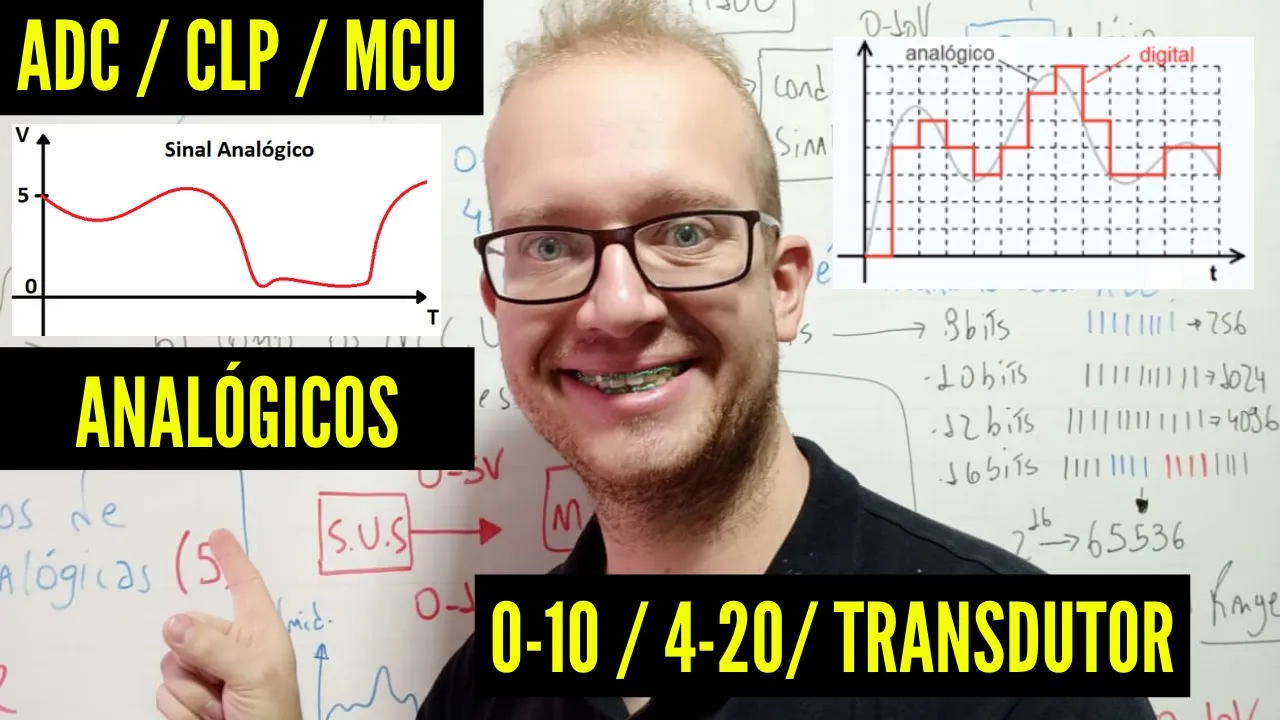
The purpose of signal amplification and Analog-to-Digital Converters (ADCs) in microcontrollers for handling low-voltage sensor outputs.
Integrating visual outputs, such as LCD or OLED displays, to construct a standalone digital scale.
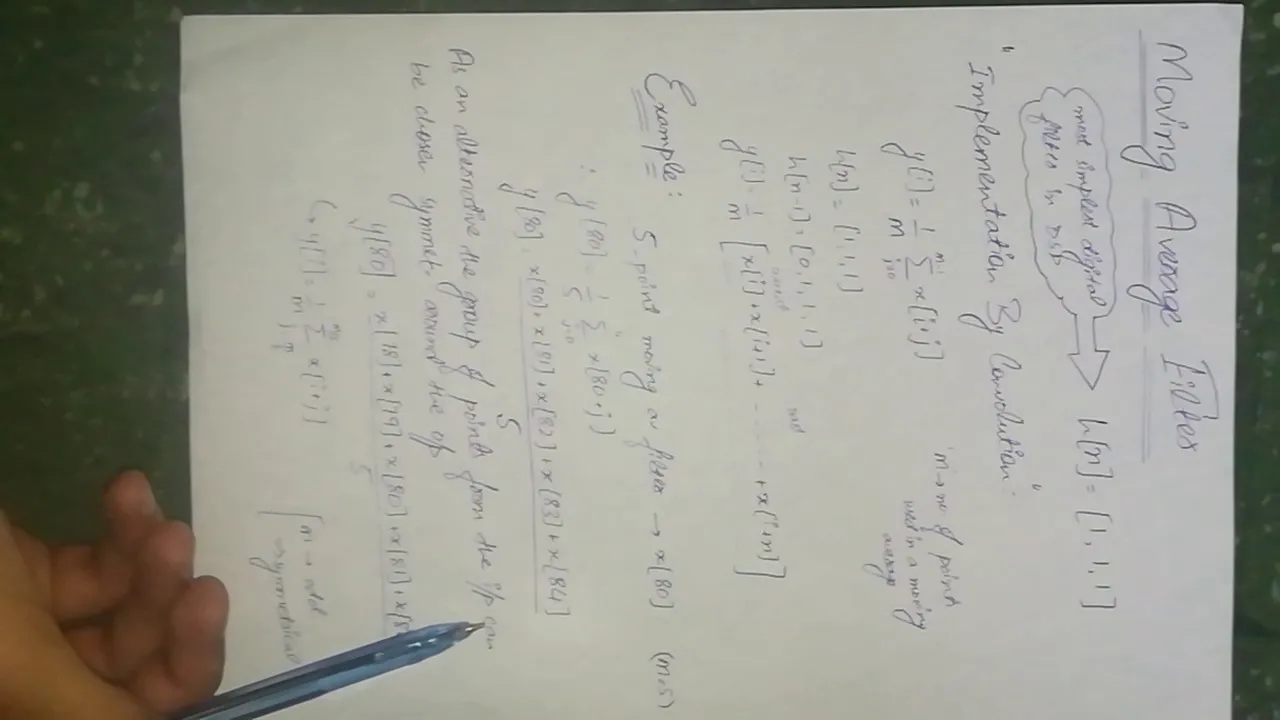
Implementing software-based digital filtering techniques, like moving average or Kalman filters, to reduce signal noise and fluctuation.
Developing IoT (Internet of Things) applications by sending weight data to cloud platforms using Wi-Fi-enabled microcontrollers like the ESP32.
Understanding temperature drift in strain gauges and implementing software compensation algorithms to maintain accuracy over time.
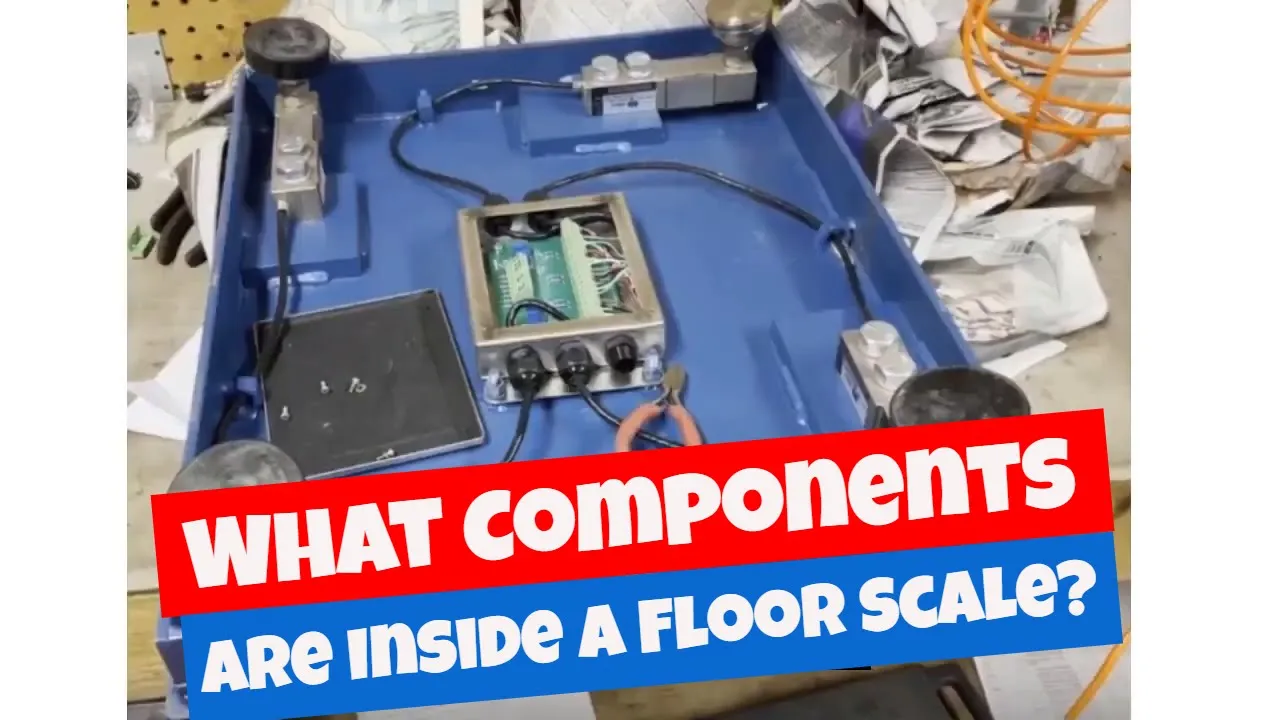
Combining multiple load cells using a summing junction board to measure larger platforms or determine the center of gravity.
22.7K views215likes9:35Original Release: 2018-10-12
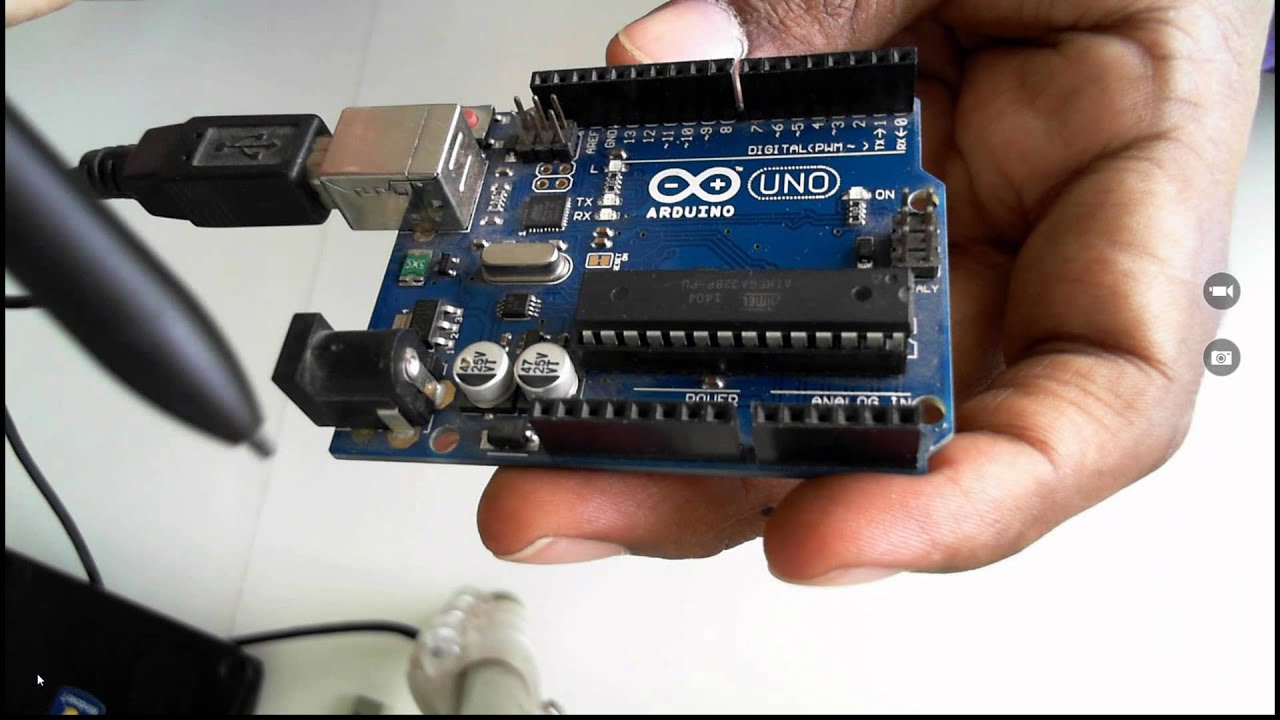
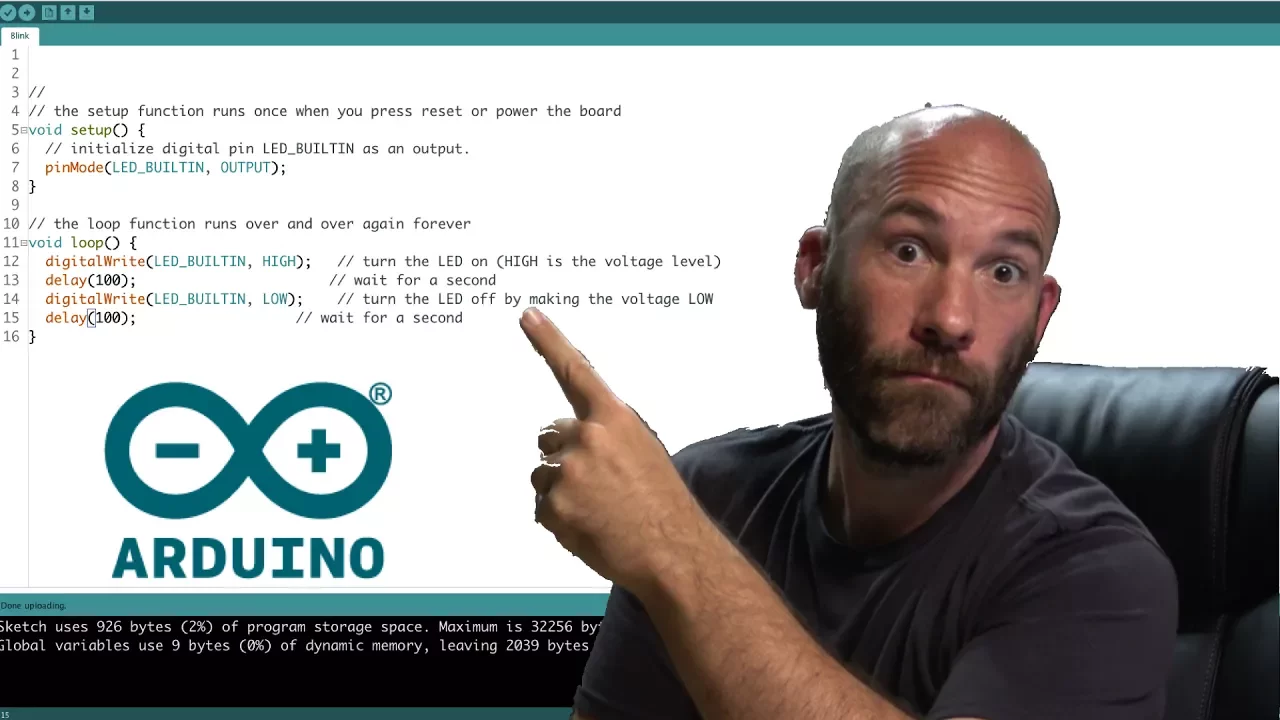
in today's episode you will learn how to use a 5 kg load cell with H x7 1 111 oh you know Omega in this tutorial we will also learn how to collaborate your Lord cell or strain gauge circuit diagram soldering programming and practical implementation key ones make I posted a tutorial covering the basics of HX 7 1 1 and load cell or strain gauge if you want to learn the basics then you should watch this tutorial the link is given in the description so let's get started the components that we will be needing for this project on number one Audrina you know Omega but I'll be using Arduino the same program will also work with mega as you know my friends any program which is written for Arduino can also be run on mega but except projects which make use of SPI bus is an Audrina Han mega the SPI pins are different but in this project we are not using SPI bus number 2 H X 7 1 1 the HX 7 1 1 is a 24-bit analog to digital converter ADC which has an amplifier which gives maximum gain of 128 s for the datasheet as you can see on the right side we have ground DT s CK and VCC while on the left side we have a plus e minus a minus a plus B minus and B plus the load cell will be connected with a plus a minus a minus and a plus ground will be connected with audino's ground DT will be connected with pin 3 s CK with pin number 2 and VCC with fire fault these are the male headers which you will be soldered with a breakout board then using male to female tab jumper wires we can easily connect this with Arduino number 3 5 kg load cell as you can see it has 4 wires right Blake green and white these components can be purchased from Amazon the components purchase links are given in the description the connections are really easy as you can see the loads red wire is connected with the HX 7 1 1 a plus been black wire of the load cell is connected with E - white wire is connected with a - and green wire is connected with a plus while the H X 7 1 1 record board ground is connected with the Arduino is ground DT is connected with pin 3 s CK is connected with pin 2 and Ricci C is connected with fly fault now let's do the soul ring first of all apply some solder to the E + E - a - a + b - + b + holes so that we can easily sold or the Lord cell fires now solder the male headers on the right side of the H X 7 1 1 record board as you can see the male headers are soldered now let's shoulder the load cell with the H X 7 1 1 s for the circuit connections a is explained you we are done with soldiering and now let's do the interfacing and a red wire with a VCC pin of the HX 7 1 1 connect a green wire with the SC k connect a white wire with DT and finally connect a big wire with the ground while fixing the load cell make sure the arrow points a downward on just temporarily fixing this on hard board to check my programming and connections after I am satisfied with the result then I can properly fix this on some nice metal base the load cell is fixed and now let's do the interfacing so now as you can see the red wire is connected with five of the black wire is connected with ground green wire is connected with pin two and white wire is connected with pin three now let's discuss the programming before you start the programming first of all make sure that you use the latest version of the arduino ide and also make sure that you download the h XO seven-11 library after downloading the library then simply copy and paste it into the arduino library folder the h exes seven-11 library download link is given in the description here include 8 X 7 1 1 dot H hash include' means that this is a preprocessor directive and dot which means that it this is a header file Hel's define the out 3 the DT pen of the H X a 7 1 1 is connected with pen 3 H defines CLK - ACK pin is connected with pin 2 of arduino float wait wait is a variable of a type float and this will be used to store the video coming from the load cell float calibration factor is equal to 4 1 9 6 4 0 for me this video works just perfect I will tell you how to set this value then we will be doing the practical testing as you know my friends every Audrina on mega program has at least two functions which are the white setup and why functions wide means that this function is not returning any value and the empty parenthesis means that this function is not taking any arguments is the input serial dot begin 9600 activates the serial communication at the baud rate of 9600 then we send some register serial monitor reset the scale to zero get a baseline reading then stores a wide loop function that just to this calibration factor we read five values and take the average and and store data value and variable weight and then we used his instruction to send value to serial monitor and you can use the plus and minus to increase and decrease the calibration factorial value I have already applauded this program now let's watch this project in action and I will also show you how to set the calibration factor value connect all do you know with a laptop open the serial monitor as you can see currently the value is zero point zero zero kg this is a 1 kg weight let's measure it weight you as you can see it successfully measure the 1kg weight now let's measure the TKG rate you now let me show you how to set the calibration factor value and what happens when we change this value change the value and upload the program you now again let's use this 1 kg weight this time you can see it gives me a wrong reading this is how this video effects the reading you will have to manually find out this value through testing let's set this value back to 41 and upload this so keep changing this value until you are satisfied with the result I hope you like today's episode like and share this video with your friends see you in next episode and thanks for watching you
Up Next

60:52
Communication Studies Exam Prep Guide: Strategies for CAPE Essays
@YoLinq
32.4K views•2021-07-04

12:54
Triumph of Orthodoxy Icon: Byzantine Art & History Explained
@BenCallan
2.1K views•2024-08-06

9:49
FastAPI vs Flask vs Django: Choosing the Right Python Web Framework
@TechWithTim
302.5K views•2024-05-26

1:42
Game of Thrones Opening Credits: A Cinematic Analysis
@gameofthrones
46.3M views•2011-04-18
Related Study Plans & Knowledge Roadmaps
Structured learning paths in General & Interdisciplinary Studies
general-studies
Elevator Engineering: History, Physics & Cities
01From Hoists to Safety Brakes: The Dawn of Vertical Lift
02Hydraulic vs. Traction: The Engineering Physics of Elevators
03Modern Speed, Safety, and Algorithms
+ 2 more learning modules
12h5 modules
Explore Roadmap
general-studies
Rubber: Material Science, History & Geopolitics
01Origins of Natural Rubber & Mesoamerican History
02The Chemistry of Natural Rubber & Vulcanization
03The Geopolitics of the Rubber Boom & Colonization
+ 2 more learning modules
12h5 modules
Explore Roadmap
general-studies
Containerization: Evolution, Logistics & Trade
01Ancient Trade & Bulk Cargo: Amphorae to Barrels
02The Industrial Revolution & Cardboard Packaging
03The Containerization Revolution: Malcom McLean
+ 2 more learning modules
12h5 modules
Explore Roadmap
general-studies
Textile Tech: Evolution, Labor & Global Impact
01Pre-Industrial Textiles: Handloom & Cottage Industry
02Mechanization: The Spinning Jenny to the Power Loom
03The Factory System & Global Labor Transformation
+ 2 more learning modules
10h5 modules
Explore Roadmap