








![[사진수업] 초보개념 길라잡이, 한방에 끝내는 디지털 사진의 기본 용어 정리, 색공간, 색역, 계조, 대비, 다이나믹레인지](https://i.ytimg.com/vi_webp/4XcrnclIybY/maxresdefault.webp)





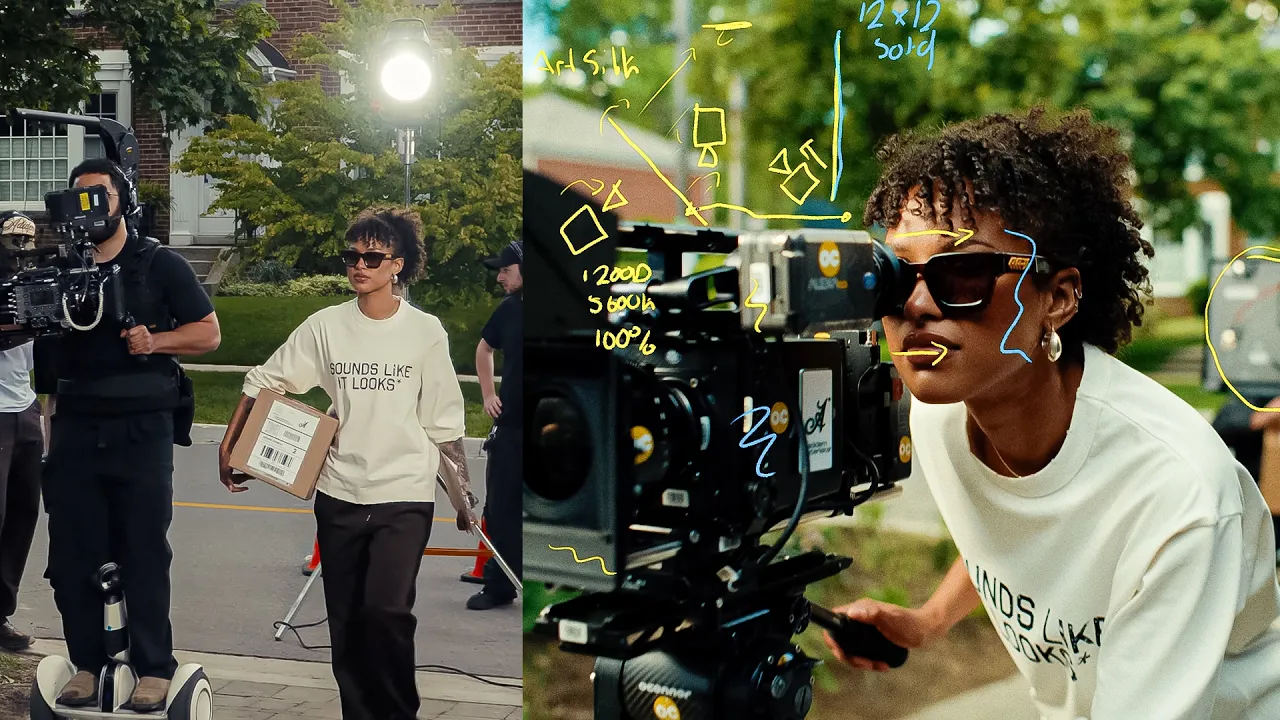





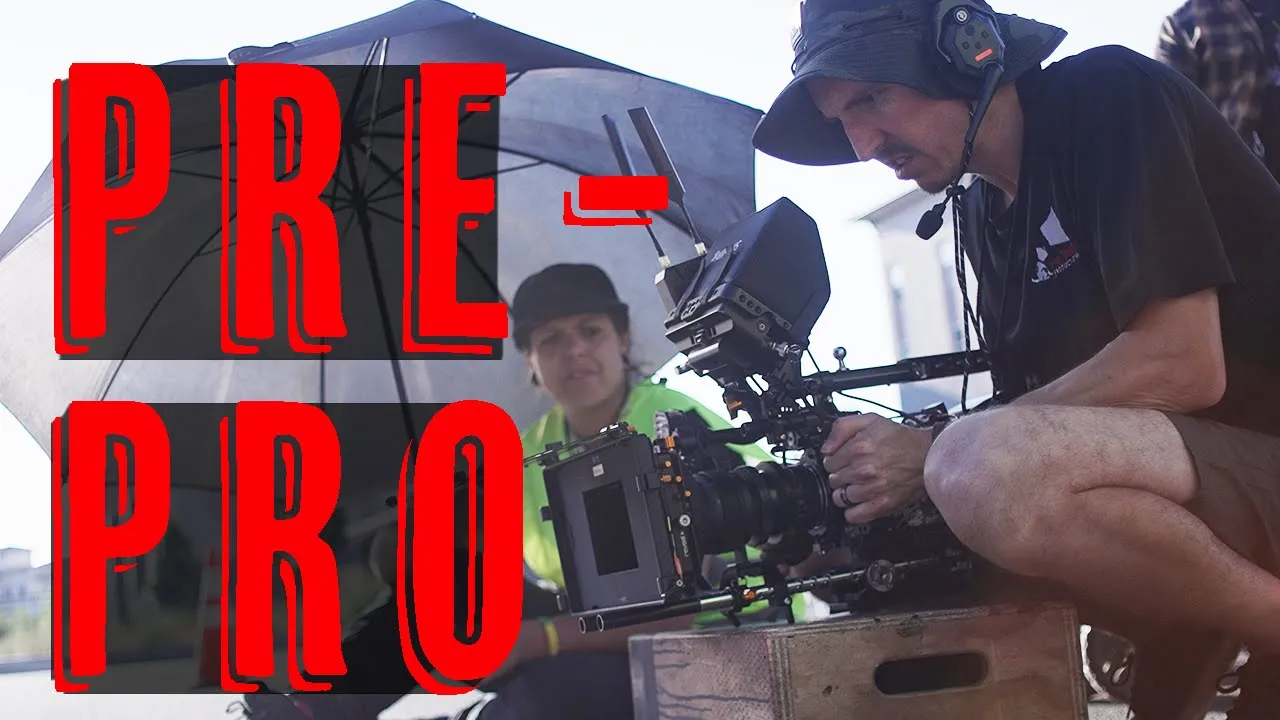





Cinematic images can be created using only natural light by strategically positioning subjects relative to light sources, using negative fill (black materials) to add dimension and shadow, employing ND filters to control exposure in bright conditions, and utilizing indirect light (bounced or diffused light) for softer, more cinematic results; key techniques include finding shade, using bounce cards to reflect light, and positioning subjects opposite windows to create dramatic separation between subject and background.
Cinematic Natural Light Techniques: 3 Setups for Filmmakers
Added:Understanding the Exposure Triangle (Aperture, Shutter Speed, and ISO) to manage manual camera settings.
The fundamental properties of light, specifically the distinction between hard (direct) and soft (diffuse) light sources.
Basic optical theory regarding Neutral Density (ND) filters and how they affect exposure and depth of field.
Concepts of dynamic range and contrast ratio in digital sensors to understand how cameras capture highlights and shadows.
Advanced light modification techniques using external diffusion frames, bounce boards, and flags to control natural sunlight.
Motivated lighting design, specifically how to seamlessly blend artificial fixtures (LEDs, HMIs) with existing natural light sources.
Scheduling and blocking shoots based on solar geometry, utilizing sun-tracking tools to maintain lighting continuity.
Color grading workflows for matching exposure and color temperature variations caused by changing natural light conditions.
38.5K views1.8Klikes7:00Original Release: 2020-10-06
hey it's valentina v and welcome to four minute film school today we're talking about how to light with no lights no not like that i meant like this that's right we're talking cinematic lighting with only natural light let's go we're here at beam la which is our friend justin jones's studio and we're talking about natural light now a lot of people think that they need all sorts of gear to achieve cinematic quality footage and that's simply not true if you know how to shape natural light how to use the sun to your advantage when and where it's going to be and at what time you can get some pretty great cinematic images if you know what you're doing whether you're indoors or out so let's go see three setups right now for our first setup we are here in the bunker set at bmla and it has a lot of windows now if we want to use those windows we can but for this look we don't want any light except for one window source so we cover all of those up with flags with duvetyne with other scraps of metal and we have the one window that we open this single source could be something spectacular like the entrance to a tunnel or cave or a dungeon it could be a large source like a door or it could be what we used which is just open a window this window provides indirect lighting which is inherently soft the bigger the source the better but for us this window is perfect for lighting just the face in a medium we introduced this black flag just to have even more contrast between the light far side of the face and the dark near side because a window is a real source you can be very flexible with how you place the camera and what your framing is for example you could take the camera off the tripod have it hand held any way you work it if the window's in the shot that's okay because it's a natural light source because the light from the window is very indirect it is also soft it goes onto our subject and on our background helping to create separation between our subject and the background to that we add haze and all of a sudden we have this very moody dramatic scene [Music] and now we're outside our mic died so it's cell phone mic time that's fine you can hear me perfectly well of course when you're outside the best time of day to shoot is either in the morning or in the evening but then you have this giant chunk of time in the middle of the day where the sun is overhead how are you going to use it one way to do it is to find shade if you can find shade and place your subject in the shade you can use other objects walls other things in the area to bounce light and reflect light the first thing i like to do is scout the location beforehand and use an app like sun seeker or photo pills that's going to tell you exactly where the sun is going to be exactly at what time of the day so you can really take advantage of where the shadows are going to be in this location at first we had giselle closer to the building but we couldn't get that nice bounce happening from the direct light so we had to move him a little bit closer to the garage so we could use both the garage door and that big foam bounce to give him a little bit more light on his face here we have a pretty common problem for filming outdoors in the middle of the day you have a super bright distracting background and a dark foreground what do you do first of all get rid of that distraction by opening up your aperture that way everything in the back is going to be out of focus here we have a street a bunch of lamp posts all of that it's going to just be out of focus but it's bright so what do we do to counteract that knock that down a little bit we add an nd filter but then the foreground becomes a lot darker so two things first of all we introduce a bounce on the left side of frame and that is going to bring up a little bit more light onto the face also we wanted to give even more dimension to the face so while the key light the bounce is on the far side of the face the near side of the face we added these floppies what floppies are going to do or maybe you could just use a black v flat is just knock down the exposure and the brightness on that side of the face give the entire scene a little bit more dimension you also have to consider how are you shooting this is it a close-up is it a medium is it a wide try to get those floppies as close to the edge of frame as possible this is great because you can use these tips any time of the day you just have to find some shade and you can make it work for our last shot here we are on the roof at sunset now when you're shooting sunset you only have about a 30 minute window where the light is bright and lit up so you better take advantage of it every time the light goes down you have to compensate for your exposure with taking off an nd filter upping your iso or opening up your aperture this is probably not the best for dialogue scenes this is going to be great for music videos dance videos don't be afraid to crush your foreground into the blacks to really make that sky colorful and make it pop let's take a look all right shooting natural light what have we learned number one in order to give a little bit more shadow to your subjects use negative fill that way there's more dimension across their face number two if the sun is too bright use nd filters to knock down that exposure while keeping your aperture wide open and the third thing if you don't want to shoot out in the middle of the day in bright sunlight look for indirect light sources like shooting in the shadows or shooting next to an open window on the opposite side of the building from the sun that will give you nice soft beautiful cinematic images without a single light that brings me to my comment question what is a lighting setup that you have executed with no lights just the sun this could be when you were starting your career or it could be last week let me know describe it in the comments for a chance to win an aputure m9 light my name is valentina v this is four minute film school please like this video if you liked it and subscribe to our channel until next week happy shooting
Up Next
8:18
Golden Hour Film Photography Techniques and Photo Tips
@shutterstocktutorials
162K views•2019-08-15

12:54
Triumph of Orthodoxy Icon: Byzantine Art & History Explained
@BenCallan
2.1K views•2024-08-06

9:49
FastAPI vs Flask vs Django: Choosing the Right Python Web Framework
@TechWithTim
302.5K views•2024-05-26

1:42
Game of Thrones Opening Credits: A Cinematic Analysis
@gameofthrones
46.3M views•2011-04-18
Related Study Plans & Knowledge Roadmaps
Structured learning paths in General & Interdisciplinary Studies
general-studies
Elevator Engineering: History, Physics & Cities
01From Hoists to Safety Brakes: The Dawn of Vertical Lift
02Hydraulic vs. Traction: The Engineering Physics of Elevators
03Modern Speed, Safety, and Algorithms
+ 2 more learning modules
12h5 modules
Explore Roadmap
general-studies
Rubber: Material Science, History & Geopolitics
01Origins of Natural Rubber & Mesoamerican History
02The Chemistry of Natural Rubber & Vulcanization
03The Geopolitics of the Rubber Boom & Colonization
+ 2 more learning modules
12h5 modules
Explore Roadmap
general-studies
Containerization: Evolution, Logistics & Trade
01Ancient Trade & Bulk Cargo: Amphorae to Barrels
02The Industrial Revolution & Cardboard Packaging
03The Containerization Revolution: Malcom McLean
+ 2 more learning modules
12h5 modules
Explore Roadmap
general-studies
Textile Tech: Evolution, Labor & Global Impact
01Pre-Industrial Textiles: Handloom & Cottage Industry
02Mechanization: The Spinning Jenny to the Power Loom
03The Factory System & Global Labor Transformation
+ 2 more learning modules
10h5 modules
Explore Roadmap