














![OpenCV Computer Vision Application Programming [Video Course]](https://i.ytimg.com/vi_webp/DB5bJ5LkN0U/maxresdefault.webp)









A color sorting robotic arm is developed using an acrylic and aluminum mechanical structure with five servo motors (two for shoulder joint for high torque), controlled by Arduino with a color sensor for detection; the system uses pre-calculated angle arrays to position the arm for picking up colored buttons and dropping them into corresponding color-specific holes based on sensor readings.
Color Sorting Robotic Arm with Servo Motors and Arduino
Added:Basic Arduino programming concepts, including control structures (such as if/else statements), loops, and utilizing external device libraries.
Fundamentals of electronic circuits, specifically breadboarding, safe wiring of sensors, and managing external power supplies for high-draw components like motors.
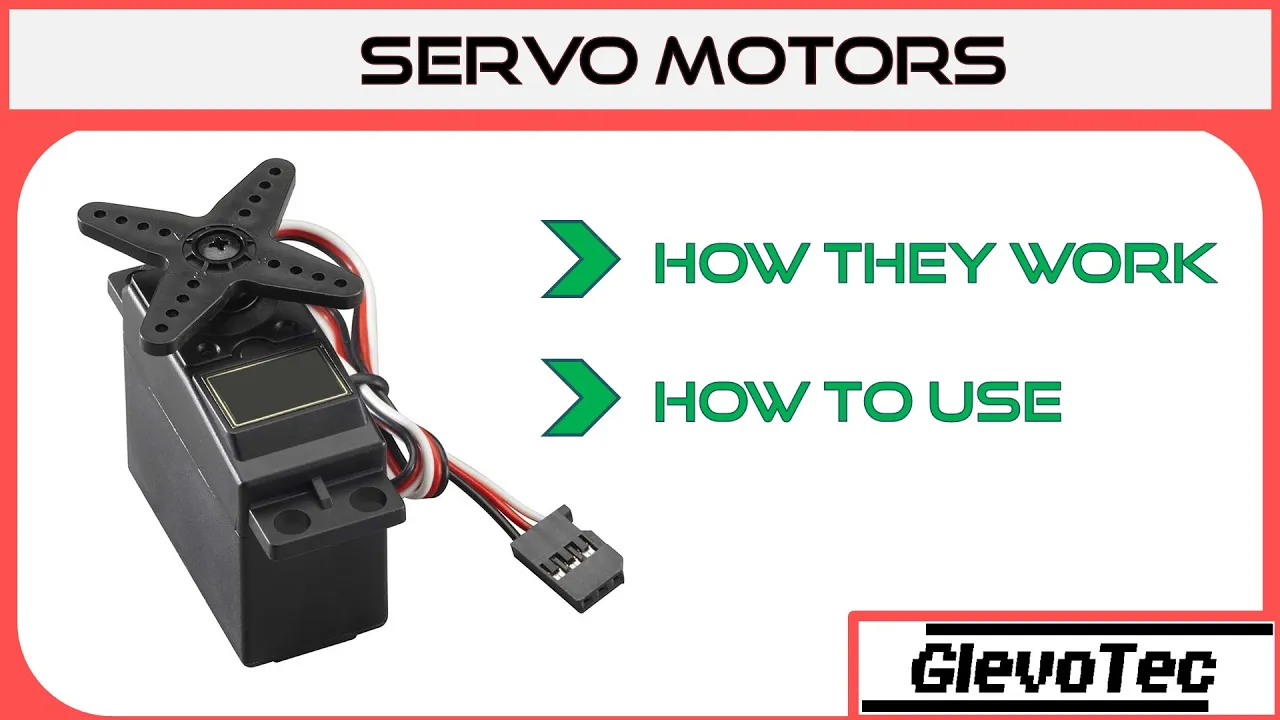
The working principles of servo motors, including how Pulse Width Modulation (PWM) is used to control shaft positioning and angles.
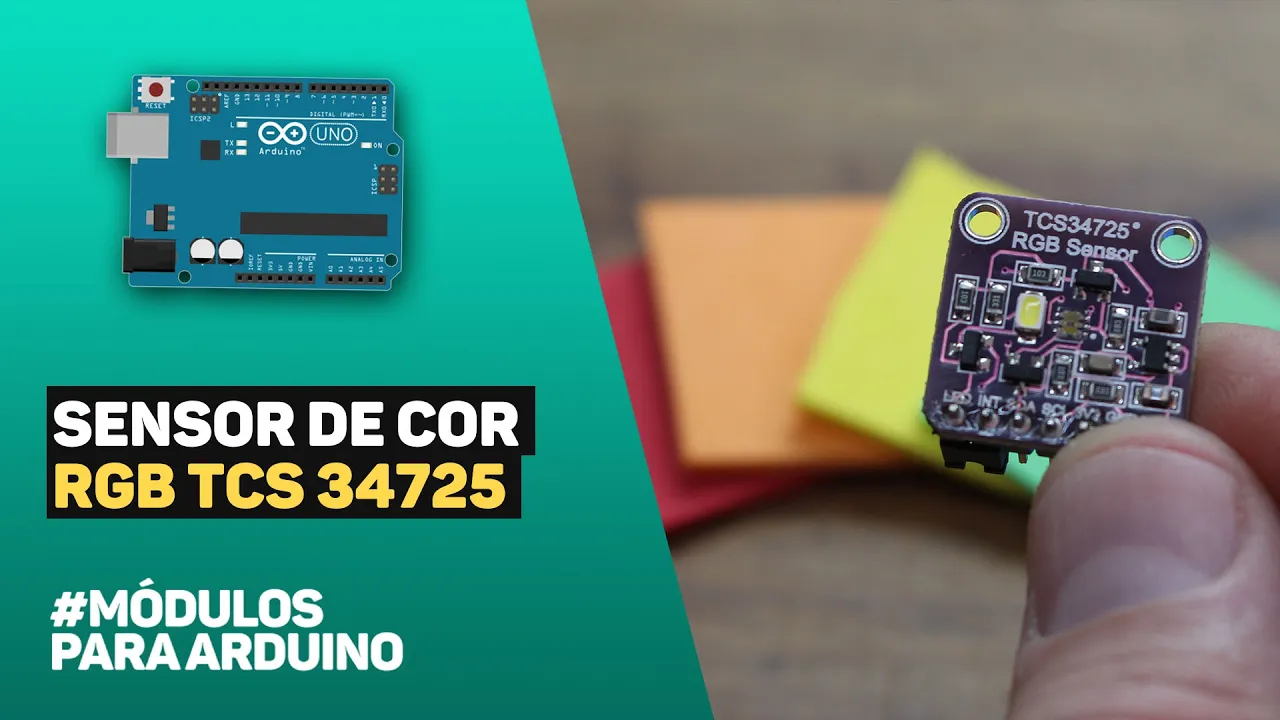
Basic concepts of color sensing technology, specifically how RGB sensors detect light wavelengths and translate them into digital color values.
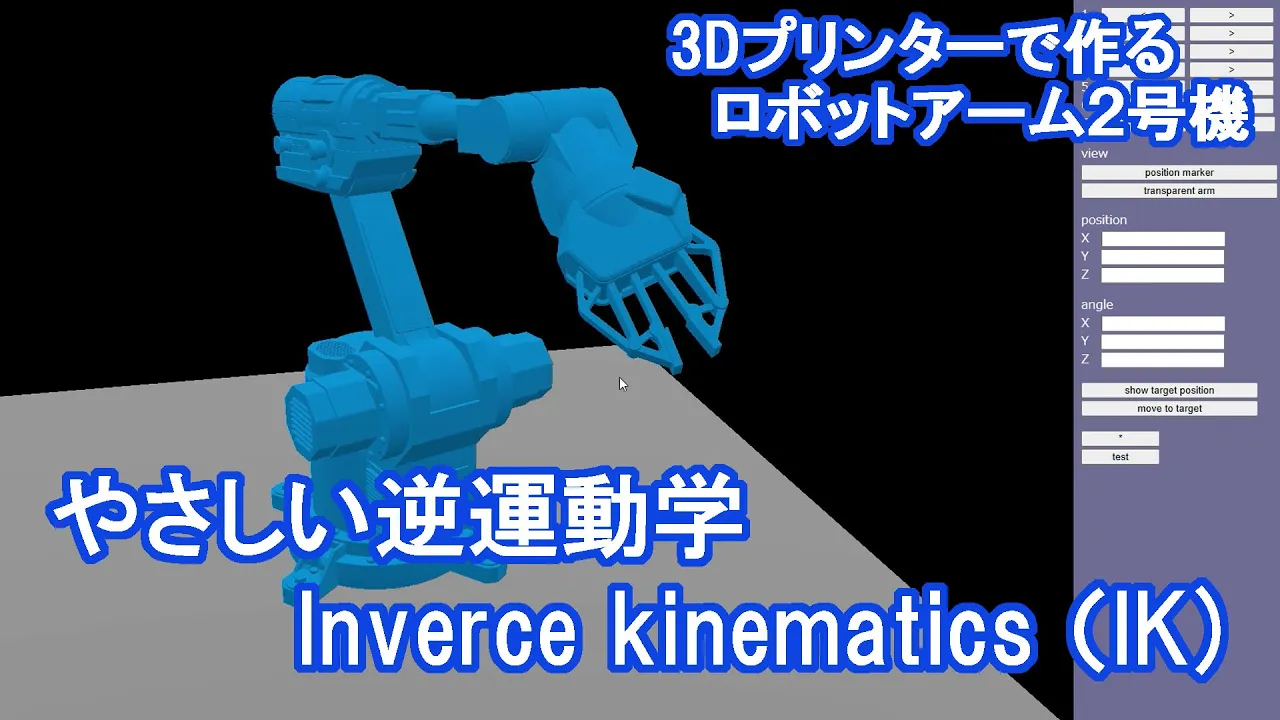
Introduction to Inverse Kinematics, enabling the robotic arm to calculate joint angles dynamically to reach specific 3D spatial coordinates.
Integrating Computer Vision (using OpenCV and a camera) to transition from basic color sorting to advanced shape, pattern, and size recognition.
Implementing closed-loop feedback systems (such as PID control) to enhance the precision, dampening, and speed of the robotic joints.
Exploring industrial automation workflows, including integration with Programmable Logic Controllers (PLCs), conveyor belt systems, and pneumatic actuators.
1.7K views40likes8:20Original Release: 2020-08-25
[Music] [Music] hello and welcome to yet another tutorial on how to develop a server based robotic arm which is capable of sorting color specifically that is red yellow green and blue isn't that interesting so let's get started here you can see the working of this project that is how the arm is picking up buttons of different colors and dropping them in different specific holes this is the mechanical structure of the project and as you can see and observe that this is totally made out of acrylic sheet and as the name suggests the color sorting for sorting purposes we are using here four metal buttons and these are red green blue and yellow the very next thing that you can see is these four holes on the top of the surface these holes are for our colour dropping purposes first for red then green blue and followed by yellow this is extended arm for holding the button in a particular way and the last and important thing is the mechanical arm which is made out of aluminum with movement which is given to it using the servo motor you can see we have used five servo motors for a particular movement one is for base two for the shoulder one for angle and one for gripper and these parts are made out of aluminum this is all about the structure so let's come to the electronics part electronics is fairly simple what we are using here is only a color sensor for detecting purposes which is fitted here inside the box on the arm and for controlling purposes we are using arduino and a shield to give our different power supply for servo motors so this is the wiring diagram of our project as you can see for the servo motor one color detection sensor also one 5 volt battery giving supply to the servo motor and one arduino for controlling purpose here you can see that we have used four servo motors in the description i had said that we are using five servo motors because we were basically trying to use two servo motors for the shoulder joint and because these motors are working exactly the same we are using two servo motors as we require a high torque as same signals are given to both of these motors therefore we have shown only four motors here and you can also see that these servo motors are connected to pin number six nine ten and thirteen and also in this uh i can show you from the code that the gripper is connected to pin number six and elbow is connected to pin number nine shoulder connected to pin number ten and this is the base which is connected to pin number thirteen as you can see here we've used a color detection sensor of which s naught s1 s2 and s3 are connected to 5 4 3 and 2.
so we've been given different power supplies to the servo as it is needed for their high current supply that is the 5 volt 10 ampere from smps for servo and the 12 volt differently for the arduino uh we'll again now get back uh and move forward to the coding section which is one of the most crucial and final parts of our projects that we've been discussing so as i scroll through the code you can see that here we have initially included the servo library and also we have then used servo objects like the base shoulder the elbow and again in this there we've used value named array which have 37 values these are all the angles which we need at every position from picking to dropping calculated all these values in more than 100 iterations so you will have to calculate these values on your own as per your project and as per your servo motors all these that you can see further are the variables that we've used throughout the code i shall not be explaining to you the code line wise instead the code is attached in the description box below and you can refer and understand the code from there okay so now to begin with the white setup here in the serial section we've been mentioning that where the gripper elbow shoulder and base etc are attached as you see further you'll be able to see all these values that are setting up the initial angles that is the values uh or the angles that are required for positioning of the arm we have further the pin modes that is 543 to 11 which are connected to the color sensor and also um there is a pdf attached in the description box below and you can refer to that pdf for finding out the data about the type of color sensor that we've used and all the details about the working of this color sensor then here you can see pin mode a1 a2 a3 a5 all these are for the leds debugging purpose only and you can directly ignore these set of codes straight away then comes the most important part which is the last thing which is the color sense function in the white setup so this is basically where uh the values are calibrated from the adc of all the other sensors we have got the values uh making and if else low for colors if the buffer values we set for yellow red blue green is 55 15 minus 35 and 5 as you can see in the code as well so uh according to the code as well or according to the buffer values we can write angles in the void loop and then we are picking up these values from the value array and we are writing them to the servo motors we are offsetting all the buffer values and also we are trying to mix and match and combine and logicize all logically relate basically all these values so finally in the last we are calling color sensor function with the process uh which iterates again and again and this is all about uh the color sorting mechanism and finally in the last i would like to thank you all for watching this video and all the software part the codes the design and the video description along with the pdf about the sensor attached is given in the description box below thank you for watching [Music] you
Up Next

4:53
Soft Robotics Workshop: Harvard & UTEC in Peru
@HarvardBiodesignLab
2.2K views•2016-11-10

58:25
MathWorks Virtual RoboSub Simulation Environment | Webinar 2026
@RoboNationInc
209 views•2026-03-10

11:04
How to Build a Self-Balancing Robot: Arduino Nano & MPU6050
@easytechzones
16.8K views•2022-03-09

25:22
Micromouse: The Fastest Maze-Solving Robots on Earth
@veritasium
23.5M views•2023-05-24
Related Study Plans & Knowledge Roadmaps
Structured learning paths in Robotics
robotics
Building Delta Robots: Kinematics & Pico
01Foundations of Delta Robots & Mechanical Design
02Electronics and Microcontroller Setup with Pi Pico
03Delta Robot Kinematics and Coordinate Math
+ 3 more learning modules
65h6 modules
Explore Roadmap
robotics
Building Ballbots: Dynamics, Kalman & LQR
01Embedded Electronics & Omniwheel Actuation
02Ballbot Kinematics & Rigid Body Dynamics
03IMU Sensors & Kalman Filter State Estimation
+ 2 more learning modules
42h5 modules
Explore Roadmap
robotics
Micromouse: Hardware, PID Control & Flood-Fill
01Electronics & Teensy Microcontroller Basics
02Sensors and Actuators: Motors, Encoders & IR
03Precision Movement: Implementing PID Control
+ 2 more learning modules
35h5 modules
Explore Roadmap
robotics
CDPR: Kinematics, Arduino & Winch Control
01Foundations of Arduino & Basic Electronics
02Stepper Motors and Winch Mechanics
03Kinematics of 2D Cable-Driven Robots
+ 2 more learning modules
28h5 modules
Explore Roadmap