







![MR위에 녹음하는 법 "핵심만 알려드려요" [홈레코딩 EP04 - RECORDING]](https://i.ytimg.com/vi/GmiHk71zfi8/sddefault.jpg)
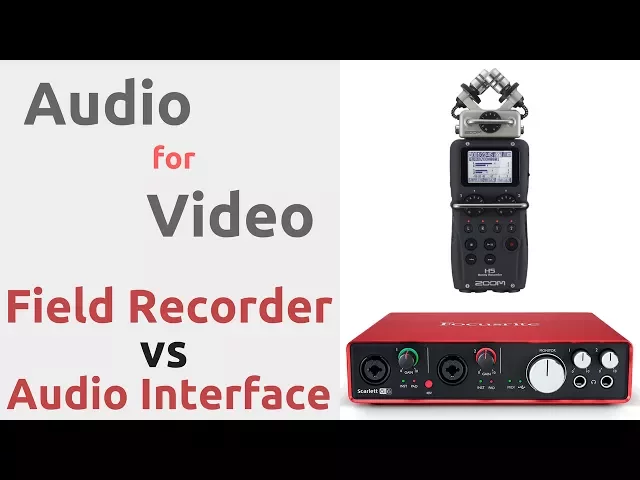










Audio quality is more critical than video quality in filmmaking, as viewers will immediately abandon content with poor audio regardless of visual appeal. To significantly improve audio, follow these eight essential steps: (1) Position the microphone as close to the subject as possible without appearing in frame, as proximity dramatically reduces background noise; (2) Place overhead microphones 3-5 inches in front of the subject's mouth and avoid positioning them below the subject to prevent capturing unwanted ceiling or environmental noise; (3) Choose filming locations carefully by testing audio quality through clapping tests and visiting at the exact time of day you plan to shoot; (4) Dampen sound reflections using moving blankets (called 'fernies') placed as close to the subject as possible; (5) Record 30-45 seconds of room tone after each scene to enable seamless audio cleanup in post-production; (6) Protect microphones from wind using foam windscreens or dead cats, as wind distortion cannot be fixed in post-production; (7) Use phantom power on your field recorder to power microphones and avoid battery-related audio degradation; (8) Monitor audio continuously throughout filming using headphones to catch issues like unplugged cables or distorted levels before they become permanent problems.
8 Essential Audio Improvement Techniques for Filmmakers
Added:[Music] hey guys justus here with tomorrowsfilmmakers.com the largest online film academy in the world and today we're talking about one of the most important things in your filmmaking career and that is going to set you apart from all other filmmakers and that is audio now some people say that audio is half a video but i would say that it's even more important than that and i'll tell you why as humans we will forgive not so good looking video if the audio still sounds really good but if the video quality is really good but the audio quality is really bad we are going to click off of that immediately that's why if you're ever watching netflix and your internet starts to lag netflix will automatically throttle the video quality before it ever touches the audio quality because audio is that important and since audio is that important inside our full academy we have an entire cinema course just about audio inside that course you'll learn all about what microphones you need to buy how to mic different people in different situations how to hide a mic in different types of clothing and even how to set up all your audio on set you can learn more about them inside our full course at tomorrowsfilmmakers.com we have over a thousand training videos and over a hundred hours of content on every single aspect of filmmaking we have had over ten thousand students join our full academy and they are loving it now right now we are doing something we have never done before and we are running an insane sale of only 97 bucks our entire lifetime membership to our award-winning 800 film course for only 97 so if you want to take advantage of this crazy deal you can check out our website in the link below and head on over to tomorrowsfilmmakers.com to learn more but today i want to give you guys the eight steps that you need to take to improve the audio in your films so instead of making audio an afterthought take these eight steps and you will be shocked at the difference that it makes step number one might sound simple but you would not believe how many people don't do this okay step number one is to get the microphone as close as possible without getting the microphone in the frame if the top of the frame is here but your microphone is way up here you're just wasting precious space that you can get your microphone closer to the subject because the truth is whenever the microphone gets closer to the subject it's almost like having a volume dial for the background noise whenever the microphone is farther away the entire audio has to be boosted just to keep the same decibels resulting in a much louder background noise but whenever it is close to the subject the microphone gain can be turned way down because it's only needing to pick up what is right in front of it resulting in a lot less background noise that's why we never and i mean never recommend using a microphone on top of your camera for recording interviews and voices it's a great source of audio if that is all you have or if you're just trying to get kind of the noise around but we would highly recommend putting a microphone over your subject and getting it as close as possible so whenever you're putting your microphone over your subject what i see most people do is take the microphone raise it up and point it at the subject i mean it'll work but you're way too far away so with every single shoot what i will do is i will set the frame exactly how i have it i will purposefully bring the microphone all the way into the frame and then slowly raise it until the camera operator tells me that it's out of frame and if you're the camera operator as well just keep slowly raising it and going back and checking your camera until it's out of frame and then look at the microphone placement you can't see the microphone but look where it is it looks like it's about to touch the person's head that's because you want the microphone as close to the subject as possible without getting it in the frame and if you have a wider frame that's alright just bring the microphone about an inch out of the frame and this will improve your audio drastically so get that microphone as close to your subject as possible and step number two goes right along with step number one and that is mic placement now we already talked about placing the microphone one inch out of the frame but you don't want to place the microphone below your subject unless you absolutely have to by placing your microphone underneath the subject you're still getting his audio but you're also recording everything that happens above your subject which is usually much noisier than what happens below your subject you'll have air conditioners ceiling fans airplanes whatever it is you will be capturing audio of it because you have your microphone pointed directly at it so only do that when absolutely necessary so if the microphone is above your subject you can either have someone like a boom operator holding the microphone or you can use what i prefer and that is a c stand with a boom cradle this is basically a little cradle you can put on a c-stand and your boom pole will just cradle inside of it this is what i use personally but whatever you need to do just make it happen and get that microphone over your subject now once it is overhead you want the microphone to be pointed about three to five inches in front of your subject's mouth a lot of beginning filmmakers i will see trying to point the microphone directly at the top of their head or they'll try to angle it so it's pointing right into their mouth but just imagine the words coming out of their mouth and going upward you want to point the microphone about three to five inches in front where you'll capture the cleanest audio with lapel microphones you again want the microphone to be as close to your subject's mouth as possible if you don't care about hiding the microphone place it around their shirt collar and if they're wearing a button-up shirt just place it as close to the middle button as possible if they have a tie you can easily clip it to their tie but never just clip it to their shirt not only does this look really horrible but it will most likely ruin their shirt by leaving a permanent pinch mark now if you need to hide the lapel mic there are many different ways of doing this but the most common way is to just tape it right under their shirt now you can just use a piece of tape and tape it to their shirt but we would recommend creating a lapel triangle mount with that tape now there are so many different variations of this but what you want to do is you want to take a piece of gaff tape split it down the middle and then you pretty much just fold it like you're either folding a flag or a paper football with the sticky side up you take the top corner fold it down then take that same corner fold it down and you just keep folding it until you have a triangle take the other piece do the exact same thing until you have two identical triangles with the sticky side on the outside and if they're different sizes that's perfectly fine you then sandwich them together with the microphone in the middle being careful not to cover the actual mic capsule then you can put that on your subject and it will not only keep the microphone in place but it will also keep the subject's shirt from brushing up against it and ruining the audio taping the microphone directly to their shirt will work but you do run the risk of the microphone you know moving around underneath their shirt and you getting all that rustling sound you can also hide lapel mics in a tie by having it barely stick out of the bottom of the knot or even taping it underneath the shirt collar on one side this one does work but if they turn their head and start talking the other direction you can definitely hear that their voice gets quieter so the best thing to do is keep the microphone centered with their body i've even seen people hide microphones in people's hair so there's nothing visible on their shirt now this is typically used for like stage plays and theater but i have seen it a few times in kids shows and i personally would suggest not doing that because if it's seen it's impossible not to stare at it the entire time also don't forget that whenever you're taping a lapel to your subject always tape an extra loop with the cord right underneath the microphone now this will give you just a little bit of give on that cord if for some reason the wire gets pulled or the subject stretches weird and it pulls the cord if we were to tape the microphone to our subject really tight then any sort of movement is going to pull the microphone right off but if we have that loop if they do pull it maybe an inch or so the give is going to come from that loop and it won't pull the microphone off of the subject so always have that loop no matter where you are placing the lapel mic step number three is choosing the right location for audio now whenever you're scouting for a location it's really tempting to just focus on how good it looks but whenever you were there pay attention to the sound whenever i walk into a location i do a test clap to see how bad the echo really is this basically is where you just go into a room and clap a couple times with your hands and see how bad it sounds there is there an echo are there sound problems is there a bunch of birds you can even bring a microphone and listen to it through headphones while you're there and sometimes if i know the time of day that we're shooting i will actually go to the location the day before at that exact same time to listen to the sound because you might not know that every day at that time there's a train that goes by so as you are choosing the best location avoid places that are really echoey with super high ceilings empty rooms with no furniture or anything like that and if there are multiple rooms to record in go into each room and test the audio you won't always be able to do this but if you have the option to choose where to film film in an area that sounds the best and like we talked about at the very beginning sound is just as important as the visuals and maybe even more important and because of that reason i've actually chosen rooms to film in that look worse but sound better even though the environment might not look as good visually it sounds better and sound is more important but if you are just stuck in a situation where the sound is just bad and there's no way to go to a different location step number four is to dampen the sound as much as possible if you are in a room that sounds terrible you don't just have to say oh well and click record do everything you can to dampen the sound in the audio world there is something called fernies and these are pretty much just moving blankets that you can put all around your subject to dampen the sound simply take a c stand make a t with it clamp the blankets to the top of it and get that as close to your subject as possible if you don't have c stands or anything like that just get blankets and hang them in any way you can around your subject you want to make sure you don't cast shadows on them or anything like that but just enough to dampen that sound you can put them on either side of your subject you can even put them over your subject or even underneath them if there's a wood floor that reflects the sound we recently filmed a cinematography course at the irwin brothers studio in tennessee we had the room all planned out to shoot in it sounded fantastic and it was perfect but that morning right when we got to the studio and i'm talking like hours before we were shooting they said that they had some emergency with the film that they were working on and they had to get a bunch of stuff done and all the rooms would be in use and the only room they had available was a massive empty warehouse room with absolutely nothing in it and i cannot express to you how horrible the echo was i was almost ready to say no we cannot film we're going to have to just schedule another day but we got blankets we got fernies we placed them as close to the subject as possible we tried to get the microphone as close as possible and even though there is still a little bit of echo in the final version it sounds a thousand times better than whenever we walked into the room because we didn't just say oh well and click record but we tried to treat the sound with blankets and we did everything we could and it made a huge difference it doesn't mean that you have to actually be a cinematographer ever i've shot any sort of production literally just go out explore so if any of you complain that there is some echo in the cinematography course okay you have no idea what we were dealing with so go to walmart and get some moving blankets or even just some blankets that you have laying around your house it won't stop all the echo and make it sound like you're in a recording studio but it does make a huge difference and while you are in the room filming step number five is to get room tone with every shoot room tone is pretty much exactly what it sounds like it's the sound of the environment when nobody is in it every single house every room every location sounds different some have air conditioners going on some have traffic outside and if you were to be quiet and just listen to every room even the room that you're in right now it has a certain sound to it now what you want to do is after your shoot or after a scene you want to get about 30 to 45 seconds of just pure room tone have everyone be quiet point the microphone in a direction and record that room tone room lock it up nobody moving around call it out yeah he's rolling rolling they do this on feature films smaller short films and even interviews and corporate shoots you want to get room tone to use later in post the reason for this is because if the room noise changes or if you switch between two people that recorded hours apart and the environment noise might sound different you want to be able to have a constant room tone to lay underneath them talking so even if their audio sounds slightly different you can't tell because you've layered that room tone underneath also if you're going to cut some stuff out or maybe during a pause someone coughed in the background you can always remove that audio and then replace it with the room tone you captured and it blends perfectly if you didn't have room tone it would be impossible to cut anything out because it would just be dead silence so no matter what you are shooting have everyone be quiet and capture about 30 to 45 seconds of room tone maybe even a minute long so that you can use it in the edit and you'll be shocked at how necessary it is step number six is to use a dead cat or a windscreen now the number one enemy of a microphone is wind and that's because when there's wind and a microphone it'll sound all distorted and crackly and unfortunately if that happens when shooting there is absolutely no way to get rid of it in post the only way to fix it is to prevent it on site now microphones by themselves just look like this it's a metal tube with absolutely no protection most microphones will usually come with a foam sleeve and this does help with some wind noise but only works to a certain degree if you do have a microphone always have one of these on to at least have some wind protection but once you get into a little bit windier places you're going to need a little bit more wind protection and next is a dead cat or a wind screen now i personally prefer the term dead cat because i hate cats and just saying dead cat actually kind of makes me happy inside and no i didn't just make up that word the actual filmmaking term for this is a dead cat it's a really fuzzy sleeve that goes over your microphone and blocks out all the wind noise the wind will hit all the little hairs and disperse while still allowing you to hear audio from your subject i didn't have one of these for a really long time and i had to do many takes over and over again because the audio would crack from the wind you can buy a somewhat cheaper one like this one that just goes over the front of your microphone you know 50 bucks to 100 dollars but whatever microphone you have just type it in along with the word windscreen and the one you need will pop up but if you want to remove any sort of wind whatsoever you can get a blimp for your microphone now these are going to remove pretty much all wind from your microphone but they can get pretty expensive it's pretty much a casing that goes around your entire microphone and then a massive dead cat goes over the casing itself so you have the wind protection on the outside and then some space before you even reach the microphone again these are a little bit more expensive around three hundred dollars but will remove all the wind noise from your audio but if you don't have a dead cat just try as much as you can to stay out of the wind sometimes i've been able to film next to a large building and the building itself blocks most of the wind and sometimes i've been able to just use my body as a shield against the wind so i would definitely suggest buying a dead cat but if you don't have one just block the wind in whatever way you can step number seven is your recording settings now we could talk forever about how to set up your field recorder and all the settings you need but here are a few options that you need to be aware of and some things that you need to change first thing we are going to do is go into the menu and make sure that phantom power is turned on phantom power means that the field recorder itself will power the microphone and does not rely on the power inside the microphone some microphones will actually come with places to put double a batteries in but we do not want those batteries to power the microphone the reason this is important is because when a microphone is running out of battery it doesn't act like a camera when a camera runs out of battery the quality doesn't decrease as it's almost dead or something like that like a camera doesn't start to lose video quality and go from 4k to 1080p to 720p as it's running out of battery it just shuts off completely when it's dead but on the other hand a battery-powered microphone will start to lose audio quality and start to hiss as the battery is starting to die and many microphones don't have the ability to see how much power is left inside the microphone so in the middle of the shoot if the battery in the microphone is starting to die it'll just start hissing and you might not even be able to catch it whenever you're filming whenever you get back in the editor you're wondering why there's a bunch of hiss in the audio and it's because the battery inside the microphone was starting to die so by using phantom power you will not run into that issue that way you can take all the batteries out of the microphones and power it one hundred percent with the field recorder and you will not run into that issue so if your microphone takes batteries don't use them turn phantom power on and number two is your recording format this is pretty much the quality option we set for our recorders it's like selecting 720p or 1080p for video we do that exact same thing with audio if you come down here to recording format there are three things to be aware of the format the kilohertz and the bit depth now i won't go into all the science here but wave is going to be a larger file size than mp3 and will be the highest quality an mp3 is a much smaller file size but does remove some quality to get to that size if you're into photography at all it's kind of like shooting jpeg versus raw next is the kilohertz number you can see that it goes from 44.1 to 96.
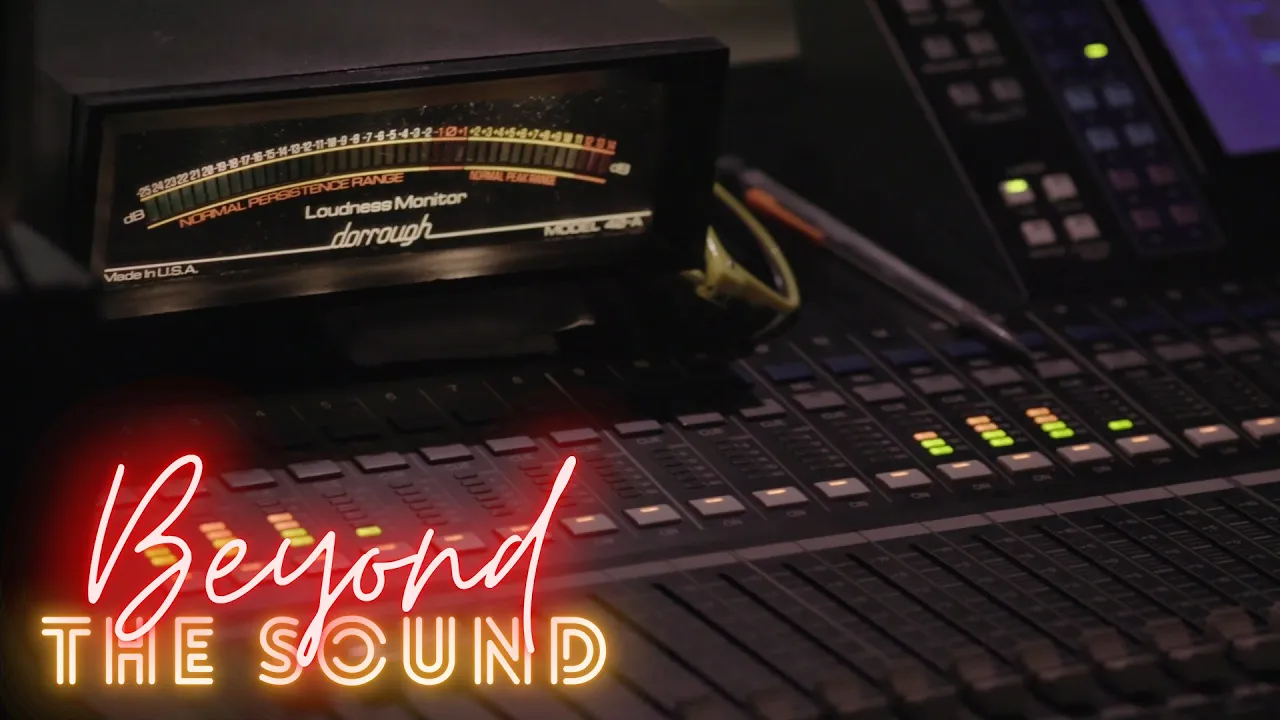
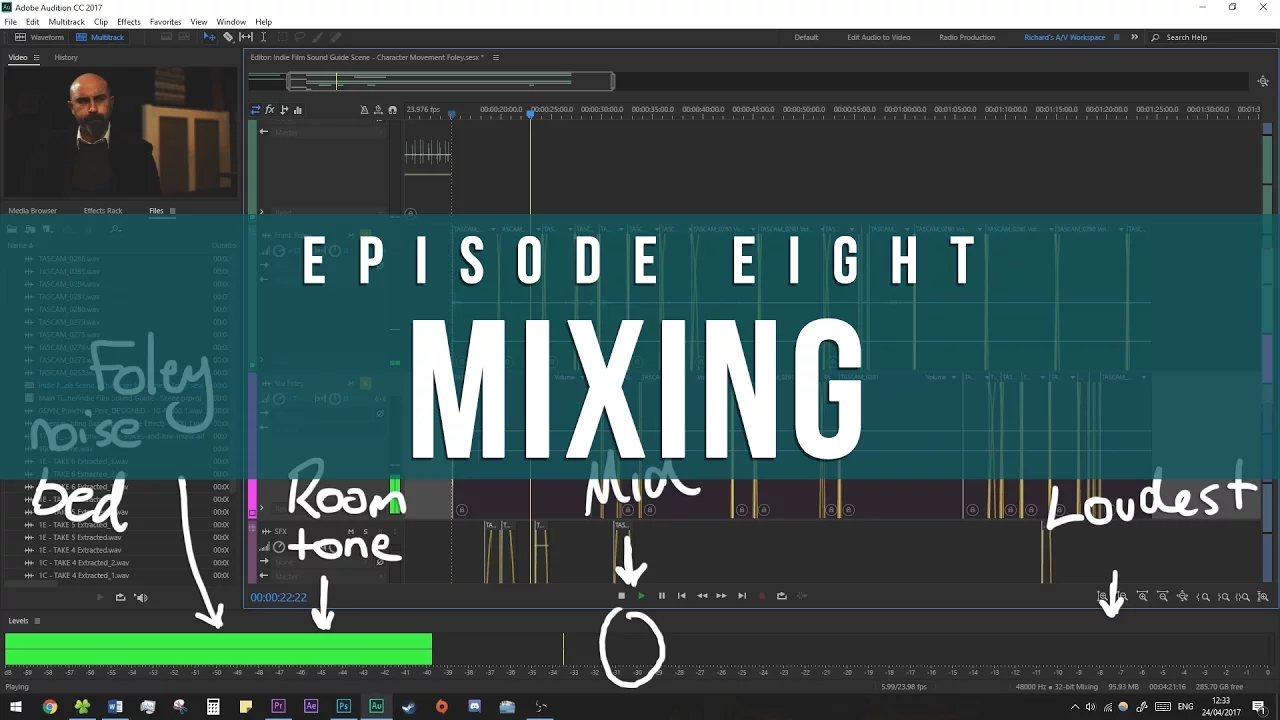
now the industry standard is going to be the one in the middle 48 kilohertz now i'm not going to get into the exact science with this but the reason you don't shoot in 96 is because back in the day anything other than 48 kilohertz the audio would start to like drift away from the mouth over time now that isn't necessarily going to happen today if you choose 96 but the industry standard is always and has been 48 kilohertz and everything plays back at 48. so choose 48 kilohertz because that is the industry standard and next is bit rate and this is something that you basically just want to choose the largest number as possible which is 24. so the industry standard in recording audio is wave 48 kilohertz at 24 bit rate this is what you should always be shooting on whether you're on a field recorder in adobe audition or maybe just inside your camera if your camera has that function and has those settings so choose wave 48 kilohertz at 24 bit depth and step number eight is to monitor your audio at all times and this might sound stupid or something you never thought you would ever forget about but even the most seasoned filmmakers fall into this trap as well don't just listen to the audio once and then put down the headphones monitor them at all times now i did a film shoot one time where i listened to the audio it sounded great i pressed record and then i walked away to interview the person and the microphone got unplugged while i was walking away and i had no idea until i got home to edit it because i wasn't listening to the audio i then had to reschedule the whole thing we had to do the whole thing over again because i didn't put the headphones on so always put headphones on and if you need to listen to what's going on around you or maybe you're like asking the questions to the interviewer only put on one headphone over one ear that way you can still hear the things around you and the person you're interviewing doesn't think that you're like blocking them out but whenever we are monitoring our audio what are we looking for with the levels well whenever you're monitoring sound you will see the green bar going up and down as someone is talking if they start to talk really loud the levels will go up and if they start to talk quietly the levels will go down typically you want to always have the audio level stay around negative 12 db this is where your average peak is zero is where it peaks and everything over that will be distorted now this doesn't mean that whenever someone's whispering really softly it needs to stay at negative 12 you just want the average levels whenever they are talking to be at negative 12 db and if the person laughs really loud and it just peaks for a second hopefully your limiter will take care of that but just have the person talk for a minute how they're going to talk normally and move the levels around until they are right around negative 12.
and if you're still unsure it's always better to be a little too quiet than a little too loud if you're a little too quiet you can always bump up the audio and it might add a little bit of hiss that's okay but if you're too loud and it starts to crack and distort there's absolutely nothing you can do about it if you take these eight steps and apply them to your audio you will be shocked at the difference it makes and not just the quality of your audio but the quality of your entire project if you'd like to learn even more about audio we have an entire 30 episode audio cinema course taught by joseph santoyo on everything you need to capture fantastic audio in our full course we have over a thousand training videos and over a hundred hours of content on every single filmmaking subject that you can imagine if you want to go into the production side with weddings real estate music videos commercials we teach all about that and if you want to go more into the narrative side with directing storyboarding acting we teach all of those as well and like i said at the beginning we have been successfully selling this course with an 800 price tag for years but for a limited time we are offering it to you guys for only 97 bucks and i'm not even joking our award-winning 800 online film course is yours for only 97 so i hope this video has really been helpful to you guys and you're more confident when capturing audio on set if you'd like to learn every single aspect about filmmaking click the link in the description below and learn all the skills that you need to succeed
Up Next
Lameta Tutorial: Entering Session Metadata for ELAR Deposits
@LDATutorials
247 views•2024-11-08

Triumph of Orthodoxy Icon: Byzantine Art & History Explained
@BenCallan
2.1K views•2024-08-06

Cinematic Lighting: 8 Essential Steps for Filmmakers
@TomorrowsFilmmakers
3M views•2021-04-29

Game of Thrones Opening Credits: A Cinematic Analysis
@gameofthrones
46.3M views•2011-04-18
Related Study Plans & Knowledge Roadmaps
Structured learning paths in General & Interdisciplinary Studies