
















Asset Tokenization Studio is an open-source platform on Hedera that enables developers to create compliant digital securities (bonds and equities) using ERC-1400 and ERC-3643 token standards, featuring no-code tools for configuring compliance rules, geographic restrictions, KYC verification, and role-based management for token lifecycles.
Asset Tokenization Studio Tutorial on Hedera for Digital Securities
Added:Fundamental understanding of Distributed Ledger Technology (DLT) and how the Hedera Hashgraph consensus mechanism differs from traditional blockchains.
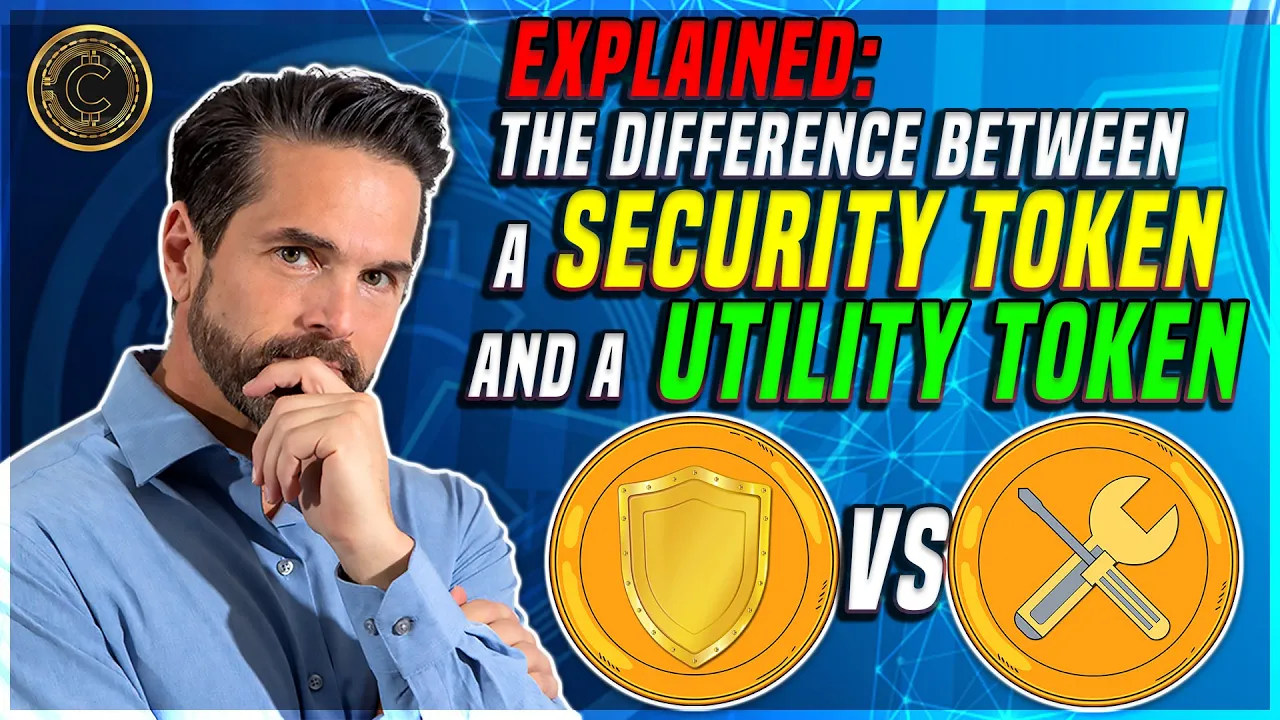
Basic concepts of asset tokenization, including the core distinctions between utility tokens and security tokens (digital securities).
Familiarity with financial regulatory compliance frameworks, specifically Know Your Customer (KYC), Anti-Money Laundering (AML), and transfer restrictions.
Core knowledge of the Hedera Token Service (HTS) and basic account management on the Hedera network.
Writing advanced, custom compliance logic using Solidity and the Hedera Smart Contract Service (HSCS).
Integrating tokenized real-world assets (RWAs) with institutional custody solutions and secondary market trading platforms (such as Alternative Trading Systems).
Implementing decentralized identity (DID) standards on Hedera to automate compliance verification for token holders.
Exploring lifecycle event management for digital securities, such as corporate actions, dividend distribution, and voting rights on-chain.
485 views30likes16:35Original Release: 2025-11-19
Hi and welcome to this tutorial going over the functionality of asset organization studio on Hideera.
First you will see the landing page and you can choose to either connect via MetaMask or connect via wer connect. I'm going to connect via MetaMask for the sake of this tutorial.
You can see I've successfully signed in.
And what I can do now is either import a already created security token or I can create a new digital security. And I'm going to choose that.
Here I'm going to be prompted to choose either a bond type or a equity type.
I'm first going with the bond tab.
Here in this wizard, we see we're going to follow seven steps.
First, we're just going to import some bond details. And that can be anything.
So, I'm just going to call this ATS test font.
Give it a symbol.
Any sort of decimals. I'm just going to stay with uh six. And then the ein number. So with this number, there's a check. So I'm just going to um paste an example in here.
And then we go to the permissions. We have controllable, lock list, and approval list. So controllable just means that if we have that clicked on, we enable the admin to force transfer or redeem tokens between any accounts. And that could be really nice for regulatory compliance or court orders or also emergency recovery.
Then we have to choose either to have approval or block list. If I um choose block list, that's a deny first approach. So we would block specific countries um from being able to trade these tokens. So and then what we have here is the approval list which is more restrictive.
So that means all the countries are blocked by default but I can approve some of them where trading is enabled.
Next we have the bone configuration and here we can either enable the clearing mode or disable it. The default is unchecked. Uh what it does is that it's a two-step settlement. Um so it will require validator approval. So before the user initiates any transfer, redemption or any sort of token operation, it will be first impending state and someone can review it and then either approve or cancels that and then when it comes to KYC, we have different ways to view KYC. We can either use the internal KYC which I will do now for the sake of this demo which means that the KYC is managed directly within the token contract or you can also use an external KYC and we will dive into this a bit uh later.
I'm clicking next and I'm going to come to the configuration.
Now in configuration I can say how many uh bond units I want. I'm just going to do a th00and. I can give this a value.
So I just say 100. And then I can say um the start date as well as the maturity date. So start date is the date where the um bond starts to appreciate and then the maturity date is the date where the yield would be paid out or the bond expires.
Next we have proceeded recipients. And proceed recipients are basically just authorized accounts that receive the capital raised from bond sales. So when the investors buy bonds, the funds are then sent to these designated um recipients.
And you can add as many addresses as you want. And this is a Hideera account number. And what you can also do is add some data in there as well. So um there can just be any sort of optional metadata um to add on.
Let's leave it blank and go to the next step.
Next we see here ERC 3643.
So ERC 3643 is the newest token standard that we have integrated in ATS.
And um it's also called a T-Rex standard done by um tokeny and it's a very compliant and secure standard for regulated tokens um which mostly shines when it comes to its modular architecture. So you have something here called um a compliance ID and a uh identity registry ID. So you can point to already preconfigured um smart contracts and then uh from there it will load your configuration.
This is great if you need a integration with uh the T-Rex ecosystem or you need specifically the ERC 3643 token standard or you already have registries that are preconfigured and that you would like to point to.
Next we have external lists and also here the step is fully optional. So external lists are uh external contracts that you have already deployed to manage KYC control or uh class functionality.
Now as you can see here we have this on the side and we can configure this later but for the sake of this demo uh we're leaving it empty for now.
Then we go to the next step which is regulation. So by default we have here the United States restriction and we're very keen to add more to restrictions soon. And then we have a choice between regulation S and regulation D.
And if you want to know more about these regulations you can look them up but you can see their details also here when you choose them. and regulation in B and C have different properties or restrictions.
If we move on, we see we have chosen the allow list. So it will come up with the authorization list. So all the countries are blocked by default besides the United States of America. But I can here pick any country and then add this to the list and then click next.
Next, I will come to the review page where I can make sure that everything looks fine to me.
And it's important to know that these optional fields can be filled out later as well, but that everything in the details or how many bonds we're allowed to mint is fixed and cannot be changed later.
If I'm happy with my section, I can click cor uh create bond. It will ask me if everything is correct and I can click accept.
This was successfully deployed. And I can see here my digital security details page.
Next, let's see what we have here. We have an overview of what we have missioned. We currently have a supply of zero and this is because we don't have tokens minted yet. We can mint up to a,000 as this is what we have set uh during deployment.
Also here in the balance I would be able to see how um many ATB token my account has and operations I could interact with a token in control same but first to see any of these um possible controls I need to go to management and I need to assign myself a role.
I'm just putting my account number in here.
I see I have all the roles assigned. I can click to apply changes.
And there we go. I now have all the roles assigned.
So what I can go next is add myself as a SSI manager.
And an SSI manager or issuer is um basically someone who is managing the list of trusted issues. So that can be any entity or users author authorized to sign verifiable credentials that your token will accept for KYC purposes. So, think of it like the whitelisters and I've been added successfully. This is my account number. I am here. And then next I'm going to go to KYC.
And now that I am the master of the KYC um providers or of the KYC, I can add myself here and wide list myself.
I can upload my verifiable credentials file.
And this has been successfully executed.
And I'm now KYC as I'm able to KYC um account ids. I can add this and I can use a second account ID and I can create more VC files and upload these two.
As you can see this was successful and now my both accounts are KY. What I also have to check is the allow list as we went with an allow instead of a block list and I will have to add my accounts also here.
So this is the most restrictive.
And then I can add my second account.
And I now see that my both accounts are added here. So I can go to operations and I can click mint. I can say how many I want to mint. I'm just going to mint a 100 out of a thousand. And then I choose the destination account. And I'm first going to just use my own account here.
And that has been successfully executed.
So if I now go to balances here and I'm going to check my own account, I can see that I have a total balance of 100.
I can go back to um the operations and I can either mint to my other account or I can do a force transfer.
So I can use the my account as the source account because I just have 180B token. Then I choose my other account for the transfer and the amount to transfer. Let's say I want to transfer 50 tokens. I can click and has been done.
And the same would happen of course with redeem. So these are most of the details that you can show here. Now if I go to the dashboard will bring me back to my overview. But let's try to create an equity. And we're going to do this with external pause external control and external KYC.
Let's start with the pause. If I want to create a new one, I can either say if the pause is activated by default or not activated. Let's do activate it here.
And this can always be changed in the token details page.
And that was successful. So now we can change here also the status and deactivate it or do that later. Next external control. Also here we either can import an external control that already exists or we can create a new one. We can say if you want the white list or a blacklist. Um let's do blacklist.
and then create a new one.
And also this was successful. Now what I can do is add addresses here. So I can say this account, my second account will not be able to buy or trade this token.
Also this has been added. And lastly, KYC. Again, here we can either use an external KYC contract from a reputable pro provider or we can just create our own that has been created. And what I can do here is for example just KYC myself by default.
And this is done. Now I can go back to my dashboard and I can create a new digital security.
And this time we're going to create an equity.
It's the same spiel here again. So I can call this test equity a give it six decimals.
Give it any e can say block or approval list. Just keep it with block. say if I want external or internal and we're taking the external KYC.
I give it a nominal value, a number of shares and I can give it some rights and privileges.
Um let's say I want voting rights and information rights. And then what I can also do is the dividend type. So if I want the preferred, common or none. Just going to keep it none for now.
And now we can add the lists that we have created. So our pause list, all external control list as well as our external KYC. And then we click next.
This is again about ERC 3643 which we're going to leave out. And then we're going to specify our regulation.
Add a country to a block list if you want to. and else these are here um by default and then click accept.
Check that everything looks okay and [snorts] create the equity.
And here we go.
And we can see our list is working and the security is paused.
Up Next
118:11
Build a Decentralized Voting Application on Ethereum in Solidity
@DappUniversity
551.9K views•2018-01-25

12:54
Triumph of Orthodoxy Icon: Byzantine Art & History Explained
@BenCallan
2.1K views•2024-08-06

9:49
FastAPI vs Flask vs Django: Choosing the Right Python Web Framework
@TechWithTim
302.5K views•2024-05-26

1:42
Game of Thrones Opening Credits: A Cinematic Analysis
@gameofthrones
46.3M views•2011-04-18
Related Study Plans & Knowledge Roadmaps
Structured learning paths in General & Interdisciplinary Studies
general-studies
Elevator Engineering: History, Physics & Cities
01From Hoists to Safety Brakes: The Dawn of Vertical Lift
02Hydraulic vs. Traction: The Engineering Physics of Elevators
03Modern Speed, Safety, and Algorithms
+ 2 more learning modules
12h5 modules
Explore Roadmap
general-studies
Rubber: Material Science, History & Geopolitics
01Origins of Natural Rubber & Mesoamerican History
02The Chemistry of Natural Rubber & Vulcanization
03The Geopolitics of the Rubber Boom & Colonization
+ 2 more learning modules
12h5 modules
Explore Roadmap
general-studies
Containerization: Evolution, Logistics & Trade
01Ancient Trade & Bulk Cargo: Amphorae to Barrels
02The Industrial Revolution & Cardboard Packaging
03The Containerization Revolution: Malcom McLean
+ 2 more learning modules
12h5 modules
Explore Roadmap
general-studies
Textile Tech: Evolution, Labor & Global Impact
01Pre-Industrial Textiles: Handloom & Cottage Industry
02Mechanization: The Spinning Jenny to the Power Loom
03The Factory System & Global Labor Transformation
+ 2 more learning modules
10h5 modules
Explore Roadmap