



![Why Your Creator PC Bottlenecks! 👉 How to find & FIX the problem? [Video, Photo & 3D]](https://i.ytimg.com/vi_webp/s2O7P7Bmvg8/maxresdefault.webp)










![[Paper Review] The detail algorithm of 3D Gaussian Splatting](https://i.ytimg.com/vi_webp/2SQUMYw0h0A/maxresdefault.webp)
This tutorial demonstrates how to set up and run 3D Gaussian Splatting for real-time radiance field rendering on Windows, covering the complete workflow from installing dependencies (Git, Anaconda, CUDA Toolkit, Visual Studio, COLMAP, ImageMagick, FFmpeg) to cloning the repository, preparing images using COLMAP, training the model with the optimizer, and finally running the real-time viewer to interactively explore the generated 3D scene.
3D Gaussian Splatting for Windows: A Beginner Guide
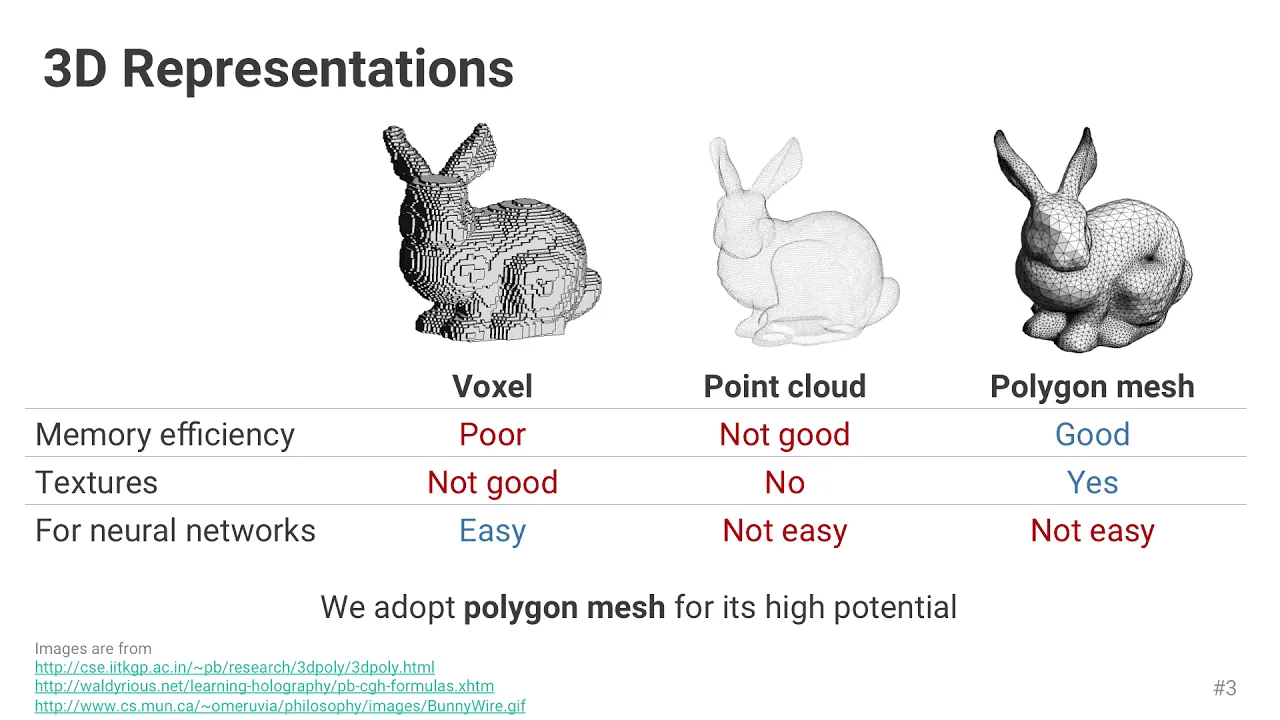
Added:Understanding the differences between 3D representation formats, such as polygon meshes, point clouds, and volumetric data.
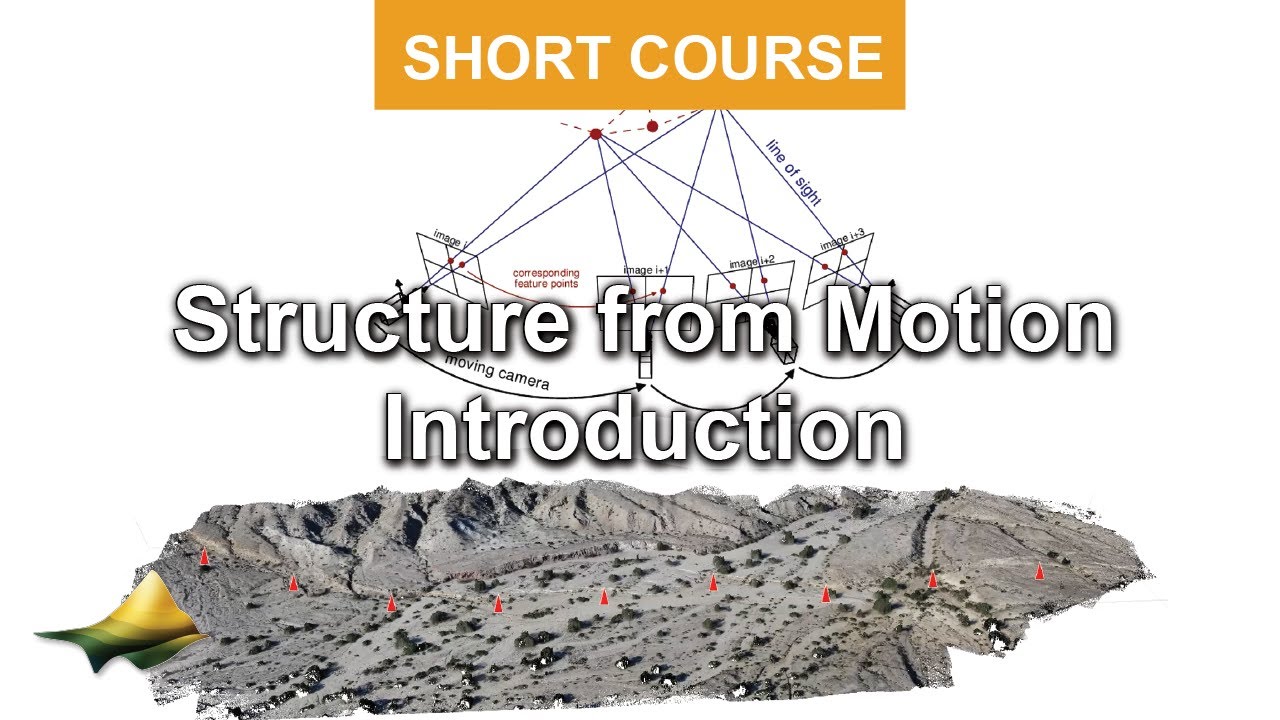
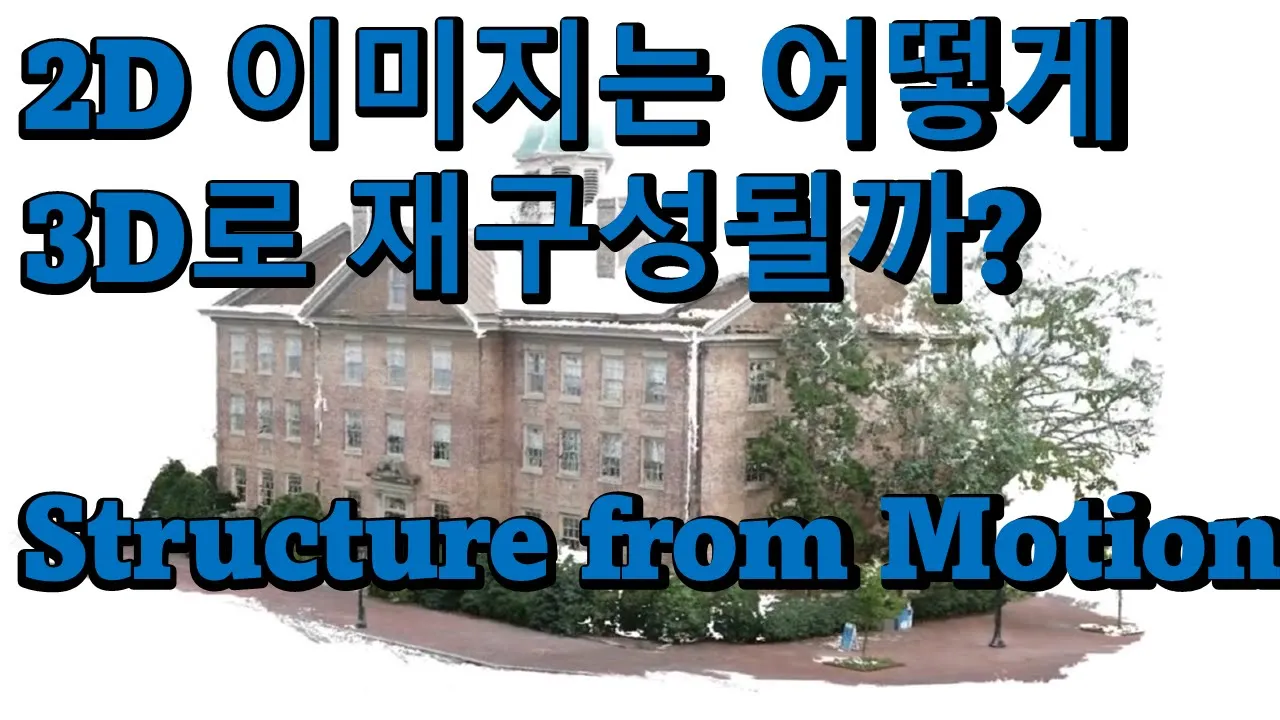
Basic principles of photogrammetry and Structure-from-Motion (SfM), specifically how 3D scenes are reconstructed from collections of 2D images.
Familiarity with computer hardware requirements, particularly the role of NVIDIA GPUs, VRAM, and CUDA in accelerating 3D rendering and machine learning tasks.
Fundamental navigation of the Windows Command Prompt or PowerShell, as beginner installation processes often require executing basic command-line prompts.
Integrating 3D Gaussian Splats into real-time environments, such as Unreal Engine 5, Unity, or WebGL-based viewers for interactive applications.
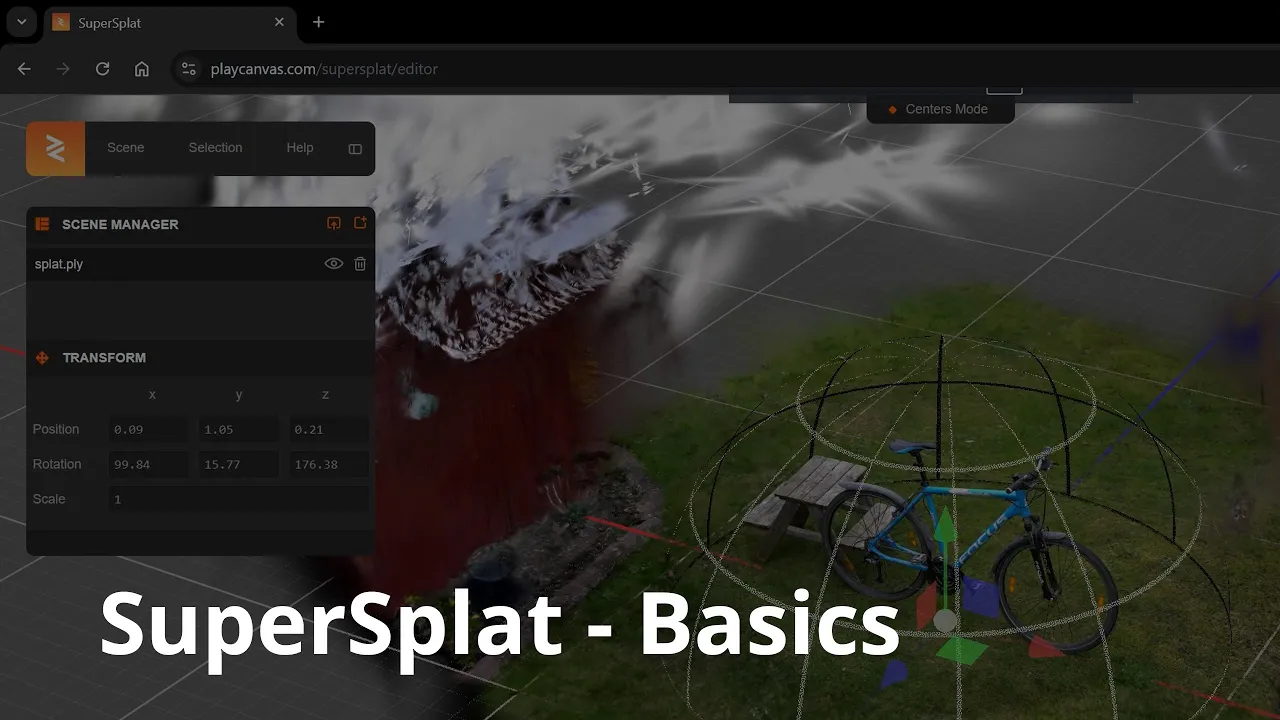
Utilizing post-processing and editing software (e.g., SuperSplat) to clean up visual artifacts, crop unwanted background elements, and optimize file sizes.
Mastering advanced camera capture techniques, such as managing exposure, polarization, and camera pathways to improve the fidelity of the raw dataset.
Comparing the structural and computational trade-offs between 3D Gaussian Splatting and Neural Radiance Fields (NeRFs).
257.5K views5.1Klikes39:38Original Release: 2023-08-28
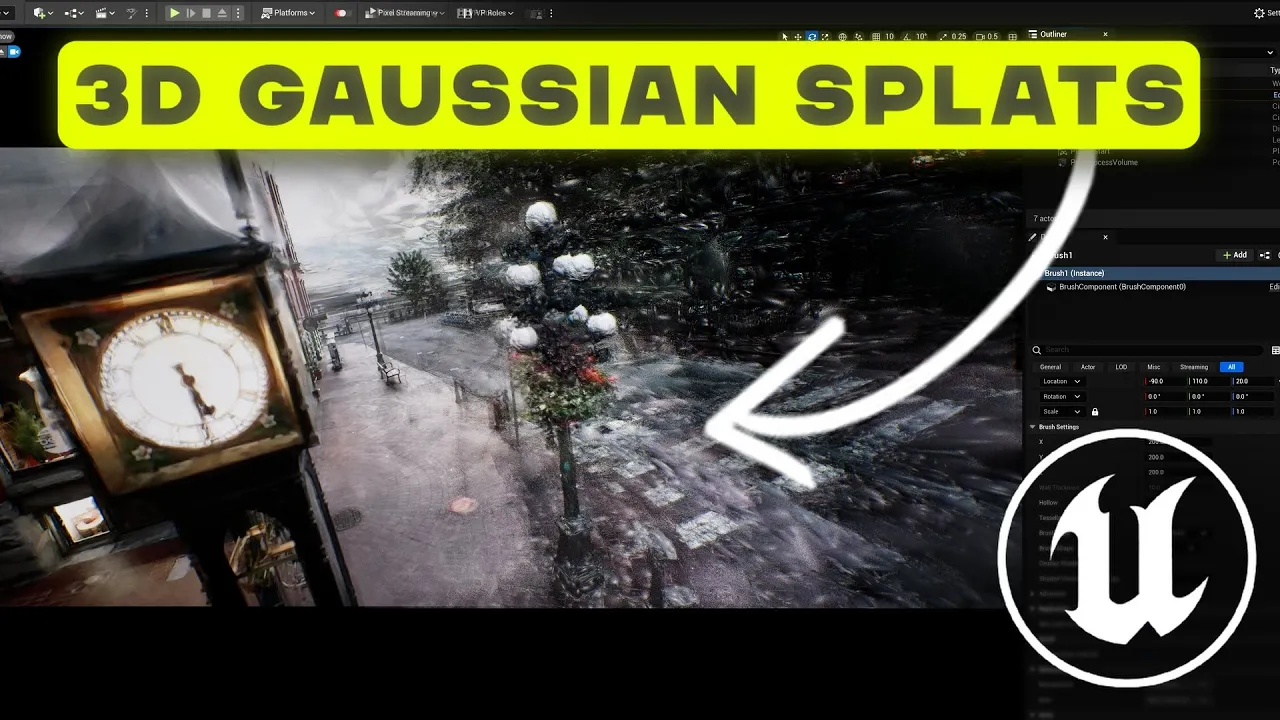
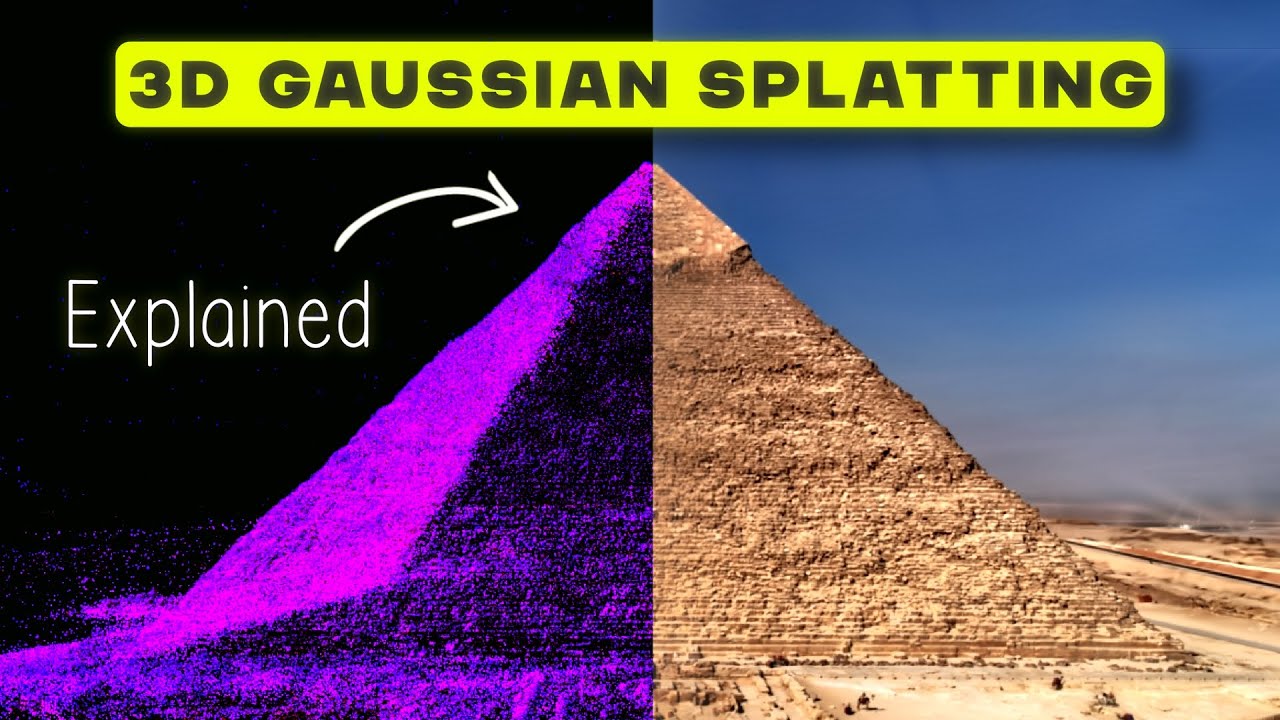
I am Jonathan Stevens and in this tutorial I'm going to show you how to make a 3D gaussian Splat if you've never heard what that is if you know Nerfs it's basically like a Nerf it's a Radiance field in that way I have on my screen a 3D Guardian splat it runs in real time so right now this is at 60 frames per second and you have this scene very much like you would see a Nerf but in really high um really high quality it's going to run real time if you have the right Hardware you can move around it interactively and we're going to show how to make it just to quickly just give you like a five second version of what uh a 3D gaussian splatting is for radiance Fields well it's basically representing the scene as a bunch of little Splats so if I really really zoom in on something in here you'll start to see these um these kind of like shreds or shards and those are called Splats and I can take them I can scale them down and they get smaller and smaller and start to separate and they look like these just like diffuse looking shapes um basically when you take a bunch of those and overlap them and they have a gaussian as a distribution so think of like a shape it starts to represent the scene to look like solidness so um you're gonna try to move around so when you have a bunch of overlapping points it looks like a solid wall over there but if I bring it down there's just you know a few Splats will make up part of the scene and in some spots there's hundreds or thousands so again I'm going to show you how to make this from your own data in this tutorial and um we're just going to jump in right into it and if you have any questions in this make sure you ask them in the YouTube video but also I will have the GitHub repo up that I use that is a fork make sure you ask questions in the original git Hub rip repo if you can so let's jump to it okay for ease I have forked the main GitHub repo with all the codes for three caution spotting and you'll see that this is Fort Windows installation so this is just for Windows and if you are running Linux or something else you're going to have to use the original install but you need Windows 10 or 11 I do this on 11 works just fine and I will have the YouTube video linked in here and this repo may look a little different by the time you get to it I just wanted to have this ready for you um in a a way that we can go through it together in this video so just at the start you'll see you have a little bit of notes and then this is just from the regular GitHub repo and again I'll link this in the show notes to go find this repo but you'll see um there's a little overview so there's like four main components to making this first thing is is turn your own images optimized into training the data so basically I'm going to take some images or a video and I'm going to get it ready to turn into a gaussian spotting scene the next part is an Optimum which is instead of preparing you prepare your images then you gotta train them so it's like learning what the scene looks like um people think of that as like your data processing and then the last part there's actually two parts there's a network viewer and a um just real time on your bra on your PC viewer I'm just going to skip over the last one we're going to use the the visualizer because it's just an EXE you don't have to do any fantasy install and it's a great way for you just to learn what this is so also before we get going you have to have your computer set up anytime you do any sort of code build you need to have this setup ready to go with some pre-installed software now if you've done any Nerfs or anything like that most likely you have some if not all of these already installed but I'm going to go through these as quick as I can I'm not going to install them all because they're already on my computer I just want to show you what that process looks like so uh first thing is let's go over Hardware requirements you have to have 24 gigs of RAM I put an asterisk there because there will be some codes I'll have in an advanced guide coming soon and I'll add it to the GitHub you can modify your output or your training variables to be able to use like a 3080 like 10 or 12 gigabytes to run this so this might not be for everyone but I will as quick as I can get that modification in there and if you actually look in the three posts already in there somewhere at the bottom but it might be a little confusing so just make sure you have the right Hardware then you're going to need git because you need to pull this code using git or you can use the GitHub app gets pretty easy but I put it in here you're just gonna click here where you can download it I put a link in there so here we go and you're just going to download the windows uh in and install it as you ask as it asks you to and then you can always open up your command window so how I did that if you've never used command you just go like search your apps hit CMD enter bring up your command prompt and then here you can always type in git dash dash version if you're unsure if you have it so you already have it I already have 2.4 2.0 so that's an easy way to check if it's there the next thing you're going to need is an account or conda conda is basically setting up a like mini environment inside your computer with all of the like base code that you need all the packages installed and it just puts in a little wrapper that you can always activate at any time um I say use Anaconda it's a great one to go off of if you uh just go to the anaconda.org again this is all free you're gonna download it and install it just like normal uh like any other thing just make sure it's ads are in the path you're not modifying anything special um and you'll create that and I have Anaconda running here Anaconda is great their Navigator you can see all your different environments that you've set up in the past so you can see I already have gaussian splatting set up their Studio NGP you can you can see what's in here you can update your packages all of that mixing is easy for a novice um so I do recommend using that as well as if I go back here this mini condo which is a mini version that's also one I actually use that one for a long time I started using Anaconda more recently um so I say jump into Anaconda if you want to get into doing more of this code building things like that you also need Cuda toolkit they said they tested with 11.8 I have 11.7 if you know you've installed Cuda toolkit already and you're not sure what version you have you can type in nvcc uh dash dash version and and you will see which version so you see I have 11.7 in here uh just caveat don't have 11.6 and don't have 12 plus and they say that in here and I do have a link so if you go here to this link you just find that the one they they reference 11.8 Go download that one that's one I would use so once you've got that installed uh we got to keep going down the list here you're gonna have Windows Studio 2019 or newer again I have a link you can just go download it they did theirs in 2019 I always suggest using the ones they they have um but um if I go to my visual studio installer one thing I want to point out is that you have to make sure you install this with the right like system thing so if I go to 2019 and modify it go here you got to make sure you have this desktop development with C plus plus checked on for install if it's not check it it'll add that as an installation that's what you need to get this up and running probably at this point I recommend restarting your computer because you might it might not recognize all these things you have I always notice that's a problem when you're adding all these these things um but there you go um okay we got three more things we need to install to get this running I know it's a lot but it should go pretty quickly and you just pause the video in between but cold map so again a lot of people have problems with installing coal map since we're using Windows just go to this this link go down here where it says uh the top one cool map 3.8 Windows Cuda zip you're going to download that and I'll just go ahead and do it on my own computer and we're gonna unzip that the files and we're gonna put it in our uh on our computer uh anywhere you want I put it like in my root C drive or maybe not root but like my users um folder and somewhere and then you got to add it a path so once this is downloaded I'll extract it and show you what I mean by adding the path I think a lot of people they run into problems with this and it's actually pretty easy to get call map installed so here you go it's still downloading okay so now it's um done here I'm just gonna extract this all um to uh sure I'll put it to my downloads folder this might take a second depending on how fast your computer is okay so now I have it downloaded I'm just gonna search for this darn thing uh you have the subfolder so just take this and I'm going to cut it and hit Ctrl X or you can right click cut I'm just going to paste it in my root folder uh this is uh for me it's j-o-n-a-t because I call my computer Jonathan that's my username so here we are it's in here now I gotta add this to path so if I go to again like your search and you just type in environment edit system environment variables and hit environment variables now I can go add it to path so down here your system variables and what you're doing is you're telling the computer like where to find this program when you use it in command prompt so if I go to path I've already added it at one point in here um if I go find it I believe I have it in a Nerf folder somewhere right here but all you got to do is hit new and then go to that folder that you've pasted in here so you go into here you have your top here's your path here just control copy and then again new paste it in there hit okay now it's added it to path now I'm gonna go delete it because I already have it somewhere else and it'll confuse confuse my computer but that's simple now you have that in path um it will it will know where it is so let me just delete that um okay so now go back um to dependencies so now I have this uh image magic this is for like resizing your imagery uh because it's going to want to do that this is optional but I say do it because things won't break then you just go to the downloads page download it and install it um you got to just look for the windows one so right here it'll drop you down and then just just get this exe version um and when it's done installing um you can again verify by putting these command prompts in so again anytime it says command prompts it puts like three in a box just copy one line at a time so that's going to load up that logo in fact I don't need to do all three the second one says okay here's the logo and then this last one when I think launch it but it might not actually work we'll see didn't work for me last time but I know it's installed because it identified the image for me let's hear yeah so it was in my temp folder so I think I scrubbed it out but um you can just run those through to see if it's running um all right so last I'm going to do is ffmpeg again this one is a little bit confusing again you're just gonna go download uh go to the download um pick one of the files it kind of takes you the subfolder um you just need you really need the essentials so you can just get the ffmpeg get Essentials um and and unzip it and it's the same deal so you're gonna go unzip it put your computer you can go to your environment variables and um I have mine in my my user variables but you can put it in the whole system path but again um I have ffmpeg bin so looks like I have downloaded it to hope I haven't lost everyone in this video so far to okay jail n-a-t-h oh no it wasn't my C uh ffmpeg folder right here this was unzipped and then you have this bin folder so that's where like the exe lives just take this copy ffmpeg slash bin and then you're gonna go new add it to your path and save it so I already done that it's right here um super simple you can put it in user or system variables it'll work just fine and again you can you can run that help command and see if ffmpx working all right so now now we've um we've gotten this far uh the next thing you need to do is is pull the code um so okay so now I I've got all the dependencies installed now I need to pull the code off the website uh and that's just going to get everything off this GitHub repo it'll get it from the source directory so there's been updates since I've forked it you'll get them but you're just gonna go and it's called cloning so I'm going to take this https one you don't get that top part the hash https you scrub the second part control copy and I'm going to paste it and hit enter and this shouldn't take too long it's just going to download everything off the um off the the GitHub repository on your PC and I'll show you where that ends up living when I'm done it'll be slightly different for you just depending on or the the name your computer it'll look it might look a little different um so now it's done so you'll notice when I'm in command so I'm assuming you've not used command a lot but this first part is the content environment I'm in I'm in my base environment then this is like the directory I'm working from so see users j-o-n-a-t so that's like my root Jonathan folders if I go to my computer I have um you know my my C drive here users and then my user profile folder that's where it's going to usually download to now you could have changed where that is ahead of time but it's always good just I for me it's always easy to put it in that user profile folder so now I can move to that so if I hit CD which means change directory space I can type in gaussian spliting and if I start typing it and hit tab it'll auto complete off of what I've started typing now hit enter and now you'll see I was in the this users j-o-n-a-t uh folder now I've moved into the gaussian spotting folder so if again I go into here and I go to got you'll see I have it listed gaussian spotting so there's all the code that's been pulled now it's not installed you just have the code sitting there now it needs to be like built on your computer because it doesn't have like a pre-built installer for you so we finished this cloning repository or move it onto the optimizer where we're going to set that up to get everything ready so the first thing you're going to do is go to setup and it'll say set so we're just going to grab one line at a time you never grab all these lines don't use that copy button so we're just gonna let me make this bigger for all you so just gonna grab that set distill utilities sdk1 and hit enter you won't see anything change that is fine um and then I'm going to go this condo create file environment now this right here is what will build everything and fingers crossed and if something doesn't work I actually suggest closing your command prompt even restarting computer and trying again in fact I'm going to do that really quick because I think I have not restarted this since I've put all some of my my dependency dependencies on your so here we go CD gaussian splatting paste that in there so we're going to go to conduit environment create it's going to crit off this file that's sitting in the gaussian spotting folder so if I go to that I'll just show it looks like it says environment.yml it'll bring up it's a text file so it's like the name of the environment the channels the dependencies and it'll run all the the installers for you so let's just hit enter and this part might take a while so I'm going to skip to when it's done I actually recorded this now twice the first time it failed to build the first time and all I did was restart everything and it worked so I might run into that as well so I'm just gonna let this run for a second and I'll be back to you when this is done okay so this installed first time for me um without any problems actually I only had problems one time when I did this that was because I had installed some new dependencies but when you're all done uh it'll run through this for a while but uh what it'll do is it'll show let me just make this even bigger for you all to read um it will say you know okay you might have to update your condo all that but as long as it's all good you're you should be happy so the first thing I'll say preparing transactions verifying transactions it'll sit on this like installing pip dependencies for a while and then as it goes um it'll it'll show processing the different things I'll say started finished done start is finished done started finish done you know if something didn't install correctly if it said like error and then it'll list what didn't install correctly and as much as I'd love for you to say on the video what didn't go wrong and please do in the comments um you might have a better luck getting this figured out by going to the GitHub repo and asking questions there however please put them in in this video as well for people to learn but I might not be able to help you I'll do my best um so there we go um once it's installed you're you're we're almost done uh things get real fast from here um kind of so we're gonna just gonna take this minimize it again um and so the first thing we need to do now is take the images from a video or a bunch of just images you've taken and convert it to um you're going to prepare them for training so again if I go back to this thing we're gonna go is prepare your images that's basically like telling the computer where all your images are in 3D space in relationship to each other and that's what colmap is used for so I've already done this on an old project but I'm going to run it through you how it's done now and might not wait for it all to process and do some fast forwarding but when you're taking images take images in the same manner you would take them for a Nerf or for 3D modeling you want to make sure that you are basically walking around objects so like walk 360 walk slow you don't want blurriness you want to do multiple levels of angles let me just bring up an example one I think I think this is still here so here's one uh from a crane um I will make sure I credit the Flight pilot here in um Jeff wolf in this and the notes but this is great notice how slow we don't have motion blur the only thing I don't like about this scene is the smoke hanging out above it but other than that you know things are are pretty consistent this would be a great Nerf this would be a great gaussian Splat any anything where the scene stays pretty static and you don't have a lot of motion now I would have loved this flight to be at like three four elevations moving up but that's all you need to do and if you're doing a room kind of do the same thing just walk around the room in a 360 kind of always focus on the opposite side of of the room um so there you go um so now if uh I want to take a video like that crane one um I'm actually gonna copy this and you're going to go to your um it's your okay so I'm going to take this this file here and use this as an example it won't be actually I think the Nerf that we end up training but let me just go take it and put it in um the gaussian splatting folder that I have um so I have gaussian splatting I'm actually going to create you don't need to do this you can just put all your projects in one folder but I'm gonna I'm gonna call this data this is where like my source image data is going to be you can call whatever you want I'm going to call it data I'm gonna go in here and then I'm just going to uh um well I paste it there I meant to make one more so a subfolder called crane and I'm going to put that crane video in there and then here I need to get images because this system is optimized on photos so I'm going to go back to my command prompt window here and um the first thing I need to do is I need to change directory or into where this video is so CD and then you can just copy this and paste it like so that's one easy way to do it but since we're learning here I'm gonna give you a little tip oops um you can also go CD and then type in data and then forward slash crane because it knows we're in this gaussian's biting so it's got to give it kind of like the path so that'll also get you there but now I'm in that crane folder I can type in ffmpeg and that's like an image preparation uh software that we can extract single images from and then um I actually have a script that I'll put in the GitHub repo for getting this out um where I'm just going to copy and paste so you have an i for input we have our input video so if I just kind of go back here and delete that video part I can just take that video and drag it in there and it'll put the path in so I don't have to type all that in and then you can skip over the next part where it says Q scale V1 all that what you're hearing next is this FPS and so how many frames per second so um if I go in here uh I want this video is um 100 one minute and 20 seconds so that's 688 images let's say I want to double that I can put two hit enter and now it's going to start extracting images from that it's going to take two frames per second so I will end up with double that and that's that's a good way to do it is just like take the seconds and figure that out you can even do fractions so let's say it's like a five minute video you could do one dash four for like one video every or one image every four seconds but and then here I have 177 images that's awesome um so now I need to take these images and I need to um start training those so uh if I go back to the repo um let's hear that's in here back to the repository and I go further down past interactive viewers there's a section I may move this by the time you watch this video but it'll say processing your own scenes this is our cool map loader expects the following data set structure for the source path location um you can just kind of skip over that but what you care about is the second part so this is saying hey we don't already have like a folder of data set up um what we need is the location is have an input folder with their images in it so if I go in here I'm going to hit new folder and just call it input like so I'm going to grab all these images not the video just the images drag them in there so now what I have is this this project folder with an input subfolder so that's what I care about and this crane is the location and then we have our input so pretty simple now I'm going to go back to my command prompt and we need to activate our gaussian splatting content environment we created so I hit conda oops activate gaussian splatting enter and now you'll see it doesn't say base yours might say nothing but now it should say gaussian splatting at the start and that means we're in that environment with all the code loaded up ready to go um and now we can start using the Python scripts and all that as long as we're in the gaussian splatting folder with this Goblin splatting conduit environment activated we're good to go so I'm actually gonna go back so um in the gaussian spotting we have a python script called convert and that'll convert images into the way we need them to train this data set so I'm just going to go here and um I actually need to go back a couple levels so if you go CD dot dot it takes you back one so c d dot dot so now I'm back to gaussian splatting you may not have done that you may have already been here but now I know I can use the the training python script and you're just going to copy and paste what they have so you're going to take this python convert Pi dash s not the rest of it just that first part like so and then where's that that folder we just had so that was data slash crane like so that's that crane folder with the input images enter and it'll start running cool map and get all your images prepared um I'm actually not going to use this data set and use a different data set because I've already trained one because it's a pretty lengthy weight if we're going to do this all from scratch but that's how you get your images ready if you already just had still images you could skip the ffmpeg so this is going to run this might run for five minutes might run for an hour depending on how long it is or how many images you have um so I'm just going to close this though and I'm going to start a new content prompt and I'm going to show you what it looks like when it's done uh use it in a different scene so um anytime you reopen this conda prompt by the way uh just make sure you go to conda activate gaussian underbar splatting and then we're going to change directory to gaussian spotting Nest know you're ready to to move some code again so now we're back here um I already ran one on a um folder that I have kind of Saved away let's go here to um gaussian spotting archive so I had I've done a few of these so um for example the one I showed at the start of this video of myself uh let me find that here uh when you're done I have this input and I have these images of myself it was from a video and so you can see like just a bunch of overlapping as I go in a circle around myself and when it's done it'll look like this where you'll have this distorted folder images input sparse stereo all this stuff just that's great that is your Source folder ready to go to train so um I'm just going to minimize this so once that's ready to go we're going to go back up to the optimizer section where we can set we did the setup and we're going to run the optimizer so that's going to like get everything ready to go so python train dash s so just like the last command but instead of convert it's train so I'm gonna paste that in there and then this data actually skip this step so I would have that crane folder ready to go but I don't so I'm going to use this Jay Weatherford one so I'm going to copy and paste that into my gaussian splatting folder data here okay so now I have that in here so I'm gonna I'm gonna turn on that scene so data then J weather for like so hit enter and if all goes well you typed it on right it's going to start training that imagery to uh to the scene that you're gonna we're gonna real time View later so this usually takes a minute for it to start going okay so now it's running um it creates an output folder it'll start loading all your cameras and it'll start the training at this point this this section takes about 45 minutes on my RTX 3090 ti so just know that this could take up to an hour on your 3090 it could take less Dependable you know there's some variables but as it's training it'll say training progress and so it's going to 30 000 iterations that's like your 100 bar but at 7 000 it will save a checkpoint so it'll be partly partly trained which you could actually look at it then but just let it run until it's done and when it's done it'll it'll self complete all that and you could do the math that gives you a prediction so it says 27 minutes I've seen it take anywhere from a half hour to 45 minutes on these so just gonna let this I'm going to fast forward in this video because I don't want to sit here and we're not going to watch this run for that long but that's what the training process looks like um and then I'll show you what it looks like when it's done as well so again I'm gonna hit um close on here and just reopen mine my con a conda and just to reinforce it with y'all every time you close content environment we got a conda activate gaussian splatting and then CD gauge I'm gonna get about that Fire tab to complete so now we're ready to go um but when that's done training if I go back to my gaussian splatting seen here you have an output folder and so there it was training it gives it an arbitrary name just rename it when you're done to whatever your Source folder was so you can remember it but let me find the one I had done that was archived so if I go gaussian splatting oops here to my archive you can see my output scenes so this is what it looked like I'm actually going to copy this into the one we have so you don't need to do this part I'm just copying the output so uh you'll see what it looks like so at the end you'll have a file that looks like this at the top you'll rename it to the same as the source folder so you're not having to like remember all that but you'll have this point Cloud folder a camera.json this arguments file and then an input POI so if you don't see all four of those in there then you know something went wrong and then you'll see your seven thousand and your 30 000 iterations output so now your model is trained now we got to do the live viewing so this part's actually pretty quick and easy because they have a binary so if I go back to that go back to my GitHub repo um it's been trained you have the output data and we're going to come down to the running the real time viewer um actually that's what we're going to run you can read the the directions in here but actually we need to download it first which I believe is here the wind pre-built windows binaries we built the pre-built binaries for Windows here I'm just gonna uh download that and tab for warning there's a bunch of Linux stuff in here I'm going to delete out as well so hopefully you'll have to work your way through all that so once this downloads it downloads this viewers.zip folder um let me just find it in my downloads Yep this viewers file see I've done it multiple times so let me just find it in the subfolder um yeah this yeah so you end up with those viewers we're just going to extract this all um extract go back to downloads here it is this viewers folder I'm just gonna take this folder all of it cut it now I'm going to go to my gaussian splatting folder and it's going to put paste it in here so now I have a viewer solder so that's viewers has got in this bin folder you have an exe for viewing everything this this gaussian viewer app and so now I'm going to show you how to launch that and we can view this scene that we trained so now if I go to back to my command prompt we need to get into that folder that exe is to make things easy on you um so uh I'm just going to change directory to um viewers slash bin ah like so and now I'm in that bin folder where it is and if I start typing sibr because that's the name of the viewer and hit tab a bunch of times you'll get to the point where it has the EXE and then we're going to go space Dash M and if you want to know what that looks like it's it's this uh you're gonna go to the sieber install directory bin the app that's what we just found and then you're gonna put in the the here we go the M path to the train model so path to train model was in the output folder so if I go back to your output folder it was this Jay Weatherford I'm just going to take the top level there enter and now it'll launch the viewer takes just a second for it to load and here we go watch it in real time you can you can resize this window but you can't change the aspect ratio right now like I don't know if that's actually impossible but I have my real-time viewer going and um you can move around with the Waz keys they have instructions on on the project page how to do it that looks like forward backward left right uh up down and then it's uh J and L are you like pivot I and K are your vertical pivot y or no U and O I don't know as I move around there's different buttons to Pivot in different ways um I can change my how I view it to trackball so I can do kind of your dragon pivot your right left click you can translate and rotate move around the scene um and you'll notice you get really far off where the cameras are taken things get kind of terrible so think about that if your capture from inside the scene it'll look great but anytime you get too far out things start to fall apart um you can also in here so you can change your like the way you view this interpolation one will just kind of like move its way through all of your your key points from your cameras which is kind of cool um and then you can let's go you can snap to specific key points so if I said I want key Point 150 it'll put me right to 150 and you can step step through them you can change your field of view things like that and then I have not going to have in this video but you can you can basically record your movement and then you can when it's done you can just export that video um it's a little confusing um I figure most you guys will figure out this viewer by just clicking around um one thing I wanted a couple things I want to note if you go to the top here and you have let's say a 4K or a high-res screen and you go to your display and turn off h-i-dpi you get bigger controls also if you go to and turn off vsync you'll get the full frame rate so I'm 160 frames per second so that's pretty nice and with your Waz keys if you don't find it's fast enough this acceleration will speed that up so filming it like two now I move much faster around the scene so just keep that in mind as well if you get kind of like crazy but why how slow it is um so there you go um this is rendering Splats you can change the size so again like we're just looking at a bunch of these overlapping Splat shapes and when they're full size just makes up the scene you can crop the scene this stuff you should probably figure out pretty quickly on your own but let's see I can just like crop it down to to just me just by dragging these like so and now I just have myself um which is pretty cool as well so if I go to trackball it just have me and it looks I haven't fully cropped it down but you can do all kinds of things like that you can go capture you can export things there's one other a couple more reviews as well at the top here um you can let your initial points this is your your sparse Point Cloud I can get into how this all works later and explain it then Ellipsis ellipsoids are like the Splats in their full scene rendering everything you'll notice you get way less um your metrics go way down that's because it's trying to render everything as opposed to just interactively what's in your view let's go back to Splats you know this goes way back up look at that I'm at 500 frames per second um and then there's this one other crazy top view as well where it shows all your like your camera positions things like that I think it's could be helpful if you know what you're you're you're looking at it's just hard to navigate but you can see your active camera as well as you move around the scene um what you're looking at um and so that's it that's how you get this running again if you have questions I highly suggest that you ask them in the video notes and also ask them in the GitHub repo if they're really technical um but you should be up and running with this if you just take photos you can skip the whole FFM Peg I'll make sure that's in the GitHub repo how to prepare images for that as well um and then you're off to the races I hope you found this video informative I will do an advanced tips video uh soon where we'll go into some more of like capture techniques and things but this should be enough just to get you up and running and having some fun so if you make a Splat please please please share it with me um I'll also put my Twitter and Linkedin handles at the end of this if you see that just go ahead and just at me and I would love to re-share these and then also follow this channel because I will be putting out a lot more content around Nerfs and 3D gaussian spotting coming soon so I'll see you in the next video
Up Next

25:13
Transitional Justice: An Introduction by William Schabas
@officialboontv
464 views•2018-10-17

12:54
Triumph of Orthodoxy Icon: Byzantine Art & History Explained
@BenCallan
2.1K views•2024-08-06

9:49
FastAPI vs Flask vs Django: Choosing the Right Python Web Framework
@TechWithTim
302.5K views•2024-05-26

1:42
Game of Thrones Opening Credits: A Cinematic Analysis
@gameofthrones
46.3M views•2011-04-18
Related Study Plans & Knowledge Roadmaps
Structured learning paths in General & Interdisciplinary Studies
general-studies
Elevator Engineering: History, Physics & Cities
01From Hoists to Safety Brakes: The Dawn of Vertical Lift
02Hydraulic vs. Traction: The Engineering Physics of Elevators
03Modern Speed, Safety, and Algorithms
+ 2 more learning modules
12h5 modules
Explore Roadmap
general-studies
Rubber: Material Science, History & Geopolitics
01Origins of Natural Rubber & Mesoamerican History
02The Chemistry of Natural Rubber & Vulcanization
03The Geopolitics of the Rubber Boom & Colonization
+ 2 more learning modules
12h5 modules
Explore Roadmap
general-studies
Containerization: Evolution, Logistics & Trade
01Ancient Trade & Bulk Cargo: Amphorae to Barrels
02The Industrial Revolution & Cardboard Packaging
03The Containerization Revolution: Malcom McLean
+ 2 more learning modules
12h5 modules
Explore Roadmap
general-studies
Textile Tech: Evolution, Labor & Global Impact
01Pre-Industrial Textiles: Handloom & Cottage Industry
02Mechanization: The Spinning Jenny to the Power Loom
03The Factory System & Global Labor Transformation
+ 2 more learning modules
10h5 modules
Explore Roadmap