


![[LIVE] AULÃO de Arduino - Intensivo para Programar! #ArduinoWeek](https://i.ytimg.com/vi/-vum-4CMyeM/maxresdefault.jpg)





![[ARDUINO] 전자회로 기초](https://i.ytimg.com/vi_webp/VtBB5u85KCw/maxresdefault.webp)










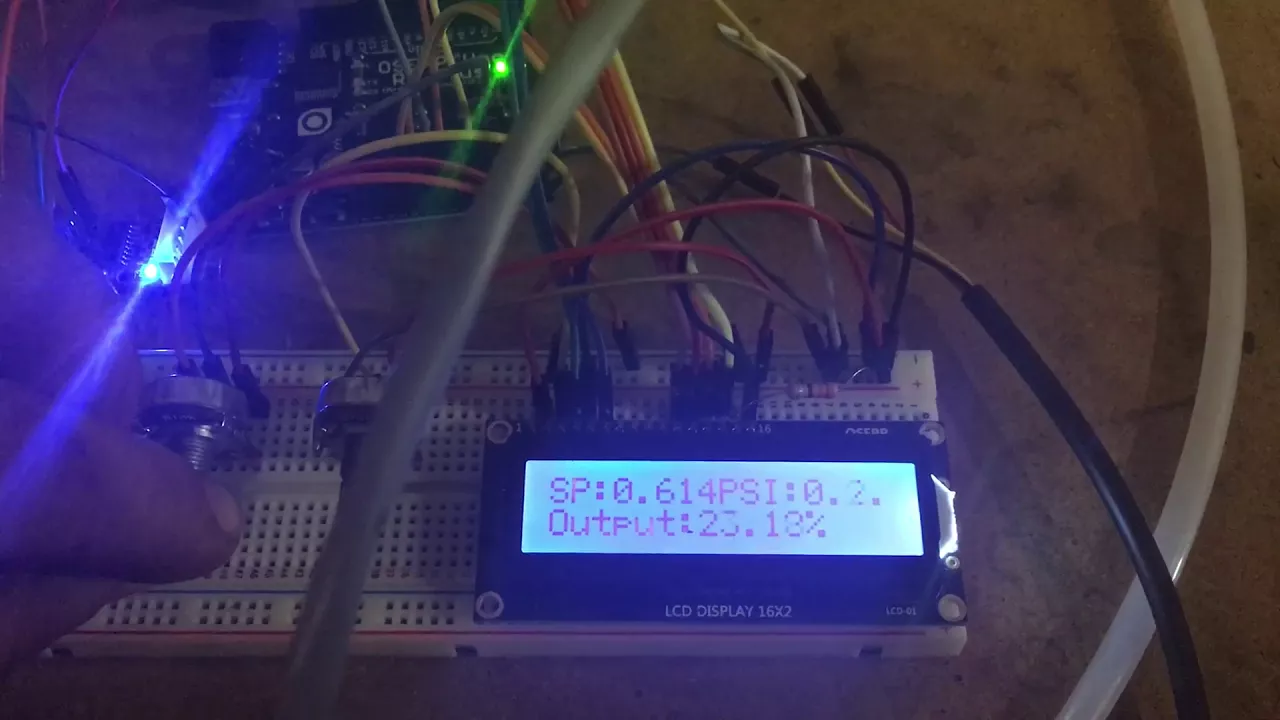






This video demonstrates how to interface an industrial pressure transducer with an Arduino microcontroller to measure and display pressure values in real-time. The pressure transducer outputs an analog voltage signal proportional to pressure, which the Arduino reads using its analog input pin. The raw analog value (ranging from 0-1023) is converted to PSI using a linear equation: PSI = ((analogValue - pressureZero) × pressureTransducerMaxPSI) / (pressureMax - pressureZero), where pressureZero and pressureMax are the analog readings at 0 PSI and full-scale pressure respectively. The processed values are displayed on an I2C LCD screen and also printed to the serial monitor for verification. This project shows how to connect industrial sensors to microcontrollers for real-time monitoring applications.
Arduino Pressure Transducer Interface with LCD Display | Industrial Sensor Tutorial
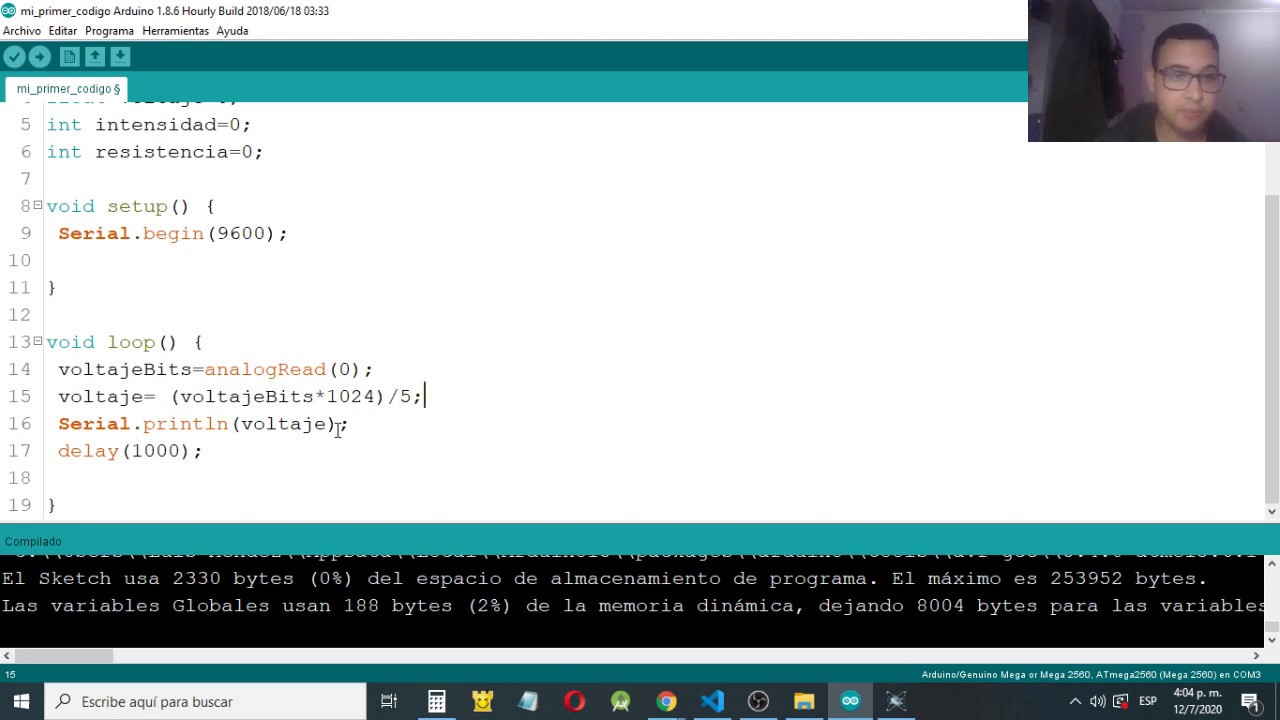
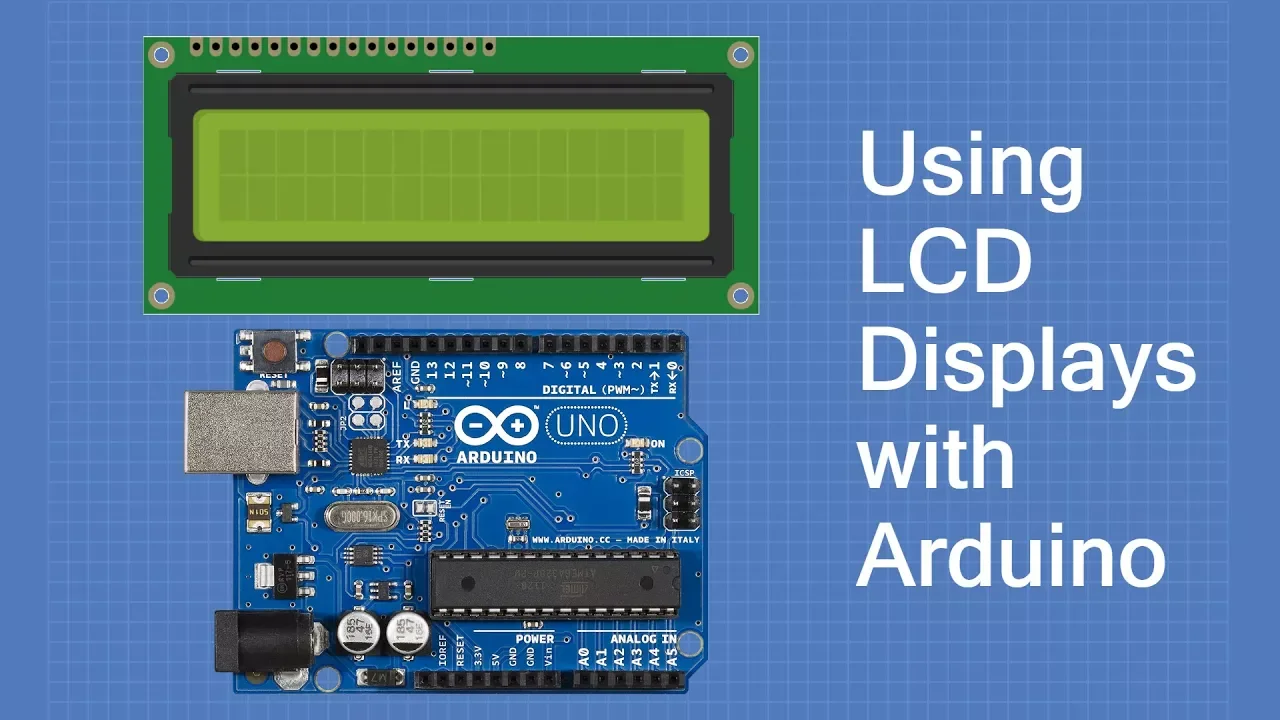
Added:hey guys what's going on welcome back to the shop and today I'm gonna be showing you how to hook up an industrial pressure transducer and interface it with an Arduino and display the values onto an LCD screen so there's a number of sensors that you can use an interface within arduino or a microcontroller but the goal here is to take an industrial version of a sensor that you can use in an industrial application i.e in my case i want to use this in an automotive application and measure let's say oil pressure or air pressure or fuel pressure for that matter and use it in that industrial environment have that sensor be able to survive that type of environment but run the values back to a computer in this case this microcontroller and then display it on to a screen that's readable to the human eye and is understandable to to you in real time so I want to take this industrial sensor and read a let's say oil PSI value of of my engine while it's running I'll be linking all of this in the description below you can pick up these pressure transducers off of Amazon these LCD displays off of Amazon breadboards Arduino kit everything here I'll link down below in case you want to purchase it and and use it to for your own projects alright so in this case I'm going to be using an LCD screen over the I squared C communication bus with the Arduino to communicate those values from the sensor through the microcontroller to the screen I'd really recommend if you have a smaller so this is the 4 by 20 LCD screen if you have the smaller 2 by 16 screen I would recommend getting these backpacks that you can put on to the back of the screens to use the I squared C communication interface otherwise you're gonna have to use all these pins or most of these pins to interface it to the Arduino or in this case it's super simple with the I squared C all you have to use is you can see here is 4 pins and those pins are ground and then the five volt and then a data pin and an o'clock pin and those easily interface with the Arduino ground the ground five volt and then you can use the clock and data pins which are on on this side you can see the SDA and SCL just at the back here alright so just showing you how everything's connected so this pressure transducer has three wires on it if I pull open the connection here you can see how this is it's got three pins on it and then there's the female end so that just plugs in there nice and easy so you can let's say plug that into your engine block and then easily unplug that so there's three wires on there this red wire is positive goes to five volt positive the ground goes to ground and then the screen wire is the the output for the voltage going into the analog signal so that green wire you want to interface with one of your input analog pins on your Arduino so in this case I'm taking that and running that over to a zero on the Arduino and then like I said for the LCD screen I'm running my ground pin to ground on the Arduino VCC to five volts on the Arduino SDA to the SDA pin on the Arduino and then the SCL to the SCL pin on the Arduino so over here is the ground and five volt if you can see that and and then on this side is where the SCL and SDA pins should be labeled on your Arduino alright so here's a quick demonstration of me just using my mouth to blow onto the pressure transducer and then we'll see what the values are on the screen and then I can also use it as a vacuum I'm not sure how accurate the vacuum side would be but it works anyways pressure transducer and the LCD screen I'll be running this line by line if you want this code I'll be putting it down in the description box below if you have any questions feel free to contact me at my email here so this is just an example on how to take this pressure transducer read that value both on serial and then to display it on to you know seedy screen so these two includes here are just to use with the I squared C and interfacing with the LCD screen then coming down these constant integers constant integer pressure input this is just to define the analog input pin for the pressure transducer so you can use a zero one two three or four or five or however many input pins you held on your Arduino in this case I'm using the Arduino Uno constant energy pressure zero so I'll scooch over to the notepad here and show you where these value values are coming from but the the pressure transducer at zero PS psi and at 100 psi because I'm using a 100 psi transducer inputs a certain value at zero psi and at a hundred psi on the analog pins so I'll show you over here alright so just to show you real quick and so you understand how this works the analog read function in the arduino ide essentially how that works is you put analog read and brackets and then what that does is it takes the analog voltage value from the input of that pin whichever pin that you select and it converts it to some digital or sorry now it converts it to a number between 0 and 123 so that's 1,024 values that it can convert from a voltage that's being input to the analog pin so if you come down here where I got those two numbers previously the 102 point four and the 921 point six so you just take a quick conversion equation so there's one to 1024 values that are possible right so we have x over 1,024 is going to be equal to 0.5 over 5 volts now this is because the pressure transducer on amazon there's a sheet that says at 0.5 volts the pressure transducer reads zero psi and then at oh sorry I wrote this one I'm supposed to be a 4 at 4.5 volts it's supposed to read 100 psi so you just do this quick equation or quick calculation here and you can figure out that okay so at this value so at 0.5 volts what's my analog value going to be so at 0.5 volts divided by 5 and then you just multiply that by a thousand 20 for that value gives you 100 and 2.4 so that's what the analog input integer is going to be at 0 psi and then you can do the same thing to figure out what to figure out what your value is going to be at 100 psi so in this case it's 920 1.6 and then I'll jump down here and show you how to convert from that analog value into a voltage value but I'll jump back to the code here and just should run you through the code and then I'll I'll pop back over here to show you this equation again once we want to convert that value to voltage those two numbers from shown before so the next thing is the constant integer so just define that as pressure transducer max PSI so depending on the transducer that you get just input that number here so in this case I have a hundred psi transducer so I'm putting that down as 100 I have a couple 30 psi transducers on the way to so it'd be super easy to interface them with those ones because all you have to do is just change that number okay so baud rate this is just to set the baud rate for the serial monitor and then censor read delay this is the delay in milliseconds between reading the values and displaying it to the screen so that way it just slows it down a little bit and then float pressure value so float is 2 to make sure that I can read the values as decimal points I just define that as pressure values and that's the variable that I can store those values coming in so this liquid crystal underscore i2c this is the this initializes the LCD screen so the format here is just LCD and then bracket that's your address to the LCD screen in my case that's 0x3 F so this is for I squared C communication your screen might be different there's another sketch that you can run to figure out what the addresses of your LCD screen is and then this is the amount of columns there are and then the amount of rows on the LCD screen and then you come down to void setup so this is the routine that runs once when the systems turn on or is reset so in this case I'm doing serial dot begin and then it's my baud rate so that initializes my serial communication in bits per second and then I come down to LCD begins so this is initializes malleus LCD screen and then I'll come down to the loop portion and this runs over and over again so I'm taking pressure value equals analog read at my pressure input pin so this is at a zero and this reads my value and then assigns it to that variable pressure value so pressure value I then take that and do this conversion equation because I want to convert it into two psi so I'll flip back over to the notepad here and show you what that conversion means but I just I'll show you real quick if I take this and then upload it to the Arduino I'll show you that my number does make sense because at zero psi it should read the 102 point four of that analog reading alright so this is with my code uploaded with the without the conversion equation on there so as you can see my numbers do make sense we're at zero psi right now okay nothing's no pressure is being put on this sensor and we have a value of 102 coming out of that that number so I don't have this value floated so I can't see the the digital number but I'm not looking for that precise of a number anyways for my psi value I ain't here I guess I could change the code a little bit to get this a little bit more accurate but as of right now this numbers not being but my my converted value is being floated all right now so for the conversion equation because that lower value does not start let me bring this up because that lower value does not start at zero and it starts at 102 I have to take whatever that incoming value is and then minus that lower the not lower number so the 102 and then I basically just the I'll multiply that by the PSI of the transducer that you using and then divide that by the total range from the max value to the minimum value of your pressure transducer is and then that will give you a number that's output in psi so that's assuming that the relationship between the voltage and the PSI is linear because if it isn't then this equation would have to be different so at 0 in this case if zero volts should be linear - so 0 volts incoming is zero psi actually sorry it starts at zero zero psi is 0.5 volts and then at 4.5 volts it's assuming that 100 psi in between all these values is linear so that's the way that equation is working now a way that I can confirm this back on the Arduino to the analog input pin is I can take my small multimeter in this case and then I can go between the input of the analog pin so this is at 0 psi nothing's being on pushed on the pressure transducer and then I can go to the ground pin you're gonna see just so you can read that and then I can put that to ground pin then that should read about 0.5 volts if you can see that there's a bit of a glare yeah so that's point 5 volts so that confirms the fact that at 0.5 volts the pressure transducer is reading 0 psi now I don't have a the proper adapters right now for my air compressor but in theory I could take my air compressor and then a gauge on that air compressor put it our sorry regulator on the air compressor and put it out a hundred psi and then I could test this sensor by putting a hundred psi of air pressure force on this and then confirm that value before going through this and then I could do that out of range of values between zero and and 100 psi just to see if that equation makes sense that's where I got that equation from so that's the conversion equation to go from my analog value into a PSI value now I can do I can display this either on to the serial monitor or at the same time I can display it on to the LCD screen so we'll take a quick look at the serial monitor here but this is how I get it to display on the serial monitor so serial dot print and then pressure value which is this and then two one one decimal place so we'll take a quick look at the serial mm whoa and then this is showing my zero psi I'll give this a quick change see if that changes so with my mouth I can blow it up to 1.7 psi so moving on and the code Sharyl dot print line psi that just prints the label to the serial monitor and that you get to display on to the LCD screen LCD set cursor at zero column D Rho and Rho zero and then I'm printing the label pressure and in front of the value that's gonna be printed and then LCD print and then I'm taking LC dot print pressure value so that's this and then I want that printed out to one decimal place and that I can do that because I've floated the value at the beginning and then I'll print the label PSI right after it and then this I had to put in because you need a way to clear the LCD screen if that value goes over two digits or into the negatives because if you print it and then allow to go through again sometimes the I will stay at the end so this is an easy way to clear to clear the screen without having to clear the entire screen so you have to that clear is just the digits right after psi and then this is my delay between values between reading and each value so let's take one final look at the screen see what it looks like all right so now that we've taken a full look at the code here's the screen and here's my pressure transducer I'll give it one final blow all right so that shows that my pressure transducer is working as a pressure sensor here and then I can read it and output it to some psi value and display it on this screen so hopefully that helps and thanks for watching stay tuned for some more projects in the future because I'm planning on making this a larger scale project for my truck because I want it I want to use it as a pre so my truck is an older 92 dodge I want to use it as a pre obd2 kind of computer for the truck so I'll have various input sensor values from ranging from oil pressure to feel pressure to turbo pressure and then I also want to monitor the incoming voltage from the battery so I've got a couple things couple things still need to come in the mail but I've got this this is a voltage sensor so I can read the voltage value on my battery and see how it's doing and then this is a voltage regulator so I can regulate the incoming voltage from 12 volts down to 5 volts for the Arduino computer system and then I have a few more things coming so I actually have a I don't have it down here but I have a a pyro k-type thermocouple so it's to measure your exhaust gas temperatures and then I'll be able to interface that with the Arduino as well and then I've got a couple other small goodies too that I'm looking into but this will be kind of my ongoing project so if you want to stay tuned and see how I evolve that project moving forward keep watching I'll be doing individual breakdown videos kind of like this into each sensor and then being able to display it onto a screen and then that way we can learn together and then evolve this project kind of into the future and see how it goes so thanks for watching and stay tuned for more videos
Up Next

The Power Loom: A Revolution in Textile Manufacturing
@patrickreed1967
21.5K views•2016-12-17

Ultrasonic Transducers: Resonant Frequency Measurement and Horn Design
@imajeenyus42
229.9K views•2017-02-22

Polymer Environmental Degradation: Mechanisms & Stabilization
@iit
1.8K views•2012-07-10

How a Student's Question Saved a NYC Skyscraper from Collapse
@veritasium
22.8M views•2025-04-26
Related Study Plans & Knowledge Roadmaps
Structured learning paths in Engineering