



![ROS2 Tutorial - ROS2 Humble 2H50 [Crash Course]](https://i.ytimg.com/vi_webp/Gg25GfA456o/maxresdefault.webp)








![[ROS2 Q&A] 229 - How to use ROS2 parameters](https://i.ytimg.com/vi/EQE6xTqJ1u8/sddefault.jpg)
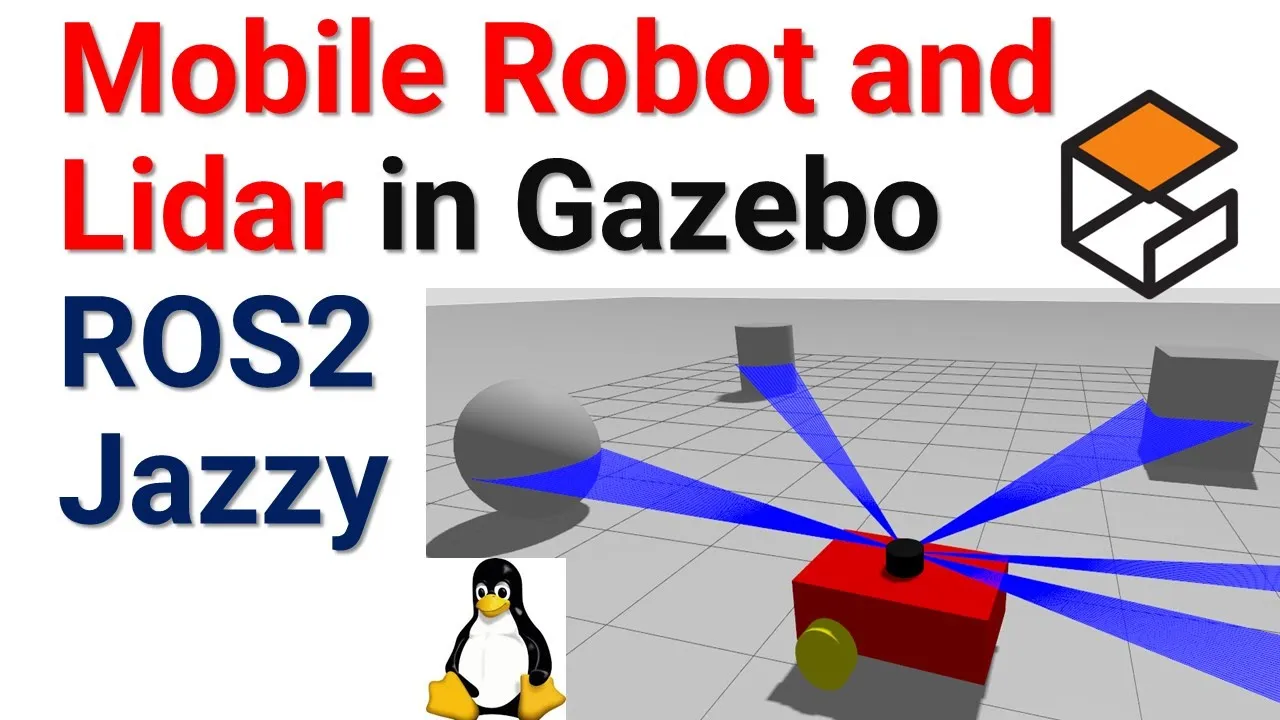
![[RoboCup][V-RoHOW] Hands-on with ROS 2](https://i.ytimg.com/vi/ZgzsYvne5Gs/maxresdefault.jpg)




This tutorial demonstrates how to create ROS 2 publisher and subscriber nodes from scratch in Python on Ubuntu Linux, covering workspace creation, package development, node implementation using rclpy library, and proper execution of nodes through the ROS 2 command-line interface.
ROS2 Publisher and Subscriber Nodes from Scratch in Python
Added:Basic Python programming, including object-oriented programming (OOP) concepts like classes, inheritance, and imports.
Familiarity with the Linux terminal (Ubuntu) and basic command-line operations such as directory navigation, file editing, and sourcing scripts.
Fundamental ROS2 concepts, specifically the Colcon build system, workspace structure, and the role of packages.
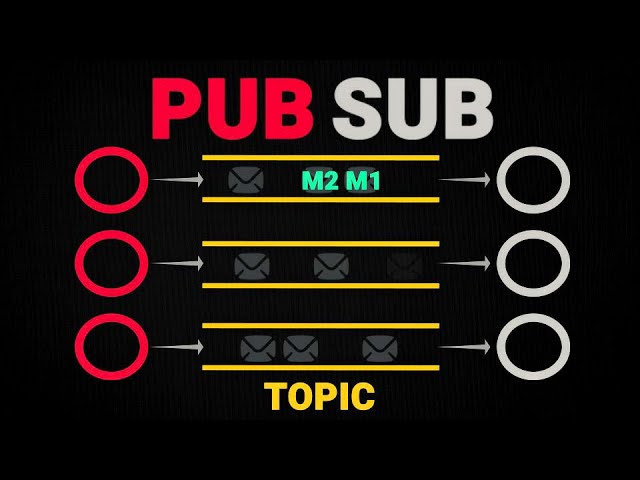
Theoretical understanding of the Publish-Subscribe messaging paradigm, including the roles of publishers, subscribers, topics, and message types.
Designing and using custom ROS2 interfaces by defining custom message (.msg) and service (.srv) types.
Implementing ROS2 Services (Client/Service architecture) for request-response communication and Actions for long-running, feedback-enabled goals.
Writing Python-based ROS2 Launch files to configure, parameterize, and execute multiple nodes simultaneously.
Using ROS2 Parameters to dynamically configure node behavior at runtime and managing node lifecycles.
Integrating your custom publisher/subscriber nodes with visualization tools like RViz2 and robotics simulators like Gazebo.
6.8K views241likes26:15Original Release: 2023-12-13
hello everyone in this Robot Operating System 2 or Ross 2 tutorial we explain how to create Ross 2 publisher and subscriber notes from scratch in Ubuntu Linux and python in particular we explain number one how to create and build rosu workspaces number two how to create and build rosu packages number three how to write python source files of subscriber and publisher noes number four four how to incorporate the written subscriber and publisher notes in the package and number five how to properly Source the new workspace and how to run the created subscriber and publisher notes by the end of this video tutorial you will learn how to create this in this terminal we have a publisher node that's continuously running the publisher note is publishing these messages through an appropriate topic we can see that the message consists of a string and a counter value that's continuously increasing on the other side we have a subscriber node through the appropriate topic the subscriber node receives the message and it reproduces the message over here this is a pro of principle for more complex example due to this it's very important to properly understand these nodes and to learn learn how to connect them together here's the python script that implements the publisher node you will learn how to write this script in this video tutorial and here is a python script that implements the subscriber note but before I start with explanations I need to mention the following it took me a significant amount of time energy and planning to create this completely free video tutorial as well as more than 450 free video Tut tutorials that you can find on my YouTube channel and consequently I kindly ask you to press the like And subscribe buttons thanks a lot okay let's start the first step is to create an empty workspace to do that let's start a terminal and in this terminal window we need to Source our environment that is we need to execute this command this command will actually run this file setup. Bash and this file will actually properly set up the Ros to environment such that we can run all the commands so let's do that however let's explain this command in more details we need to explain the concepts of underlay and overlay namely every time you want to create a Ros two workspace with packages or run a rosu Noe we need to set up the rosu environment by S sourcing the setup script provided by the binary installation of Ros 2 that is we need to execute this file over here this command will set up the environment and create an underlay environment or underlay workspace or simply underlay on top of which we will build our workspace on the other hand by creating the workspace with packages in rosu we create an overlay on top of the current Ross to installation that is on top of the underlay so after creating the workspace with packages we also have to Source the setup file for that workspace and I will explain that later on in this video tutorial in that way we create the workspace overlay on top of the Ros 2 installation underlay the next step is to create a workspace folder and inside of that folder the so-called Source folder so let's do that we do that by running this command usually the packages are placed in the source subfolder here to illustrate the structure of the workspace folder after the build command is called We Run The build command in an empty workspace folder packages will not be built since there are no source file of the package however the build command will create several folders in our workspace folder later on after we create an actual package we will run the build command again to build the workspace and any possible packages if the packages actually exist we type the following first of all we need to go to our workspace folder and in this folder we need to run this command call Con build okay and let's see what will happen Okay summary zero packages finished in 0.7 second this command ccon build is actually a version of Ross one command cat can make that's used to build the workspace and all the packages in Ross one it's very important to know that this command will actually build or create three folders inside of our workspace folder folder and let's see these folders here are the folders build install and log let's explain these folders the buildt folder is used to store intermediate files for every package we will have a folder inside of the build folder in these subfolders of the build folders cmake will be executed then we have the install folder the packages will be installed in this folder there will will be a separate folder in the install folder for every package and finally we have the log folder in the log folder the logging information during the build process is stored so if during the build process there's some compiling or build errors they'll be stored over here in the log folder and you can go over there and you can see all the errors next let's create our first package that will contain subscriber and publisher notes first we need to change the current folder we need to go to the source folder okay then in this folder we need to execute this command let me expand this window such you can such that you can see the command Ros to package create this is a an additional parameter that I will not explain now and this is the standard thing _ Python and the name of the package is first package okay and let's press enter and you can see that something happened over here we can see that something is created some files some setup files test files Etc perfect let's see now the structure of the source folder ahuh inside of this folder we have another subfolder called first package so let's go to that folder and let's see its structure here it is very interesting we have several subfolders over here and several files we will explain these files in the SE for us the most important folder is the folder with the same name as the name of the package the name of this folder is first package let's go to that folder now inside of this F folder we will create a source file for our publisher node to create such a file we will need to open a g editor and we need to specify the name of the file in my case the name of the file will be publisher dopy since I'm writing a python source file and let's press enter to open G editor over here you can also use some other python editor if you like to use use for example spider you can use spider okay the next task is to write the publisher note okay let's start editing this file as you can see over here I will write a lot of comments these comments will help you to better understand this code the first step is to import the necessary libraries first of all we need this Library r clpy is a python API for communicating and interfacing with Ros to for those of you who are not software Engineers API stands for the application programming interface it's an interface between two programs okay to summarize this library is used to interface python withraw to this is very important now through our topic we will be sending strings as messages conse quently from this Ross package called STD messages that is standard messages. message we import string since we are sending string data structure then we need a so-called node class from this package so we are importing the node class here it is next we need to write a class that will govern the behavior of our publisher node let's do that to save our time here's our class the name of the class is publisher note and inside over here I have note note that I imported actually note what does this thing mean basically we created a class that is inherited from this note class and we do that by using this notation again the publisher node is inherited from The Base Class RCL pi. node keep in mind that now here we need to call the Constructor of the parent class or of the Base Class RCL py. node and we specify the name of our class node publisher this name will be used later on okay now we need to do a few things first of all we need to declare that our node will actually publish string messages we need to specify the topic name and we need to specify the buffer size for messages and we do it over here we call this function create publisher from basically Base Class we specify the string as a type of a message that will be sent through the topic and the name of the topic is the communic ation topic we can specify the name as we wish of this topic however it's very important to use the same name in the subscriber node that we will write later on and we SP specify the buffer size next we create a rate for communicating the communication rate in my case is equal to one this means that I'm sending messages every second you can change this value As You Wish next we need to set the timer the timer will call the function that will be called like this and it will be defin below this is a call back function that will perform certain task and it will be called by this timer so what do we do over here we set self timer and then we call this function create timer from The Base Class node we set the communication rate to 1 second and we specify the name of the call back function and over here we initialize the counter to zero this is very important the next step is to define the Callback function here is our callback function the first step is to create a message we do it like this then we fill in the message data with a string the string is counter value and we actually specify over here the counter value the counter starts from zero and it's incremented at the end of this callback function then what happens over here we are publishing the message that is we are sending the message to the appropriate topic and what do we give as an input we give as an input our message publisher and we call this member function publish at the same time we will publish the message to the Data Logger that will display the message in the same window in in which the publisher node was started to do that we simply call the logger we specify information I'm printing publisher node is publishing this string over here and the string over here is actually the string defined over here and finally I increment the counter and that's it and finally we need to create a main function that will serve as an entry point for our note here is the main function inside of this Main function I'm initializing then I'm creating the object note publisher then I'm calling the function spin the spin function will spin the node and make sure that the call backs are called that is that this function is properly called and at the end I need to call these two functions to properly end my code and finally I need to have this part okay so that was our publisher note don't forget to save the file and close the editor okay next we have to edit several files first of all we need to go to this folder that is we need to go back one step and first of all we need to edit this file package do XML let's edit that file okay the first step is to edit these three tags I will simply erase these three tags and I will paste the edits so over here I'm setting the description of the package I'm setting my email my name and I'm just giving a license I'm calling a new license however here you can specify the license As You Wish after these three tags we need to add the dependencies tag and here they are this is a very important step over here we are saying that our package will depend on this python Library as well as on this one okay don't forget to do this this is very important step next we need to create an entry point for our code how to do that well over here we actually need to edit another file so let's go back to this file save the file close and let's edit our setup file again here's the setup file so let's edit that file and you need to find this part and here we need to specify the entry point so how to specify the entry point here's how we do that I will simply paste the piece of code that I previously wrote so we need to add this okay so what are we saying over here we giving it the name talker and we're saying the following first package is the name of the folder for our package then the name of the file the name of the source file is publisher and inside of the publisher we are calling the function M this is very important so again the name of the folder for the package publisher is the name of our python file and here's the name of the function this is very important however we still have to do a few additional edits these four lines have to be changed and I will simply paste my edits so I setting the maintainer name I'm setting my email address here's the description I'm setting the license note that these tree or actually these four entries have to match the entries from the appropriate package p. XML file so everything that's written over here should be equal to everything that you wrote in package. XML keep in mind that save the file close the file and let's create the subscriber note how to do that well again we need to go back to our folder then inside of this folder we need to create the subscriber source file and we need to edit this file the first part of the subscriber file is the same as the first part of the publisher file and here it is first we need to import RCL py then we need to import string and we need to import no next we need to define a class that implements the subscriber node here it is here's our init function over here we call the function super and we specify the name of the subscriber over here we are actually saying that this node will be a subscriber node it will receive string messages it will subscribe to this topic and know that the name of this topic is exactly the name that's specified in the publisher node we set the name of the Callback function and the Callback function is defined over here and we specify the buffer size for receiving messages and then finally we call again this part over here this will prevent unused variable warnings here is our call back function it receives the message then over here we simply calling the logger and we are printing the to receive the message on our computer screen and this is very important because if you don't print the message nothing will happen nothing will be print out because what will happen behind the scene our subscriber node will receive the message and that's it consequently we need to call the logger to print the message on the computer screen and finally we need to add our main function that serves as an entry point here it is here's our main function we initialize we create our subscriber node then we Spin and over here we make sure that the code is finished properly and finally we add this part and that's it this is our subscriber note save the file and close the editor next we need to add another entry point for our subscriber so let's do that first we need to go to this folder then we need to edit our setup file and over here we need to add an extra line that will actually create an entry point for our subscriber so let's do that here's the line that we need to add and we need to add the line over here so what I'm saying over here I'm saying the following listener is equal to the name of the folder the name of the source file that implements our subscriber node and we are calling the function Main and that's it save the file and close the file and in the final step we need to build the workspace and run the nodes however before building the workspace it's a good idea to check check for missing dependencies we're using these two packages RCL lpy and STD messages and they should come as an integral part of Rost to installation however it is still a good idea to double check for missing dependencies by running these commands first of all let's go to the root of our workspace okay and then inside of that folder let's run this command and everything looks perfect all required packages installed successfully okay now we are finally ready to build a workspace in our package again make sure that you're in the proper folder and let's build our package to build the package again we are calling the command callon build we specify these parameters and we specify the name of the package and let's hope that everything will work as expected okay now over here you can see this warning message however try to ignore this message because this message will always appear if you try to build a package or a workspace this is nothing related to the error in our code this is related to some warning that's related to Ros two installation and hopefully in the next version of Ross they will fix this and finally we are ready to run the publisher note for that purpose let's open a new terminal and in the new terminal let's type source and let's Source this file setup.
bash now notice one big difference between this command and the command that we used at the beginning of this tutorial here is the command so what's the difference let's see over here and let's see this command well the difference is that over here we are actually sourcing this file setup. Bash from our workspace however at the beginning of this video tutorial we Source this file ahuh so what's the difference well the difference is that over here by creating our workspace we actually created an overlay on the top of the underlay and consequently we only need to Source the setup file from our local workspace this is very important now let's run our node to run our node we need to execute this command Ross to run first package the name of the package and the talker basically what's happening over here we are actually running the entry point of the file publisher. piy and that's our main function and here it is perfect publisher node is publishing and we can see the following messages and we can see that the counter is increasing and finally let's run the subscriber node to run the subscriber node again we need to open a new terminal we need to Source this setup file from our local workspace and let's run our subscriber note we do it by executing this command and let's see the output perfect we received counter value 63 and you can see the value actually the string over here so publish this part receive this part perfect okay that would be all for today I hope that you like this video if you like the videos I'm creating please press the like And subscribe buttons thanks a lot and see you in the next video tutorial
Up Next
27:44
Creating Custom ROS2 Interfaces: Messages and Services
@RoboticsBackEnd
16.8K views•2023-01-23

12:54
Triumph of Orthodoxy Icon: Byzantine Art & History Explained
@BenCallan
2.1K views•2024-08-06

9:49
FastAPI vs Flask vs Django: Choosing the Right Python Web Framework
@TechWithTim
302.5K views•2024-05-26

1:42
Game of Thrones Opening Credits: A Cinematic Analysis
@gameofthrones
46.3M views•2011-04-18
Related Study Plans & Knowledge Roadmaps
Structured learning paths in General & Interdisciplinary Studies
general-studies
Elevator Engineering: History, Physics & Cities
01From Hoists to Safety Brakes: The Dawn of Vertical Lift
02Hydraulic vs. Traction: The Engineering Physics of Elevators
03Modern Speed, Safety, and Algorithms
+ 2 more learning modules
12h5 modules
Explore Roadmap
general-studies
Rubber: Material Science, History & Geopolitics
01Origins of Natural Rubber & Mesoamerican History
02The Chemistry of Natural Rubber & Vulcanization
03The Geopolitics of the Rubber Boom & Colonization
+ 2 more learning modules
12h5 modules
Explore Roadmap
general-studies
Containerization: Evolution, Logistics & Trade
01Ancient Trade & Bulk Cargo: Amphorae to Barrels
02The Industrial Revolution & Cardboard Packaging
03The Containerization Revolution: Malcom McLean
+ 2 more learning modules
12h5 modules
Explore Roadmap
general-studies
Textile Tech: Evolution, Labor & Global Impact
01Pre-Industrial Textiles: Handloom & Cottage Industry
02Mechanization: The Spinning Jenny to the Power Loom
03The Factory System & Global Labor Transformation
+ 2 more learning modules
10h5 modules
Explore Roadmap