



![[5]–ROS2 Basics Explained – Nodes, Topics & Messages [شرح بالعربى]](https://i.ytimg.com/vi_webp/x7fgj2tMVLg/maxresdefault.webp)


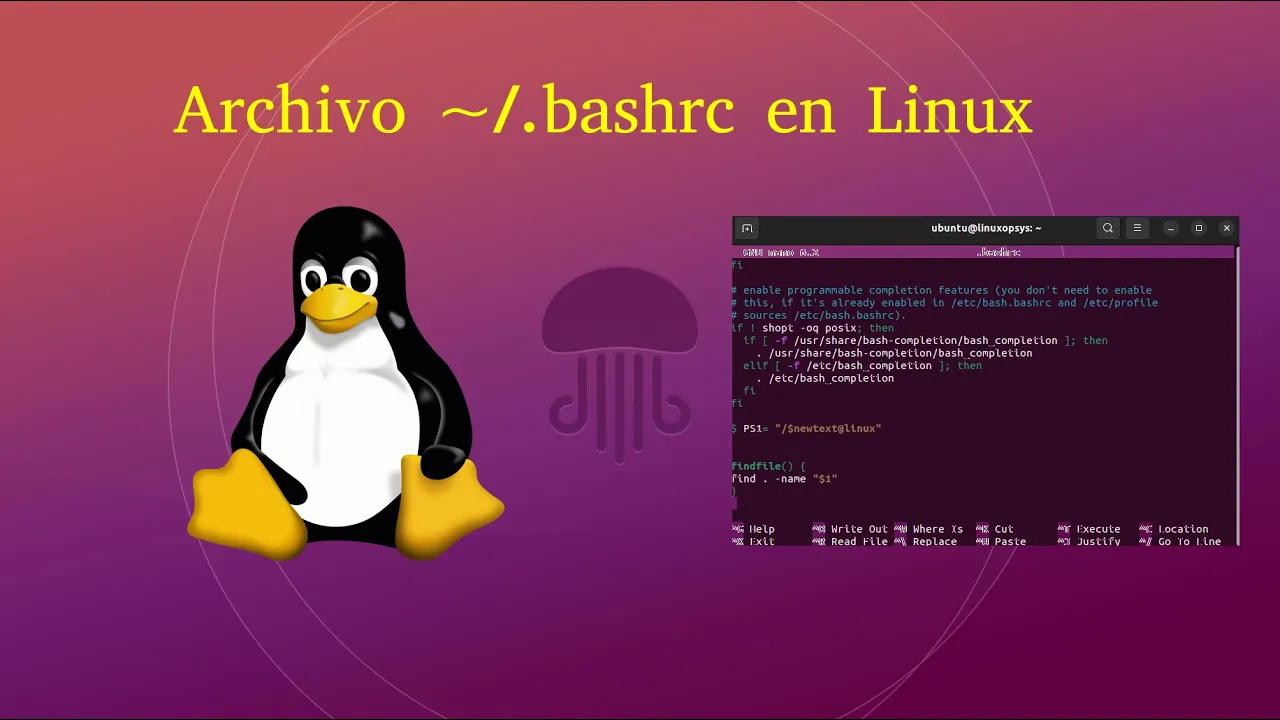
![RHSA Course LvL 2 #4 [ Bash Scripting #2 ] - Environment Variables](https://i.ytimg.com/vi/P0PDT3GNixs/maxresdefault.jpg)


![[ITA] DAFN 2023 - Robotics lecture 2 - ROS 2: Workflow and basic communication](https://i.ytimg.com/vi/B0SsZyaLRxU/maxresdefault.jpg)
![ROS2 Tutorials #5: How to create a ROS2 Package for Python [UPDATE]](https://i.ytimg.com/vi/fg9Dnxt_jKw/maxresdefault.jpg)
![12| Create ROS2 Python Package (ament Python) [ROS2 بالعربى]](https://i.ytimg.com/vi_webp/jfrB2CFTfSY/maxresdefault.webp)

![10| Create ROS2 C++ Package (ament Cmake) [ROS2 بالعربى]](https://i.ytimg.com/vi_webp/I2WttQY8G0g/maxresdefault.webp)






![Line Following Custom Robot Project | Webots ROS2 project Tutorial | [Tutorial 6]](https://i.ytimg.com/vi_webp/ZTJa5f5F5fU/maxresdefault.webp)


![ROS2 Tutorial - ROS2 Humble 2H50 [Crash Course]](https://i.ytimg.com/vi_webp/Gg25GfA456o/maxresdefault.webp)


A ROS2 workspace is a dedicated folder structure for organizing custom ROS2 code through packages, enabling building, installing, and sharing nodes with teams. To set up a workspace, first install colcon (the ROS2 build tool) using sudo apt install python3-colcon-command-extensions, then configure auto-completion by sourcing the bash script at /usr/share/colcon/argcomplete/hook in your .bashrc file. Create the workspace by making a directory (e.g., ros2_ws) and adding a src folder inside it. Run colcon build to compile code, which creates build, install, and log folders. Finally, source the install/setup.bash script to enable your custom nodes, and add this source command to your .bashrc for persistent configuration across all terminal sessions.
How to Create and Set Up a ROS2 Workspace | ROS2 Tutorial
Added:hey and welcome back this is episode number three of this tutorial series crash course on ross2 you can find the series playlist in the description and let's get started so let's start to write some code but actually before we even write code we need to do a bit of organization because we need to create a roster workspace you are not going to create your code wherever okay we need a bit of organization so you are going to create a rost2 workspace in this roster workspace you will organize your code through different packages and you will also be able to build and install your custom code in your workspace so that you can actually use it also if you work with a team for example and if you need to share code well that's what you are going to share you are going to share a specific roster workspace with many nodes inside so you can easily collaborate all right so the first thing we are going to do is we are going to install the build tool for rost2 because as i told you this roster workspace you're going to write code but you're also going to build your code and build your rows to nodes and what is the build tool for roster the build tool is named call con so let's just install that sudo apt so we can do sudo apt update maybe put the password okay and then we can do sudo ppt install that's going to be python 3 dash call cone dash command extensions so just like that and you can use the auto completion as well so let's press enter okay and let's just install that so yes and let's wait a bit okay great and now it's as simple as this cold cone is installed and we can use it there is just one more thing i'm going to show you now is because if you just use call cone like this so that's going to be a command line tool you will not be able to use the auto completion for the different options of the command line so we need to do something more to enable that so let's do clear here and let's go to so cd slash user so usr share and then call con so call con underscore arg complete so you should have this now and then slash hook and in here you can see we have a bash script and that's going to be very similar to what we did with the environment setup for rostow we're gonna need to source this bash script so that we can use the autocompletion for call con arguments and instead of sourcing this script every time we open a new terminal i am simply going to do jedit um here lc so let's open this and let's put that on the side all right we are going to do so so after the line to source the roster installation i am going to add another line source with this so the path here right there slash user slash share slash call concomplete slash hook slash this script right there okay so we can make sure that this is going to be sourced every time we open a terminal or a station let's save the bash rc and quit okay now let's go back to our home directory and here either you open new terminals or you can just do source bash s so you can make sure that the changes have been made and let's also source every terminal we have for now source so dot bash sc here and source dot s okay so call con is installed and we can also use auto completion in all terminals that we have plus any new terminal that we open will be already correctly configured great now we have call con and the auto completion let's go back to creating our workspace and so what is a rost2 workspace well nothing more than a folder actually so i am in my home directory i'm just going to do mkdir i'm going to name it ros to underscore ws so that name is actually quite common that's something you're going to see quite often as they rush to workspace you can use any name you want actually but i'm gonna keep this one for this tutorial so i press enter and then let's go to this rows to workspace so now we need to configure this and to actually say that this is a workspace so for now it's empty we're going to create so mkdir src we're going to create a source folder that should be named exactly src okay so now you have rows to workspace and inside src folder so in this src that's where you actually are going to write your roster node and how is it going to work well you already have a roster global installation so you are going to be able to use the functionalities and the nodes from the roster global installations and also your own custom roster nodes on top of this global installation so we can also call this workspace in overlay okay that's going to be an overlay on top of your roush to global installation all right and now well what we can do here by going to this roster workspace not in the source but in this cross to workspace directory we can do call code space build you press enter and you can see well zero package is finished because we have nothing in the source directory but the build has been successful if i do ls you can see now we have three new folders we have build install and log so colcon is going to fetch the code that is inside the source folder and then it's going to do stuff it's gonna build and it's gonna install nodes inside the install folder and if we go to install here you can see that we have actually another setup.bash script and what do we need to do well we will actually need to source this setup.bash script if we want to be able to use our custom roster nodes okay so once again i'm going to go back to let's say here gelit bash rc and we are going to need to do so let's say i'm here in the home directory i can do source tilde dash rows to workspace install setup dot bash after i do this i can use the nodes that i have created and so this line i am actually going to copy it and add it after the last line of the basher sc right here so now in the bash lc i have three lines one line to set up the global roster installation in the environment one line for the call cone autocompletion and one line for the custom roster workspace that we have created so now i save and either you can source the bash ic in so actually not cheated but you can source the bash s in your terminal so that it's going to be able to find your custom roster workspace or you can just open new terminals and using this roster workspace you are now ready to start creating errors to application all right that's the end of this episode if you found it useful you will definitely like my full course on ras2 for beginners this course contains more than 10 hours of content and will teach you everything you need to create complete roster applications you can find the link in the description thank you for watching see you in the course or in the next tutorial of the series
Up Next
ROS2 Robotics Framework Overview: Key Features and Communication Methods
@raymond-andrade
145.5K views•2021-06-18

MathWorks Virtual RoboSub Simulation Environment | Webinar 2026
@RoboNationInc
209 views•2026-03-10
ROS2 Nav2 Navigation Stack Crash Course with SLAM and Navigation
@RoboticsBackEnd
98.5K views•2023-03-01

Micromouse: The Fastest Maze-Solving Robots on Earth
@veritasium
23.5M views•2023-05-24
Related Study Plans & Knowledge Roadmaps
Structured learning paths in Robotics