
![[GHW Open Source] Getting started with ROS 2 for Open Source projects](https://i.ytimg.com/vi/8pZYK6qACH0/maxresdefault.jpg)

![Setting Up environment | Webots Simulator | [Tutorial 1]](https://i.ytimg.com/vi/yi4e5FoVWbQ/hqdefault.jpg)
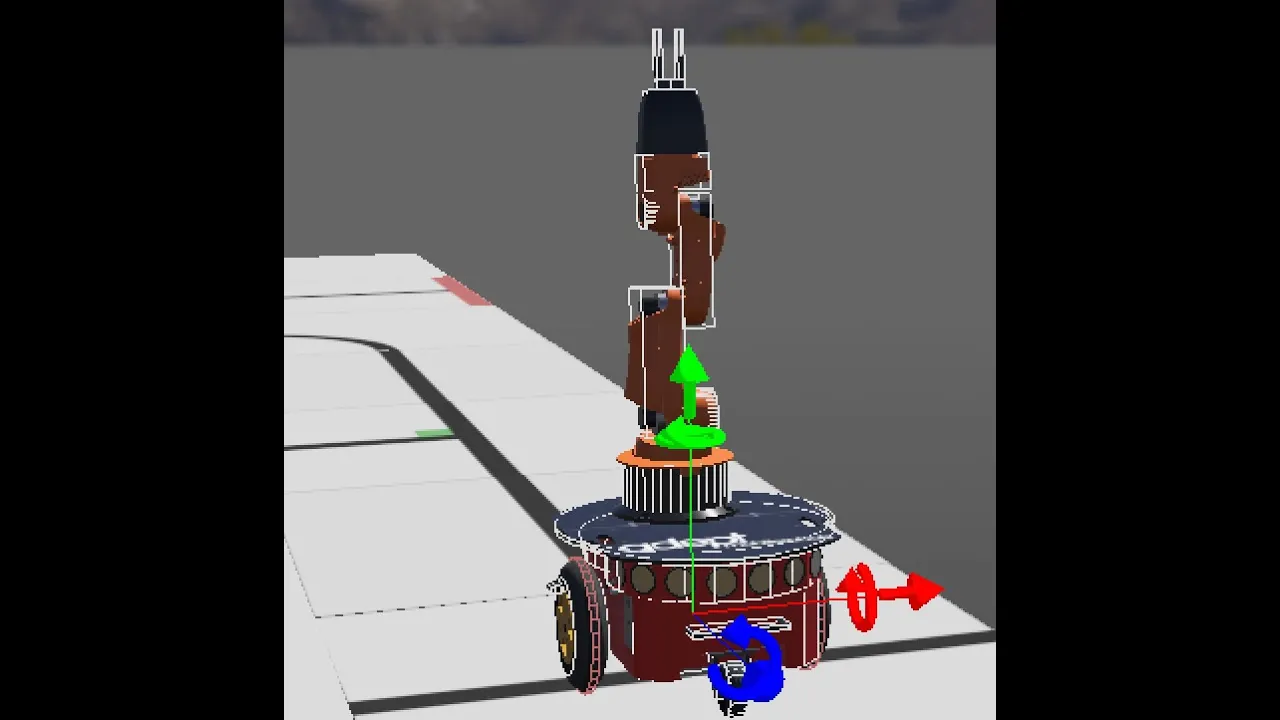
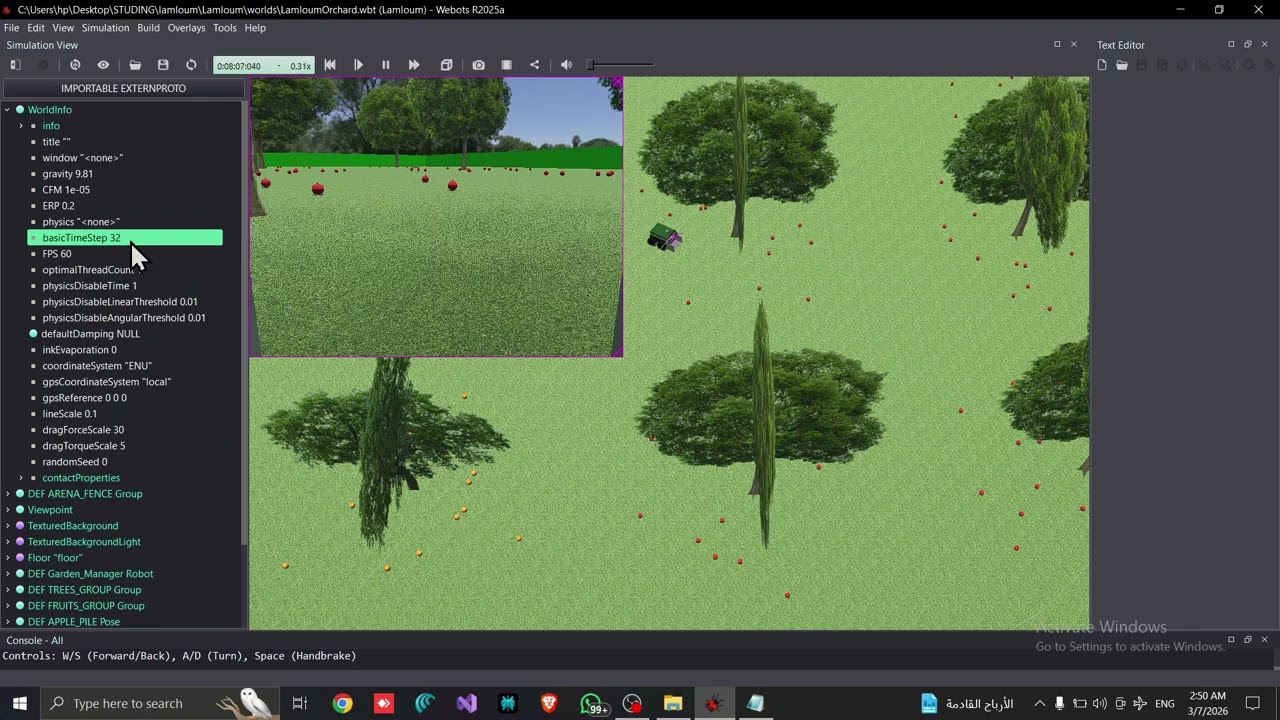



![ROS2 Tutorial - ROS2 Humble 2H50 [Crash Course]](https://i.ytimg.com/vi_webp/Gg25GfA456o/maxresdefault.webp)




![[ROS Tutorials] ROS Perception Unit2# Follow Line with OpenCV (Python)](https://i.ytimg.com/vi/ukGa74saFfM/hqdefault.jpg)

![[ROS Q&A] 049 - How to navigate while avoiding obstacles](https://i.ytimg.com/vi/k3axKeaS66A/hqdefault.jpg)





This tutorial demonstrates a master-slave architecture where a master node processes sensor data from three infrared distance sensors to implement line-following logic, while a slave node bridges Webots simulation with ROS2 by publishing sensor readings and subscribing to command velocity topics; the master calculates angular correction based on sensor differences between black and blue surfaces and stops the robot when no line is detected.
ROS2 Webots Line Following Robot Tutorial: Master-Slave Architecture
Added:Fundamental ROS2 concepts including nodes, topics, publishers, subscribers, and workspace setup.
Basic familiarity with the Webots simulation environment, including robot modeling and navigating simulated worlds.
Understanding of differential-drive robot kinematics and basic control theory (such as PID control loops).
Proficiency in Python or C++ programming, which are used to write ROS2 nodes and Webots controller scripts.
Integrating computer vision via OpenCV with ROS2 for advanced camera-based lane/line tracking.
Implementing the ROS2 Navigation Stack (Nav2) to enable obstacle avoidance, mapping, and localization (SLAM).
Scaling the master-slave architecture to multi-robot coordination and cooperative swarm robotics simulations.
Sim-to-Real transfer: deploying the developed ROS2 controllers onto physical hardware platforms like Raspberry Pi and micro-controllers using micro-ROS.
10K views102likes35:11Original Release: 2020-11-12
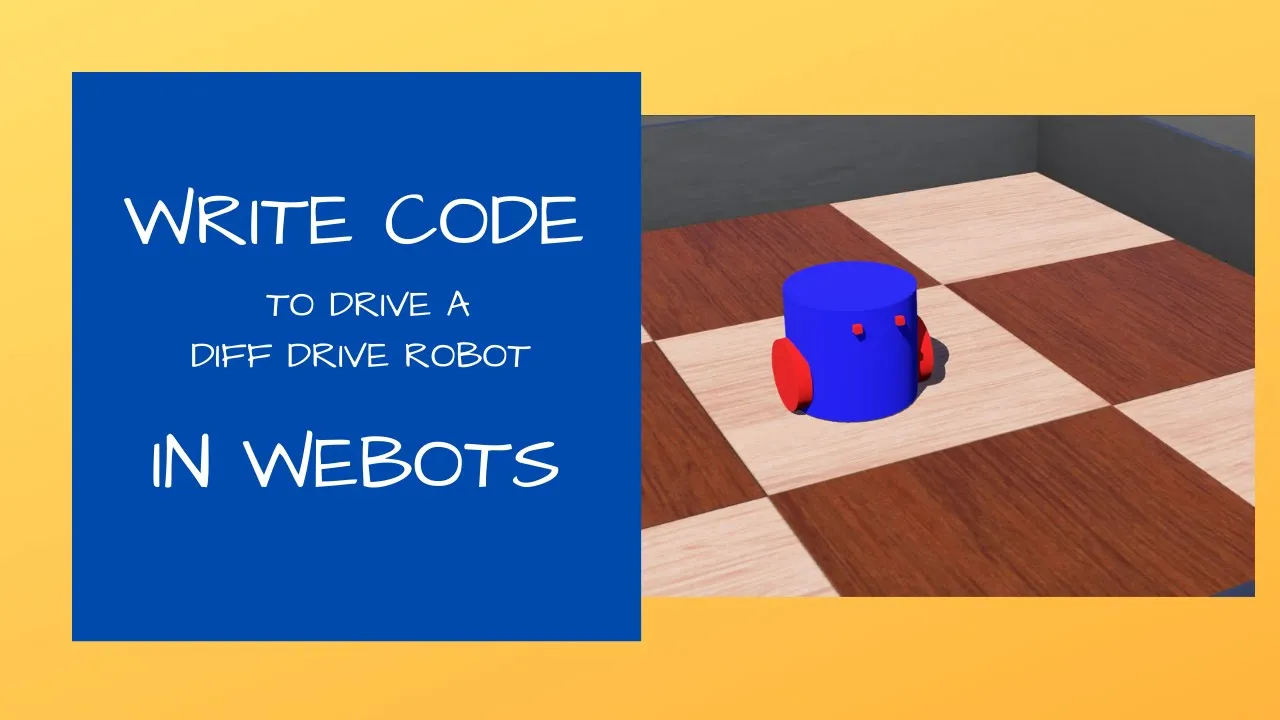
[Music] so [Music] uh hi friends we are with the sixth video in our vbots roster tutorial series in this video we will implement a master slave technique that means we will have a master node which will publish to some topics and we will have slave node which will publish and subscribe to some topics so this video will be your test on last three videos which you learned where you made services you made publishers and you made subscribers so before going into much details let's see how our project is implemented so here you see our in this project we have a custom robot which is following a line as many of you must be knowing that this is a common and hello world problem of robotics where you do line following so in this project we have three sensors as you see here in the front which are detecting the color below it so they are detecting the difference between black and blue color and making sure that robot follows black color so here we will see the basics before diving into depth of this project so let's click on rqt graph so we see here rqt graph where we have some nodes and some topics so first of all let's talk about master node so here our master node is the node which subscribes to sensor topics and it does bunch of calculation like our mind and it publishes to command velocity topic which is command well topic so here you see you have blue lines which are coming towards master topic and green line which is going away from the master topic which is what it's publishing so here we have a slave node which is publishing some sensor topics and which is subscribing to command well topic so inside slave node we have some publishers some subscribers and also some services which are used to interact with vbots so here in this infrastructure we have slave which is usually a v-bots node which is a bridge between v-bots and roster and our master node which is returned completely in draws to which is the brain and does all the computation for our project so this was all about overview of project so now let's have a look where we will get this project so if you want to play with this project without actually coding you can go to the link in the description so this link will be given the description in this you will come to vbot's roster package where if you go into vbots raw student tutorials you will see all the necessary files which will be taught today and you can use these files and make your cool projects [Music] in this section we will learn how to add distance sensors to our custom robot do watch sixth video in our vbots tutorial series the link of that video will be given in the description so after making this robot we just need to add now three distance sensors so if i open the robot i have two distance sensors which were designed initially four hinge joints for the wheels and a body shape which is a rectangle so this red body now here we need to add three distance sensors so for our example we have added sensors pointing downwards to check where the sensors are pointing we can go to view optional renders and we can click on distance sensor so now we know in which direction our sensors are pursuing so in children let's see how this right sensor was made and similarly we can make middle and left sensor and make sure you name the sensors correctly because these names will be used in our node so this sensor this cube is made with translation of 0.03 0.02 and one in left direction similarly this middle sensor is zero in x direction y is minus zero point zero two and z is point one which is same as first one and most of you must have guessed that left sensor will be point zero three so we have this at zero this at minus zero point zero three that means three centimeters to the left and three mill centimeters to the right so if by mistake your distance sensor is looking up you can tweak your rotation so for example usually this will be the case where your sensor is pointing upwards you can change the rotation in z direction by 90 degrees and you will see your rays are pointing downwards just make sure that all three rays are pointing downwards so this was about these three things in this we also added a child which was the shape of geometry of point zero one point zero one point zero one you can make it smaller or big actual distance sensor will not have any effect on the shape or the size so now once your robot is ready if you see your wbd file that is robot.wbt in this case you will see this file where you will have obstacles you will have solids and here you will find your robot so if i yeah here you go so you can find your robot here where you have all the sensors of your robot so if you want to convert this to proto now the concept of proto is if you want to use the same robot in many different worlds you need to convert your robot node into a proto so if you copy this robot and i have already made the proto so you see here if i minimize my children i need to name my proto with a name which is exactly same as its file name i need to define some fields which we want when we open the proto so we define translation rotation and controller these are the variables which we can change on the fly when we make the proto we need to have name of proto it's physics it's bounding object these things can be copied from your vbots file which you just made so i can copy this and i can paste it here in place of this robot if you don't want to get in this mess we already have this project implemented you can use the proto named robot sense already available [Music] in this section we will see how the slave node is made so here slave node is basically a node which interacts with v bots so this includes setting up distance sensors so that they give us readings and also setting command velocities to the wheels so let's start with the node here we do bunch of imports which is rcl pi we import vbots node we import two messages one of float64 for our distance sensor and twist for our command well so your knowledge of last two videos which is making a publisher making a subscriber and also using services will be used here so we make a class and here we use vbots node initially we have used just the node to make a publisher and a subscriber so here we start with vbot node so we initialize our node with the name slave node we have time step as 16 milliseconds now we initialize sensor so we have a variable named sensor timer whose value is 0.01 into the value of our time step so this is used to call the callback so after every 16 milliseconds this callback will be called we will see what this callback is what this sensor callback does is it's it makes a message type of float64 it takes value of my right sensor and it publishes the message to my right sensor similarly it does it for mid sensor and left sensor so this timer is used and tweaked to finalize the frequency of publishing sensor values what do we do next is we get our distance sensor so this name is very important this is exactly the same name which we used to make our node so if we see in our distance sensor ls underscore right ls underscore mid and ls underscore left these are exactly the names so we called the service we enabled the service this is how we enable service in vbots so we enabled that service to publish the sensor readings and we made a publisher who will publish the sensor readings to our ros system so here i created a publisher where our publisher type is float 64. its name will be right underscore ir and this one means its buffer so it will just save one message similarly we enabled our middle sensor by the same time step and we made a publisher for middle sensor also we did the same thing for our left sensor so now till this time we have our sensors ready and we are publishing the data to write mid and left through this callback this was all about sensors now let's look at wheels so if you look at the robot we have first wheel second wave third wheel fourth wheel in this combination so first of all we get the motor again the name is important our motor name is wheel one for this wheel front left wheel we set the position to be infinity and we set the velocity to be zero these position means our wheels can go to infinity that means we have no bound on how much the wheel will rotate and initially we set the velocity to be zero similarly we do did this for all the four wheels so wheel one will do v3 v4 after which we make a subscriber to command well so you see here this node is funny because it is publishing sensor data also it is subscribing to command well so this is how we made a subscriber where this is the message type which is twist this is the name of the topic which we are subscribing to and this is a callback so those of you who have seen the subscriber video they know that whenever we get a message on this topic this function will be called so now when this function is called it will come here so here we do some calculations on our left wheel speed and right wheel speed and we publish those data in to our wheels so you see here we are setting the velocity of our wheels through services so this is how we are translating our command velocity into motion of our wheels so these are very easy calculations which will be useful if you know the differential drive so in left speed we take the linear velocity x that is forward velocity minus the angular z that means rotation into the wheel gap so these details will change if you have different robot so this is 2 into linear x minus angle into the wheel gap divided by 2 into the wheel radius so this will become wheel diameter so this is a formula for calculating the rotation between two wheels to get a differential drive if you are more interested in these calculations do look online about the differential drive here we are setting some details of capping our velocities by max and min you don't need to bother about it it's okay and we are publishing the wheel velocities so this is all what this node does is it takes the value of sensors and publishes it to right mid and left ir and it also takes in command well and sets those velocities to the wheels so if we minimize these functions this is what this class does so if i minimize the class this is pretty much constant where we initialize our init inside our main then we make an object client well of this class and we spin this object so that we continuously get the data of command well and we continuously publish the sensor data once this spinning is stopped we destroy the node and we shut down the node so this is about how our slave node is made [Music] in the last section we saw how we wrote the slave node now let's see how we write the master node now this node is pretty much what the slave node is passing and accepting so you see here there are bunch of includes where we are writing in python and this is ros2 so we import rcl pi we import node from rcl pi we import float to read the sensor messages and we import twist from geometric messages for command velocity so many of you who have worked with ros you guys must be knowing what this node will do so pretty much this node is our mind so this node will subscribe to all the sensors and make a guess to which direction we should go and we'll publish it to command velocities so let's see if we are right in our intuition so [Music] we make a class named line follower and we pass a node then in it pretty much we do is we make the node name line follower underscore command well then we make three subscribers to all three sensors and a publisher to publish command velocity here we are taking vehicle speed as 0.2 and angle correction as 0.01 we will soon look at angle correction but for now we have initialized the variable now we look at sensor variables so we have three variables named gs write gs mid and gs left which are initialized to zero these are the values of right mid and left sensors we have delta is equal to 0 we have a message dot command which is of type twist and we have many other variables so now let's see when we get a message it will go in this callback so if i get a ping from my right sensor i go to callback of my right ir which is here so i don't do anything i just call a function line follower module and set the data in my message which is float 64 to my gs write this is same what my left and mid sensor will also do so my sensor callbacks are nothing but just taking in the data and updating my class variables so we have our gs write gs left and js mid continuously updated with the sensor messages once we get the right ir message we call this function line following module which is here so this function is pretty much intuitive what it will do is it will set my command velocity dot linear dot x this is how we set the linear x of my twist message which is here so self.cmd which is this is a twist message dot linear dot x will be equal to the speed which is 0.2 now we will do the correction so we will see the difference between sensor reading of right sensor and left sensor let's tell it as delta s and now if the readings are different that means one sensor is looking at black line and another sensor is looking at the blue area so if we see the track here we will have our robot on this location on this track let's align the robot correctly and if you see robot distances are designed in such a way that if my right sensor is looking at blue and left sensor is looking at black or vice versa we have difference in ir reading here we are using the property of illumination in our distance sensors as we know different colors have different illumination properties so you see this is black and this will be blue so they will have different values so let's see in code let's assume if they have different values we will do the correction so different values means robot is going in the wrong direction because our one of the sensor is seeing black if we don't do the correction now it will go away from the path so what we do is we have a variable named angle correction and we multiply this correction by our difference so whenever we see a difference we will steer our robot and get it again between the sensors so this is pretty much logic this will work great if you have the black track between your sensors but think about it if my robot is placed in some place where there is no black line still my right sensor and left sensor will give me the same reading and my robot will think that it is following the track and it will go straight but here we have the logic to stop if we don't see a black line so this is how i we need three sensors so we will see is it seeing black in any of the sensors if it is not seeing we will increment the count so this loop will run continuously and if it does not see a black line in any of the sensors it will increment the count and when threshold goes about 10 which is here we will trigger the stop this is because if i don't see a black line i should not go forward and when we trigger stop we will set command velocity x that means linear velocity as zero and also angular velocity as zero so robot will stop at its own location once these things are done we publish the command velocity by the publisher and once we stop and again if we start seeing the black line we need to false the stop and continue the process so because of this logic we are blessed and have a good logic where robot will stop if it doesn't see the black line it will start as soon as we see a black line so this is all about the logic we will minimize this and last but not the least the main function this is pretty much same as slave where we innit the main we make an object of our line follower class which is this we spin the class to continuously get in the sensor data and spit out command velocity once our work is done we destroy the node this is when we stop our raw score and we shut down this python file and our code will go inside from this main so this is all about our master file we will quickly have a look at what all other changes we need to do in order to make this file work [Music] so we saw how we made our slave node and the master node now let's look at the launch file so we have launch line following dot launch so here this is a very simple launch file where we save our package directory as webot's roster tutorial these are some of the standard functions of launch file in ros2 so we make a variable named package directory and core directory this is where we have all the details of our vbots roster core so we make a variable named vbots and we use robot underscore launch dot pi so this launch file has many arguments like package executable world and many more you can have a look at this launch file which is in vbot's roster core so if you go to your workspace you go in vbot's roster core there will be a launch folder which will have robot underscore launch file so here we are calling this file and we are stating our package as webot's roster tutorial we are using an executable which is enabled robot this executable is exactly what is our slave after which we call the world parameter and we give it a path as we bought sros to tutorial world and custom line follower so if you see here in our package we have i'll close this so it's easy so we know the file structure so in our vbots roster digital package we have something known as world if i open world we have two world files but for now we are using custom line follower which is this so this is sanity check which we need to see and if you want to on any project in ros v bots in ros2 you will need to do pretty much the same thing you will need to call this launch file and you will need to change the parameter this and also you can change the executable this executable is our slave and also we need to make an executable for our master we on the node line follower whose package name is vbot's roster tutorial whose executable name is line follower and we name that node as master node and inside our ros description we just call two functions which is v bots which is this guy and line follower which is this guy so this is how we set up our world so when i on this launch file it will come it will on this world it will spawn this node for me which will publish all the topics and subscribe to command well then it will spawn this topic which is our master node which will subscribe to nodes and publish command velocity so this is about a launch file which is line following launch after writing these three files you will need to state everything in setup.pi remember if you don't write this file correct your rost2 package will not work fine so this is pretty much same which we get this in our syntax where we have line following launch file we have our world custom line follower we need to add our proto we need to write bunch of shares so if we have icons in our proto icons our rost2 should be able to access it package.xml these are some details and here we need to never forget to add this where we are adding all our files which is these were the first two subscribers so we are adding two files here first being enable robot which is our slave so now roster will know our slave file name as enable underscore robot and our master file name as line follower which is exactly what we need our slave is used to enable all the sensors and wheels of robot and our master is used because it has line following logic so this is all about setup.pi you can have a look and you can also have this project in the repository and you can compare your project with this setup.pi this was lot of theory and now let's do one thing we have already ran the let's call con build the project [Music] c-o-l-c-o-n so if i call con build so project is building and you see here our v-bots rost2 package is also ready here so now i just need to run ros to launch v-bots underscore tutorial and line following dot launch so this is the launch file which we just saw so if you see here our robot started move following the line tana now let's go through some details of this project so if we do let's search this again so install setup dot bash ross to topic list so if we see the topic lists we will be able to see the topics which we made which is left ir mid ir and right ir these are the infrared let's echo one of the topic so ros topic echo slash mid-ir so you see it's giving us the data our middle sensor if it doesn't see the black line it will give the different output and if it sees the black line it will give different output similarly we will see command well so we are getting the message type if you guys remember correctly we tweaked our linear x as 0.2 so we kept it constant and we modulated our angle depending on the error that is why robot is rotating and correcting itself and following the black line so this is exactly how we expected it to run if i minimize this if you want to see magic if i click on shift and if i move the reward it stops working so you remember we saw the logic in master dot pi where we had a logic if it doesn't see a line it will stop so if i want to make this run again i just need if i do this it starts moving again because it saw black in the middle and it it saw blue in left and right so this was a good example where we learnt about how we can use series of publisher subscribers and make a wonderful project i would like to see different implementations what you guys can make do share it do share it with us on instagram if you like the video do share and subscribe to our channel see again it happen it is not able to see any black line that is why it stopped if i set it back it get back to work so this was all about today's video thank you bye
Up Next
31:32
How to Build a PyTorch Model for Image Classification
@robmulla
239.6K views•2023-10-05

12:54
Triumph of Orthodoxy Icon: Byzantine Art & History Explained
@BenCallan
2.1K views•2024-08-06
12:09
Webots Supervisor API: Robot Position Tracking and Control
@coolrobotics
5.1K views•2020-09-04

1:42
Game of Thrones Opening Credits: A Cinematic Analysis
@gameofthrones
46.3M views•2011-04-18
Related Study Plans & Knowledge Roadmaps
Structured learning paths in General & Interdisciplinary Studies
general-studies
Elevator Engineering: History, Physics & Cities
01From Hoists to Safety Brakes: The Dawn of Vertical Lift
02Hydraulic vs. Traction: The Engineering Physics of Elevators
03Modern Speed, Safety, and Algorithms
+ 2 more learning modules
12h5 modules
Explore Roadmap
general-studies
Rubber: Material Science, History & Geopolitics
01Origins of Natural Rubber & Mesoamerican History
02The Chemistry of Natural Rubber & Vulcanization
03The Geopolitics of the Rubber Boom & Colonization
+ 2 more learning modules
12h5 modules
Explore Roadmap
general-studies
Containerization: Evolution, Logistics & Trade
01Ancient Trade & Bulk Cargo: Amphorae to Barrels
02The Industrial Revolution & Cardboard Packaging
03The Containerization Revolution: Malcom McLean
+ 2 more learning modules
12h5 modules
Explore Roadmap
general-studies
Textile Tech: Evolution, Labor & Global Impact
01Pre-Industrial Textiles: Handloom & Cottage Industry
02Mechanization: The Spinning Jenny to the Power Loom
03The Factory System & Global Labor Transformation
+ 2 more learning modules
10h5 modules
Explore Roadmap