
![[GHW Open Source] Getting started with ROS 2 for Open Source projects](https://i.ytimg.com/vi/8pZYK6qACH0/maxresdefault.jpg)
![ROS2 Tutorial - ROS2 Humble 2H50 [Crash Course]](https://i.ytimg.com/vi_webp/Gg25GfA456o/maxresdefault.webp)












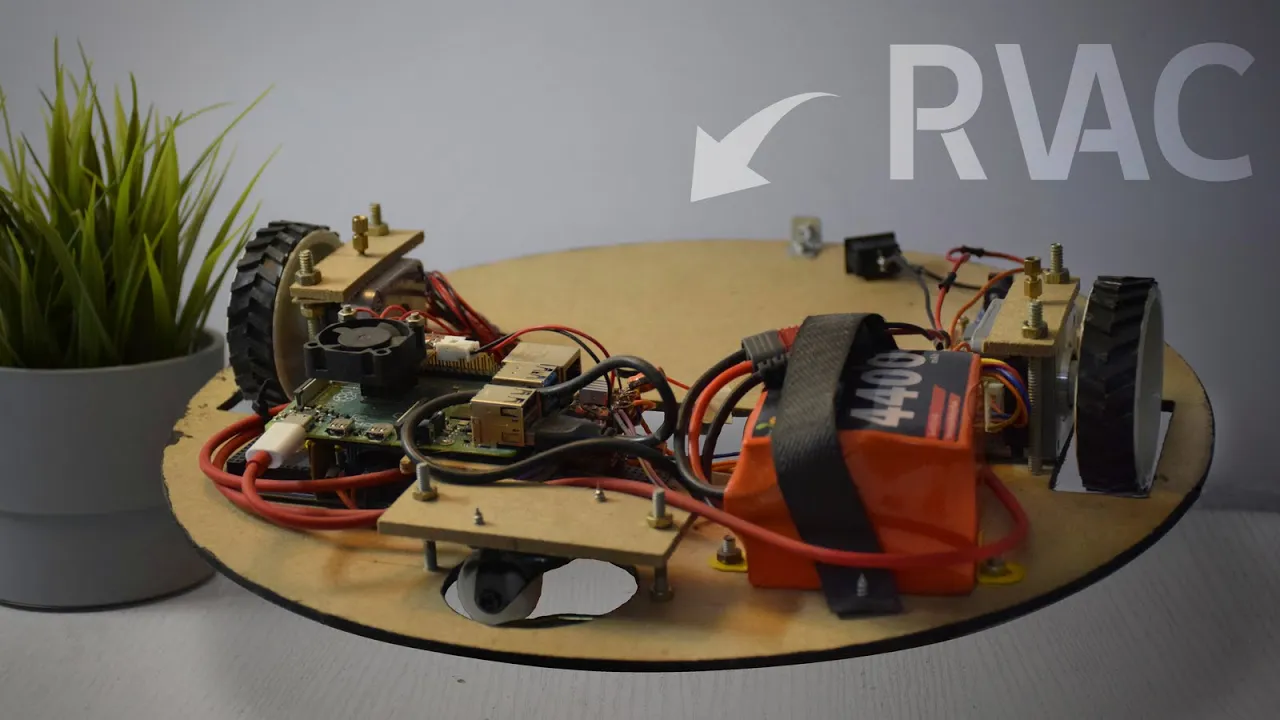
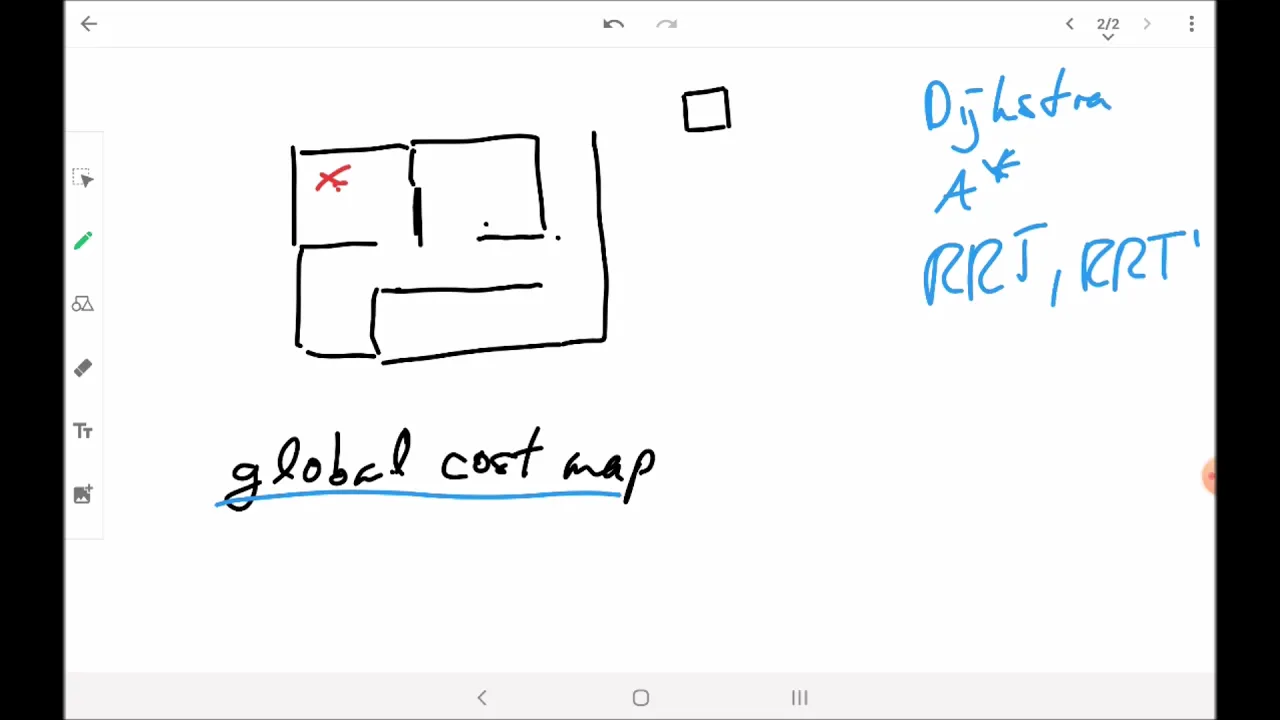
![[ROS tutorial] RTAB-Map in ROS 101](https://i.ytimg.com/vi_webp/gJz-MWn7jhE/maxresdefault.webp)

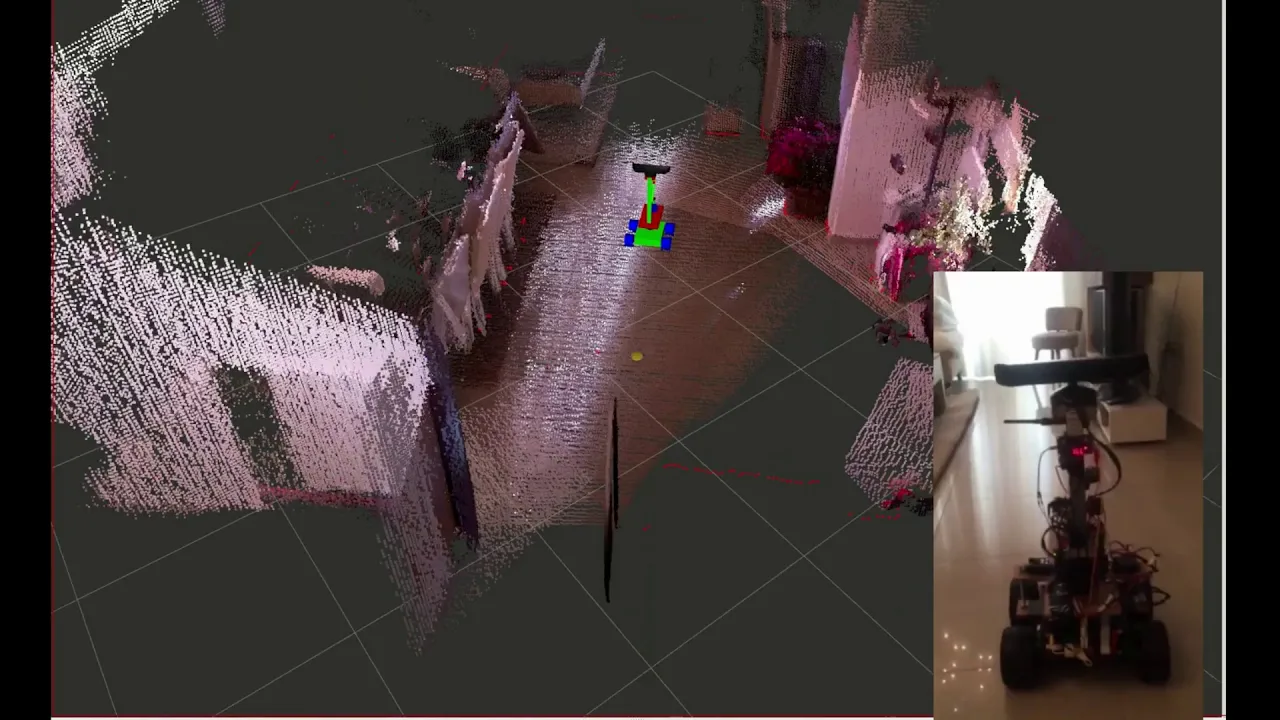
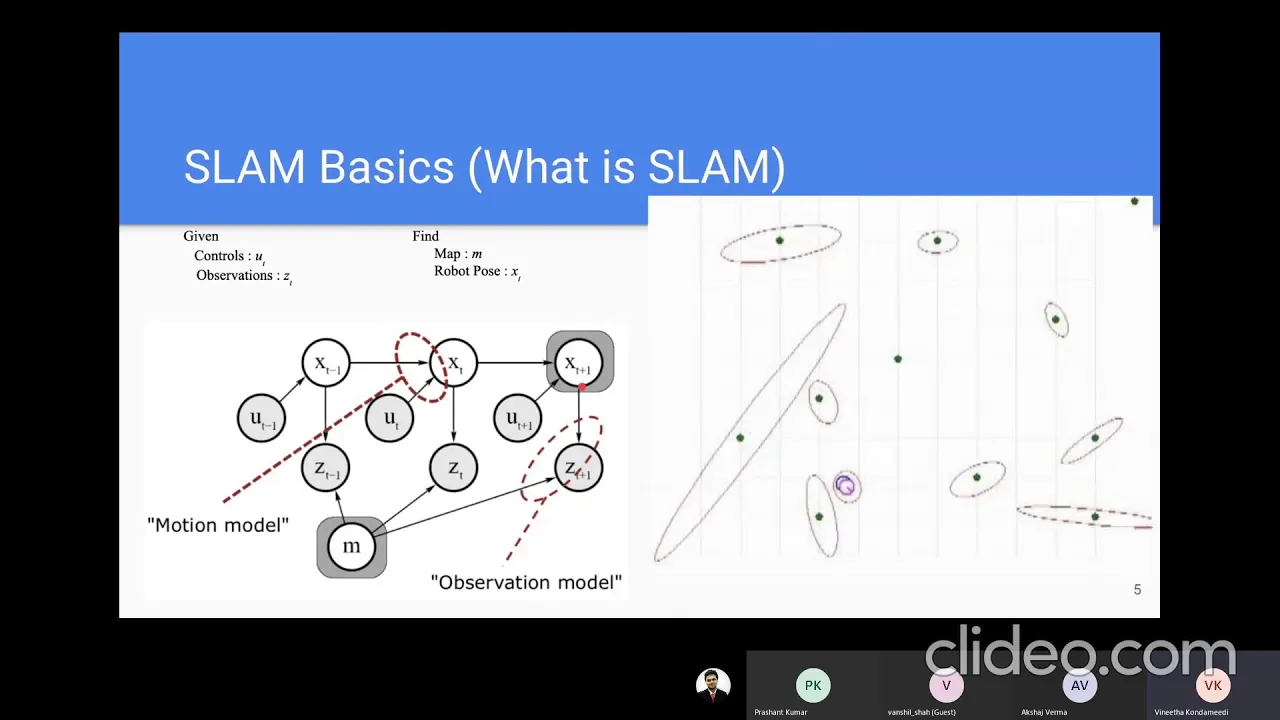



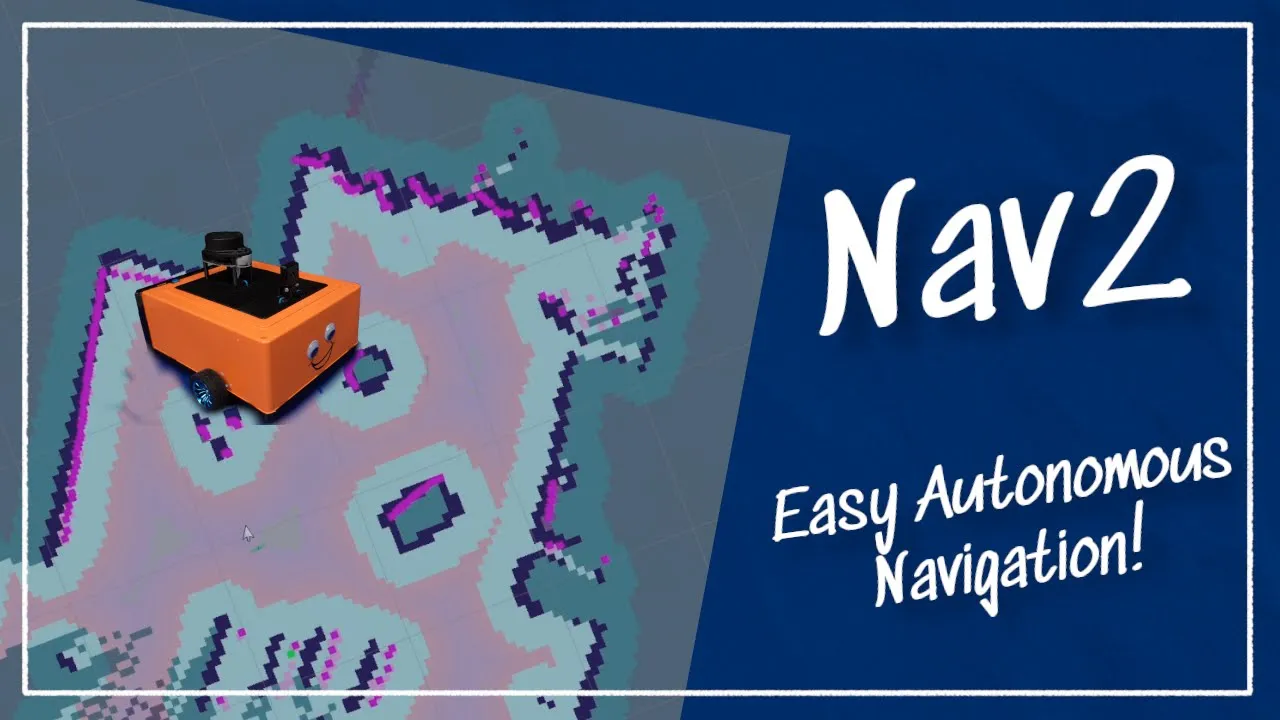
The ROS2 Nav2 Navigation Stack enables autonomous robot navigation through a two-step process: first generating a map of the environment using SLAM (Simultaneous Localization and Mapping) with sensor data from the robot's laser scanner, and second using this map to navigate the robot safely from point A to point B while avoiding obstacles; the stack consists of multiple interconnected components including the global planner for pathfinding, local planner for obstacle avoidance, and AMCL (Adaptive Monte Carlo Localization) for robot positioning within the map, all communicating through ROS2 topics and services.
ROS2 Nav2 Navigation Stack Crash Course with SLAM and Navigation
Added:Fundamental concepts of ROS2, including nodes, topics, services, actions, and basic command-line tools.
Basic proficiency with Linux/Ubuntu environments, terminal operations, and workspace compilation.
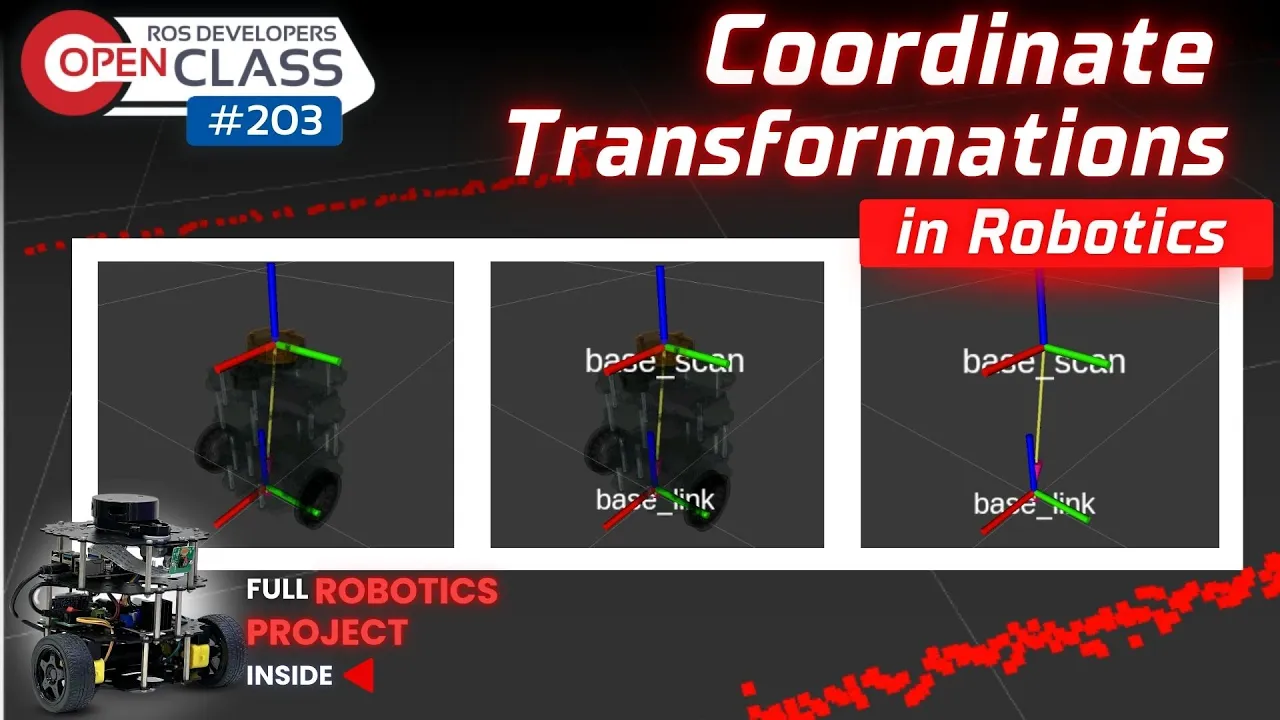
Understanding of robot coordinate frames (TF2) and spatial transformations (such as map, odom, and base_link).
Basic concepts of robot kinematics, particularly differential drive systems used by mobile robots like TurtleBot3.
Transitioning from simulation to physical hardware integration, deploying Nav2 on real robots with physical sensors (LIDAR, IMUs, and cameras).
Advanced Behavior Tree (BT) customization in Nav2 to design complex, multi-stage autonomous behaviors and custom recovery strategies.
Tuning and configuring local and global planners (e.g., DWB, TEB Local Planner) for optimal path planning in dynamic environments.
Exploring alternative and 3D SLAM algorithms such as Google Cartographer or RTAB-Map for complex mapping scenarios.
Implementing sensor fusion using packages like robot_localization to improve state estimation and odometry accuracy.
98.5K views1.7Klikes1:01:27Original Release: 2023-03-01
hey everyone and welcome to this crash course on the navigation to stack with Ros 2 who is this crash course for well if you have learned Ros two and want to start navigation from scratch or if you have already started with nav 2 but you feel completely lost this is for you it is not an advanced course okay it's really for beginners or for those who want to get a good refresher of the basics and what will you do well you will first install the nav to stack on Ros to Humble then you will start directly to generate a map with slam after this we will check what's inside the map and then use this map with the navigation to stack so that you can make a robot navigate inside the map and to do all that you actually don't need to buy any hardware we will use the simulation of an already configured robot the turtlebot 3 on gazebo to be able to follow the crash course make sure that you have installed Ros to Humble on Ubuntu 22.4 and I'm going to add a link in the description to do that if needed and it's going to actually work better if you have installed yunu as a dual boot not in a virtual machine where you might have some issues especially when we run gazebo you will also be able to progress faster if you already have some basics in rosu such as the common line tools topics and services now the scat course is great to get you studed and if you want to go further and dive into more details about the nav2 architecture build a custom World adapt a robot for Na to or even program with the stack using python then I have a much bigger course for you which contains 6 hours of video content and practice activities you can find the course Link in the description below all right and now let's get started with nav 2 what is the navigation to stack and why do we need it before we get started let's just be clear on the terms we are going to use when I talk about navigation navigation to have to well this is all the same I am talking about the navigation to stack in Ros 2 unless I specify that I talk precisely about navigation one and Ross one then when I say stuff like navigation and Ross I Am targeting navigation 2 and Ross two all right so why navigation or navigation to well let's take one step back and talk about Ross to itself why do we have Ross and why do we use it the main benefit of Ross is that you can create the base layer of your robotics application super fast Ross provides a standard for robotics applications that you can use on any kind of robot and basically this will allow you to avoid Reinventing the wheel and instead work on the high level functionalities of your robot you also benefit from a strong open source community and some plug andplay packages that help you to add functionalities faster so once you know Ross you can really speed up your Dev development time and you might be thinking well all of that is great but from this point how do I make a robot navigate because there is still quite a big gap between using Ros two and making a robot navigate so if you were to implement all that by yourself it would take a lot of time and effort fortunately we have the navigation stack here we will use the navigation to stack with Ross 2 which is the successor of the navigation one stack with Ross one and what is the stack by the way well it is simply a collection of packages that is designed to achieve a specific goal and what do we want to achieve exactly with navigation that's an important question to ask well the main goal is to make a robot move from point A to point B in a safe way so basically to find a path that allows the robot to reach the destination while making sure that it will not collide with other robots with people and obstacles it's quite important that you don't Hur people and that you don't damage the environment or the robot to achieve this we will do a two-step process first we will create a map of the environment using slam and in a second step we will make the robot navigate using this map all of that using the navigation functionalities and tools and I'm going to go into much more detail about this during the course and once you understand how it works you will also see that you can easily integrate the nav2 stack in your Ros two application for for example from an independent python node you can give commands to the stack and make the robot navigate just by using the standard Ros to Communications and some simplified apis that we will discover and experiment with all right and now let's start the course and let's install the navigation tool stack in this lesson you will install the packages for the navigation to stack that's going to be super quick actually as you will see just make sure that you have correctly installed and set up Ros to Humble on yuntu 22.4 so if I uh print the end of The Bash SC in my home directory I should have this line here Source op Ross humble setup. bash so if you don't have this well please go back to correctly install and setup Ross to and now to install the navigation stack well we just need to install a few packages so we are going to do sud sudo first St AP update to make sure that we have the latest so all packages are up to date and so we have the more recent sources and now we can do sud sudo AP install and we will install first Ross dble dnation 2 so you can press tab as you can see here navigation 2 and then we will also add Ross Das humble Das nav 2 Dash bring up okay so we need those two packages to be installed and actually um those are not going to just install two packages okay it's going to install a collection of packages that contains everything you need in the navigation tool and there is another thing that we're going to add is turtlebot 3 I'm going to come back to this turtlebot 3 a lot in this course this is a robot okay you probably already know the turot 3 but if you don't that's simply a mobile based robot and what's good about this robot is they have a complete simulation already working so we can work on the navigation and try to understand the different concepts without having to run a physical robot okay we can use a simulation that's already done for us so that's super super convenient so I will install with Ross dble Das turtlebot 3 and I'm going to put an asterisk okay so we can install all of the turble three packages okay so make sure you don't forget this so in the end we have those three packages I'm going to press enter and well I have zero new to install because I've already installed it before but for you that's going to be probably a few hundred megabytes of packages to install so you wait until the end and well that's all that's really all there is to it now you have the navigation to stack and total B 3 installed on your computer before we start to use slam to generate a map let's actually start a robot in a simulated world and for this let's use turtlebot 3 later in the course I will also talk about using navigation with a custom robot but the thing you have to remember right now so one very important thing to have at the beginning is simply a robot that can move in an environment using Ros to of course and with a teleop node or something similar that you can use to make the robot move move either autonomously or with a keyboard a joystick Etc and well good news for you everything is already done with the turb 3 so in this lesson I will just show you how to start the turtle B 3 in a simulated world and how to make it move so that in the next lesson we can do the slam and generate the map and that's something very specific to ttb 3 is we need to First specify the totalb 3 Model that we want because there are a few models there is the burger model there is the waffle and there is the waffle pie with Raspberry Pi so we just need to specify which model by exporting an environment variable that's very specific to T 3 and to do this well I'm simply going to go to my bash s so you can just edit the bash RC and you go to the end you should have this line of course and after this I will put so after or before actually doesn't really matter I will put maybe just before so we have all the export before the sources export turtlebot 3core model so all uppercase is equal and let's use waffle so you type exactly this export and then turtlebot 3core model is equal to Waffle if you don't have this then uh when we run the next command you're going to have an error saying you have to specify a total 3 Model so let's save okay and you can either open a new terminal or just Source The Bash RC so we have the environment variable okay if I do print and and then pipe with grape Turtle you can see Turtle three model is Waffle now we are going to start this with gazebo maybe before starting the robot in gazebo let's just run gazebo like this you just run gbo and well you should have this so make sure that you just have well Gable here you can check the FPS down there okay so I have 62 if you have something around 60 or if you have something maybe around 30 that's still correct but that's something you have to check that you have something that works here and also real time Factor should be close to one so if you have this everything is working correctly let's close this actually I would recommend if you close gbo to do contrl c in the terminal and not necessarily to close the window that's usually closing the Zebo in a cleaner way all right and now let's start the turb 3 in a simulated world so to do this you can do Ross two lunch so we are going to use a lunch file from what package from turtlebot 3core gazebo so here you can see we can use the auto completion with Tab and then Turtle Bo so let's put Auto completion as well tal 3 world. launch.
py and let's press enter and let's wait a bit and we have the totalb three in this world so the thing is the first time that you launch it it may take some time it may get uh stuck with the orange popup saying Gazo is starting or something like that it may uh be stuck for maybe I don't know 1 minute 2 minutes 3 minutes but this is normal this is the time for Gaz to load this world for the first time okay so every time you have a new world uh it may take some time for gbo to open it so don't worry if gazebo is stuck on the orange popup just give it some time okay even maybe five minutes 10 minutes okay just give it some time and then the next time that you run it as you can see here the next time you run it so if I kill with contrl C the next time you run it it should be much faster all all right and so what do we have here well we have the robot toot 3 here so that's a simulated robot of course okay simplified version and so on this robot we have so that's a differential robot with two wheels okay just two wheels that are going to make the robot move and we have a lier here you can see with a scanner so let's go up a bit and you can see this blue thingy here is where the ligher can see basically so the laser scan so you can see it has a range of I think it's something like 4 M uh and so the range would stop here and if you have an obstacle you can see we can detect the obstacles so the walls the obstacles everything and so with this we will be able to map create a map of this environment and the world here well that's a very basic thought about three world that's a closed World okay so the robot will not be able to go outside just inside with those obstacles so now well that's great but what do we do with this well we can make the robot move so let's open a new terminal and we can start a node so R to run this time not launch for us to run with turtlebot 3or teop and teop keyboard so this is a node that will allow you to make the robot move okay and so you can see we have have a description here that says well you just use the keys in the keyboard to make the robot move and so if I press on W you can see the robot starts to move okay the more I press on W you can see the more we increase the velocity and we can go up to here we can go up to 0.26 m per second now if I press so I need always to focus on this window if I press S I can stop okay so s is a very important key to make the robot stop then I can make the robot rotate okay with um A and D so rotate on the right uh to the left and then rotate to the right okay I can go well and go quite fast and S to stop and of course I can make the robot move and rotate at the same time so well I encourage you to try a bit okay get the hand out of it it's not super intuitive at first but just practice for five 10 minutes make the robot move a bit everywhere um what I recommend is usually I go straight so I would go straight and I would make the robot turn just a bit and then I would stop with s and then continue maybe turn not too fast like this okay stop and then go straight maybe turn a bit okay and this way I can make sure that I go everywhere and I don't bump into obstacles okay because if you bump let's bump into an obstacle Let's Go full speed into this obstacle you can see what's happening is that well the robot will just have some issues and the laser scan will have some issues okay so if the laser scan is not staying on the XY plan here we're going to have some issues with the map and the localization so let's try to keep the robot stable okay and last thing is if you want to understand a bit what's happening let's open a new terminal let's do rose to topic list you can see that here we have all of the topics running currently and we have this command velocity so the robot will listen to command velocity with a controller that's going to make the robot move and then the teop node will send a message on this command velocity with acut graph so if you run acut graph you can see so you can refresh you can put nodes topics all here instead of nodes only and you can see we have the T up keyboard sending a command to command velocity and then we have Turtle 3 D drive that's a node that's started inside the launch file okay that we have studed for total about three so you can see here how this node will control the turtle and great that's what we need first okay a robot in an environment and we can make the robot move and we have this uh ligher okay so we have a laser scan that we can use to create a map and well you are ready to start the Slam in the next video in this lesson you will see how to generate a map with slam using the turtlebot 3 simulation that we have just seen for so the important thing to have right now is a robot either in a real or simulated world and a way to make the robot move in the world and that's exactly what we have so let's start the slam and first what I'm going to do is I'm going to stop everything so contrl C in all the terminals okay when you start slam I would suggest that you kill all of the RW two nodes running and you just start everything from scratch so here let's open three terminals on the first terminal we are going to so we are going to run the to 3 Gazo with toal r three world so we start here again the world with total three and we have this okay so the tot three starts here okay so that's what we need on the sign terminal I am going to start the slam feature for the turtle Bo 3 and so we will do Ross two Louch turtlebot 3core cartographer and then cartographer launch. py okay so this launch file contains the slam feature for T three and we are going to also use so use sim time we are going to add this argument through okay so we can use the simulation time because here we are using Gazo so we have a simulation time and let's use this when we are running slam with gazu I'm going to press enter and what you should have is actually a here Aris starting so Aris is another software that's quite useful in Ros to and you can see here we have a start of a map okay so we have a start of a map that's being generated with actually what the so the data that we have from the laser scan you can see it matches almost perfectly and we have a map that starts to be generated the goal here will be to well generate antire map here and to be able to save it so Gazo here just to make sure that you understand the difference Gazo is just to replace the real robot so either you start a real robot in a real world or you start a robot so simulated robot in a simulation world so this includes all of the physics okay the inertia the gravity everything and then arv is simply a tool you can see with a lot of options on the left to just have a visualization tool for so a 3D visualization tool it's not the simulation itself the simulation is in gazebo the Avis is just a tool so that you can easily do a map for example easily do navigation you have a lot of tools that will help you during the development time of your robot or your application all right so we have terminal one we have started gazebo with too 3 Terminal Two we have started the slam with AIS terminal three we are going to start the teop node in order to make the robot move okay so now we can make the robot move and let's uh put this on the side so if I press W here so w let's put 0.3 0.03 in velocity you can see the robot starts to move in gazebo and also in Arvis we can see at the robot so we have the TFS I'm going to come back to this a bit later so the transforms start to move and the map starts to be generated with the data that we have from the laser scan okay so you can go back here and well we can increase the speed if we go bit right a bit left you can see when we rotate I can stop can rotate a bit when we rotate it also helps to clear the map and so the goal here is simply to have so I'm going to stop you can see now we have almost so white pixels here we have white pixels and then black for obstacles or walls and gray is still unknown okay so the goal will simply be to have everything white okay so all of the free space should be white and we should have all of the obstacles with the walls and the uh object in the middle so we are just going to move the robot around and before I finish the map I'm going to show you well some of the issues that you may encounter so let's say that you turn uh too fast if you turn too fast you can see so the robot is turning very fast and Aris may have some issues so here it's still okay in this map but arv may have some issues to correctly um create the map so I would say don't turn too fast is just because this world is very simple okay so let's stop and then let's see what happens if I bump into an obstacle okay because the map is generated thanks to the laser scan data and the laser scan you can see it's um if I go here it's in a plan it's in a 2d plan okay in XY plan now if I bump into an obstacle we are not going to stay in this plan so let's go straight okay let's just bump into this obstacle and let's see in AR is what we have you can see the robot here will actually went okay the robot is going a bit crazy now and you can see the map you can see the data for laser can is going a bit also crazy and surprisingly here well it's still working again because I think this map is very simple but for more complex maps you can see here we have some weird weird data that we can maybe clean later but for some other Maps you may have some issues so well I'm just going to stop the robot here okay and if you have some issues and the map is completely broken while you can always stop everything so I will stop this contrl C contrl C and contrl C and start again okay so start the first terminal with gazebo and then start the slam have this here and then start the T up keyboard okay so what I've shown you is just a bit of uh debugging just in case later you have those issues okay and you can see when we start again well we start from the initial position here and also the map is starting from scratch so now let's uh just finish this map so what I do usually I will go straight not too fast okay not too fast and I will make some small rotations here I will turn a bit on the right turn a bit on the left okay and maybe when I'm here I will stop you see I'm here I will stop and I will also turn a bit left and turn a bit right you can see it's clearing the map a bit okay and then let's stop and let's go straight full speed and okay let's stop here maybe and let's also turn left a bit and top come back right okay I'm going to stop and now what I'm going to do is let's go straight and let's turn a bit and I'm going to finish the map I'm just going to go through those points here okay okay and now I have a result that is satisfying enough okay so I'm going to come back to this map just in the next lesson to explain you more about this but you can see well we have white white pixels here for free space and then we have black pixels for obstacles and gray is the unknown so it can be the outside or it can be also the inside of an obstacle because we don't know exactly what can be here for example you don't need to finish perfectly perfectly every pixel of the map okay that's not really important for example here you can see we are missing a bit of this obstacle here but that's really not a problem that's not going to be a problem for navigation okay you don't need to have everything perfect if you want you can but that's going to take more time and here for this map is quite simple map this result is really enough so now what we're going to do is to save the map okay CU on now the map is not saved anywhere and if we stop here uh the slam then well we just lose the map so make sure that you save the map correctly before you stop everything otherwise you have to do everything again so let's uh open a new terminal here and I will um so I am in my home directory okay and what I will do is I will create maybe let's create directory mkd Maps so that when I generate Maps I will just just put them into my maps folder and then to generate the map you will do Ros to run nav to map server okay and then map saver CLI for common line interface okay so R to run nav to map server map saver CLI and then you can provide uh so Dash F you can provide where so the path and the name of the file so let's put Maps let's save into maps and let's uh name it my map just like that you don't provide an extension here let's press enter and you can see this so we should have something like this creating configuring map saved Etc if you have an error here just run this command multiple times until it works because it should work at some point and now uh so if I go to maps you can see I have my map. PGM and my map. yaml so we have successfully saved the map and what I can do now is I can stop this so contrl C contrl C and contrl C and the map is now saved you've already made a lot of progress congratulations now we are about halfway through the crash course I hope that you are learning a lot and I also hope that you like the crash course if if you find it useful then you might want to check out my bigger navigation to course which contains more than 6 hours of structured video lessons and which will take you much further into the understanding of the nav to stack I will leave a link in the description if you are interested all right and let's continue with the video okay great we have now generated a map but what exactly is inside this map in this lesson I will show you the the most important things that you need to know about the map so we have I'm going to open a file manager and in maps we have saved our map and we have two files first you can see we have a PGM file which actually you can see that's the image for the map okay and so we have three different colors here for the pixels we have white we have black and we have gray so white means free space black is an obst ccle or a wall so something you cannot go into and gray is unknown so as you can see everything that's outside is unknown we don't know what's behind those walls and everything that's also inside the obstacles is unknown okay so this map is going to be loaded later on when we run the navigation and we can use this to actually find a path to a destination easily so we have this image file and then we have a yaml file so let's open with jedit for example and in this file we have several information so first image is well the path so the relative path to the image file then the mode of the image well not very important here and then the important parameters here we have the resolution the resolution here is in met per pixel so you take one pixel here one pixel and it's 0.05 M so which means 5 cm so for each pixel of this map we have 5 cm so we have a 5 cm Precision so is it a lot is it not a lot well it depends here when you are doing navigation with a mobile robot 5 cm can be really completely enough think about when you move yourself inside a flat or in an office when you pass uh through a door you probably don't try to pass as close as possible to the door you just give yourself some margins maybe I don't know 10 cm 15 cm on each side okay you don't try to be as precise as possible you just give yourself some margins and everything works fine okay so 5 cm for navigation uh well it depends on the cases but for this case and for most of the basic cases is going to be enough and also of course the more more you increase the resolution the more computations you will have to do so that's a trade off to think about but for now 5 cm is enough then we have the origin which is the coordinates of the lowest left point on the map so here in this map in this image we take the lowest left Point here and well if you remember the robot actually the initial position started around this position here and actually the image was rotated like this so the lowest left point on the map is still actually this one okay because I've rotated the image and if you remember also the X was pointing forward and the Y was pointing 90° to the left okay so we have the x axis here and the Y AIS here if we take this point and we go minus 1.24 on the x axis we're going to arrive somewhere here and then minus 2.39 on the y axis we're going to arrive right here so basically it's the link between this point and that point where the robot started so that's the origin of the map then negate is zero here if you put one that's going to Simply negate so inverse all of the values so everything that's white is going to be black and everything that's black is going to be white not very useful in our case and then this uh occupi threshold so the thing is we have here a clear separation between so that's black or that's white okay so black is an obstacle white is free space but in the end it's all about probability it's about the probability that one pixel is occupied or not and so here the setting is that if a pixel has a more than 65% chance so probability of being occupied then it is considered as occupied if the probability that the pixel is occupied is less than 25% then we consider the pixel as not occupied and in the end also here you can see that well those values that we have here are simply so each pixel is going to be a shade of gray so from complete black to white and each pixel will be a value between 0 and 255 and so if a pixel is more than 65% into the black uh Direction out of those 255 numbers then it's going to be occupied if it's less than 25% out of those 255 values is going to be not occupied okay so you have some infos about what is the map I would say here the most important information to remember is this resolution thingy here and one other thing we can do so let's uh just open the map so let's open my map. PGM with Nano to see actually what's inside and well we have a lot of characters that actually the image but at the beginning you have something like P5 and then you have this which represents actually the number of pixel of the image so it will be like this original image so we have 124 pixel on the X and 116 on the Y so now if you multiply let's multiply the number of pixels so4 multiplied by 0.05 that's the resolution which means that the map is 6.2 M long here so including the gray area and is so let's do 116 multipli by 0.05 is equal to 5.8 M so you have the exact dimensions here of the map if you want to know the dimensions you can compute it like this easily you find the resolution you find the number of pixels and then you can just multiply them and you have the dimensions in meters all right so that's pretty much it about the map you don't need to understand everything right now it's just to help to well to get some ideas about what you just saved and now this map is very important because that's what we're going to use as a base to navigate in the next section and before we get started here there is a quick fix we need to do the thing is there are still some issues with the navigation to stack on Ros to Humble in the following lessons when we load the map with the navigation stack it may happen that the map is not loaded correctly or not loaded on time and this will prevent you from going further I have personally experienced those issues and have found some fixes on the wonderful internet and well I'm going to show you that now so you won't have to bash your head against your computer in the following sections I have done that for you already so make sure you watch this video Until the End and make sure you do exactly the same steps as I do we actually have two small things to do first we are going to change the DDS from Fast DDS to Cyclone DDS to make it quick Rost to communication is based on DDS and I'm not going to explain DDS here you can check that on your own if you want to but that's not really important for this course what's important is to use the right one that will allow us to make the navigation to stack work correctly so to install Cyclone DDS we will do pseudo AP so you can do a sudo AP update first okay and then you can do sudo AP install Ross dumble DMW Das Cyclone DDS D CPP okay so you can press tab for autoc completion here and let's install this package so for me it's already installed I've done that previously for you it's going to install the package and then once the package is installed we actually need to tell rosu to use this DDS and to do this we need to export an environment variable so instead of doing this for every terminal that we use let's actually go to our bash SCC let's edit the bash SCC and here we have so we already we have an export for the table 3 Model we have a source for the global Rost to installation and well let's just add an export here okay let's put all of the export before the source and we can do export so you type exactly this and then uppercase rmw uncore implementation implementation make sure you have the exact same thing is equal to rmw uncore cyclone DDS uncore CPP so export rmw implementation is equal to rmw Cyclone DDS CPP with all underscores you can save The Bash RC and then we're going to close this so basically there was an issue with the map and the navigation that is not correctly working with the default DDS fun for R to Humble the fix is to change to Cyclone DDS which make things work much better and the second thing to do is to modify a parameter file where the terb 3 navigation package is installed so clearly that is far from ideal and if you upgrade this package with pseudo AP upgrade later on you will maybe have to do this step again the thing is this fix is probably temporary we just need to do it until they release a version of the package that will work correctly so let's clear this and let's go to slash opt Ross humble so this is where Ross to Humble is installed and if you want to get access to parameter files for different packages you need to go inside the share folder here and you will have well you have all the packages that you have installed and now we can go to so we can do CD turtlebot 3 navigation 2 okay so now we are in the package of navigation 2 for 3 and you can see here we have so we have laun folder you can find the launch file here also param so we can go to param and we have the different parameter files so yaml files for the different versions of the robot and the one that we are using is waffle. yaml so we are going to edit this one and to edit here you need to actually use pseudo okay because we are not in our home directory so P sudo jedit for me you can use whatever text editor you want waffle.
yam okay and you will search for robot model type okay so you can do contrl F to search for robot model type and we are going to modify this one and so here if you have differential written like this you need to modify it we will actually use so what I can do is just comment like this okay you can add this sign to command the line so you just keep it just in case you want to go back and you just modify then to nav 2or amcl and then colon colon differential motion model like this so nav to amcl all lowercase colon colon with and then upper case D differential uppercase M motion and uppercase M model if you already see this here in this file then that's fine okay you can just continue without modifying anything but if you don't see this then please modify this line okay this is well this is a fix that also I found on a GitHub issue relative to this TBO 3 Robot so you can save make sure you save the file and make sure you have exactly written the same thing okay that's very important if you have one typo that's not going to work and then you can close and what I really recommend recommend you to do so first you can close the terminal and open a new one but what I really recommend you to do now is to reboot your computer okay make sure your reboot so that well you can be sure that everything is going to work correctly let's now make the robot navigate using the map we will continue with our turb 3 example here and so to start the navigation to stack to make the robot navigate we first need to start the robot so we're going to do Ros two launch turtlebot 3 gazebo and then turtlebot 3 world. lunch. py so this we have done it previously also with the slam okay that's the first step you need to do always so we start the robot it's going to start the robot in the world okay so we have the world here we have the robot we have the ligher with the laser scan that's correct okay so everything works correctly now we go back to the terminal let's open a new terminal and here we are going to start the navigation for the robot so to do this we are going to do Ros to launch and turtlebot 3core navigation socore navigation 2 actually and then navigation 2. launch.
py I'm going to explain this launch file a bit later in the course so this launch file which contains all the things you need to run navigation for the robot and then we are going to also use uh so use sim time with column equal true so we use uh the simulation time because well we are using Gazo so we are using a simulation we want uh to also use the simulation time for this navigation that's going to work better and then there is one thing we need to also do is to provide the map okay because well we have saved the map in so if I open file manager here in maps we have saved uh the map so we want this one the totalb 3 world map that we have called my map okay my map. PGM and my map. yaml so what we need to do is we need to give this map to the navigation and to do this we simply add another argument map column equal and we just provide the path to the map relative to where we are right now so maps you can see we can use Auto completion my map do yaml we're going to put the yaml file so Ros to launch and then we go in the package talb 3 navigation 2 the launch file is named navigation 2.
lunch. py we put the parameter use SE time to true and then map is the yaml file that we have created I press enter and let's wait a bit so it's going to start AR like this and you can see here what what do we have we have the map here so that's the map that we have generated okay that's the image that we have generated with here the origin of the map as specified in the yl file and so if you start Aris and if you don't have the map so if you don't have this image here right now well what you can try to do is to stop and start again so to stop and start I recommend that you don't just click on the button here but you have to do contrl c directly inside the terminal so you contrl C here maybe contrl C here you can restart the terminals maybe restart your computer so just do those steps if you don't see the map right now but when you see this then that's correctly working and what we need to do first in navigation is to actually give a 2d pause estimate so we need to tell actually to give an estimation of where the robot is in the map so if we go to Gaz well gazebo is the real world the real robot so you know where the robot is it's here okay it's been started here and in RVs you just have the map but you still don't have the robot exactly you don't know where it is okay so we will need to click on this 2D pose estimate okay you click here and then you can click on where the robot is so let's check the robot is here and so for this case that actually uh corresponds to roughly about the well this point here the origin of the map that's the same point so we click and we maintain the click and you see we have also an arrow to provide the orientation okay so the robot is actually looking forward so we're going to put the orientation like this if the robot was looking to the left we would put the orientation like this okay so we put the orientation like that and you should see something like this so what's happening now is we have said in AIS so where the robot is at this moment so then the navigation is going to well localize the robot here and thanks to the data that we have so thanks to this uh laser scan that we have the robot is also going to match you can see with this small rectangle here is going to try to match the environment and so when the robot move the robot can localize itself in the map note that for example if I put a wrong Tod POS estimate you can see now it's like we have say that the robot is here but you can see the laser scan data this corresponds to the laser scan data from this from the reality does not correspond to the map okay so if you put a wrong to depose estimate that is completely wrong it's completely wrong then uh things are not going to work so you need to try to be as close as possible to where the robot is so I can put back the POS estimate right here okay and now you see that I have messed uh the map a bit okay so if you have this well you could restart but also know that when the robot will go around this area it's going to also automatically clean the map and well about this this well this is the global planner here and this is what we call so it's called the controller but I'm also calling this the local planner and I'm going to explain this in much more details in the next section okay so here we are going to just understand how to work with it and you're going to maybe understand some things with intuition but you will not understand everything right now and in the next section everything will make more sense because I'm going to come back to each component here with much more details okay so once we have given the 2D posate we can easily see as you can see with this rectangle here so with the controller which is the local planner we can see that things match okay you can see the edges match the obstacle here match so what we can do now is to give a navigation goal so let's say we want to go to this place right here so we click also and we maintain for the orientation that we want to give so I click and you can see the robot will start to move and if I go to Gazo the robot is moving so the real robot is moving to reach the destination and on AR you can see we can follow so you have this pink line and this blue uh the small blue line also that's following the goal and trying to reach the goal and then you can see it's going to turn to reach the orientation that we wanted and then well that's it the goal has been successfully reached and so just a quick note on the coordinates you can see that we always have this red green and blue coordinate system here that's also here in gazebo so the red is here the green is here and the blue is here that corresponds to the right hand rule okay so in red we will have the X pointing forward and then 90° to the left we have the Y okay so this makes a plan okay so that's a 2d plan here X and Y and then we have the Zed going up okay so if you put your right hand you're going to see easily with three fingers that's the coordinate system that we're going to use and you can see that's the same thing here for gazibo for Aris and everything we do later okay and also in the next section I will give you more explanations about those coordinates here why is this coordinate here that one here those ones there okay you will understand this better so now what you can do well you can just give another navigation to goal and you can see the robot will move so it will turn it will move autonomously okay while voiding you can see those fixed obstacles and making sure that you see it doesn't go too close to the obstacle or to the wall okay so you have navigation working and now well let's say that I give a goal that is not valid so let's say I want to go not here but I want to go here what's going to happen well you see what's going to happen is that well we don't have a line here and the robot is going to be stuck and try to move a bit okay so if we look at the terminal we have well we have some recovery behavior that I'm going to explain also in the next section the robot is trying different things to well to clear the space Maybe actually there was something on the map here that was recognized as a wall but that is not maybe there is an obstacle that we can clear maybe there is a different path to go to but in the end if the robot doesn't find any possible path then you can see here we have the feedback about it so the goal was about it okay if I do uh here very simple one you can see the goal will be reached so reached succeeded and if we try to give a goal that can't be uh reached the robot will maybe try to go but then the navigation to goal will be aborted all right so try to give a few goals and one thing is that if you starting if you want to start again if you want to start again uh you can start again so you can do control C here it might take some time so you just do contr c and you wait and then you can start a again you may want to also restart Gazo but here we don't really need to I have the a is here and we also so you can see we need to give the 2D POS estimate again but this time the robot robot is not here anymore the robot is there is there and pointing uh towards this direction here okay so we need to give a to dep POS estimate that's about so you don't need to be super precise but something like this okay and the robots you can see will try to match so you can see I didn't match exactly I didn't have exactly the right position but the robot will try to match as close as possible to the map and now you can see if we give a navigation to goal also things should start to be put back in place okay so you can see the the map also is coming back to to the right place okay and now the robot is here and the robot should be well here so to conclude here on this lesson well you need to start first with two deposit stamates once and then you can give some navigation to Golds there is a nice and very useful functionality in navigation through that you need to know and this is the Waypoint follower so let's say you want the robot to go through different points okay you want the robot to do a turn around those four blocks for example you could put a navigation goal here okay so the robot will follow this path you can see the robot moving in zbo as well here and then once the robot is there you would give another goal to reach this and then another goal to reach for example this position with this orientation okay but the thing is you can actually give those goals uh so the three goals are more goals all at once if you want to okay to do this on Aris you can click here on the left you have navigation to you can click on Waypoint nav through POS mode so once you are in this menu you don't click on anything here you just click on navigation to goal and you put a new goal here and you can see now we have an arrow so Waypoint one and then um let's put another one example here and let's put another one for example where the robot is like this so we have one two three way point and we want the robot to go through all those points and now we can click on start Waypoint following you click here and you see the robot will first go to the first Waypoint and then the robot reaches the Waypoint you can see it will reach the goal and once it reaches the goal it will immediately start the second way point and then the third Waypoint and the path is completed successfully so we have been through three different way points you can add as many as you want and the robot will go through the Waypoint there is another mode that you can so you can click also here on Waypoint here and instead of clicking on start Waypoint following you can click on start nav through poses this one will try to create a path that goes through all of the Waypoint but without stopping so this can be quite useful if you want to go a bit faster but note that this feature is not as stable as the Waypoint following so the normal one where you go through each one one by one okay so let's try this and actually well we have an issue here already so the robot cannot find the PATH let's cancel let's just click here and click on cancel accumulation let's just give some poses here so one two and then um three like this and let's try again start now through poses and you can see it should try to just just do everything without stopping so if we look at the robot here as well okay and we have some issues here I don't know exactly what's happening because the path is changing and well this functionality is not as stable as uh you can see so sometimes it works well sometimes not I don't want to just show you a case that works and then tell you that it's going to work every time actually I'm just showing you that this start nav through poses is not the most stable feature so you might choose to start a waypoint following so the robot is going to stop at each point but you can just give an kind of an array of point and make the robot follow uh this okay so now you can practice a bit on your own try to make the robot go through different path through different way points okay experiment a bit with those options here all right and that's the end of this YouTube crash course I hope you could learn a lot and get a better understanding of what is the navigation to stack and what you can do with it so you have seen how to get to hand on nav 2 but now comes the most interesting part which is to get a full understanding of the architecture behind nav2 and to be able to use nav2 for your own project which means for example to create your own simulated world to use the navigation with a custom robot and to make the nav two stack work with an existing Ros two application and that's exactly what I cover in this much bigger course which contains more than 6 hours of video content and let's have a quick look inside so here I'm inside the course and as you can see we have nine sections in total for six hours of content and well the first section we uh install Ros to we install navigation to stack and some tools so this you've already done and then we have two sections where we actually do slam okay to generate a map so you can see we make the robot move in the world that's what we've done and then we generate the map we have an extra activity here okay and we make the robot navigate and we have also extra lessons and extra activities to practice on this but then the interesting part here the really interesting part is this understand the navigation to stack okay so we have 40 minutes of explanations here to understand everything that's going on in the stack after this you build your own world for navigation so you will learn how to use the get building Editor to create a complete customized map so that you can make your robot navigate inside a custom map and then so you can see we have more activities as well and then I'm going to talk about how to adapt a custom robot for navigation to okay this is going to be kind of an introduction but still one hour introduction to explain to you all the different steps that you can do here and finally here we will interact programmatically with the navigation stack so you will learn how to do well what we did in Aris okay if you remember we have clicked on some buttons to do the 2D estimate and to give a navigation goal but here you're going to do that directly from your own code so you can completely integrate the navigation to stack into your existing Ros to application and so with this course not only will you get a much better understanding of the stack but you will also build some experience thanks to a lot of practice all right now thank you for watching and I hope to see you in in the course
Up Next

56:57
ROS Navigation Path Planning with move_base: A Practical Guide
@TheConstruct
50.1K views•2018-02-16

58:25
MathWorks Virtual RoboSub Simulation Environment | Webinar 2026
@RoboNationInc
209 views•2026-03-10
8:18
How to Create and Set Up a ROS2 Workspace | ROS2 Tutorial
@RoboticsBackEnd
134K views•2022-08-17

25:22
Micromouse: The Fastest Maze-Solving Robots on Earth
@veritasium
23.5M views•2023-05-24
Related Study Plans & Knowledge Roadmaps
Structured learning paths in Robotics
robotics
Building Delta Robots: Kinematics & Pico
01Foundations of Delta Robots & Mechanical Design
02Electronics and Microcontroller Setup with Pi Pico
03Delta Robot Kinematics and Coordinate Math
+ 3 more learning modules
65h6 modules
Explore Roadmap
robotics
Building Ballbots: Dynamics, Kalman & LQR
01Embedded Electronics & Omniwheel Actuation
02Ballbot Kinematics & Rigid Body Dynamics
03IMU Sensors & Kalman Filter State Estimation
+ 2 more learning modules
42h5 modules
Explore Roadmap
robotics
Micromouse: Hardware, PID Control & Flood-Fill
01Electronics & Teensy Microcontroller Basics
02Sensors and Actuators: Motors, Encoders & IR
03Precision Movement: Implementing PID Control
+ 2 more learning modules
35h5 modules
Explore Roadmap
robotics
CDPR: Kinematics, Arduino & Winch Control
01Foundations of Arduino & Basic Electronics
02Stepper Motors and Winch Mechanics
03Kinematics of 2D Cable-Driven Robots
+ 2 more learning modules
28h5 modules
Explore Roadmap