![[GHW Open Source] Getting started with ROS 2 for Open Source projects](https://i.ytimg.com/vi/8pZYK6qACH0/maxresdefault.jpg)



![F1tenth (F1/10) Lecture 9]: Simultaneous Localization and Mapping - SLAM](https://i.ytimg.com/vi/44wwTIJqG_I/maxresdefault.jpg)


![[ROS Q&A] 012 - How to convert a laser scan into a pointcloud](https://i.ytimg.com/vi/GvilxcePD64/sddefault.jpg)


![[ROS Q&A] 168 - What are the differences between global and local costmap](https://i.ytimg.com/vi_webp/qPNs6pAZGtA/maxresdefault.webp)


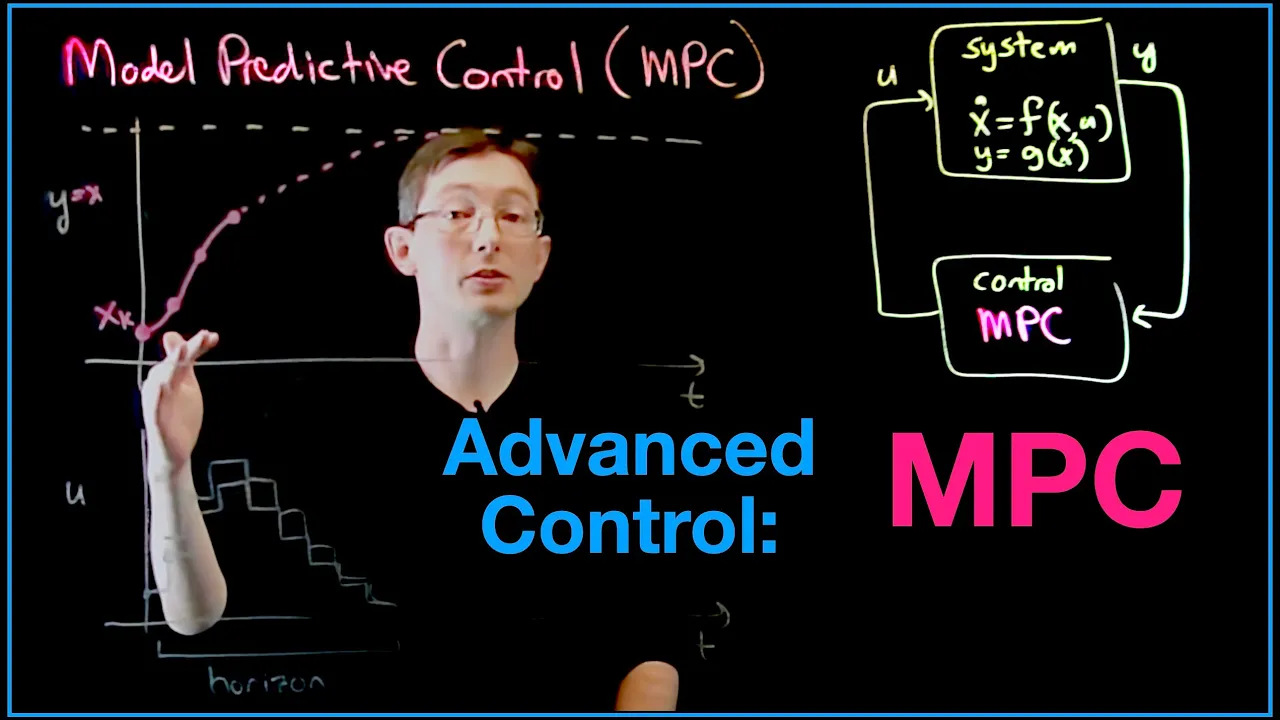


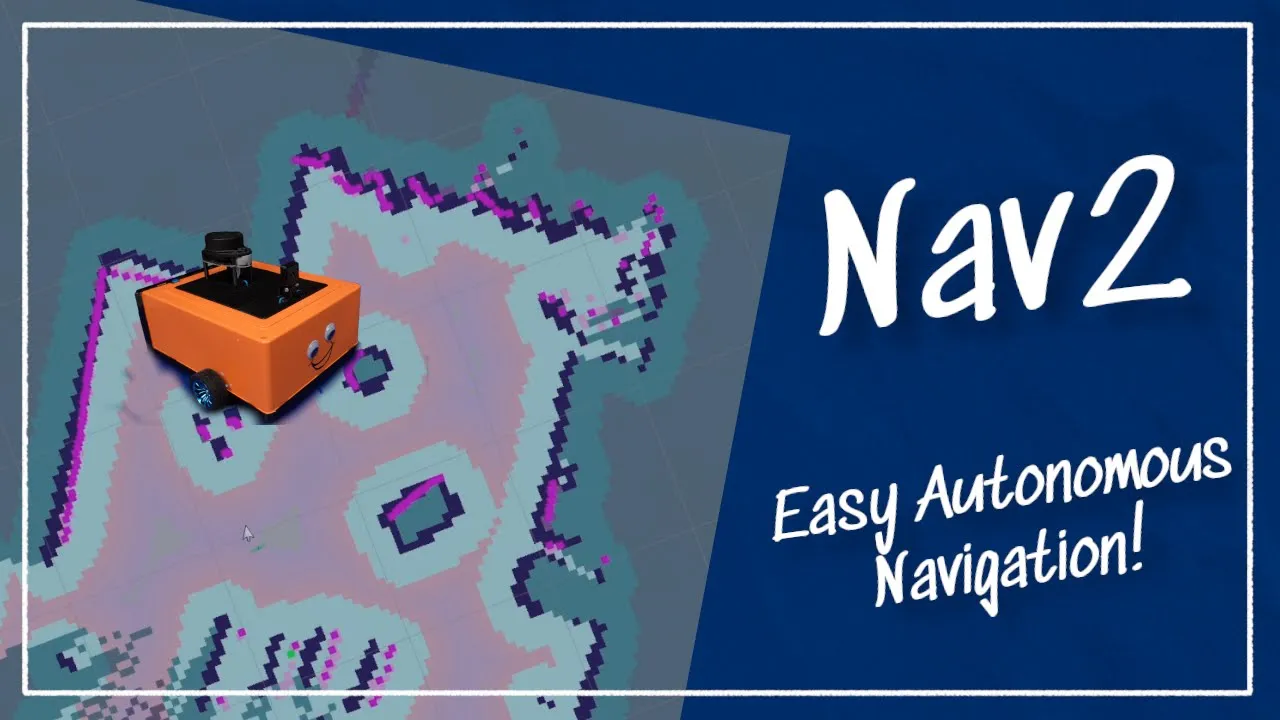
![[ROS2] 5-1. AMCL 패키지 구경하기 - Localization|R2R 심화|민형기 강사님 무료 강의](https://i.ytimg.com/vi/Vju8tufEkj0/maxresdefault.jpg)




The move_base node in ROS Navigation serves as the central action server that receives goal poses and calculates velocity commands for autonomous robot navigation by integrating the global planner (which computes paths using the global costmap derived from the static map), local planner, and recovery behaviors; the global planner generates a trajectory based on the static map without considering real-time sensor data, while the local planner refines this path using real-time sensor information from the local costmap.
ROS Navigation Path Planning with move_base: A Practical Guide
Added:Fundamental ROS concepts, including nodes, topics, services, messages, and launch files.
Understanding of the ROS TF (Transform) library and coordinate frames, specifically 'map', 'odom', and 'base_link'.
Basic knowledge of robot localization and mapping concepts, particularly how 2D occupancy grid maps are represented in ROS.
Familiarity with robot sensor data processing, such as LaserScans and PointClouds, and how they are published to ROS topics.
Advanced tuning of local and global costmap parameters, including inflation radius, obstacle layers, and clearing thresholds.
Integrating and configuring alternative local planners like TEB (Timed Elastic Band) or MPC (Model Predictive Control) for non-holonomic constraints.
Implementing AMCL (Adaptive Monte Carlo Localization) to handle real-world sensor noise and drift during autonomous navigation.
Transitioning from the ROS 1 Navigation Stack to ROS 2 Nav2, leveraging Behavior Trees for more complex mission planning.
50.1K views332likes56:57Original Release: 2018-02-16
hello everybody and welcome back to the chapter 4 of this Ross navigation curse we are very close to the end guys we are almost done we are in the last chapters these past planning's which has part 1 and part 2 which we will do in the next chapter in chapter 5 but we are almost there so in previous unit we have already covered and seen how to do mapping in navigation how to create a map of the environment and also how to do localization so how to localize our robot into that map that we have created so now the last part is to actually make the robot navigate autonomously navigate so make it move from a point A to a point B without colliding with any obstacle yeah that's basically path planning then as always let's start with using ervice whole ervice can help us in doing path planning and basically for for visualizing path planning we will need three elements a map displays for visualizing Dickus maps you are going to see later what are these cosmos we will need path displays for visualizing the plants the trajectories that the path planning calculates and finally we will be using as well the 2d tools okay so let's go with this first example here then first of all let's launch this command that will actually start the path planning system the world navigation system in fact so let's execute this command here let's also start an Elvis there we are then we are going to open the graphical interface window and there we have our vs okay we already have it with a robot to laser scan and the map let's configure properly the laser because this is not the topic for this simulation this case the topic is scan there we have our laser beams and then okay we already have a map let's duplicate this because we are going to use two I'm here basically I'm going to be following this example so okay so we have to map elements and then let me add at least one path element there and I'm going to also add a post array element in order to visualize localization okay here we have it the post array excellent so now we need to properly configure these elements so first of all this one we are going to set it to this here let's make this a little bit bigger okay so as you can see here you have the global cost map there we have it here we have our global Kozma okay which is it's similar to the regular map but it's a little bit different as you can see we you will see you will see later why this difference and then for the for the [Music] local cost map we are going to select here the local cost map that we are and let me switch this in order to differ differentiate them better I'm going to put this too a cosmic color stream there we are excellent and finally let me configure this path to this one to the enough FN Rose laughs okay which basically is the global ladder you will also see later in this unit what this is okay so don't worry if now you are a little bit lost this is just an example exercise to to see a little bit everything together and to to start getting in touch with this buffering system so let's select this topic excellent for now nothing appears yet this will be displayed when path is calculated okay then the first thing we need to do will be to localize our robot so as you can see our real robot in the simulation is not here it's not in the center of the of the room it is here more or less at the at the site of this bench and it's facing that way so I'd say that more or less I can place it I'm going to use the two Depot system and you already know this tool yeah I'm going to use this to depose estimate two and I'm going to place it around here I think more or less it's here so let's put it there there we are okay the poster is not yet configured so let me put here also the topic which is particle cloud topic you should know this from the previous chapter from localization and then okay yeah I have more or less the robot localizes as you can see the laser beams are matching the actual map here I have the the global Kozma which is this which is like a regular map but with the walls of their struggle a little bit wider than the regular map this is because of inflation you will see later what this is don't worry and here we have the local cosmic okay in in colors now what I'm going to do I'm going to use this to the enough go to in order to send a goal to my husky robot I'm going to say hey I want you to come here okay then as you can see a green line appears which is the path data has been calculated but by the path planning system to go there and the robot actually as you can see it's moving over there okay the you are who it is going there and now here when it reaches the goal it says gold Richard okay and I can say okay great now I want you to come I don't know here so a new plan is calculated it is displayed here using this path element and the robot starts going to the new gold position as you can see okay there it is here the this local cosmic keeps updating and changing there we are and now it will say go reach it when it has arrived my it is trying to put the correct orientation of the robot so the point is is Richard but it's trying to match the orientation the correct orientation there it is go reach it now it's perfectly set okay so yeah basically you have seen in this example the wool path planning system working in fact the wool navigation system working because we are using map the map we created in the map in chapter we have also used localization at the beginning as you as you have seen and finally we have also used the path planning system so in fact in the example we're using the wool navigation system okay and as you can see basically the elements we need in order to work with with rough planning are this path element in order to visualize the plans that are being calculated the global plan in this case it's this one but there is another which is the local plan okay which we are going you are going to see in the next chapter in Chapter five okay in this one we are going to focus only in the global plan the global planner and also the map displays in order to be able to visualize both the local Kosma which is this one I have here in colors and the global cost map which is this one in black and gray okay so basically these are the main elements for working with path planning in in ervice you can also of course use the push array for localization laser scan to visualize the the readings of the laser whatever but the main ones are these map and the path elements and of course these 2d tools which are the two Depot's estimate to localize the robot because obviously if the robot is not properly localized in the map you won't be able to perform path planning yeah so you need to before doing path planning you need to have your robot to localize it in the map so that's why we first use this to depose estimate and then we have this to the enough goal to which basically allows us to set goals to our robot to save our robot hey I want you to go here you set the point and the orientation you want it to go and then the path planning system will automatically calculate the best trajectory in order to reach that goal position okay so basically yeah this is the wall example we have see you have been think so yeah okay let's do one thing before closing these I'm going to save my configuration so that I have it for later use for using the doing later later in this unit so let's save this conflict let me save it in fact as math dot this yeah - save it yeah replace it okay accent so what I'm going to close this for the moment excellent so let's begin with the proper explanation so yeah the move base package okay what is the movie base package basically the move base package what contains is the move base note which is probably the most important note in the wall navigation stack okay because the main function the function of this move base node is to move the robot from its current position to a go position yeah so when using our with I said with a 2d enough goal tool I said that a good position to my robot the ROS note that is in charge of providing trajectory to reach that goal position is the move base note yes basically this move a node is an implementation of a simple action server yes so over action server and this action server takes a goal pose yeah so therefore since this is an action server you can send position goals to this node by using a simple action client of course and this goal positions are provided through the move base go topic okay so for instance if I now do I okay now I don't have the move base no launcher but if I launch the move base note which I have it here in the common executed for the previous example with this command I'm basically starting called the navigation system with the localization and the move base note basically these two notes so I'm launching the IMC l note which is the low the note for transition and then move base node which is the node for path planning yeah so now if I do hear us topic list let's do this bigger I can see here this move base go topic yeah and throw this go topic is where the move base node receives the goals okay I have it here so let's do one thing let's launch again Pervis there we are okay there we are so now what I'm going to do is to basically repeat the process I did before but I'm going to do our Rosco big echo add the move pace go topic okay so now I don't get anything I think is being publish it yeah but now I'm going to send a goal to my robot so okay I'm going to use this to the knife go tool I'm going to say to my robot hey come here okay so what happens now as you can see a new message has been published into this move base cool topic yeah so basically by using this tude enough go tool inner these what I'm doing is to publish a message into this move base goal topic yeah that's basically what is happening there so I'm publishing a message into this move base goal topic and this goal the goal I publish into this topic is received by the simple action server that is implemented into the move base note okay so this is basically what it's going on here what is happening behind the scenes let's say yeah so I put a measure a message into this move base goal and then this goal is received by the move base note and then it calculates the proper trajectory okay we are going to go a little bit deeper on this later yeah but yeah big basically this is it okay so okay yeah here we have a small exercise which is to instead of sending the goal through the dude Judy enough goal to send it through publishing directly into this move baseball topic so it would be something like publishing that lady from the shell Russ topic but to move base gold topic and you would need to guess which kind of message these two big uses for instance Russ topic info move please go this way we can get the type of message that these topic uses which is move based messages move race action goal so now you can simply do a roster big pop shouldn't move base call topic ten please hear the message move race action goal and with a double tab it will have to complete the message and this way you can fill this message and this way basically you are going to be doing this same that you do when you use this to the math goal to which is obviously it's visual and it's much more nice to use but you can also publish directly to to the topic of course and this exercise ask you to basically do that yeah then okay let's move on okay yeah of course here I would don't want to skip this part so here basically is it's telling you that because this move base no basically it's an action server besides the move base gold topic we have already been seeing now you have obviously all the topics that an action server has which are the cancel topic the feedback topic the status topic and the result topic yeah so for instance if here I do a roster pick echo of the move base feedback dub topic I will be able to visualize the feedback while the action is taking place so let's publish a new goal let's move it here there we are and as you can see I can visualize the feedback of these of this action server yeah I could also be realize the result the status whatever I want yeah it works just like a regular action server okay great yeah so this exercise here basically it's to visualize all the all these topics that are taking place yeah yeah sending the goal here we have the feedback topic the status topic to wrestle topic ok to visualize all these topics that take place into an action server great then let's continue here okay yeah you have another exercise here I'm going to be skipping some exercises because if not this video will take forever and I don't want to give you all the solutions so yeah this exercise for that for basically what does is to send the goal in a different way so until now we have seen who to send a goal using this 2d enough goal to you have also seen through an exercise who you can send a goal by directly publishing into a topic here it is by using the Ross topic pop comment well by using the Rasta big pop command into the move base goal yeah you saw another way you can send a goal to the to a movie a suction server and then here you have still another way in which you can send the goal which is mic retina action client yeah so basically here what what you should do in the success is to create an action client that sends a goal to the move based action server okay and in fact this action client will send three different goals yes so it will first sent a goal so that the row goes there then it will send another different goal for instance here and then it will send it an other goal for instance here so this sent go client pi scrape viewer you will create will basically be sending these three goals continuously yeah so the result will be that the robot moves infinitely to to the three goal poses provided yeah so this is basically exercise 4.4 excellent so yeah we have seen basically how this move based goal topic words how you can send goals to the move bass note and yes my rising basically what happens is one when this move is note receives a goal pose it links to it links it calls to other components such as the global planner the local planner the recovery behaviors and the cosmos and generates an output which is a velocity comment yeah and then it sends this output this velocity commands to the command belt topic so that the robot can start moving towards reaching that goal post yeah so this is basically the process the noddle receives this gold pose you sent him and then it does some kind of calculations here using the global planner the local planner it's the cosmos etc and it returns you it outputs velocity comments which are sent to the command Val topic okay and that's why the robot starts moving in order to reach that goal so okay here we have a another exercise exercise 4.5 which basically we are going to start touching some parameters of course this move base node has parameters as you have seen in in in the slams mapping node and also the AAMC a note you had lots of parameters to configure and the move result is exactly the same for instance in this exercise here we are going to to modify this controller frequency parameter which basically controls the frequency in which this velocity comments are sent yeah then before we make able to do these we need to create the structure yeah because until now have been working with with this large file with a large fire we use it in the in the example let's stop this for now okay there we are so we have been working with this move based demo large file which is inside the husky navigation packet but this is a package from the system this is a demo which is already configured so we will need to create something in in our workspace so that we can modify and tune and and work with all these parameters and land files and modify them without any problems so in order to create is a structure and going to do this with you you need to follow these first steps here so basically first of all you are going to create a new pack attempt my move based launcher so let's go to our workspace let's create this my move base launcher package that we have it then here it is my map know my mapping know my move based launcher that inside this my move based launcher we are going to create two new directories the launch and the params directory so lounge and params there we have them and then inside the launch directory let's go inside the rock directory I'm going to create two new files this move base launch one can you fact let me play them here so I'm going to new file there we are which is going to be cold my move base launch one dot lounge let me copy this dot lounge and another one which is called my move base lounge - there we are and inside the parameters the rectory I'm going to create a new file which is called my movies parents dot inyoung so let's create this file here there we are so we have our structure here our my movies doctor packaged with a launcher actually that contains these two large files and apparence the directory that contains this parameter files all of this is empty right now so now you says have a look at the movies demo lounge and movies launch files of the husky navigation package also have a look at the planet or gel file of the same package so as I've said before here we have been working until now with this move based demo launch file yeah so let's have a look at this at this large file which is inside the husky navigation package as you can see here so let's go to the husky navigation package there we are and here I can see this move based demo launch file so let's have a look at this move race demo launch file ok this open trunk there we are okay so as you can see basically what this launch file is doing is first of all it loads a map yeah so it loads the map of the environment with these two lines here with using the map server note you have learned this in the previous chapter and then it basically lunches here the am CL note with this launch file and here it will start the move bass note with this other launch file ok so basically it blows them up and it launches the localization system the NCL note and the plat flying system the move bass note okay so let's come now to this move bass large file base large file and as you can see here is where actually the move base note is being started yeah as you can see here you have the move bass note which is being started and here you have a lot of parameter files that are being loaded okay you are going to see all these parameters during during called the this chapter and the next one okay but basically inside this file is where all parameters are being loaded okay great so we have checked the move wisdom on the move base launch file and then we also have this planner dot young file which is also in this pocket but it's in the in the config folder here you have it the planner dot young yeah here we have these here basically you have some basic parameters of the of the planners here you have parameter for the nav fan parameters for the nav M global planner trajectory planner also here the dual reeow planner which are planners and here we have also this controller frequency parameter which is the one we are going to modify for this exercise so great we have these two files and now we need to copy the contents of all the file of all all these files to do five who have created in our package so that we will be able to modify them and turn them okay so basically let's let's do this so in aviation okay so let's copy the contents of the move base demo this fear okay the content of the move base then one file to our home user cutting workspace SRC my move base launcher lunch mousse vase launch one dot lounge so we copy the contents of this move base demo lunch file to the move base launch one file okay and then we copy the contents of the move base lunch file to the other line file you have created which was my move base lounge - there we are so now inside our lunch files we have here the contents let's yeah we have here the contents of the movie is the melange file and in this one we have the content of the move baseline file okay great so now let's copy the last file which is the parameters file sorry so let's compare to the config and we are going to copy their planner young file to home user cut in workspace SRC my move base params my move face patterns of them so we are going to copy also this file and now if we open this one we will have the parameters of the plenary on file excellent so now okay yeah okay excellent so now modify them my movies launch one launch file so that it loads your second launch file and modify them a movie is launched two large files so that it loads your move based parameter files obviously yeah so now we have copied exactly the same contents of the of the other files but now we need to do some modification so that we actually use these files first of all in the first launch file ok the map can be left left like this also the AMC are because we are not working on this in this chapter but here we want to launch our launch file yeah so basically here what we are going to do is to modify these we are going to put here the name of our package which is my move base launcher yes and here we are going to put the name of our launch file number two which is this one yeah so my move base lounge - okay so now this lunch file will launch will start this lunch file not the one we have installed okay and then inside this lunch file number two instead of loading the planner young file we want to load our parameters young file yes right so we are going to do the same we are going to modify here the name of the package for our package which is my move base launcher here we have it the name of the folder it's not config is params so let's modify this and finally the name of the young file if not planner is my move base params dot young excellent so we have all our environment properly setup with this round file starting this one and this large file loading this parameters file so now you can perfectly come to the parameters file modify whatever value you want for the case of the exercise is this controller frequency parameter and if you launch this move base this lounge file the number one you will start the wall navigation system but using your parameter files okay so this is why we have done all this setup now I wanted to do it with you so that you have this clear because it may be a little bit confusing okay so now you already know who to say the system in order to be able to modify your parameters and whatever you are going to be doing this also in for in future exercises so the the process will be exactly the same yeah in this case you have already launches and you will probably have to add some more parameter files and maybe modify something in this in this second launch file but the first one will stay like this for the rest of the of the course yeah you won't need to modify nothing else here excellent so yeah you can finish this exercise modify this parameter see how it effects the Tetra but now let's continue with explanation so the next thing is to talk about the global planner so basically when a new goal is sent to the move base note when it receives goal this goal this goal position is sent to the global planner yeah and then the global planner is in charge of calculating a safe path in order to arrive to that goal pose okay so the Groupon is the one that calculates that path that we will be realizing if you remember with a green line yeah so when the move is node receives a goal it sends this to develop runner and the global planner calculates a safe path in order to arrive to that goal pose okay and this particle is calculated before the robot starts moving so this path will not take into account the readings that the robert sensors are doing okay this is very important so the plant that the global power calculates it's calculated using the static map yes so it uses the map as it is when you created it yeah so it takes into account the obstacles that are placing into the map if for instance a person enter the cafeteria and starts moving this won't be the debt backed by the global planner in a first instance okay because that person is not in the map in the static map okay so it's important the global planner calculates its path you think the static map okay so it doesn't take into account the readings of the robot sensors yes excellent so here have an exercise in order to visualize the the the global plan remember here that's bigger yeah here you have the this green line you're ready visualize it in the example so let's skip these exercise and and also to visualize the global plan plan topic because obviously this information is publish it into a topic so whole yeah you have exercise for that six to do it yourselves yeah then when you send the goal as you have seen the robot automatically starts going to that goal yeah so when you set the goal the robot will automatically go to that goal position yeah then sometimes you may want to just calculate the path but not but you don't want the robot to execute that path for instance it could happen then for that there is a service called make plan we just calculates the path but robot doesn't execute doesn't go yet doesn't execute this part doesn't go to the goal position yeah you can do that with this with the service make plan okay here you have an exercise also to test this make plan service I will if you do it by yourselves then okay we have different kind of global planners depending on how they calculate the plants yeah for instance then after the NFF VN which is the the most commonly used the most popular yes this knife at the end here you have a representation of who these planner calculates the best trajectory to reach the goal do you see now it does like mappings with points and then it gets the best trajectory depending on the cost each point has well this is more mathematical things but yeah basically you you need to know that you have different planners different global planners each one calculates its plan in a different way and depending on your needs depending on your situation you would prefer to use one or another yeah basically the most you said is this Neff F and planner has upset okay then yeah here you have an exercise knowledge to see how you can change this this planner usually it's row like this by setting the base global planner parameter yeah and here you have for instance to set the enough FN the carat planner the global Connor yeah usually this is done in a parameter file like this so you will that this line you would add a line like this into the parameters file usually for instance here yeah you would do something like this but in this system the baseball opener is well you can do it like this if you want you can put it here but in the in this system the global planner is set here in the directly in the launch file as you can see baseball our panel parameter is set directly here it takes this base global panel movement which is set here mister our planner Nath FN as you can see yeah so in this exercise you have to modify the this global planner yeah use another one I don't know for instance the yeah this case it's the carrot planner I think let me see yeah yeah here have it so it so in this exercise you need to use the to change the global panel you set and use the Carroll planner so for instance you can if you want let me take it here you can if you want come here and modify it directly here yeah so put here in the global plan area change this for the Kyle Connor you can do these if you want or you can if you want comment all these this global plan outline this one here and here and add it to the parameter files as you prefer you can do it as you want yeah but the thing is that you need to change the planner so for instance if I do it here yeah when I start my move base my move base launcher when I start my navigation system I can check into the using the Ross parameter server yeah Ross param get move base base global planner this way I can get which planet is being use it is loaded yeah and as you can see now I have loaded the carrot planner yeah and basically let's put back the knife FN there we are so basically in this exercise what you need to do is to test it quick exercise to test this color planner by sending a goal which is into an obstacle okay you will see why basically it's because the the Nephi and planner does not allow you to set a goal which is into an obstacle like for instance here this is an obstacle this is detected in the map as an obstacle and with the Nephi and planner you cannot set a goal here because it says hey this is an obstacle I cannot go there and you will get an error using the enough f en Ross plan but using the color planner you can set goals which are inside an obstacle and then what this planner does is to create like a straight line and it moves the robot to the closest position until from that line and before it hits the obstacle yeah well while you will see that with this exercise you can do it by yourselves and then yeah so let's keep going yeah here you have some enough efficient parameters that you can tune yeah so here into the parameters file you have here the Nephi theorem Rose parameters in this case you have only to set these along known on the filter and here you have the explanation of these parameters as I'm some other I love known we have the planner window expand a window why the cost factor neutral cost and let ago switch calculate the cost of the cost of the the paths yeah well here you have also another exercise to test a little bit these parameters so yeah yeah summarizing in order to summarize this I think this video is getting too long so summarizing this you have yeah when you send the goal to the movies no this goal is sent to a global planner then this global planner calculates the best trajectory in order to reach that goal then you have different kites kinds of global planners each global planner calculates the best plan in a different way so depending on your needs you can select one or another yeah and of course you can customize you can set parameters to these plans and and make them work as you want okay and then very very important this a subset this global planner calculates the trajectory based it on a static map but it is not a regular map like the one you saw in the mapping chapter this map is TECO's map yeah and what is a course map a cosmic basically is a map that represents places that are safe for the robot to be in a grid of cells yeah so it's it creates cells it divides the map in cells and each cell has a binary value okay for instance these values can be 255 for no information servers are bad for cells where not enough information is known so for unknown space 254 which indicates that a collision caution object was censored in this cell okay you have 253 which is in scribbled inflated obstacle so indicates that there is no obstacle in this cell but moving the center of the robot to that cell will cause a collision yeah so because of the dimensions of the robot despite in that sin there is no obstacle if you move the robot there the borders of the robot we call I do something yeah that's basically this and then the zero value for free space yes so basically it divides the map in cells and each cell has a value of this one's yes then basically there exist two type of two types of cosmos the global Kozma and the local Koz maps and their main difference between them is the way they are built the global Koz map is created from an aesthetic map so this glow and cosma is created from the map you built in the mapping unit in the mapping chapter yeah this global Kozma is created from that map and the local Kozma is created from the robot sensor readings this is the main difference between them yes then the global planner uses the global Kozma in order to calculate the path to follow yes then this is the this is the global cost map yeah it looks like this you saw you saw with in the first example if you remember you had a map which were representing all the environment and another one which was a smaller which was in color which was the local map okay the global Kozma basically what does is it takes the map that you create that you have created and it inflates it yes it takes the map and it adds this inflation which are discolors you can see here in the obstacles yes because why is this done because depending on the size of the robot on the dimensions of the robot on the footprint of the robot you will have to inflate more or less the obstacles yes this is called inflation yes you will see a little bit more on this in the next chapter also okay so you can see here yet the global company excavated from a user-generated starting map as the one who created in the mapping chapter yeah okay and the global Kozma also has its own spur a meters which are define it in a young file here is an example of a parameters file of a global cosmic yeah we have a frame static map to true rolling window to files viewers you can see here that what this means and some plugins okay then basically Koz maps are define it in three different parameter files one for the global cost map another one for the local Cosma and another one which is for both cost maps which define some things for both cos maps which is called the common cost map parameters file okay so parameters for ghost maps I'll basically define it in three young files for instance let's come a second here to the Husky navigation package and as you can see here you have the cosmic common the Cosma global static and the cosmic local okay basically these three are the ones that are being used in the system okay these are for other setups but the ones that are being used by the system are the cosmic blob local the cosmic global static and the cosmic column so as I've said you basically have three parameter three parameter files where you define the cosmic parameters and the cosmic parameters basically are these ones you have the global frame which by default is map you have the static map parameter which is a boolean to a fault which defines whether or not to use a static map to utilize the cosmic you surely for the global Cosmo this will be too true and then the rolling beat the rolling window which basically it's a boolean I which basically says if you want to build them up from the sensor readings okay then in a blow and course map this static map will be true and this rolling window will be to false because as I've said the global course map is built from a static map okay then in the local cosmic when we see it in the next unit this will be a the contrary so the rolling window will be true and the static map will be false okay but for the global course map a static map has to be true and the rolling window has to be false okay and then finally you have these plugins okay which we are going to have a quick look here and basically these is a sequence of plugins a specification Swamper liar it's a specification saying ternary with a type and 90 else okay basically this plug-in says what what layers you want to load into your course map okay you will see what layers are in the in the next chapter also okay but basically for for global cause Maps you will have three layers you will always load three layers which are the static map layer the obstacles layer and the inflation the year okay basically these are the three layers you induce in in in global collapse okay and then finally yeah you have here a small exercise in order to yeah so copy the contents of the cosmic global strategy on file to the husky yeah so here basically you you have to create a new parameter files for the global Cosma in order to be able to tune some of these parameters so here you would create a new file my global parameter young file you will paste the contents of this cosmic global static to home users working birthplace SRC there we are and here now you have the parameters for the global cost pop and now here in this exercise it will ask you to modify some of them and see how they affect to the global cost map okay and yeah I think I will leave it here we have rich at the end of the of this chapter so yeah good luck with all the exercises in this chapter and see you in the next one where we are going to talk about the local the local plans and the local cost maps and some more things so good bye
Up Next

21:41
Degrees of Freedom of Robots Explained | Fundamentals of Robotics
@mecharithm-robotics
20.4K views•2021-01-09

58:25
MathWorks Virtual RoboSub Simulation Environment | Webinar 2026
@RoboNationInc
209 views•2026-03-10
63:11
Outdoor Robot Navigation with GPS Using ROS: Jackal Simulation
@TheConstruct
15.8K views•2018-04-07

25:22
Micromouse: The Fastest Maze-Solving Robots on Earth
@veritasium
23.5M views•2023-05-24
Related Study Plans & Knowledge Roadmaps
Structured learning paths in Robotics
robotics
Building Delta Robots: Kinematics & Pico
01Foundations of Delta Robots & Mechanical Design
02Electronics and Microcontroller Setup with Pi Pico
03Delta Robot Kinematics and Coordinate Math
+ 3 more learning modules
65h6 modules
Explore Roadmap
robotics
Building Ballbots: Dynamics, Kalman & LQR
01Embedded Electronics & Omniwheel Actuation
02Ballbot Kinematics & Rigid Body Dynamics
03IMU Sensors & Kalman Filter State Estimation
+ 2 more learning modules
42h5 modules
Explore Roadmap
robotics
Micromouse: Hardware, PID Control & Flood-Fill
01Electronics & Teensy Microcontroller Basics
02Sensors and Actuators: Motors, Encoders & IR
03Precision Movement: Implementing PID Control
+ 2 more learning modules
35h5 modules
Explore Roadmap
robotics
CDPR: Kinematics, Arduino & Winch Control
01Foundations of Arduino & Basic Electronics
02Stepper Motors and Winch Mechanics
03Kinematics of 2D Cable-Driven Robots
+ 2 more learning modules
28h5 modules
Explore Roadmap