







![[ROS Q&A] 168 - What are the differences between global and local costmap](https://i.ytimg.com/vi_webp/qPNs6pAZGtA/maxresdefault.webp)






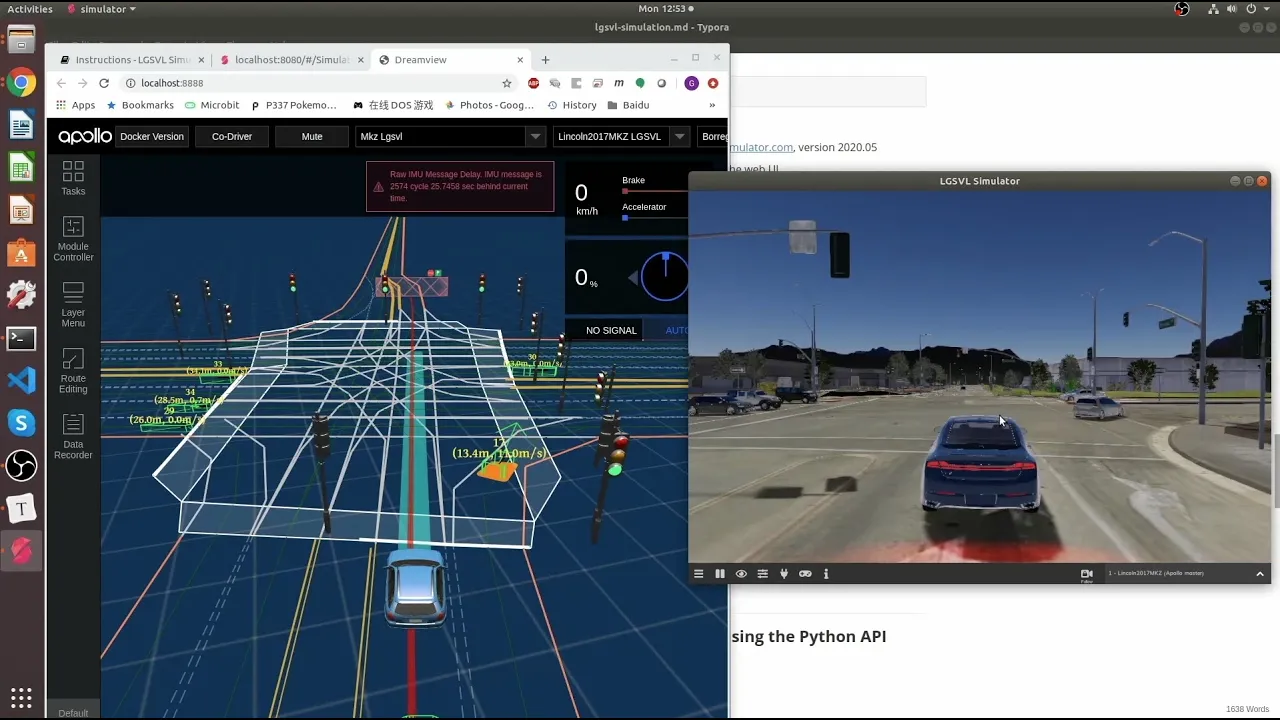

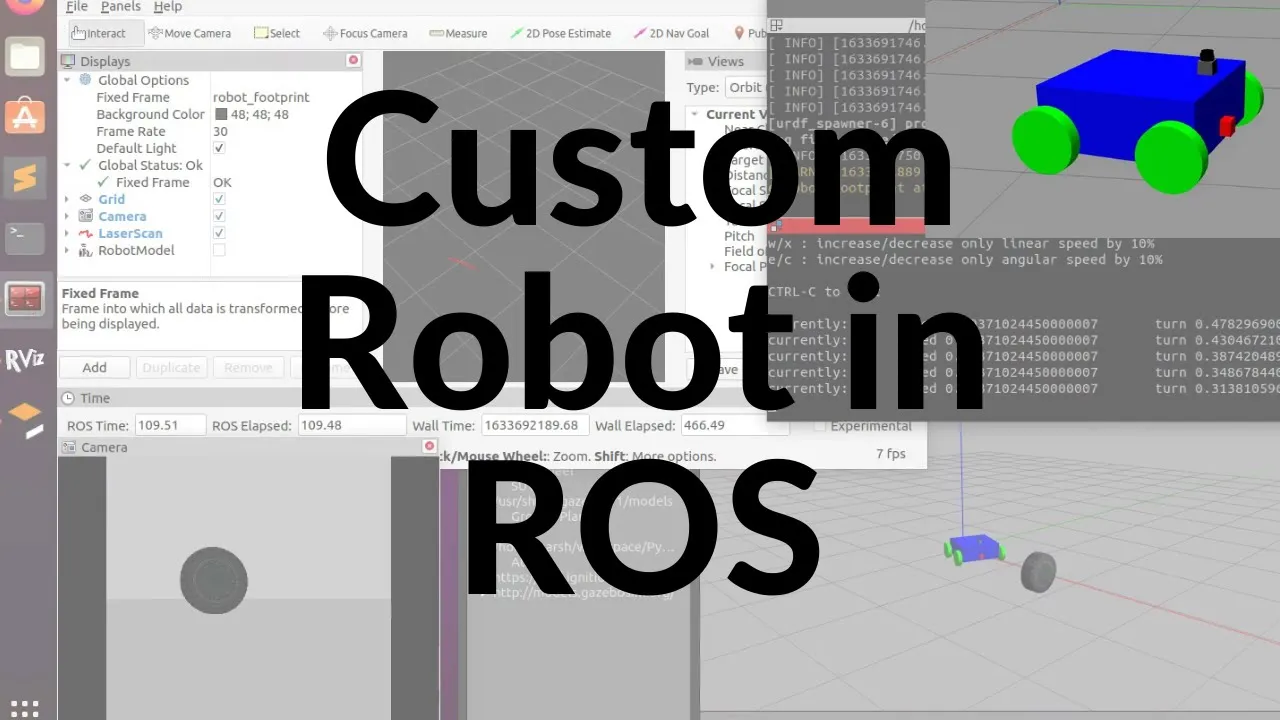





This video demonstrates essential parameters for tuning the ROS Navigation Stack, covering URDF laser range settings (min/max), control package max_velocity, AMCL odom_model_type and laser_z_hit/laser_z_rand, local/global cost map inflation_radius and dimensions, and TEB planner max_vel_x and footprint_model, all demonstrated using the hello_robot package in Gazebo simulation.
ROS Navigation Stack Tuning: Key Parameters for Mobile Robot Performance
Added:Fundamental ROS (Robot Operating System) architecture, including nodes, topics, launch files, and the TF (transform) tree structure.
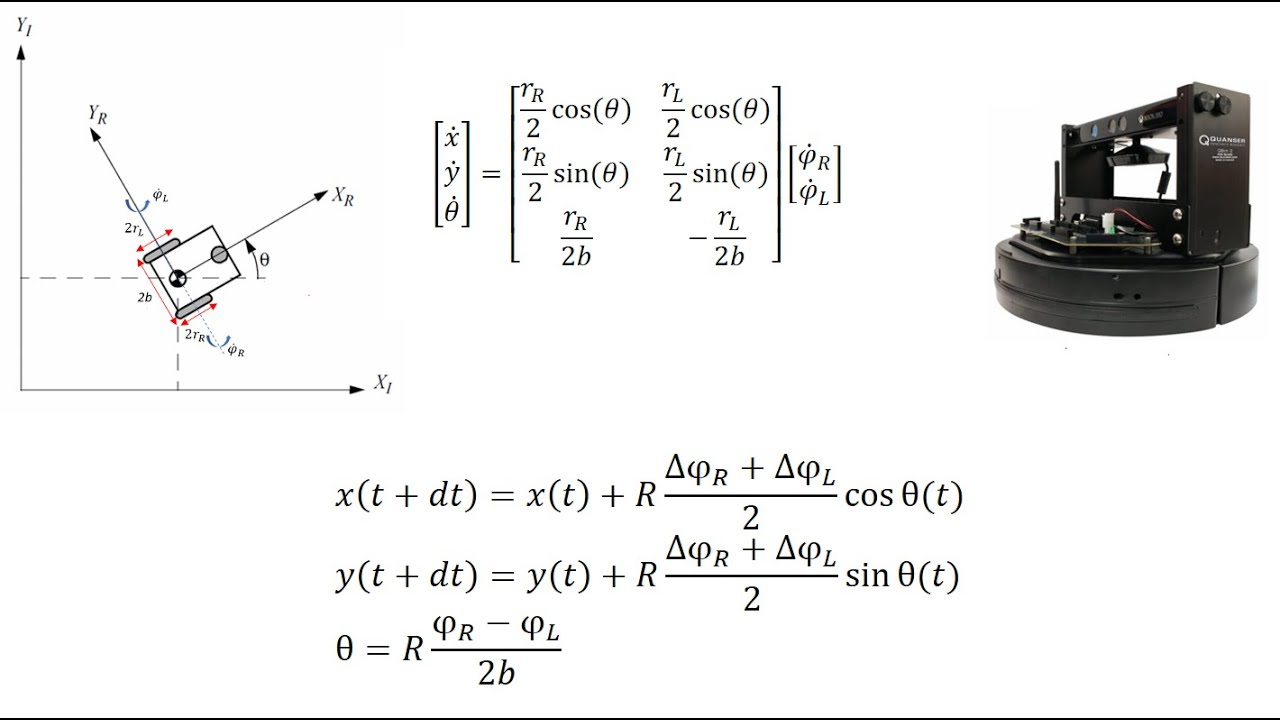
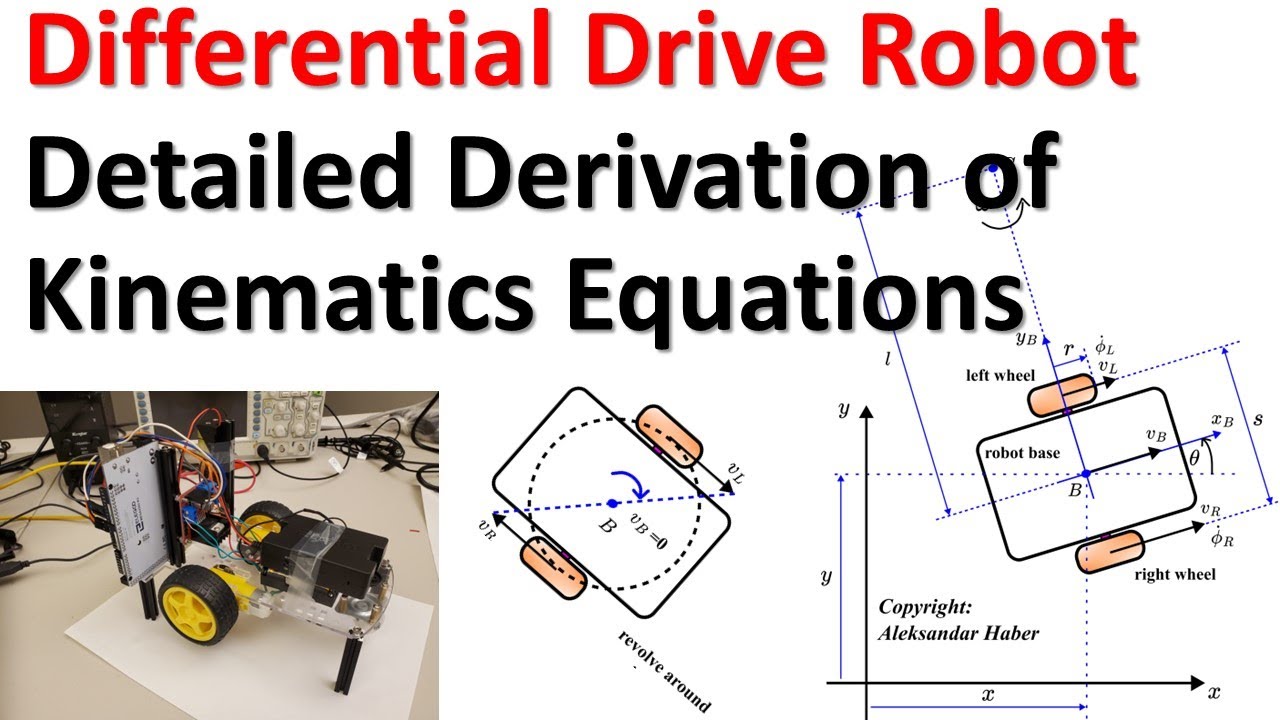
Basic mobile robot kinematics, specifically differential drive constraints, coordinate frames (map, odom, base_link), and odometry estimation.
Conceptual understanding of 2D costmaps, including inflation radius, obstacle layers, and the difference between global and local costmaps.
Theoretical principles of robot localization (AMCL) and path planning (global planning vs. local trajectory rollouts).
Transitioning to ROS 2 Navigation (Nav2), focusing on Behavior Trees and the Controller/Planner server architecture.
Developing custom costmap plugins and integrating specialized sensor inputs (such as 3D LiDAR or depth cameras) for complex environments.
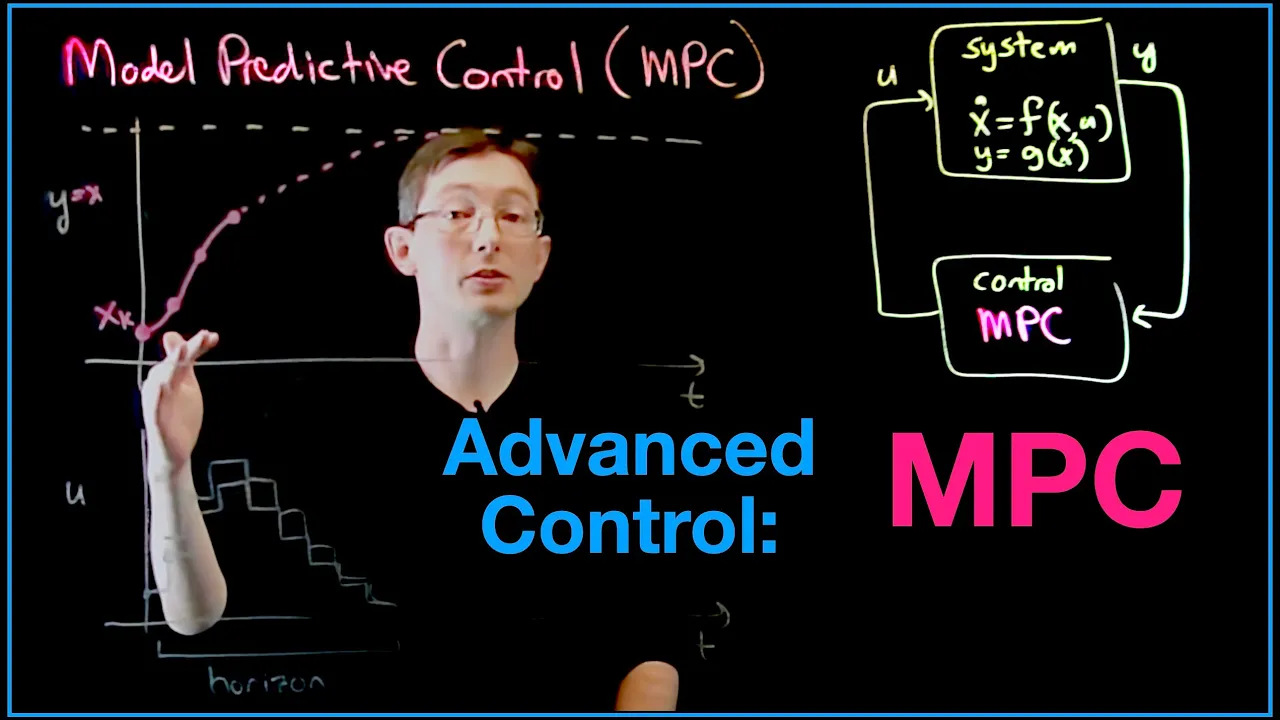
Implementing advanced local planners, such as Model Predictive Control (MPC) or custom TEB (Timed Elastic Band) optimization profiles.
Field testing and physical calibration methods to handle real-world challenges like wheel slippage, sensor noise, and dynamic obstacle avoidance.
4.8K views95likes15:51Original Release: 2021-02-26
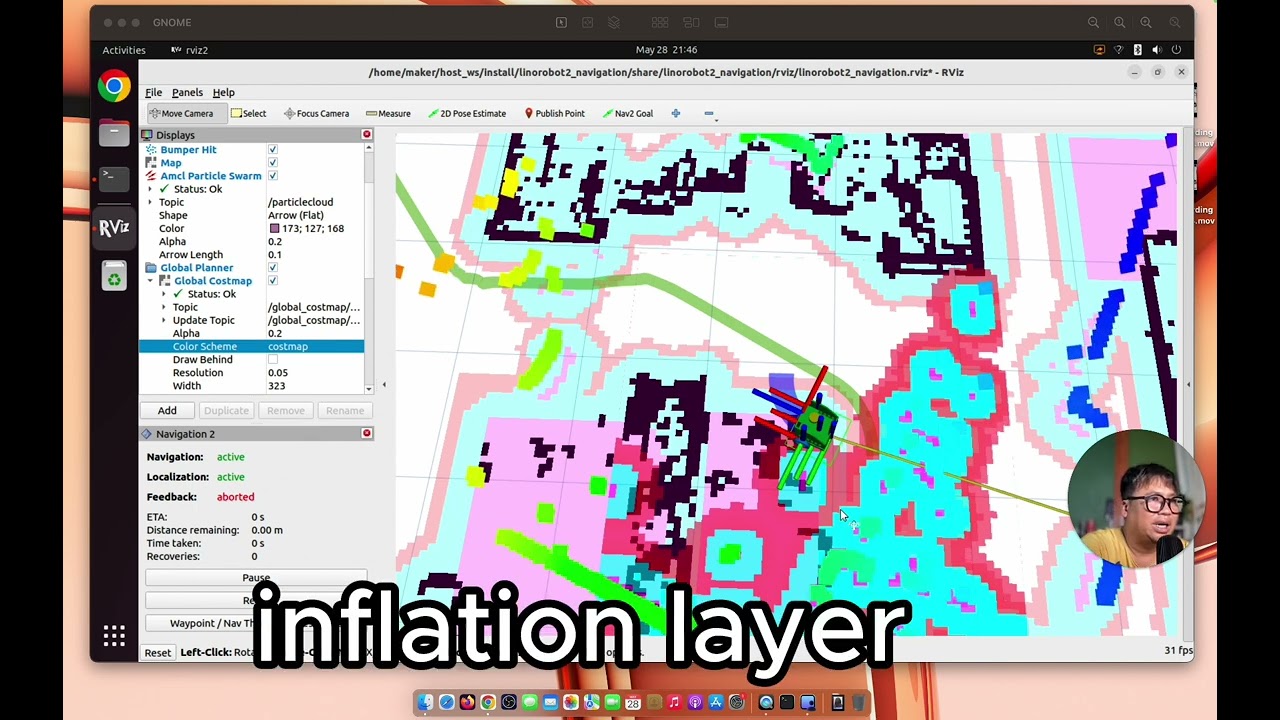
hi everyone i'm going to do a quick overview of how i tuned my robot and some of the parameters because it's a little bit crazy and i really banged my head against the wall trying to figure some of this stuff out so um i'm going to go through uh in in these are two name parameters for the navigation stack and i'm using the teb local planner so um the important areas i'm going to touch the urdf um there's a range i had some trouble with my laser sensor so make a note about that inside of the control package the max velocity and then we're going to look at the amcl we're going to look at the local planner and the global planner and then the temp uh tuning as well too okay so first i'll go to my package and if you scroll so it's hello robot and if you scroll down a little bit you go navigation if anyone wants to try and launch this copy this in one terminal fire this up in the second terminal we're gonna do this one okay so the first one launches gazebo in the model within gazebo and the set one actually launches the navigation stack then i'm also going to load rqt and we're going to look at the dynamic reconfigure i'm going to use that to try and go through some of this okay so first thing let's just check out my description and we're going to check out my urdf i'm running the nvidia graphics card so i ran into some trouble because the gpu laser scanner so if you're if anyone's finding some noise in their laser scanner it could be because one i wasn't able to use this g this used to be gpu laser and the ray rate uh the ray type where did you go type that's the noise ray type let me just do a search type oh here it is type so this was gpu ray and then this was i said gpu here too for that now for my nvidia graphics card wasn't compatible so i went to the cpu version but it was giving me a lot of noise so this range parameter here this is important to check out this was set to 30 the max and this was set to 0.1 i mimicked a setting from turtlebot so 0.12 and 3.5 and everything became much more stable so that's one lesson learned the next thing i'll talk the control so in my control package in my yml for my robot the max velocity is important okay so when you're setting up your robot speeds later on in the navigation package this limits the how fast the robot goes if you want to go faster slower it has an impact on some of your local planning and your accelerations next thing we're going to look at the amcl okay so i'm going to look over here in the amcl launch file uh slam launch oops sorry navigation launch amcl so the amcl if i run my robot around yeah you can see some noise there when that robot sits that's what that noise looked like and watch this so when i zoom in you see some noise here so i may not have it perfected some of the guys were saying i there's some other parameters that make it better and you can see that a false a false object comes in front so let me just restart my simulation and that will go away so there's still stuff to work on this is pretty it's pretty intense when you get into tuning some of this stuff okay restart restart okay so when i launch my robot you see it's pretty close to that pole so it gives me trouble so what i'm going to do i just jog that ahead okay now so the amcl you can see it's what positions the robot it does an adjustment it just is the odometry of the robot and the where it believes it is within the map okay so when i first started driving around i noticed that my amc was not correcting you can see it's pretty well lined up the laser scan is pretty lined up with the map um there's two parameters a few parameters in the mcl that are important okay so the adam model type default was just diff diff corrected is i was recommended and then when you come down to the there's 2z laser z hit and laser z rand so that's a factor basically saying how much do you trust your map it's default set to 0.5 and i saw recommendations to pump it up to one so you trust your map more than anything in my case i do so that was a couple important parameters to help the amcl work a little bit better okay now the next thing the local planner so the local planner if i go back to my arviz you can see here these this is my local planner this there's it's actually a box and if i turn off my cost map there's the local cost map and then the local planner uses the local cost map to find the best path on its way to goal using the global planner now some important things on this the the local cost map if i can find my yeah here we are if you go to your local cost map the width and the height are important okay so if i make this width and height too big so i think i had it set default with something like five what you're going to find is it looks pretty far ahead and if ever you get some laser noise so my laser is set to 3.5 away you're gonna see some objects come into your field of view that are just too far away um it's not too bad right now in the cases where you want to set it to be quite large it's when you have a fast robot right because you want when you get up to speed you want it to be able to look ahead and plan as obstacles come up you can see here that those it's getting cleared now but some of those defects were obstacles were growing yeah see right here so it's not clearing it and that's really because of laser noise and stuff like that so when that's too big it's looking too far ahead and that's going to affect your planning so i put that to a realistic number for in my case it was 2 and that gave a nice crisp outline that matched my robot speed the next thing was the inflation radius and this is both for the local planner global planner so on the global plan this red line the center of your robot never crosses that red line okay in the planning and the same goes here for these the local plan so they say your inflation radius must be bigger than the radius of your robot so that's an important parameter because if you make it too small you're going to end up getting collisions if you make it too big you can see in this plan or in this map if i drive to here i'm going to go in between these two and you see how it it plans itself to just roam between but if i make the inflation radius too big i won't have enough space to get through these areas so this has a lot of impact on the design of your robot when you look at the obstacles that you're planning to that will be in your field so that'll dictate how big you allow your robot to be if you're going through a lot of doors if the robot will need to be half at least half the width of the doors in order to for planners to be optimized and to squeeze through those doors without collision okay for the last one for the tub local planner configuration i'm not gonna use the dynamic reconfigure so i shut down my robot and i'll just show you inside of the ted local planner parameters file so there's a couple of things one this the footprint model it was set to point i changed it to circular and i made it a little bit bigger than this the radius of my robot the thought there is as its plans it gives itself a little bit more space that's the way i understand that parameter i might be off a little bit but it seemed to help taking corners and giving it a little more distance from uh since i had space a little more distance from the local cost map then on the robot so the max velocity so that was if we go back to the urdf that matches the urdf okay now the acceleration limit so if i set this high so let's set it to 0.5 let's watch what happens that's interesting hold on oh i think i have to restart my terminal close terminals there's disable navigation package okay so again i'm just going to move this ahead a bit get it out of there now watch let's see if this does it for me so if i tilt it over there it's going to accelerate and it's going to make a wide turn so depending how quick your robot turns it might have trouble if your acceleration is set too high and you see it swerves into the and it gets close to that the local cross map so you want to tune your acceleration parameters so that you get some nice smooth turning without over over steering see there's a good example there so it just got in there that's not bad actually so if i go back and i shut this down and i put this back to point one so that was one parameter that i found to be important it takes a second to load boost and let's go over here so you can see it does a little tighter turns when you did take care of the acceleration and that that circular radius see how it's giving itself some space when you do a point what it's going to do is calculate the center of your robot and it's going to navigate create a path that's right up close to that the edge of the cost map that's the way it optimizes at least the temp planner so i found this to be um uh give it a little more space so this turtle this is the turtlebot world and i find it a pretty good world to actually see the tuning of a robot because you got these nine poles here when you look at the gazebo you got your nine poles and so there's a lot of scenarios that you actually get to try just driving around this this world so that's it that's the main parameters if i go back here so the important things are udrf so that was for the laser scanner and just if you're getting noise and you saw i'm still getting a little bit of noise i've got work to do there understanding what your max velocity is that's where you change it in your urdf in the control package then your amcl uh the odometer a dom model type the laser z hit laser this was a little explanation about what what was that the laser z hit and then that i found online then in your local local cost map and your global cost map so this is wrong this should be cost map and global cost map the inflection inflation radius the width and height of your local cost map and then your inflation radius of you're global and then your temp planner i've got the maps velocity and we also see the robot what did they call it the robot footprint the footprint model there you go hope that helps thank you very much
Up Next
22:38
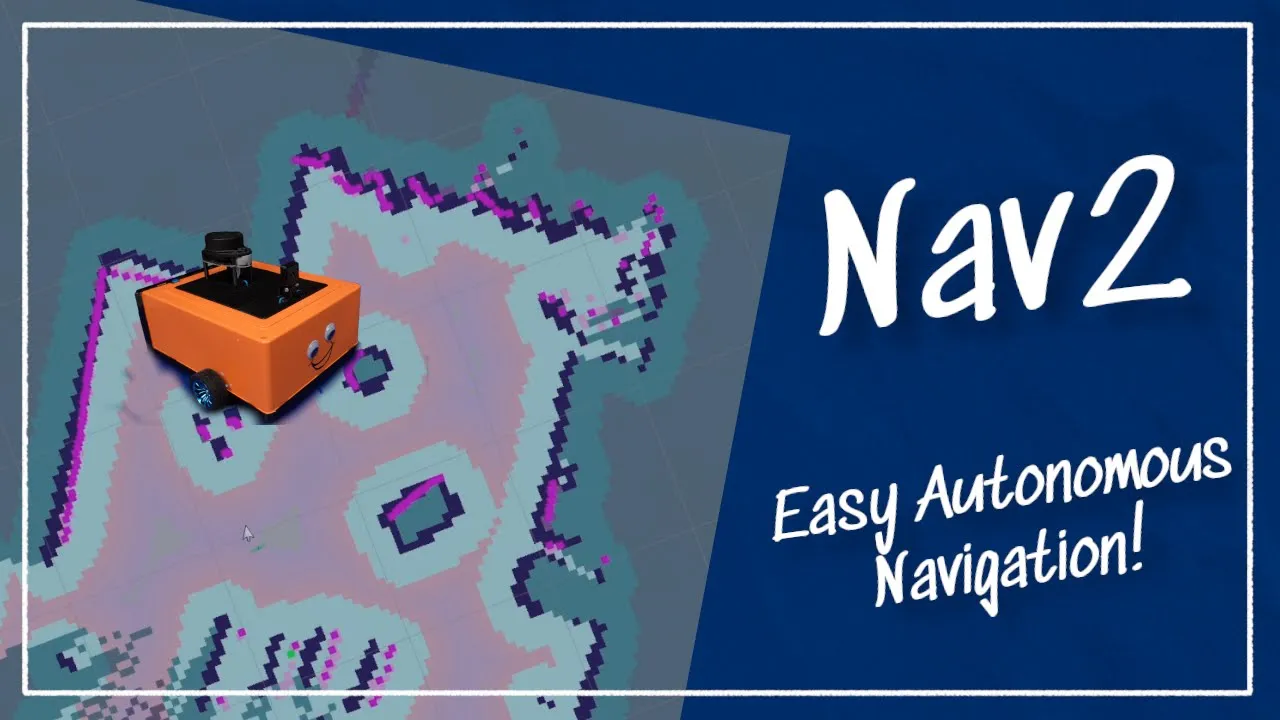
Robot Navigation with Nav2 and ROS: A Complete Guide
@ArticulatedRobotics
173.1K views•2023-01-06

12:54
Triumph of Orthodoxy Icon: Byzantine Art & History Explained
@BenCallan
2.1K views•2024-08-06

9:49
FastAPI vs Flask vs Django: Choosing the Right Python Web Framework
@TechWithTim
302.5K views•2024-05-26

1:42
Game of Thrones Opening Credits: A Cinematic Analysis
@gameofthrones
46.3M views•2011-04-18
Related Study Plans & Knowledge Roadmaps
Structured learning paths in General & Interdisciplinary Studies
general-studies
Elevator Engineering: History, Physics & Cities
01From Hoists to Safety Brakes: The Dawn of Vertical Lift
02Hydraulic vs. Traction: The Engineering Physics of Elevators
03Modern Speed, Safety, and Algorithms
+ 2 more learning modules
12h5 modules
Explore Roadmap
general-studies
Rubber: Material Science, History & Geopolitics
01Origins of Natural Rubber & Mesoamerican History
02The Chemistry of Natural Rubber & Vulcanization
03The Geopolitics of the Rubber Boom & Colonization
+ 2 more learning modules
12h5 modules
Explore Roadmap
general-studies
Containerization: Evolution, Logistics & Trade
01Ancient Trade & Bulk Cargo: Amphorae to Barrels
02The Industrial Revolution & Cardboard Packaging
03The Containerization Revolution: Malcom McLean
+ 2 more learning modules
12h5 modules
Explore Roadmap
general-studies
Textile Tech: Evolution, Labor & Global Impact
01Pre-Industrial Textiles: Handloom & Cottage Industry
02Mechanization: The Spinning Jenny to the Power Loom
03The Factory System & Global Labor Transformation
+ 2 more learning modules
10h5 modules
Explore Roadmap