![Setting Up environment | Webots Simulator | [Tutorial 1]](https://i.ytimg.com/vi/yi4e5FoVWbQ/hqdefault.jpg)



![[ITA] DAFN25 - Robotics lecture 2 - ROS 2: Workflow and basic communication](https://i.ytimg.com/vi/gjp8plyqUXc/sddefault.jpg)


![[KUOCW] 최준곤 전자기학I (180904)](https://i.ytimg.com/vi_webp/HTX6aB65DW4/maxresdefault.webp)


![Lecture 3/10: Towards a Theory of Intelligence [SHAIL 2012]](https://i.ytimg.com/vi/7MUEko8R--Q/maxresdefault.jpg)
![[Week Extra] Introduction to Machine Learning (noc25-cs46)](https://i.ytimg.com/vi/PZaUQvXcZqU/maxresdefault.jpg)



![Coordination of Multi-Agent Robotic Systems [SHAIL 2012]](https://i.ytimg.com/vi/xFPBYt8Yygs/maxresdefault.jpg)


![Pieter Abbeel (UC Berkeley) - DL for Robotics ["DeepLearning in Robotics", RSS 2016]](https://i.ytimg.com/vi/mT7HMTTCI1k/maxresdefault.jpg)
![Different examples in Webots with ROS2 | Webots ROS2 tutorial series | [Tutorial 2]](https://i.ytimg.com/vi/MOEkD8iWchw/sddefault.jpg)
![[ROS2 Q&A] 235 - How to use webots with ROS2](https://i.ytimg.com/vi/ZJ-YlVE3CBw/maxresdefault.jpg)

The Supervisor API in Webots is a powerful tool that allows users to control and manipulate robot nodes programmatically by accessing their fields and properties, enabling advanced functionalities such as tracking one robot's position and dynamically setting another robot's position relative to it without implementing complex physical controllers or wheels.
Webots Supervisor API: Robot Position Tracking and Control
Added:Basic familiarity with the Webots simulation environment, including how to set up worlds, edit nodes, and write standard robot controllers.
Proficiency in programming (such as Python or C++) to effectively interact with robotics APIs and handle class structures.
Fundamental understanding of 3D coordinate systems, spatial transformations, translations, and rotation representations (like quaternions or rotation matrices).
Conceptual awareness of the difference between localized robot-sensor perspective and global simulation-state observation.
Implementing reinforcement learning or evolutionary algorithms by using the Supervisor API to programmatically reset worlds and calculate reward functions.
Developing advanced multi-agent coordination systems, such as flocking behaviors, formation control, and cooperative path planning.
Creating automated benchmarking and regression testing suites to evaluate robotic control algorithms under varied environment parameters.
Integrating Webots with ROS or ROS2 to bridge the Supervisor's high-level orchestrations with standard middleware communication pipelines.
5.1K views62likes12:09Original Release: 2020-09-04
[Music] hi friends we are with a new video on vbots first of all thanks to our subscribers this video is made by the request of some subscribers where they feel that teaching about supervisor will be a great idea so here we are with a great example of tom and jerry initially we look at how it works and then we can go into details of code and resources so let's see the example this is a cool method by which you can have a particular node where you move this object and you see other object follows it so we try to make it interesting where we have tom catching jerry but it will never be able to do so as in real life will learn how to make this today so first of all let's start with the introduction of supervisor as many of you must have worked with different types of node so here if we add a node we have different types of node like robot node shape node in robot node there is a special function which is supervisor so if you turn this to true you can use the functionality of supervisor so now let's first go through why do we need to use supervisor first of all this is a great functionality in a simulated software you see very few softwares which have the functionality of giving your robots superpowers so for example if i want to make this box as my robot and i don't want to invest my time in adding motor adding wheels so that it moves correctly i can just make it as a supervisor and i can use different methods to move this like i can use my joystick and those commands will be converted by supervisor in order to get the motion okay so this sounds difficult but believe me it's not it's a very small code and logically it will all make sense soon so let's go through the applications of what this supervisor can do so basically when you make a new robot you need to tweak these fields in order to get your robot correct so supervisor basically is a master by which we can code and we can change these parameters so for example if by some way i can change the translation i can see the node moving and that's exactly what we'll be doing today now think about the impact of supervisor we can do many things like resetting our simulation to start or stuff where you need human intervention can be automated by a supervisor and being a robotics engineer i feel that there is a very good application of this supervisor node in robotics field for example if you see a robot there are many different chunks which make a complete robot like controls perception planning etc so if there is a engineer who wants to test his perception algorithm and if you don't have this node he'll have to go through pain of making a robot putting it wheels and then he will also need to write a controller so that his wheels move just to test a perception algorithm he'll need to go through all these details rather what he can do is he can make a robot node he can add a camera to it and he can use this for object tracking application where camera will give the next pose of the robot depending on the image tracked and supervisor node can directly be used to track the position also if i have a new planning algorithm and if we are in a multi-robot scenario where we assume that there are no failures in robot so we can have this supervisor and we can make just a box and name it as robot and test the multi-agent simulation or multi-agent algorithm where your two nodes if they collide that means you have a colliding part in your multi-agent scenario so this was all about how we can apply supervisor in different applications so now let's quickly go through the code so now we look into the controller so if i hit on edit i can see my controller window so let's walk through the code and we also have a very good documentation done by vbots where we have all the functionalities in depth so if you want to use supervisor with different application you can go through some of the functions very easy to understand and implement so they also have some examples i will share the link of this page in the description below so now let's go through our code so now let's look controller for this file of tom and jerry if you are new to vbots and you don't know how we write a controller or how we make a world you need to see previous videos we will give you the link to the previous vboard tutorial series so let's start with the code here on higher level we query the position of tom which is master node and we add some offsets in x y and z direction to publish jerry's position so you see here we are publishing jerry's position pos where we are adding x y z with some constants so now this makes sense because when i move tom my tom's position changes and with some offsets my jerry position changes so it it seems like jerry is running away from tom but actually tom is giving the position of jerry this is how you can use your node to control your robot without having wheels so now let's go through the code so first of all we include supervisor.hpp which is already implemented in vbots folder then we define time step to be 32 then we use name spacing of vbots and now the main part of the code so now we make a pointer to supervisor class in our dynamic memory because new is used then we make a pointer by using supervisor class to jerry and talk this uses get from dev function so get from dev function is used when you have a robot node and when you define it with a name there are other methods to get the pointer to another node which does not have depth field so you see here we have def of tom which we used here to get the pointer of this node so we have slave node as jerry and master node as tom similarly now we use jerry's pointer and we use get field translation this means there are different fields in this node j so get field translation means i am taking the value inside this field so my slave translation field will be a pointer to a 3d vector which is 0.12 0.15 and minus 0.33 similarly i query my master's position then i initialize the constant with 0 0 0 this is the while loop which spins forever till your simulation does not stop so now inside while loop what we do is we take the master nodes vector and convert it into array by this pointer will have my value in an array so now i can access it so what we can do is we have this array where we can give x coordinate equal to tom's x coordinate plus 0.5 so it's in 0.5 in front of x similarly y equal to tom's y minus 0.1 and z equal to tom z plus 0.1 so this is how i defined offset to jerry's location so now it's easy once this is done we convert the position array into 3d vector because v bot understands standard messages so now i set my vector to 3d float and we give the position and this is how you can publish the position so we are using the slave translation field and we are setting vector 3 float the position which we just defined this will run forever and you will see tom never catching jerry at the end as we previously defined supervisor in dynamic memory we delete it so that we don't do any memory leak in our controller and finally the sweet statement of return 0. so this was a fun video and a fun project i would like you to try these and make some cool simulations and share it with our community if you like the video do share it and as our subscribers are very active i want you guys to give me more suggestions on what videos will be good for everyone thank you
Up Next
35:11
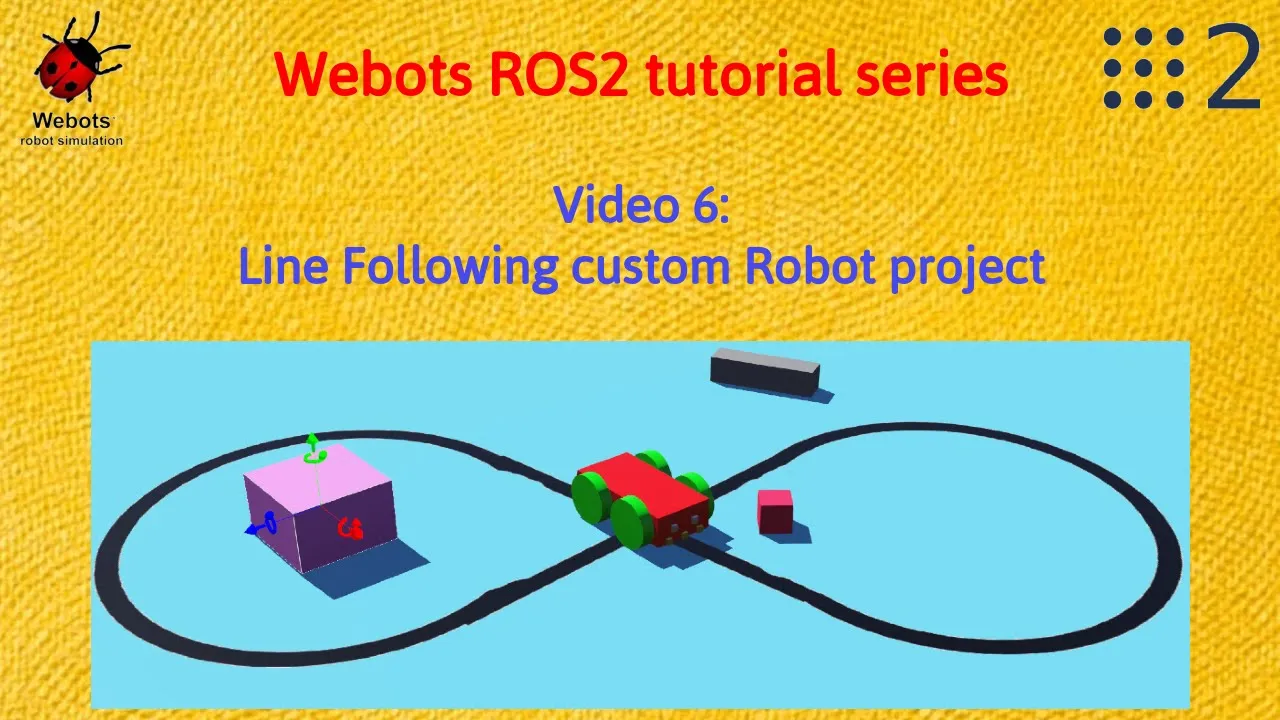
ROS2 Webots Line Following Robot Tutorial: Master-Slave Architecture
@coolrobotics
10K views•2020-11-12

12:54
Triumph of Orthodoxy Icon: Byzantine Art & History Explained
@BenCallan
2.1K views•2024-08-06

9:49
FastAPI vs Flask vs Django: Choosing the Right Python Web Framework
@TechWithTim
302.5K views•2024-05-26

1:42
Game of Thrones Opening Credits: A Cinematic Analysis
@gameofthrones
46.3M views•2011-04-18
Related Study Plans & Knowledge Roadmaps
Structured learning paths in General & Interdisciplinary Studies
general-studies
Elevator Engineering: History, Physics & Cities
01From Hoists to Safety Brakes: The Dawn of Vertical Lift
02Hydraulic vs. Traction: The Engineering Physics of Elevators
03Modern Speed, Safety, and Algorithms
+ 2 more learning modules
12h5 modules
Explore Roadmap
general-studies
Rubber: Material Science, History & Geopolitics
01Origins of Natural Rubber & Mesoamerican History
02The Chemistry of Natural Rubber & Vulcanization
03The Geopolitics of the Rubber Boom & Colonization
+ 2 more learning modules
12h5 modules
Explore Roadmap
general-studies
Containerization: Evolution, Logistics & Trade
01Ancient Trade & Bulk Cargo: Amphorae to Barrels
02The Industrial Revolution & Cardboard Packaging
03The Containerization Revolution: Malcom McLean
+ 2 more learning modules
12h5 modules
Explore Roadmap
general-studies
Textile Tech: Evolution, Labor & Global Impact
01Pre-Industrial Textiles: Handloom & Cottage Industry
02Mechanization: The Spinning Jenny to the Power Loom
03The Factory System & Global Labor Transformation
+ 2 more learning modules
10h5 modules
Explore Roadmap