






![[STM32#11] L293D 모터드라이버를 이용해서 DC모터를 정역제어하고 PWM출력으로 속도제어하는 방법 알아보기!(녹칸다 내맘대로 STM32)](https://i.ytimg.com/vi/XN3tdE8JW1c/maxresdefault.jpg)







![[MATLAB 4] Como trabalhar com a robótica no MATLAB?](https://i.ytimg.com/vi_webp/XX8XUyf0ueU/maxresdefault.webp)


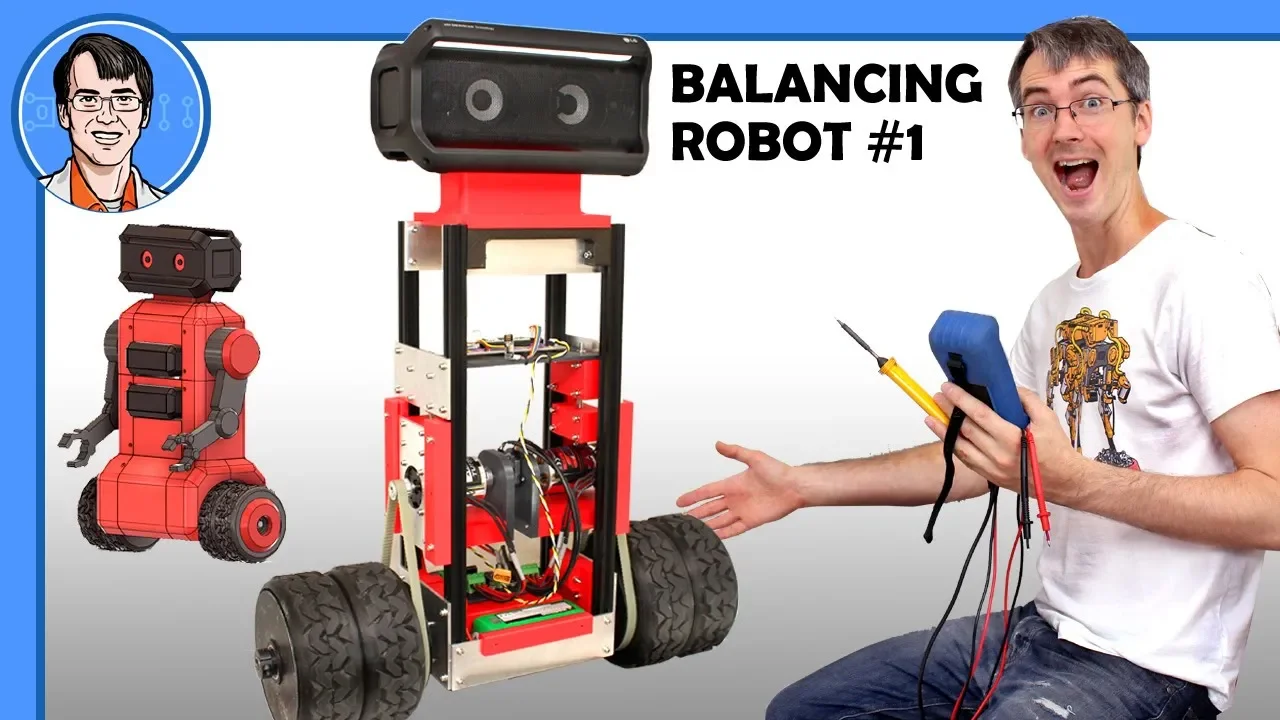
A two-wheel balancing robot achieves stability through a PID controller that uses the MPU 6050 inertial measurement unit to detect tilt angle; the integral term is most critical for maintaining balance as it accumulates error over time to drive the robot toward its target position, while the derivative term prevents overshooting. Replacing rotor ped tracks with standard wheels improves responsiveness and linear response, and implementing position hold with a secondary PID controller allows the robot to maintain its location while driving, making it more controllable and enjoyable to operate.
Rebuilding a Balancing Robot with Position and Velocity Control
Added:Foundations of PID control theory, including the roles of proportional, integral, and derivative gains in feedback loops.
Physics of the inverted pendulum system, specifically understanding unstable equilibrium and torque requirements.
Sensor fusion techniques (such as complementary or Kalman filtering) using IMUs to estimate precise tilt angles.
The fundamentals of rotary encoders and DC motor control for measuring wheel velocity and position feedback.
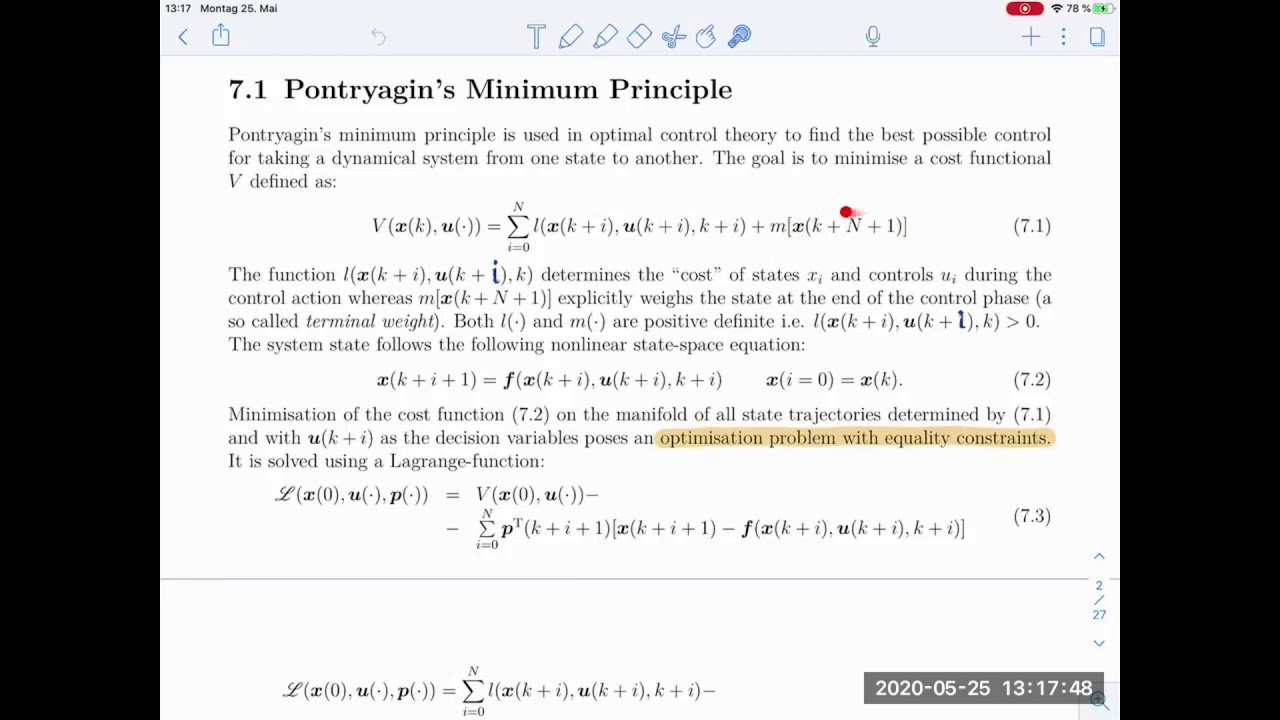
State-space control methods, such as Linear Quadratic Regulator (LQR) and Model Predictive Control (MPC), for superior multi-variable stability.
Autonomous navigation and path planning integrating SLAM (Simultaneous Localization and Mapping) with platforms like ROS.
Reinforcement learning algorithms applied to dynamic robotic locomotion and adaptive obstacle climbing.
Advanced dynamic modeling and physical simulation using tools like MATLAB/Simulink or Gazebo to test robot designs virtually.
171.9K views5.8Klikes14:57Original Release: 2022-04-26
I previously built a balancing robot but it had tracks based on a rotor ped design these types of tracks were used on Old tractors and were a bit like a Caterpillar track but with less segments the drive wheel is a sprocket which fits into the rotor ped track segments at the top and bottom and the tracks themselves are held in place by chains or in my case some bungee cord tied in two triangle shapes the rotor ped tractors had normal front wheels to steer but in my case I tried to make the rotor ped tracks into a two wheel balancing robot the idea was to make a balance in robot which could climb over obstacles this worked okay and it was pretty good at driving over things but I found that making it balance properly was pretty hard because it wasn't as free moving as it would have been with normal wheels and also the sprocket settled into the tracks at certain points which meant that the response wasn't linear so in this video I'm going to rebuild that robot and try out a few experiments I've been meaning to try with balancing robots to make it more stable [Music] just a quick ad from my 3D printing sponsor thanks to lsot for supporting my Channel with 3D [Music] printers and thanks to 3D fuel for the filament for this project and lots of other projects so check out 3D fuel.com so the first thing we need to do is get rid of those sprockets that were running in the rotor ped track and replace those with normal wheels so I've got a 3D printed wheel hub and that fits into a bearing on the outside as it did before so that should slot right in there and on the inside it rides in another bearing with a cap that stops IT falling off and there's also a T5 pulley glued on so that I can power that with a motor and the motors are the ones I normally use which are the Turning G aerod Drive 6374 149 KV motors which are basically massively overpowered so we should have enough torque and enough velocity that fits into a slot so it can slide up and down and that allows me to tension the belts and this is exactly the same as the rotor ped design so with the back and front screwed on we can go and tension those belts up and that's done with a little wedge that fits in the slot that's exactly the right length and that's going to be just stuck in with sticky tape so we can tension those belts up and everything runs fine I printed some TPU ties which are nice and flexible and those fit into a groove on the Wheel to stop them coming off so with those fitted we've got our main drivetrain and we've got two wheels so we can make a two wheel balancing robot I've also put some 2040 Extrusion on the top so we can mount the electronics and so on but that's looking pretty substantial and all of the drivetrain runs really well so we've just bolted that on with some te- nuts into a piece on the top of the chassis and I'm using 8192 CPR encoders on the back of each of the motors and that allows us to position the motors accurately and control the velocity and we're doing that with an O Drive 3.6 56 Vol version we're only going to run it on 24 volts and I've used these in lots of projects before all of my control Electronics sits nicely on top of the chassis with an O Drive In The Box and I'm powering this off a little six cell lipo so we get about 24 5 Vols there's also a TNC 4.1 with an ADR mpu 6050 that's going to tell us the angle and the nrf24 L1 radio chip so we can drive this and I'm going to be using the open dog 3 remote as I do in lots of projects that gives me six axes of control to make it balance I'm going to use a PID controller and there's an Arduino library to make it easier the balancing set point is the angle we want it to balance at and we're using the mpu 6050 inertial measurement unit as the input to tell us the angle the PID controller then gives us an output which we give to the O drive to drive the wheels at the correct velocity the PID controller has three terms proportional derivative and integral proportional will make the wheels go faster as the angle increases but this isn't sufficient on its own to balance integral is the most important term for balancing robots and I've previously featured a video from Jack Monaco in which he builds a mechanical integrator and explains what integration is ultimately the integral term is the area under the graph the output will therefore continue to increase even if the output is constant because time is progressing and so the area gets bigger so the integral term makes the robot accelerate towards its Target as the integrator tries to fix the error between input and set point over time this can also cause overshoot though so we need some derivative gain and that is the tangent of the curve of the graph so this tries to fix short-term errors and makes the output respond more sharply tuning all three is a bit like focusing a camera with three lenses but what you'll find is that you need quite a high integral gain and a very low derivative gain and the proportional gain somewhere in the middle and that gives us a fairly reasonable balancing robot I'm just driving this by offsetting the set point with the controller so it tries to balance off center and the only way it can do that is by driving to catch itself to steer I'm just making one wheel go faster than the other it balances pretty much like a segue or a hoverboard so if I push it in One Direction it will go in that direction ction but then it will just keep balancing so it doesn't have any idea what position it's at and it won't try and return to the position or do any type of position hold and a position hold algorithm is something I've been meaning to try for a while the O Drive supports being able to reback the position of the encoders which are driving the motors and the wheels so I'm taking the average between the two wheels to work out what the actual position of the robot is I'm then working out the difference between where the robot is and where it should be and at the moment I've set it to a position of Z zero if there's an error which there is when I push it away cuz the wheels turn I'm then using a proportion of that error to alter the set point it balances that to make it drive back the other way and the result of this is a rather clumsy position hold algorithm so we can see it oscillates quite a lot to fix this though we can use another PID controller or more accurately a PD controller cuz we don't really need the integral term so I've implemented another P ID controller which uses a set point of zero the input from the actual wheel position and the output goes and modifies the set point from the first PID controller that makes it balance and now there's very little overshoes and everything looks good I can also Drive the robot around by incrementing the position I want it to position hold at and I'm doing that by adding the control stick data to a variable on each cycle of the code loop so the variable gets bigger and bigger or smaller and smaller incrementally and that means that we're basically matching the position we want it to be at with the position it's at and if it's not there the second P ID controller causes it to lean to steer in that direction and that makes it quite drivable and pretty good it's quite a lot of fun to drive now and it's pretty easy to drive as well because of the position hold now it doesn't run away with itself if it's moving in One Direction it doesn't keep going it tends to hold that position pretty well so I can drive pretty accurately drive around in circles and Bs and Fords and that looks pretty good to me one thing I thought I'd try was making the robot really tall with a much heavier battery at the top because bigger things basically with more mass fall over more slowly and that makes them easier to control so this is without position hold and you can see that's pretty stable it's almost as good as a segue which of course is quite a big machine and generally has a person on top so I'm pretty happy with the tuning there and the general balancing there's a tiny oscillation but you pretty much wouldn't know that it was actually a balancing robot if you left it still here it is with the position hold on and we can see we do get a bit of an oscillation it does overshoot a bit but once it's standing still it's not too bad and it won't wander away by itself so I'm pretty happy of how that's turned out I can drive it in exactly the same fashion by incrementing the position I wanted to position hold at and driving it round now being top heavy front to back is pretty good because that makes it more stable but you can see there's a slight wobble side to side so I have to be a bit careful what I'm doing here and the extra mass tends to carry it on a bit when you don't want it to and then it tries to position hold and the bigger they are the harder they fall which is really an issue if it tips sideways if it tips onto one wheel then it loses it completely so I decided to make it shorter again but make these extra Wheels which are Super squashy and have these kind of flappy pieces on so that'll help settle and that will damp the motion and that should make it easier to control so they're quite soft a bit like driving on a big spongy rug or some carpet so I've retuned the position hold and the general balancing for the new wheels and now we can see that it barely overshoots and it's pretty good at holding its position if I push it one way you can see it leaning back towards me and then driving to the position and holding it pretty well I'm pretty sure I could tune this all up to be much more aggressive with a much higher velocity but I'm pretty happy of how well that's working and driving is a pretty enjoyable task now because we've got not only the carpet is driving on but its own carpet spongy wheels so now we can drive pretty well and it's a lot of fun to drive and we can shoot all around and it's pretty stable and it holds its position when I stop so it doesn't go running off with itself so that works okay but actually reading back those positions from the encoders from the wheels actually takes a non-trivial amount of time that's cuz I have to send a Serial command to the O Drive requesting the position estimates and then another serial command basically to read it back again and that takes quite a bit of time which means I can't run the balance loop as quick as I want to so now instead of doing a position hold I'm going to do basically a velocity hold and I'm going to do that by looking at the actual velocity I'm traveling at by looking at the output from the P controller which I can do on the Tec where all the code is running without reading anything back from the O drive I'm then going to compare that with the stick data so basically if I push it faster it should be going faster so I can compare the velocity I want it to go out the velocity is going out and then use that to bias the balancing set point to make it Drive in the right direction I'm actually accumulating that value as well on every code loop and that means it results in an almost position hold even though it doesn't know what position it's supposed to be balancing at so that looks pretty good I can also drive it and when I do drive it it's much more aggressive than it was as well that's cuz if I push the stick forward sharply and it doesn't achieve the velocity that I want it to achieve then the extra controller adds some more velocity to it and makes it lean over anymore I mean those values are constrained so it doesn't just tip right over to 45° or tip over but it makes it much more aggressive and it starts and stops much quicker than it did before so now it's really really fun to drive so now I can really throw it around and I can make really tight turns I do have to be quite careful though cuz being faster it's actually quite hard to control sometimes especially in an enclos space but on the whole it's a pretty good drive and I'm pretty happy with the results that I've got here I'm pretty happy with that but what we wanted was a robot that could drive over some obstacles so let's try a little ramp and see how stable it is if we drive over there so it looks pretty good initially it seems to handle coming off the ground and going back down or one or the other wheel coming down first so that looks pretty good to me let's try some more obstacles and see what happens so I'm just going to drive backwards and forwards over all these pieces of wood we've got some little jumps and we've got some little ramps and that looks pretty good to me we seem to be able to jump over and it doesn't go crazy or anything like that when one wheel comes off the ground I guess those extra Wheels with the extra Flappy bits on are helping to grip which is quite good and this is done better than my Omni tank which you should check out which couldn't even drive over one piece of plywood so I'm pretty happy that this is working and it's a two wheel balancing robot it's definitely more controllable than when I had the rotor ped tracks on which I showed at the beginning of the video so I'm pretty happy with that so it looks like the key is this observation controller which is almost a bit of an autopilot looking at what it should be doing looking at what it is doing and then automatically compensating to sort of make it automatically do the thing that you want it to do so I'm pretty happy of how that's worked out and either that can be position control or it could be velocity control the advantage of the Velocity controller is I don't have to read and write any data about the wheel en Cod is I can just look at the output of my own P ID controller so I'm going to publish all the can and code for this if you want to try and build one or you just want to see how it works and that's on GitHub so if you'd like to support me through patreon or YouTube channel membership then those links are in the description below and YouTube channel members and patrons can get access to all the videos up to a week early and sneak peeks and pictures of what's coming up all right that's all for now [Music] o [Music]
Up Next
14:33
Two-Wheel Balancing Robot with LG XBOOM Go: Build Tutorial
@jamesbruton
100.8K views•2019-07-09

58:25
MathWorks Virtual RoboSub Simulation Environment | Webinar 2026
@RoboNationInc
209 views•2026-03-10

13:24
Designing a Ball Balancing Robot: HAL 9000 Build, Mechanics, and Control Systems
@jamesbruton
194.7K views•2020-06-16

25:22
Micromouse: The Fastest Maze-Solving Robots on Earth
@veritasium
23.5M views•2023-05-24
Related Study Plans & Knowledge Roadmaps
Structured learning paths in Robotics
robotics
Building Delta Robots: Kinematics & Pico
01Foundations of Delta Robots & Mechanical Design
02Electronics and Microcontroller Setup with Pi Pico
03Delta Robot Kinematics and Coordinate Math
+ 3 more learning modules
65h6 modules
Explore Roadmap
robotics
Building Ballbots: Dynamics, Kalman & LQR
01Embedded Electronics & Omniwheel Actuation
02Ballbot Kinematics & Rigid Body Dynamics
03IMU Sensors & Kalman Filter State Estimation
+ 2 more learning modules
42h5 modules
Explore Roadmap
robotics
Micromouse: Hardware, PID Control & Flood-Fill
01Electronics & Teensy Microcontroller Basics
02Sensors and Actuators: Motors, Encoders & IR
03Precision Movement: Implementing PID Control
+ 2 more learning modules
35h5 modules
Explore Roadmap
robotics
CDPR: Kinematics, Arduino & Winch Control
01Foundations of Arduino & Basic Electronics
02Stepper Motors and Winch Mechanics
03Kinematics of 2D Cable-Driven Robots
+ 2 more learning modules
28h5 modules
Explore Roadmap