


![Płytka stykowa - jak zmontować na niej układ elektroniczny? [+budowa, +zalety/wady]](https://i.ytimg.com/vi_webp/4rQQxm6Q_GU/maxresdefault.webp)











This video demonstrates building a robot that cooks perfect boiled eggs using Arduino-based temperature monitoring with a DS18B20 sensor, maintaining water temperature between 93-97°C to prevent boiling over, and using a state machine to automate the entire cooking process including lowering the egg, timing the 6-minute cook, and removing the egg.
Designing an Automated Robot for Precision Boiled Egg Cooking
Added:Basic Arduino programming and familiarity with the Arduino IDE (C/C++ syntax).
Fundamental electronics concepts, including breadboarding, circuit logic, and interfacing sensors (e.g., temperature probes).
Understanding of servo and stepper motor control principles for physical actuation and robotic movement.
Basic concepts of thermal dynamics, specifically heat transfer and precise temperature monitoring.
Implementation of PID (Proportional-Integral-Derivative) control loops for highly precise liquid temperature regulation.
Integration of computer vision (e.g., using OpenCV) to allow the robotic arm to detect, locate, and assess egg size and position.
Transitioning from microcontroller-level hobbyist electronics to industrial PLC (Programmable Logic Controller) systems for food automation.
IoT (Internet of Things) integration to enable remote monitoring, telemetry logging, and mobile control of the cooking apparatus.
65.1K views2.5Klikes13:07Original Release: 2019-01-15
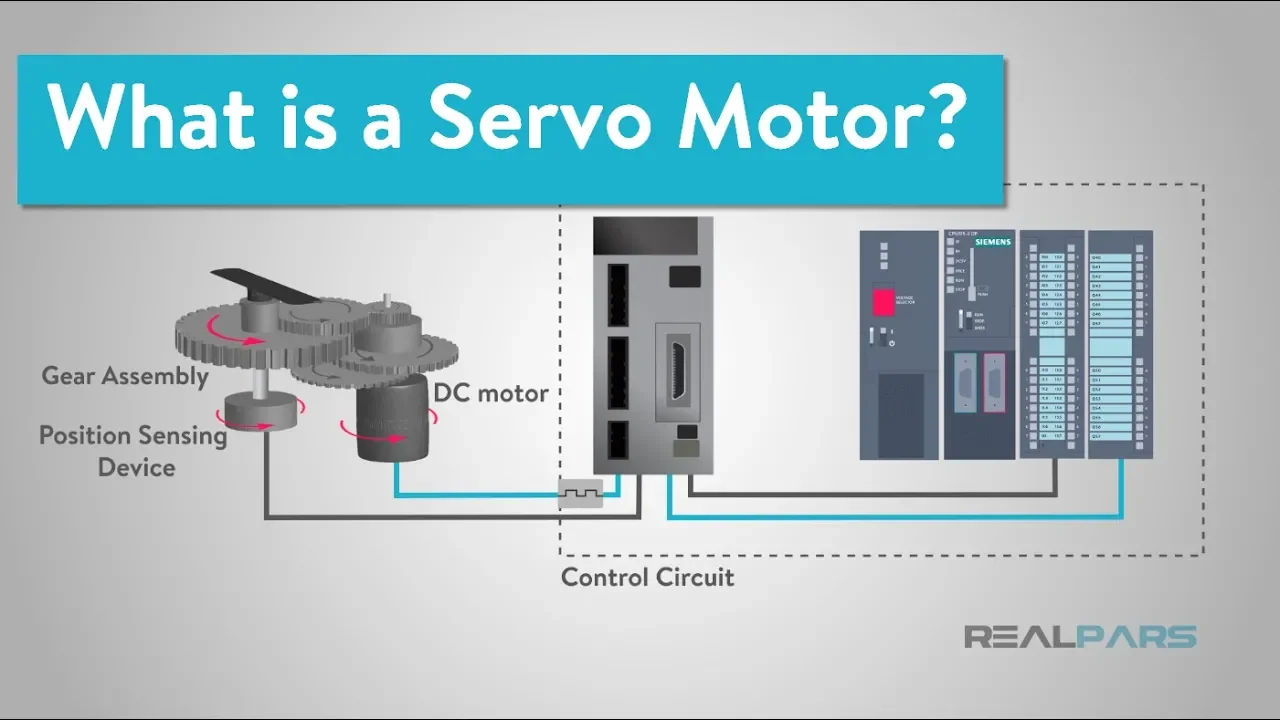
I love making breakfast and making robots so today I'm going to make a breakfast making robot we're going to start with making the perfect boiled egg and if you like that we'll do some other breakfast ingredients in the future but first of all what's happened to open dog the answer to that is nothing it's right here it's exactly the same as it was at the end of the last episode cuz I was quite busy building Bumblebee the life-size real transformer at the end of last year and I haven't done anything there's quite a few parts on order though and I'm waiting for some firmware improvements on the o drive as well as replacing all the arduinos with Teensy and lots of other metal upgrades I've got a little lathe now to make some upgraded parts so the work's going to be going on in the background and then there'll be an episode on open dog when I've got something substantial to show we're in the kitchen cuz that's where you make breakfast but what do we need to make the perfect boiled egg that's right we need the perfect hot water now unfortunately the hob in my kitchen's rather nice but it's one of these touch control ones which is really annoying and it's going to be very hard to control the temperature with the machine so instead I'm going to use one of these so this is a pretty cheap little single hot plate you can buy for not very much money it's 1500 watts and it's got a knob on that we can just turn that and turn up the temperature and turn it down again and that means I can interface to it easily by turning this knob with a Servo I'm not going to do it in this episode but I'm going to do it in the future and that makes it much easier to control the temperature of the water So the plan is of course to boil water on this hob and then we're going to lower in the egg I think in this Sie so that we can boil it and we're going to build a robot arm that takes it in and out and also controls the water temperature so first of all we need to work out how we're going to measure the temperature of boiling water and regulate the temperature to stop the pan boiling [Music] over so to measure the water temperature we're going to use an Arduino Uno and a ds18 B20 temperature module this one is waterproof and claims it does up to 108° not sure if the cable will melt uh but we can test that out and the code for this is pretty simple you can find out all about it on the Arduino website it's a pretty simple sketch it uses the Dallas onewire library and then it will just give you the temperature in a Serial monitor so I've got my laptop right here plugged into the Arduino and if we open a Serial monitor it should initialize and we can see that we've got a temperature of about 15 or 16° which seems about right it's pretty cold in here and of course the surfaces are cold so let's dump that in the water and see if the temperature goes up and see if it melts yep that Pan's getting hot with somewhere between 50 and 60° already yep looking pretty good I've just attached the cable to the handle here with a piece of Velcro so the sensor just suspended there in the water hopefully this uh PVC cable won't melt but um yeah seems to be monitoring the temperature okay and of course in centigrade water boils at 100 and freezes at zero so we need to keep an eye on the temperature make sure it doesn't go over about 95 and the pan will never boil over hopefully yep we're getting there for now I'm just going to turn the knob by hand to try and keep the temperature somewhere between 90 and 100 so the pan doesn't boil over but it's important to say if we did automate that with a Servo it's important we do have a threshold so we're not just sitting on one degree constantly turning on and off really quickly cuz then we basically cause power surges and all sorts of nasty things so we should probably regulate the temperature somewhere between 93 and 97 turn the water on and off accordingly as we get to those thresholds right we're at 96 and 1 12° so let's see what that looks like so it looks like lots of steam and some bubbles on the surface of the pan so it's definitely hot enough to cook an egg in boiling water and we're only at 97° now so as soon as we exceed 100 it'll all boil over and that'll be terrible so for now I'm just going to turn the knob and try and maintain it which seems pretty easy to do so I'm pretty sure I could do that by having a serbo to turn it Yep looks like my sensor's okay as well the cable's gone a bit floppy but it's still in one piece and happily sitting there in the pan so looking at a pan of almost boiling water isn't that much fun so now let's make the robot arm that can turn the thing like that and put it up and down and then tip it out when it's done [Music] [Music] so we've got loads of 3D printed Parts we've got this base which is sitting on a lazy Susan turntable so the whole thing can rotate round and on there's a slider on some lovely V wheels goes up and down like that and on that we're going to mount the Sie but we're going to have it with a rotating piece so it can also tip the egg out when it's done so to make that slider work we're going to use the encoder driven linear actuator project that I did in a video a while ago so check out the channel for that where you can get all the cad and all the code and so on so this motor's got an encoder on the back and we've got an Arduino and a motor driver here which will allow reading of that encoder and positioning the slider so I fitted my motor to the top there and we've got a coupler and some bearings for the lead screw and then we've our sliding thing on V Wheels we' mounted the Arduino and the motor driver I've made a difference to the code from last time though originally we typed the numbers into the serial terminal where we wanted to position the actuator and now I've hardcoded it so I've got two pins and if I ground them it should go up and down so let's just go and ground that pin we should find it moves down a bit and we can hardcode that position to get the pan in the right place and the other one should bring it up again so what we're going to have is an Arduino that handles the positioning of this it's using interrupts on the encoder so that's going to be separate and then we're going to have a master Arduino that drives everything else it's also going to drive servos of course which also use interrupt which is why I've separated out this interrupt handling from the main Arduino that's also going to run an LCD display and do the button handling and that looks like this which is an Arduino Mega in a lovely little case and we'll look around the front in a minute so I've got some power distribution and things like that we've actually got the main power coming in from a big lipo that's going to power that motor on the robot arm there's another little power supply that's going to go off to power some servos on the robot arm and we've got a 5vt regulator in here that powers the Arduino from the battery and of course we'll power the other Arduino Uno as well so let's have a look around the front so we've got a little display around the front which is one of these ones with an i squar c backpack and I'm going to put all of the code links in the description of this video so you can check out how it works we've got the temperature sensor here and you'll notice I've actually got the readout now instead of the serial terminal on the Arduino IDE I'm actually putting it on this LCD and we've got some buttons and other functionality so now it says press yellow to start if we press the yellow button it's going to wait for the water temperature to arrive to 90 I can put my hand on this sensor we can warm it up and see the temperature going up but I'm not going to get to 90° so for testing for now we just press the red button and then it says the water's at temperature it's going to obviously move the egg in using the robot arm which takes a few seconds and then it will count down 6 minutes the moment it only does 6 seconds for testing but we'll um increase that then it says the eggs are ready and of course it will move the egg out on the robot arm and then it says press red for reset and if we press red it goes back to the beginning again there's two spare buttons for other functionality perhaps when we actually regulate the temperature of the water using a Servo or turn the hob on and off so the main part of this code is a state machine and we've got an integer called state which starts at zero and counts up 1 2 3 and so on as we go through the different stages of the automation obviously we're checking other conditions as well so here we're checking if the yellow button has been pressed and that's input pullup which means it's a zero when you press the button here we're checking the red button and of of course we'll change that for the temperature getting up to 90° so I've got some delays here at the moment so we can move the robot arm that I still need to put in there but essentially once the conditions are met it displays something on the LCD and then increments the state and it moves on to the next one for the timers we've bookmarked the time so to make this variable the same time as the system time which is Millies which is the system time of the Arduino since it booted and we're going to add 6,000 to that eventually we'll add 360,000 milliseconds which is 6 minutes which is the perfect time to boil an egg but for now it's just on 6 seconds for testing and then basically um we look at the difference in time between the time we've set and the actual time and display that on the screen and also when we get to the end when the time leftt is zero we can increment to the next state and so it continues and I'll put a link to this code in the [Music] description so that goes up and down and operates to get the egg in the pan this thing also rotates and now there's a Servo here which can tip the egg out into a choot so it can serve it on your plate once it's done so just got to put the other motor in and get those wired up and make them part of the state machine right I fitted the additional motor for that turntable everything's wide up but before we can test if we can make the perfect boiled eggs I need to tell you about the sponsor for this video and this video sponsor on by skillshare which is an online learning community with over 25,000 classes in all sorts of stuff in design business and even electronics skill share is pretty reasonably priced it's only $10 a month on an annual plan for unlimited access so you can fuel your creativity and your desire to learn in 2019 perhaps fulfill your 2019 resolutions and even improve your career there's loads of stuff on there you can have a look at Arduino coding even robotics mechanics 3D printing all sorts of stuff that I do and plenty of other stuff as well so join more than 7 million creators who are learning on skillshare if you use the link in the description to this video to sign up the first 500 of my subscribers who use that link will get unlimited access on a two-month free trial so don't forget to check that out and you better do it soon perhaps you want to make your own breakfast making machine like I have but now let's check out if we can make the perfect boiled eggs right it's time to start the machine so first of all we need to put an egg in eventually there'll be a robot arm or a shoot that puts eggs in and then we just need to press start on here the first thing it does is wait for the water so I better turn the hob on there we go eventually it of course have a motor that turns it on there is a thermostat on this hob so actually it probably could maintain the temperature by itself so it might be quite easy to control the temperature for the moment I'm just going to do it manually to keep an eye on it so wait for the water to get up to temperature right our water temperature is almost there it's 85° and the arm will move in when we exceed 90° so we'll just keep an eye on that and we should find and when we get there it puts the egg in the water yeah my water's starting to Bubble so we're almost there here we go nearly there 90° yeah there it goes and the eggs almost submerged well it looks like it's cooking so I just need to keep an eye on this and check it doesn't boil over as I said the Hobs actually got a thermostat so it might be possible just to turn the knob down an arbitrary amount with a Servo and just keep it it own thermostat but for now I'm going to do it manually and you can see the countdown time has started for 360,000 milliseconds which is exactly 6 minutes which is the perfect time it takes to boil an egg yep I've just turned this knob down a bit to about 5 out of 10 you can see the little red light comes on just there so if I set it a bit lower it keeps a thermostat and it doesn't boil over and I think my Pan's at about 98° according to the thermostat right we're about halfway through we've got about 150,000 milliseconds on the timer and the Egg hasn't boiled over just turning the knob down so that looks pretty good so we just need to wait for the time to expire and then it will take the egg out and then we should have the perfect boiled egg s 6 5 4 3 2 1 eggs are ready thank you and I'm able to catch it and not let It smash on the counter even though it's hardboiled it should be fine but is it the perfect hardboiled egg there's only one way to find out without breaking the plate it sort of is it's a a bit squishy still depends if you like your yolks runny could do for a few more minutes but of course we can just adjust the timer and also we can glue this plate back together all right so that went pretty well let me know in the comments in this video if you want to see me make some more breakfast making machine components what's next perhaps bacon definitely toast and maybe tea but put that in the comments if you eat something special for breakfast and you want me to make a machine that cooks it for you thanks again to skillshare for sponsoring this video don't forget the first 500 of my subscribers who sign up using the link in the description ion get a two- Monon free trial all right that's all for now [Music] [Music]
Up Next
16:27
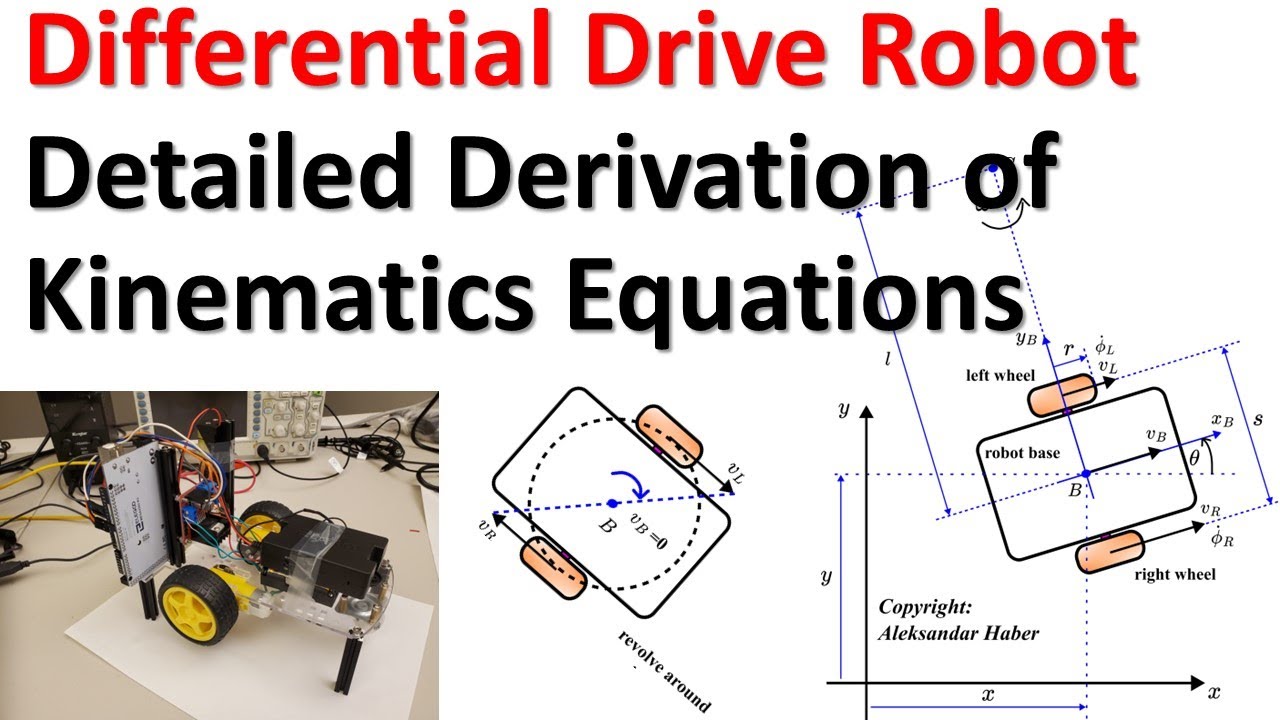
Deriving Differential Drive Robot Kinematics: Equations Explained
@aleksandarhaber
22.7K views•2023-10-28

58:25
MathWorks Virtual RoboSub Simulation Environment | Webinar 2026
@RoboNationInc
209 views•2026-03-10

13:24
Designing a Ball Balancing Robot: HAL 9000 Build, Mechanics, and Control Systems
@jamesbruton
194.7K views•2020-06-16

25:22
Micromouse: The Fastest Maze-Solving Robots on Earth
@veritasium
23.5M views•2023-05-24
Related Study Plans & Knowledge Roadmaps
Structured learning paths in Robotics
robotics
Building Delta Robots: Kinematics & Pico
01Foundations of Delta Robots & Mechanical Design
02Electronics and Microcontroller Setup with Pi Pico
03Delta Robot Kinematics and Coordinate Math
+ 3 more learning modules
65h6 modules
Explore Roadmap
robotics
Building Ballbots: Dynamics, Kalman & LQR
01Embedded Electronics & Omniwheel Actuation
02Ballbot Kinematics & Rigid Body Dynamics
03IMU Sensors & Kalman Filter State Estimation
+ 2 more learning modules
42h5 modules
Explore Roadmap
robotics
Micromouse: Hardware, PID Control & Flood-Fill
01Electronics & Teensy Microcontroller Basics
02Sensors and Actuators: Motors, Encoders & IR
03Precision Movement: Implementing PID Control
+ 2 more learning modules
35h5 modules
Explore Roadmap
robotics
CDPR: Kinematics, Arduino & Winch Control
01Foundations of Arduino & Basic Electronics
02Stepper Motors and Winch Mechanics
03Kinematics of 2D Cable-Driven Robots
+ 2 more learning modules
28h5 modules
Explore Roadmap