




















This video teaches how to create a basic keyboard driver for x86 architecture by implementing interrupts, including setting up the Interrupt Descriptor Table (IDT) with 256 entries, programming the Programmable Interrupt Controller (PIC) with initialization control words (ICWs), accessing I/O memory using IN/OUT assembly instructions, and handling keyboard interrupts to map scancodes to characters.
Building a Keyboard Driver with x86 Interrupts and IDT | OS Development Tutorial
Added:Fundamental understanding of x86 assembly language and CPU registers (e.g., EAX, ESP, EFLAGS).
Basic concepts of operating system architecture, specifically the distinction between Real Mode and Protected Mode in x86.
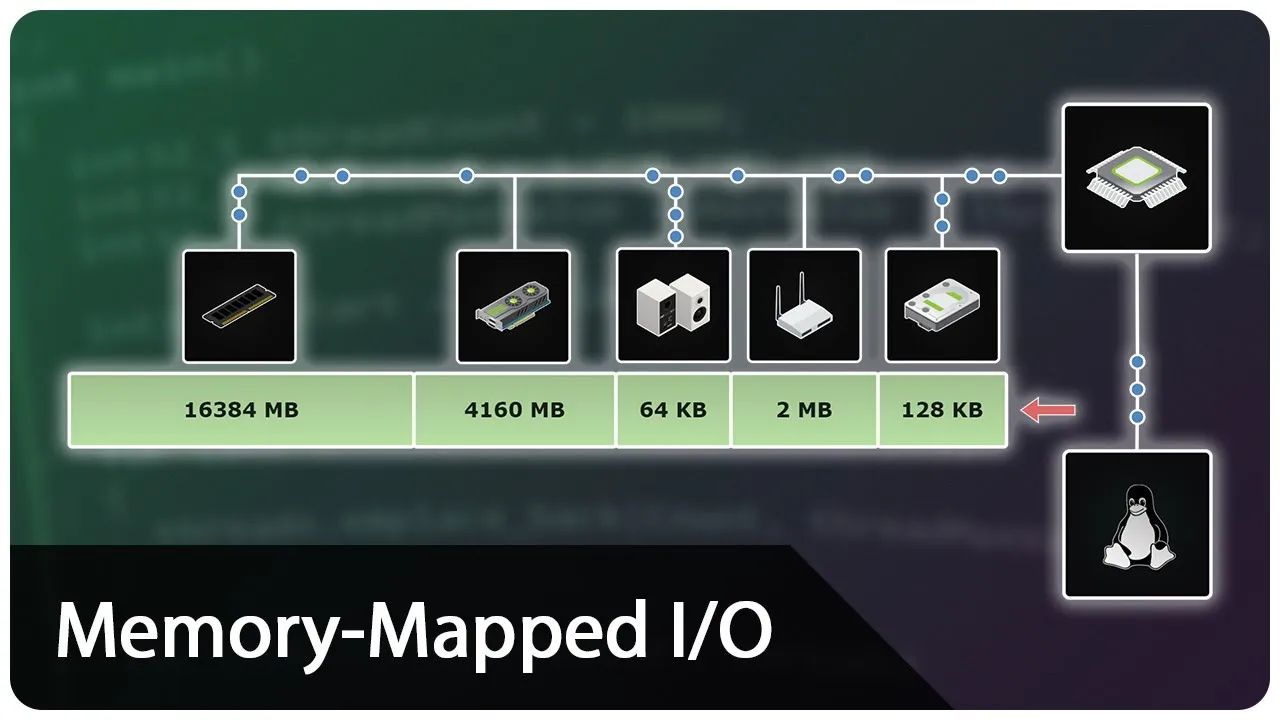
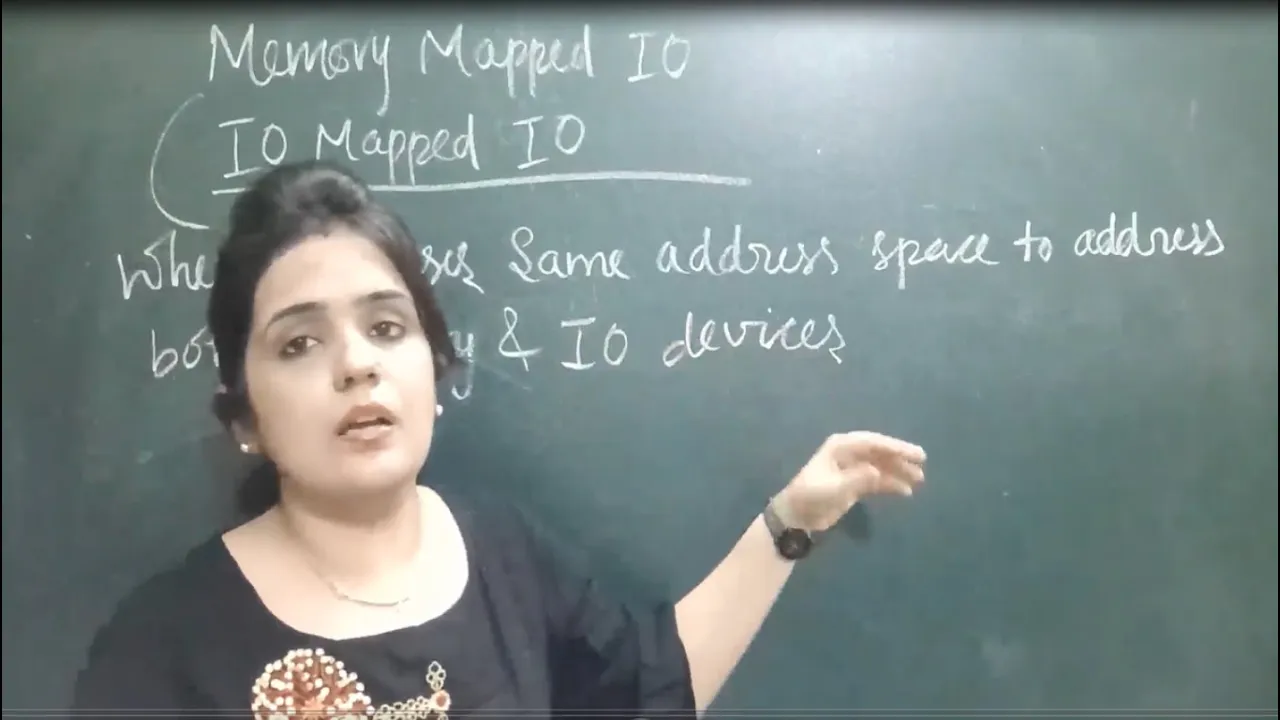
Concepts of I/O communication, including memory-mapped I/O and port-mapped I/O assembly instructions (such as 'in' and 'out').
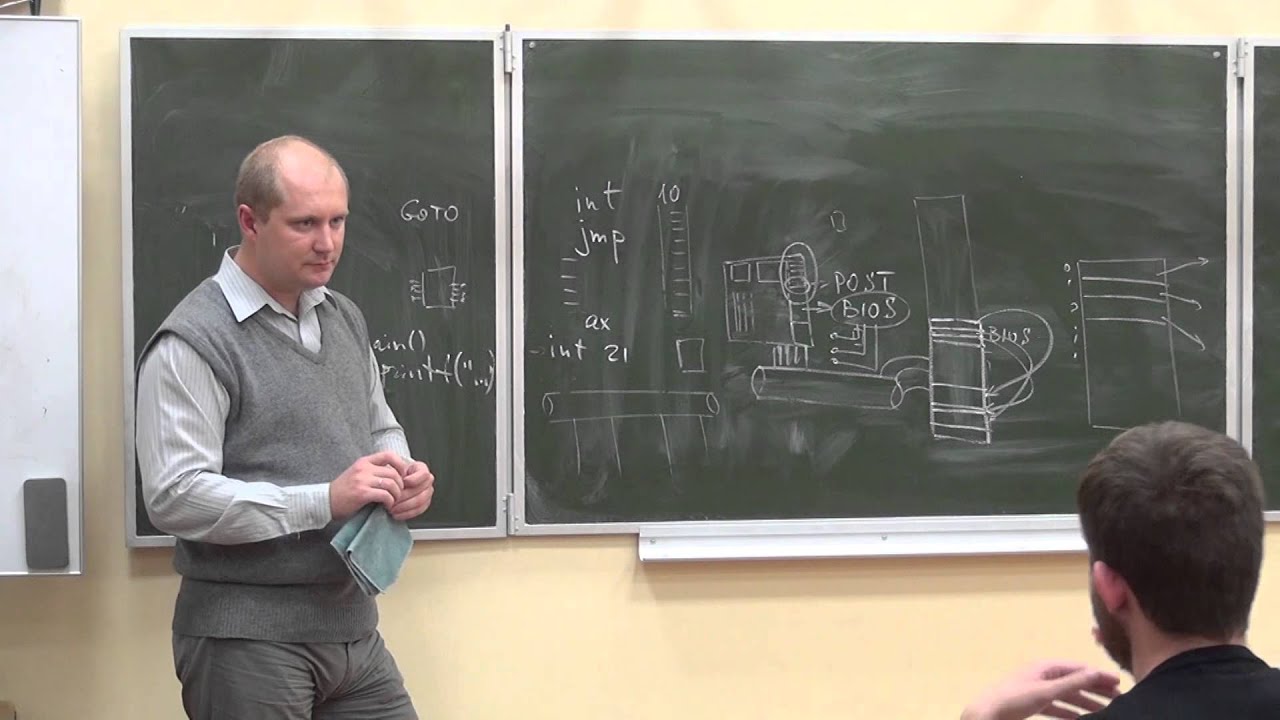
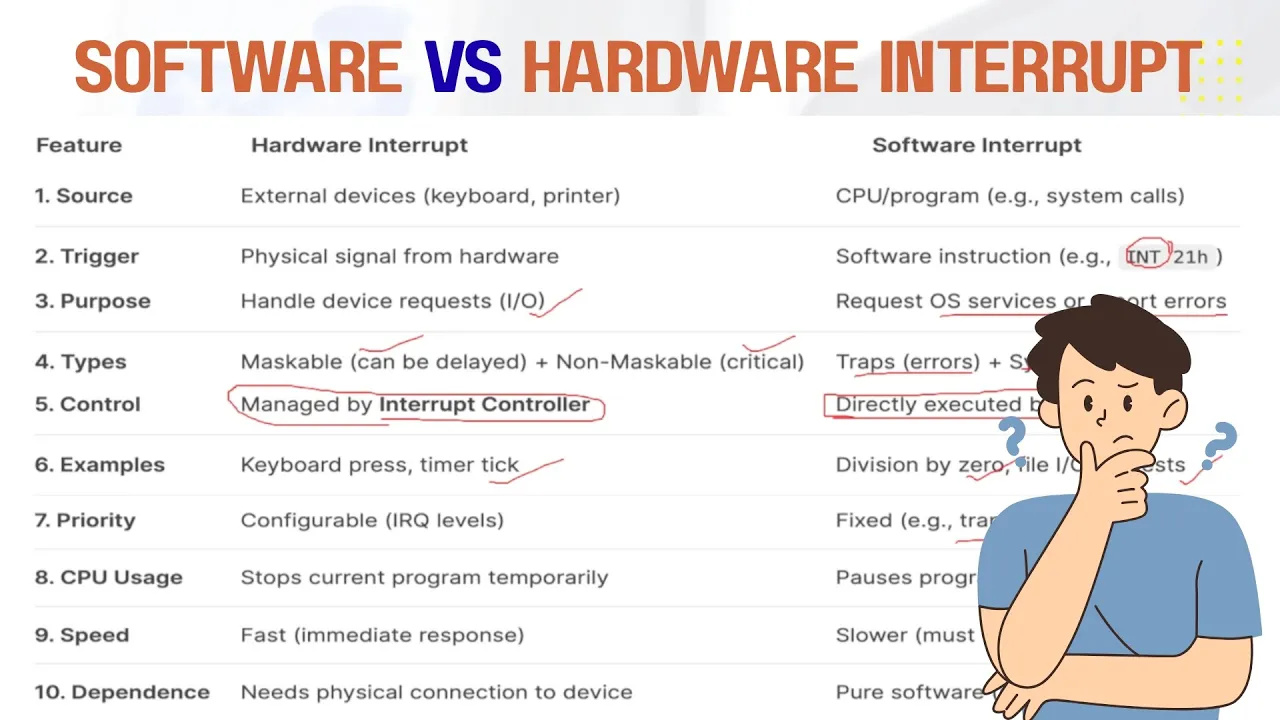
An introductory understanding of what hardware interrupts are and how they differ from software exceptions.
Transitioning from the legacy 8259 PIC (Programmable Interrupt Controller) to the modern APIC (Advanced PIC) to support multi-core environments.
Implementing scan-code state machines to process complex keyboard inputs, including modifier keys (Shift, Ctrl, Alt) and scan code set translations.
Integrating the keyboard driver with an OS scheduler to handle asynchronous input without blocking CPU execution.
Designing a character device driver framework to expose keyboard input to user-space applications via a Virtual File System (VFS) interface.
9.2K views304likes31:16Original Release: 2020-08-12
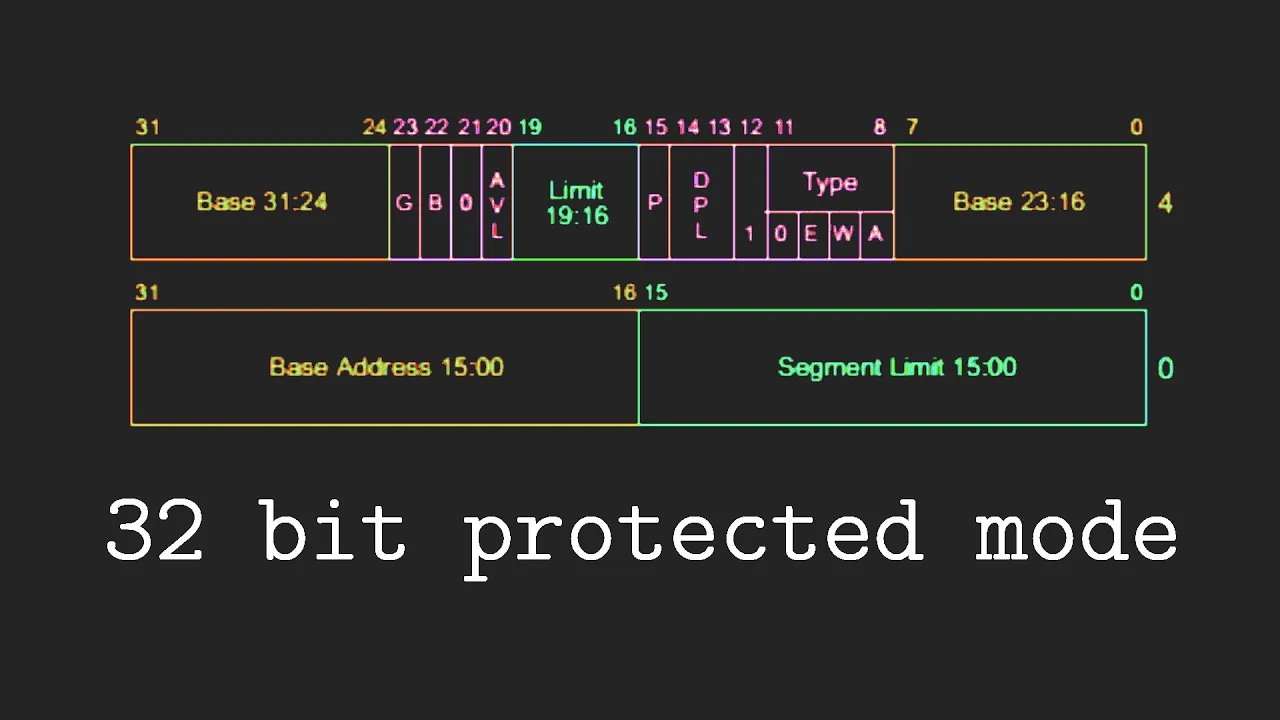
hey welcome back for os 12 basic keyboard driver and also a discussion of x86 interrupts from page key solutions a bit of a longer video today but it will be worth it once you see what you can build couldn't have made this video without all the great resources that people have put together and made available for free online there's arjun sridharan author of mk kernel which this lesson is heavily based off of there's the os dev discord community which they're helpful bunch for sure as well as everyone on stack overflow especially michael petch who answered my question in record time so what are the topics that we need to understand to create our keyboard driver we'll have to talk about interrupts the interrupt descriptor table pics or programmable interrupt chips accessing i o memory and some of the mistakes that i made and michael petch helped me fix so what is an interrupt here is a definition from osdev.org it is a signal from a device such as the keyboard to the cpu telling it to immediately stop whatever it is currently doing and do something else on this slide we can see why this might be helpful if we want to interact with the system other than just printing things and having outputs how do we interpret the inputs from the user this could be keyboard this could be network inputs this could be the mouse something's happening external to our operating system external to the processor how do we figure out what happened well we can pull we can just check a certain memory location and see if it changed since the last time we looked at it i think some architectures work this way there actually are no interrupts you just have to do everything through a memory mapped io in our case we can do interrupts with x86 which is kind of an event-driven flow where along the top there on the right-hand side you'll see we're doing whatever we're chillaxing you know we're doing our main program and then when we have an interrupt that we know that we need to handle the cpu will stop what it's doing in our main program and execute the handler that we tell it to run on the left there i would just say that in my opinion it's pretty inflexible in a single thread so it can be hard to get started with our operating system without these interrupts so i'm really excited to see how we can start using them first off though here's a quick table you might want to take a screenshot or something like that of data types and their sizes in c and i highlighted the 32-bit column because that's all we'll need for today so the interrupt descriptor table what is it why do we need it it is a special data structure and the cpu actually has a dedicated register for this data structure called the idtr register and it keeps track of interrupt routines that the cpu should jump to for each type of interrupt so the idtr register holds that little table you see on the right the idt pointer which has the limit and the base of our interrupt descriptor table and then on the right hand side you'll see what an idt entry in that table looks like you'll see two offset fields these are split into different parts of the same data structure when you put them together it forms the address of the handler routine that we will jump to when we receive this interrupt the other things selector xero type attribute these are all metadata about the interrupt and the interrupt gate how it should be handled some of those things but the big thing for the idt entry is definitely the offset which is the memory location where we need to jump when we receive that interrupt so how the heck do we get to the entries in the table using this idt pointer so the idt itself extends from base to base plus limit in memory at least that's how i interpreted it so when the cpu has this idt pointer stored in that register you think about it it really has everything it needs to know to access any of those idt entries from 0 to 255 and note that there are a max of 256 for x86 think of it this way if you have the starting address the base first of all you can access number zero pretty easily and then really you just have to multiply the known size of an idt entry by whichever entry you want to access so if you multiply by zero you're just getting entry zero if you multiply that size by 255 you get the address of where number 255 is and then the limit just tells you how big is it um where does it end and that's really all there is to it let's also touch on the programmable interrupt chip picks receive interrupts on behalf of the cpu multiple input devices are connected to the pick its original purpose was to save ports on the cpu it's really a legacy chip and is now integrated into the cpu as the apic advanced programmable interrupt chip the bottom line for the pick is it can mask interrupts queue interrupts until it's ready to handle them and a lot more as a whole bunch of features for handling these interrupts we can mask them turn interrupts on and off and if you have interrupts turned off and the pick is there it's going to hold on to those interrupts until you turn them back on so that you don't lose any interrupts basically it's kind of our little interrupt guru separate from the main cpu so we'll program this using io ports which will lead to our discussion of what is i o memory how do we change i o memory using those i o ports and the like but first let's talk about how the pixar initialized it is a preset procedure that you go through and you're going to send icws initialization control words to the pick i o ports and on the left you'll see that pick one and pick two both have their own dedicated command and data ports to receive these icws on and there are four icws that we need to worry about the first one is the initialization reset command to get it ready to receive the other three and really we're just sending 0x11 a special value to the command port on each pick to reset it then we have number two the vector offset and this is saying where is irq 0 on the pick where is the first interrupt going to be located we have to remap this because by default it is 0 but interrupts 0 to 32 are reserved for cpu exceptions such as divide by zero double fault triple fault those types of things so we can't have the cpu exception firing off and then calling our keyboard procedure basically after that we have cascading settings how are they daisy chained because pick one is connected to pick two i think you could probably connect more pick three pick four pick five icw3 tells us how this is set up if it's applicable at all number four is environment info i don't really know too much about this it's uh pretty vague in most of the things that i read but we're going to use 0x1 which osdev.org tells us is this x86 mcs 8085 mode sounds good to me and can't go wrong with 0x1 whatever so that's that's the procedure to initialize the picks we did mention that we'll be sending things to different i o ports and accessing i o memory so what's the deal with that and how are we going to actually do that with instructions in assembly so i o memory is another way of interacting with devices as opposed to just modifying the main memory you can read and write to memory on devices and it has a separate address space for main memory hence the need for separate commands i was a little confused at first as to why we can't just use the move command for this but you'll see that these addresses for i o memory while they may intersect with something in the main memory they're completely separate it's a separate area that we're referring to in the computer so here are our two commands this is our is our hammer and our nail here this is what we need for i o memory we have the in command where we say which register we're going to store it in and the port that we're grabbing the value from so we're going to go out to 0x3 grab that value and stick it in al we also have out where we tell it which destination port we want to write to give it the register that contains the value that we will be writing pretty straightforward so i found this diagram on stack overflow and this was what really helped this concept click for me you'll see on the left we have the cpu and it has a bus that goes to memory and to i o and you'll see that they have addresses and values for both and they're completely separate there's no shared addresses here say xerox b8 000 in memories or start a video memory you could go to xerox b8000 in io memory and maybe it points to something but maybe it doesn't it's a separate mapping completely what's that mean for us well we've been using the move command this whole time and we've been accessing the main memory in this center block here or random access memory if we're using the in and the out commands we're actually not touching that part of the computer at all we are in the io memory over here on the right hand side so hopefully that's a good visual for you too i also made this little diagram for accessing i o memory and what's actually going on for you to visualize these two commands because it was tough for me at first we have our example command from before in al-0x3 and you'll see on the right here we're going into that i o memory block on port 0x3 and we're taking that value and storing it in al for out we're taking the ao register i'm not sure if it's actually in the cpu or whatever but for our purposes something logically in the cpu here we're going to take that value and store it in i o memory port 0x3 hence commanding that io device to do something for us okay well you can read through this if you want but uh essentially i was following m key kernel which was super helpful and i got it all to work with qemu i got that working keyboard driver just as uh i thought and then i tried burning it to an iso so i could try it out on a real computer and it didn't work every time i hit a key it would reset again and again it just didn't work at all and then i tried it again except in qemo with the iso same problem something was up scoured the internet i found one answer by michael pech and it had a ton of suggestions for someone else's kernel so i put as many of them as i could into mine but of course i overlooked the actual answer so i posted my own question to stackoverflow actually for the first time ever within an hour michael petch comes in and answers and solves my problem so thanks mike you're the man and as it turns out the solution was to set up your registers because you can't count on grub to do that for you so i'll show you how to do that in the code with that let's jump in and see how we can build this before we get too much further i want to show off what we'll actually be building today so you can see it and know what we're shooting for so as always i will check out os 12 on our repository and i will run it and we have basically what we had before but i'm going to start hitting some keys on my keyboard and how exciting we have a working keyboard driver and all it's doing is just printing it right out to the screen but that's okay it's a start so let's figure out how to do this if you'd like to follow along with the code and type along with me you can check out os 11 and we'll work our way back to os 12. line by line let's start out with the boring stuff and get it out of the way first and foremost we have some edits to our make file and a lot of them are just cleanup as you can see i added an iso out variable i'm also going to do the dreaded copy and paste of our build command and make it a build debug command and the only difference we'll need here is to add the gdp command to our gcc compiler what this does is includes debugging symbols in our final executable this will allow us to debug our program using gdb i made a mistake okay along with that we'll add a debug task and this is going to run everything just like before kernel is kernel out s s ampersand so this differs from our regular run command because we are hosting a little gdb server and we're stopping qmu system from booting up until that gdb server connects and of course we have the ampersand so that it runs in the background after that we'll run gdb dash x means to run the script gdp init and that's a file that we have to add but all in all this debug script just runs quiemu as normal but pauses it until gdb can connect and it launches us right into a gdp debugging session and the gdb init file will just create that now.gdp init is pretty straightforward you just have to write target remote localhost one two three four and file build slash pkos.bin to tell it what's the source file or you know what's the executable that we're actually debugging here so it can load all that symbol information that gdb added of course you don't need to execute this as a script you could just type this in to gdb once that session launches but it gets really old after the fifth or sixth time you do it so it's easier to just have a script here next we're going to look at kernel.asm and see what we need to add and this is more of showing that i'm really just learning this along the way and probably not too qualified to teach it but i'll still go through and try to explain the best i can so we're going to include our gdt we'll need it later and i'll just start out by putting all the globals that we're going to declare that we'll need in our c code we're going to have a gdt function idt function a keyboard handler we'll have an i o port in and an i o port out i gave these names they're a little longer but they're very descriptive which i think helps for the whole learning process a lot of people just say in b or out b for invite out byte but i like the more descriptive name myself and then we'll have one external function that we'll be using that we'll be calling rather which is handle keyboard interrupt okay what's next load gdt really easy we've done this before all we'll just do is load up our gdt descriptor which is uh already declared in gdt.asm which we just included and we'll return next we will define load idt similar in that it's straightforward we're just going to grab the first argument that we're passing from c and then we're going to load that argument into the idt register and then we can return i also had a quick one for enable interrupts i can't remember if we still use this it might have just been for playing around but it's quick and easy so let's throw it in there okay we have our keyboard handler we're gonna push everything onto the stack uh this cld thing was one of mike uh patch's suggestions i forget what it does it has something to do with calling external c functions and how it sets everything up uh feel free to google it and now we have handle keyboard interrupt which we'll be calling pop all the registers back where they were and iret d this is a special command to return from an interrupt you could also do iret i don't think it makes much of a difference let's keep it there just to see if it does later so what's happening here so this keyboard handler this label is actually the address that we'll put into our idt remember that for later so the cpu when it sees a keyboard interrupt it's going to call this this is our entry point for handling all keyboard events and really all we're doing is linking it to our c function which will do some more sophisticated things with that interrupt and then we're returning that's what we needed to know how to call assembly from c from so i o port in we're going to grab the first argument this is going to be our port to read 16 bits then we'll just perform the in command the value gets stored in the al register and by default when you do ret whatever's in eax gets returned to c at least that's how i understood it so there's nothing else we need to do we grabbed from the port which we stored in dx it was an argument and we returned so we'll do i o port out now let's put in e dx the first argument which is port to right destination i o port whatever you want to call it 16 bits as well and in eax we'll put esp plus 8.
this is the value to write to the i o port then we'll just call the out instruction easy as that and we'll return lots of setup for the the good stuff in the c code we do have one more thing to do and that is to set up our registers and i'll just say thank you and pitch again it's already in the comments but i'll say it again because he figured this out somehow and i think it's awesome so we're going to load our gdt gg2 scripter i don't think that we actually call this gdt function now that i think of it but it's nice to have i guess you can probably remove that because we do it right here first things first we load our gdt we do a far jump to flush the pipeline or whatever it is which we had to do to move to protected mode back when we were writing our bootloader and uh it really just jumps one line so it's clearly there just to flush the pipeline for any parallel instructions or whatever is going on in the cpu all right we'll move our data segment into ax and i guess we're just going to move that into everything yes fs gs they're all going to have that data segment honestly i don't really know what any of these registers are meant for and then we'll move our stack space variable all these data sag and stack space these are in gdt.asm so yeah we're just setting up our registers and that's that again googling would probably help you understand this better than i do but that's what i did okay now for the real beast which is going to be kernel.c and i'm just going to go line by line and talk through it the best i can i'm going to omit a lot of comments if you want to check the repository on github it will have some more descriptive comments that i've added first off idt size 256 this is a limitation of x86 as i understand it you can have up to 256 interrupts that you handle then we have kernel code segment offset i actually just had to redo this clip because i forgot what this was and why it was there i had to spend a long time looking this up to figure out what the heck this meant actually if you go back and look at our gdt we did the simplest gdt possible where we have one code segment and one data segment and i think they overlapped this is referring to that code segment that we defined in the gdt 0x8 why is it that why isn't it 0 0 0x0 the answer is the first entry in the gdt is the null segment for error checking the second segment is at address 0x8 so the second segment is the one that we actually defined not the null segment we check gdt.asm we can actually see it's right here gdt underscore code is our label and here's our code segment but you'll check out we declared two doubles two double words 32 bits hence 0x8 is the address in bytes of our code segment quite literally so there you go what's next lots of exciting constants idt interrupt gate 32-bit and that's 0x8e i just took this from osdev.org yet again if you want to see what each of these fields are there is a comment who cares though it's an interrupt gate there are different types of gates for the idt you can look it up but for now i don't care i just want it to work let's do some other constants this time for the pick command port is 0x20 this comes right from that table that we had and we have i o ports for the keyboard 60 and port 64 for status again this is a lot of stuff from ios dev wiki i don't really know what specifications you could find this in as a an ultimate source for this for now it works and that's all i care about so you got keyboard map.h we'll get to that soon and i'll talk about how i actually created this from scratch there is one available on os dev or you could use mine whatever it's really just a mapping of the codes for each key that is pressed to an actual character so that we can print them out because yes we are at that level we are that deep that we have to do that ourselves so now we're gonna define all those functions that we just created in assembly as external little header lines here you can see unsigned short is the 16-bit arguments that we had i know i'm making spelling mistakes as i go so i'll fix them later for now reference the github because i know that that one works okay good on that structures this is a good one so we're gonna have a structure for that idt pointer in the slides this was uh the thing that's actually loaded into the lgdt register or whatever it is idt register limit and base and then we have one for idt entries there's a ch care or char type 8 bits and at the end of these we're going to have a tribute packed which is a really weird statement i think but it's another mike petch suggestion and you can't forget the semicolon at the end either packed and this is saying apparently the compiler likes to fill out these with zero bits to the largest largest data type in this case like for idt entry short is the largest data type so it would just use 16 bits for all of the fields so it can quickly and easily look up the field without iterating through each it can just multiply to get the memory address of the field right if zero also takes up 16 bits to get to zero you just have to do the starting address of the entry times 16 times three or whatever or no i'm sorry plus 16 times three to get to zero this packed attribute makes these actually take up eight bits which is what we want because if we don't do that it could get all misaligned because the cpu is not expecting them to be padded so we want them packed good stuff we've defined the structs now we need instances of these structs or at least that's what i call it sorry if that's not c terminology but i'd like to think of them as instances of the struct this is our entire idt room for 16 or 256 interrupts right so it's just an array of these idt entry objects cursor position equals zero before we go any further lots of variables being defined here very boring sorry let's redo our main method i'm actually going to rename our main method to print message so i like to change the character we're filling changing it to a star and i'm just going to change this to a nice general pkos and we're done our message is printed but we definitely need a main method so let's do void main we're going to print our message we're going to init our idt we're going to init our keyboard and we'll enable interrupts uh would you look at that we actually do need that and then we're just gonna do wow one and forever do nothing in our main loop i think there's a more efficient way to do this probably using halt commands or something along those lines but for now i don't care so we've defined print message next let's do init idt and this is probably the biggest of the functions we'll have but that's okay we'll get through one piece at a time first of all we'll have an unsigned in offset that's going to point to our keyboard handler function that's where that's coming from keyboard handler external void this is referring to the assembly file and we're casting that function to an unsigned int which i think is pretty cool so that's how we're getting the memory address of that function and now we are going to set up our keyboard handler idt entry so we're going to go to idt 0x21 and i was asking myself why the heck is it 0x21 well if you look at 0x21 that's actually 33 in decimal recall that we have to leave the first 32 open for the cpu i don't know if zero is one of them maybe it starts at one and that's why we're on 33 maybe we're just being safe but either way this is just out of range of those cpu interrupts that we're trying to avoid overlapping with so that's where we'll put our keyboard interrupt so the lower bits we can just do a bit wise and the f's are all ones which means that we will when we end it we only get those bits you know the zeros just turned into zero zero and zero zero zero and one is zero so the selector is going to be our kernel code segment offset that's 0x8 if you remember from up here it's just telling us which entry in the gdt is our code selector and i think that has to do with permissions and what ring you're in or something along those lines zero is just zero that's for error checking and if it's not clear already we're filling out an idt entry within our idt entry table right here we type attribute we're going to set that to our interrupt gate 32-bit another constant idt 0x21 offset upper bits equals offset and 0x fff000 the upper bits but we're not quite done yet we have to right shift those 16 because when those four f's you know whatever's in these bits right here when it is in that position it's a pretty large number it's also larger than the short type that we have here for the upper bits so we have to shift it over so that we just get those and they're in the right position if that makes any sense at all next we can send our icws using i o ports so this is icw one we're going to reset both picks by sending 0x11 to each of their command ports i'll just mark it for now icw1 icw2 vector offset to the pick one data port we'll be sending 0x20 this is our starting point for irq 0 so the keyboard interrupt is irq1 0x28 for pick two makes sense it's eight after i guess each pick has about eight interrupts that it can handle cool icw3 we're going to say pick one data port 0x0 pick two data port zero zero this is the cascading this is how they're connected really don't know what i'm doing here but i'm just going with uh examples i've seen there's probably all kinds of fancy ways of setting that up and then we'll use xerox one for our environment info and that's all we need to do to initialize pix we're going to mask all interrupts now why i'm not entirely sure i think maybe we mask all interrupts while we're setting things up and then we unmask the keyboard one later next we will load our idt into the cpu so it can start using it so we need to declare an idt pointer which is going to use this top data structure we have here and we'll fill in the limit which is sizeof struct idt entry multiplied by the idt size minus one always minus one by definition and then we can just use the address of operator for the base we'll get the address of the idt array and now we can use that assembly function we wrote load idt and we'll pass it the address of the pointer that we just built and we're done what's next we need keyboard in it what are we going to do for that we are going to unmask the keyboard interrupt so we'll say i o port out pick one data port 0xfd and just as a reminder xerxfd is one one one one for f and one one zero one for d so if you think about i irqs being zero based then irq zero is represented by this one higher q1 is represented by this one rq2 i guess is represented by this one what we're doing here is unmasking it's a zero because it's not masked we're unmasking higher q1 which is de facto the keyboard interrupt finally the real good stuff the meat of it we get to handle our keyboard interrupt remember that the idt is pointing to the thing in assembly which then calls this function so now we can actually handle that interrupt the next thing that we'll do is do an i o port out to the pick one command port and we'll say 0x20 that is the end of interrupt command so we can tell it we're good we've handled the interrupt you can clear it out of your queue or whatever who knows what it does but it wants to know that you know we've handled the interrupt so we did that we can grab our status which will be i o port in from the keyboard status port which we defined at the top so we can check the very bottom bit of the status byte that we just got it's a byte because it's an unsigned character so if we end that with 0x1 and it's equal to 1 then we know that we have a new keypress that we have to handle given that you can check this using just the keyboard i o ports i guess that's how they do it if you don't have interrupts because if you think about it if there were no interrupts we could just sit there in an infinite loop and check this status from the i o port but we're doing it this way and i like it so there you go character key code we're going to grab io port in again from the keyboard data port if key code is within range if key code is not within range of our mapping that we defined in that other file we'll get there in a second in other words if we don't have a character mapped for it already we'll just ignore it for now otherwise we will print character with asm we're going to go into our keyboard map included from the other file grab that key code print it in row 0 column cursor position something handy is that it actually line wraps on its own if you have a really large value for column it'll just automatically continue the next line which is nice and then we're just going to increment that global variable for cursor position that is all for this file and real quick we can just create our keyboard map i'm just going to paste mine in love copy and pasting there it is and what is this it's just an array of characters for each key code it just gives you which character corresponds to that key code that's it let's see if it works i'm a little tired and uh we have some compiler some silly silly mistakes here let's get them done i think my biggest problem here is the fact that i misspelled unsigned classic should be key code not keyboard i was dreaming okay let's try again ah there we go it worked and if we click in here and start typing ah look at that wonderful feels like you earned it huh never been so happy to be typing and this should work on real hardware if you do the iso classic typo i forgot to make build debug independency of debug now for a fun but maybe not practical exercise i didn't want to just take the keyboard map that people had on os dev i was really curious as to how they figured that out so i figured it out if you do make debug we're going to launch a gdb session on our qemu system here and you'll notice that nothing happens because we haven't started the system yet that's what that tac capital s i believe does on qimu it makes it stop beforehand which is great because it lets us set things up a little bit what we're going to do is set a breakpoint for number 77 line 77 in our code which is right after we set that key code value to what we got from the keyboard i'm really interested in what that key code value is which is why i'm setting it right after it got set so we're going to say break 77 and it worked which is awesome i'm going to type c to continue okay cool we don't have any breakpoints uh going off yet right because there's no gdb prompt i'm going to hit the j key on the keyboard take my word for it and there we go we hit the j key and we get a break point everything is stopped now for qemu we'll go back into our gdp prompt what can we do well here we are we're on our line that we wanted to stop on we can print the value of a variable in memory which is awesome p slash u means print as an unsigned integer so we'll do that for key code and that gives us 36. for your information there are other things like p slash x to print as hexadecimal let's go into our keyboard map and look it up and make sure that that's correct for j so if we go to number 30 here i try to make comments so it's easy to look stuff up 30 is a 31 is s 32 33 34 35 and 36 is j there you go so yes i really did go through you know however many times and figure these out there you go keyboard map done just repeat 60 times or however long but yeah fun stuff that's how you debug using gdp and you can just hit continue and it'll continue you can hit another key it'll stop again or just quit and get out of there quick yes there you go done so that was a doozy of a lesson that was a big long one and if you made it to the end thanks a bunch hope you learned something and uh we'll continue it next time
Up Next

13:05
Java HashMap Tutorial: Key-Value Pairs and Methods Explained
@BroCodez
104.9K views•2020-06-01

87:26
Introduction to Secure Multiparty Computation with Yehuda Lindell
@fhe_org
7.7K views•2021-02-04

12:32
Writing a Simple VGA Graphics Driver in OS Development
@PageKey
9K views•2022-05-10

19:25
Enigma Machine Mechanics: WWII Encryption Explained
@JaredOwen
13.2M views•2021-12-11
Related Study Plans & Knowledge Roadmaps
Structured learning paths in Computer Science
computer-science
Container Runtimes: Namespaces, Cgroups & Go
01Linux Systems & Go Programming Foundations
02The Core of Isolation: Chroot and Filesystems
03Linux Namespaces: Process Isolation
+ 3 more learning modules
32h6 modules
Explore Roadmap
computer-science
Building a CHIP-8 Emulator: Rust & CPU Basics
01Computer Architecture Foundations (Bits & Bytes)
02Rust Programming for Systems Development
03CHIP-8 Virtual Hardware Specifications
+ 2 more learning modules
32h5 modules
Explore Roadmap
computer-science
Building BitTorrent: Go, P2P & Concurrency
01Go Fundamentals & Concurrency
02Networking Foundations & P2P Architecture
03Bencode Parsing & Torrent Metadata
+ 3 more learning modules
26h6 modules
Explore Roadmap
computer-science
Actor Models (C++ Concurrency & Lock-Free)
01C++ Multi-Threading Foundations
02Thread Pools and Task Scheduling
03Atomics and Lock-Free Queue Design
+ 3 more learning modules
45h6 modules
Explore Roadmap