








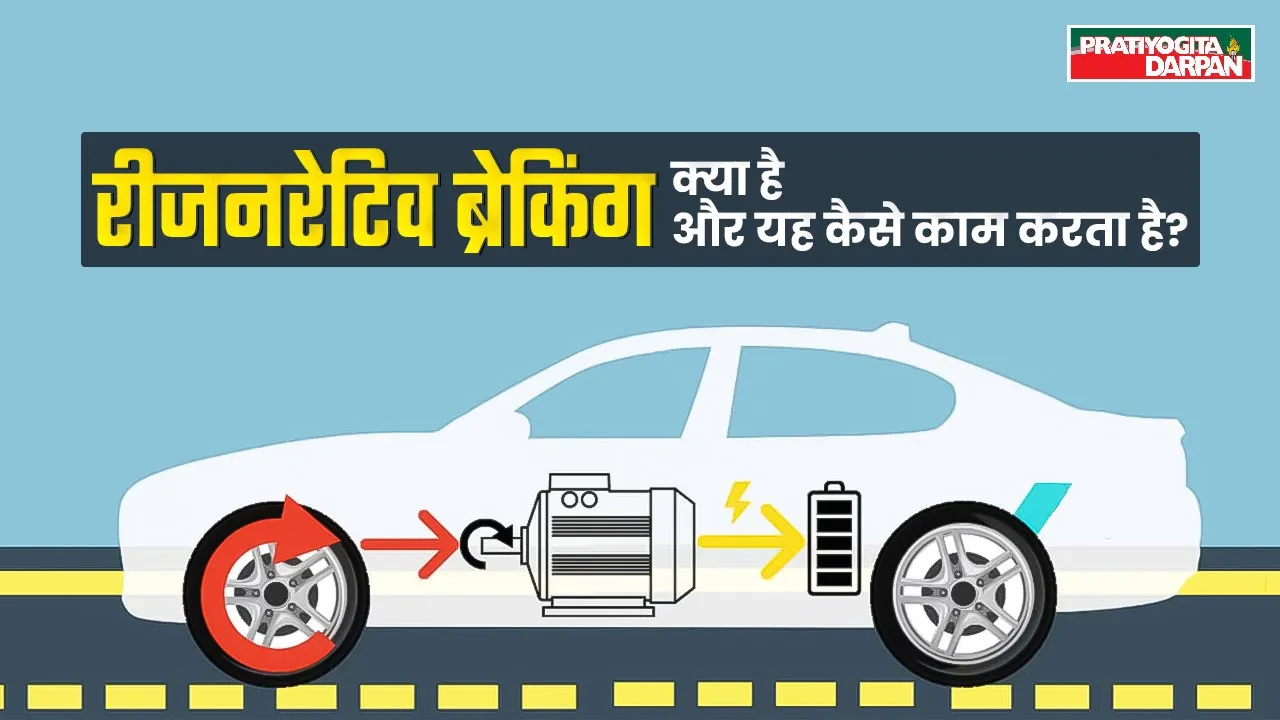
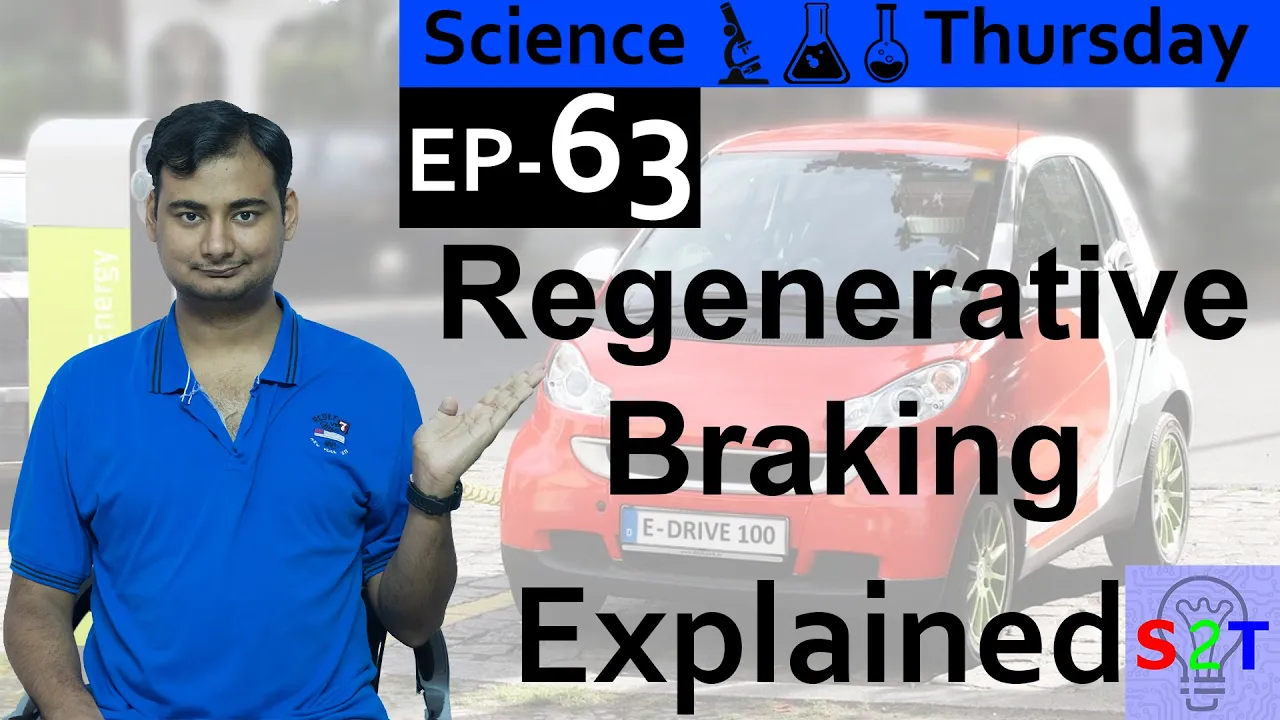
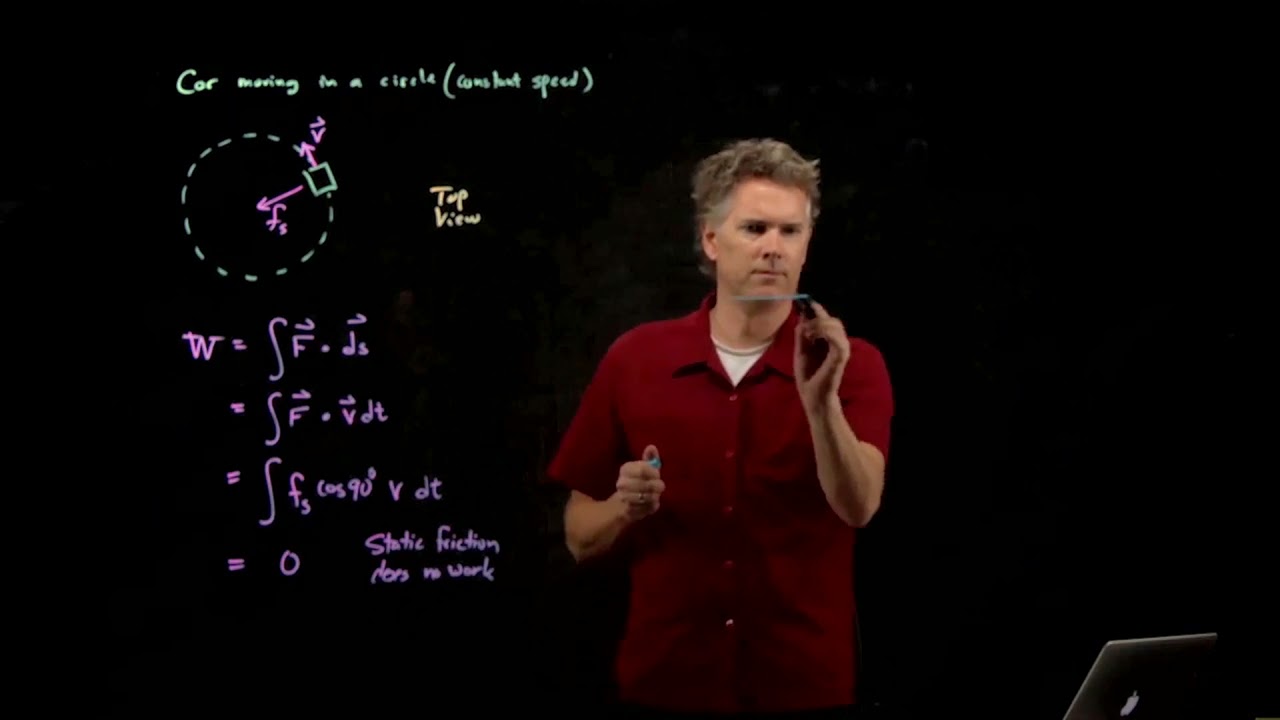





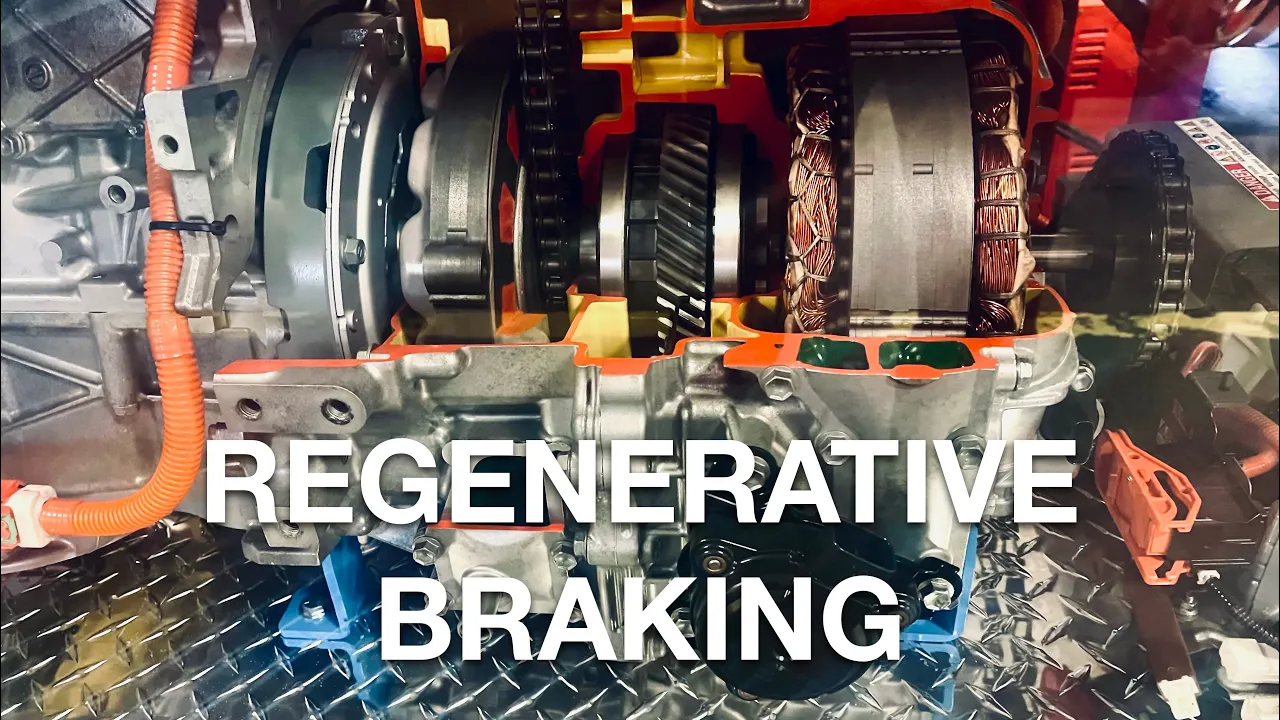

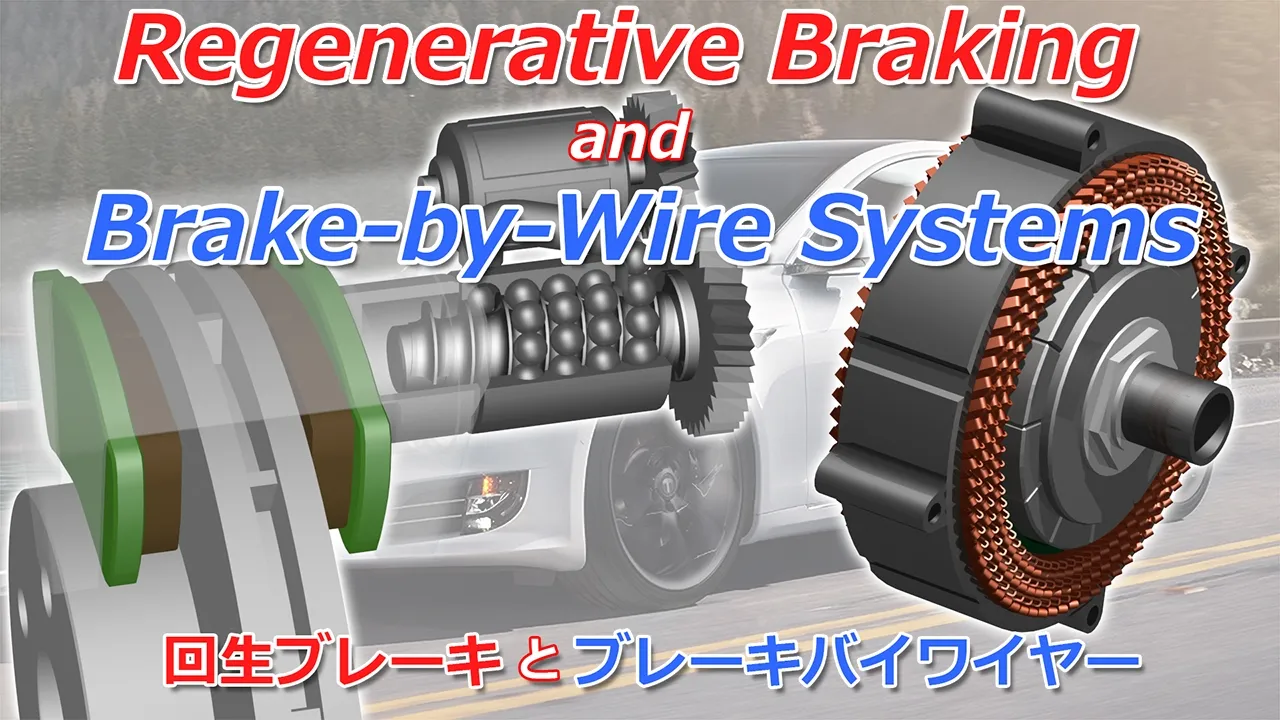




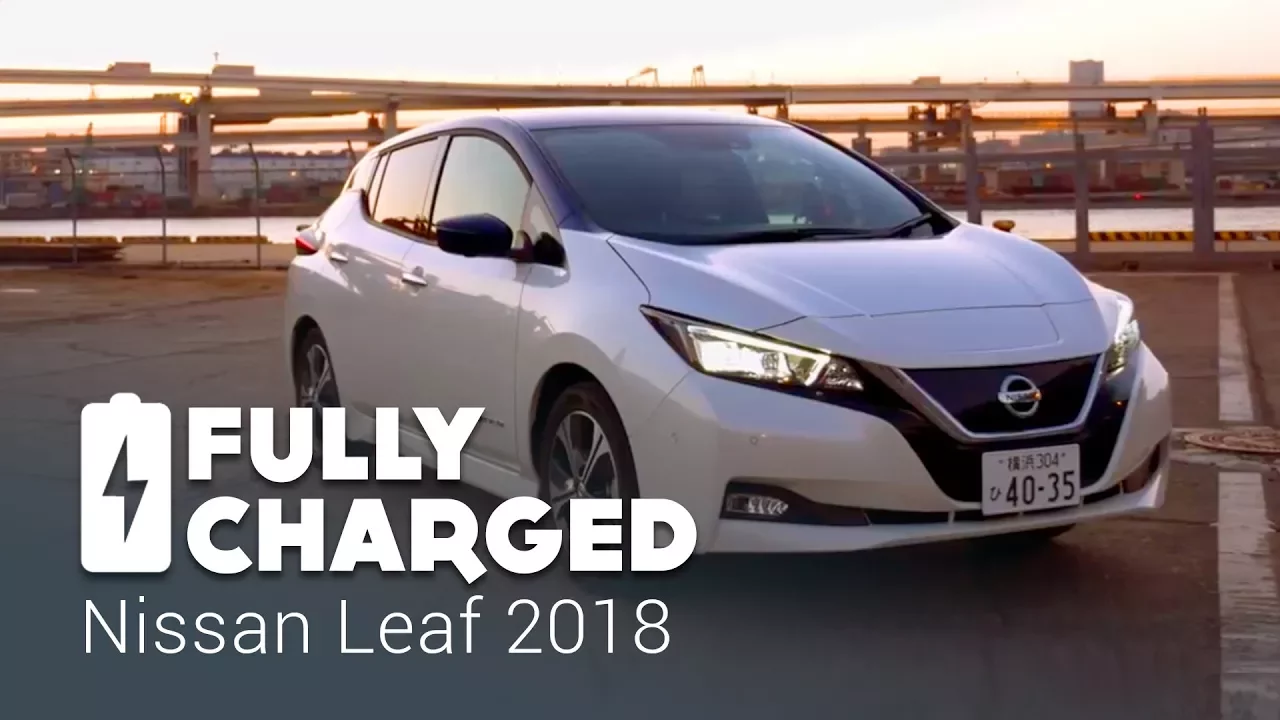



Regenerative braking is a technique in electric vehicles that converts the kinetic energy of the car's forward motion into electrical energy to recharge the battery by using the electric motor as a generator; this works because when a conductor moves through a magnetic field, it induces an electric current (based on electromagnetic induction and Lenz's Law), and the braking effect occurs because the induced current creates a magnetic field that opposes the original motion, thereby slowing the vehicle while simultaneously generating electricity that can be stored in the battery.
Regenerative Braking Explained: How EVs Recharge by Slowing Down
Added:The Law of Conservation of Energy, specifically how energy is converted from one form to another rather than lost.
Basic principles of electromagnetism, particularly Faraday's Law of Induction and how electric motors and generators function.
The concept of kinetic energy and how it relates to the mass and velocity of a moving vehicle.
How traditional friction-based braking systems work to slow down a vehicle by converting kinetic energy into heat.
The design and function of Battery Management Systems (BMS) in handling rapid electrical current influxes during deceleration.
The role of power electronics (inverters and converters) in transforming variable AC generated during braking to stable DC for battery storage.
Brake-by-wire technology and the algorithms used to seamlessly blend regenerative braking with traditional friction braking.
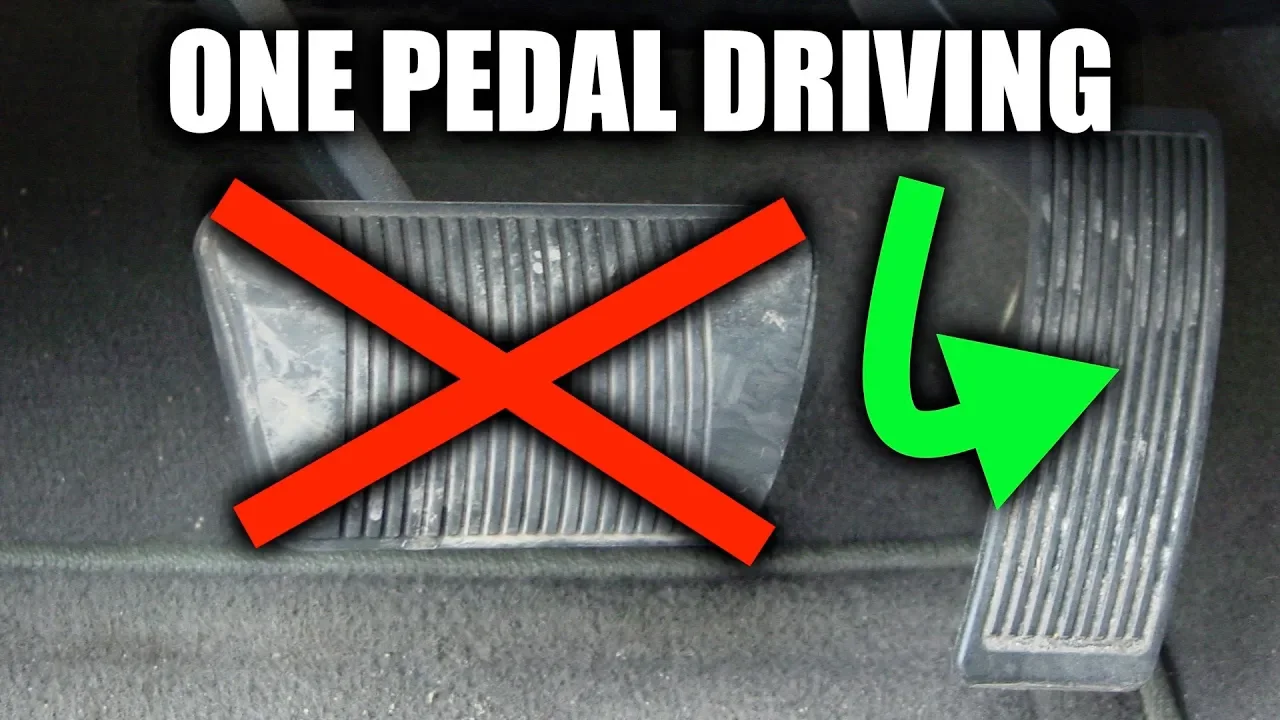
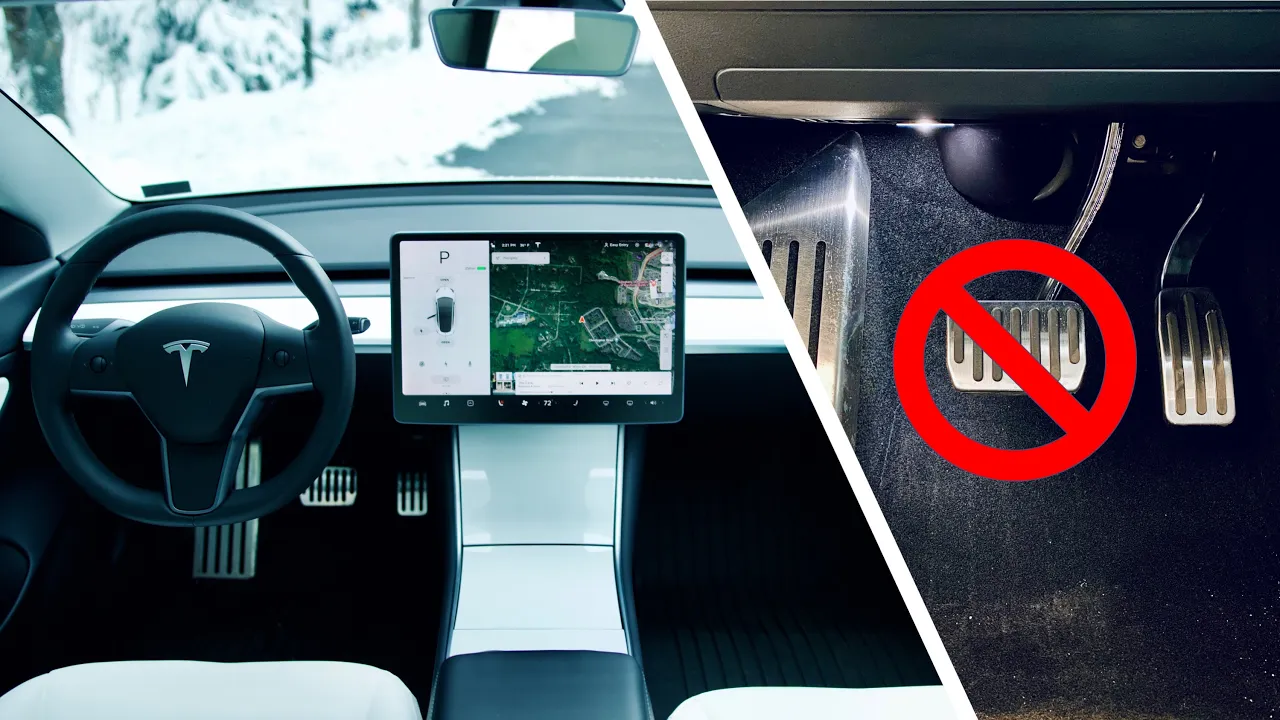
The concept of 'one-pedal driving' and its impact on vehicle efficiency, range estimation, and driver behavior.
Alternative energy recovery systems, such as Kinetic Energy Recovery Systems (KERS) in motorsports and flywheel energy storage.
953.3K views31.5Klikes23:01Original Release: 2024-09-11
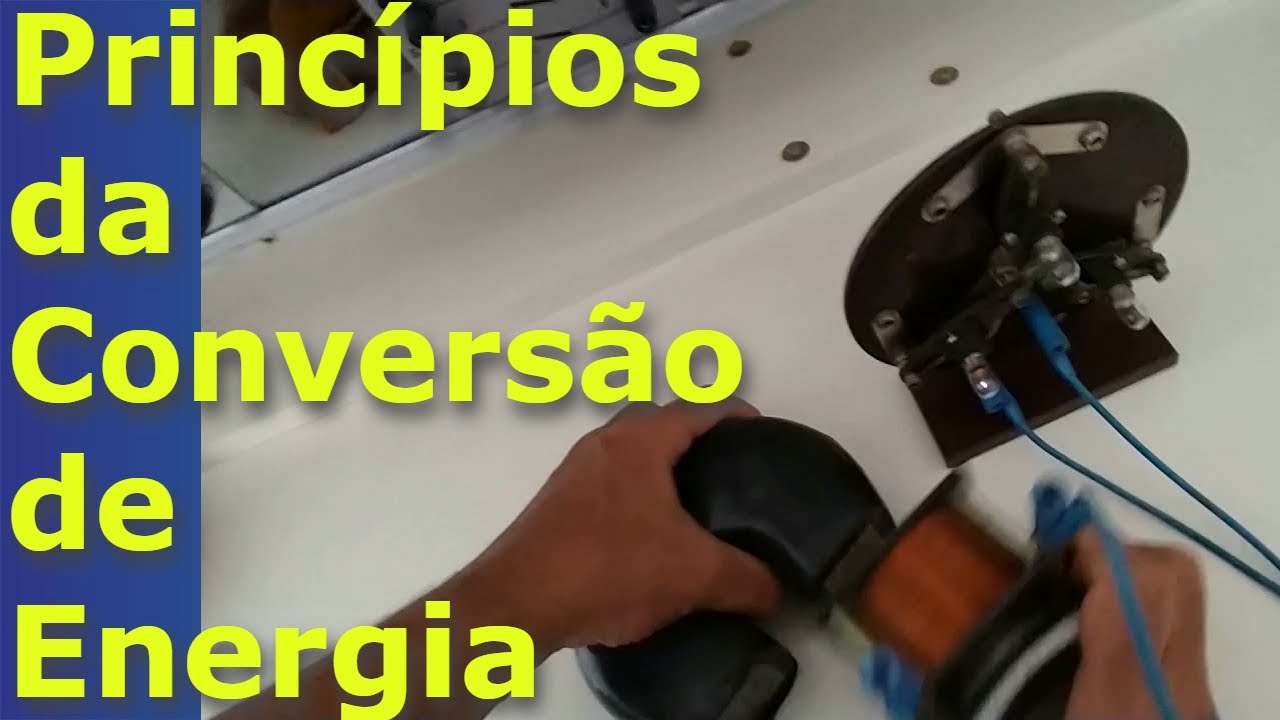
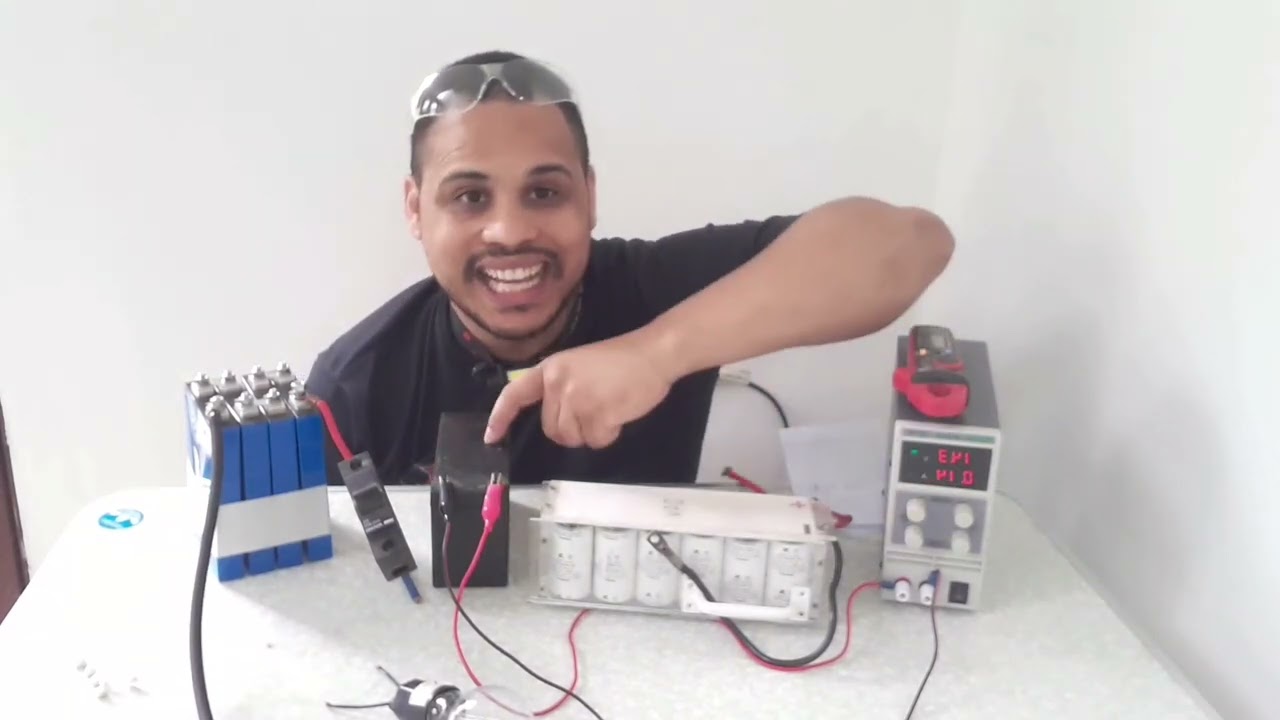
regenerative braking is a really clever way of using the kinetic energy of the car its forward motion to recharge your battery you can do this with the parts that are already in your EV you don't need to add any additional equipment the parts that are in there can already do this they just need to be programmed to do so so if you can charge your EV while it's driving why would you ever need to plug it in and why does it only work when you're braking well that's why I built this crazy rig here and even though this looks complicated I've got meters here that are going to show us where all the power is going these light bulbs will come on when we're generating electricity and we're going to go step by step so that you understand exactly what's going on let's get [Music] started to generate electricity with your EV is actually really simple you just turn your electric motor into a generator pretty much all electric motors can do this but to understand the braking part we're going to need to do a real quick crash course in electricity and magnetism so let's start there when you run electricity through a wire there's a magnetic field produced around the wire in fact that magnetic field has a north and a South Pole to demonstrate this I'm going to use this compass that I have laying on my workbench here North is directly behind me if I turn the power on and apply some voltage you'll see that the compass needle is starting to turn to align itself with the magnetic field of the wire when I turn the power off it goes back to the Earth magnetic field it gets even better though if you take the wire and Co it up all in the same direction the strength of the magnetic field increases and if you take a piece of iron and shove it in the middle that also increases the magnetic field this effect also works in Reverse if you move a magnet near a wire electricity will flow in the wire and because Motors operate on this exact same principle Motors can also operate as generators I.E you can push electricity through it and get a magnetic field or you can physically move the magnetic field and get electricity generator motor but there are two really important things that occur here which are just so fascinating to me the first one is if the magnet is not moving electricity stops flowing there must be relative motion between the conductor the copper wire and the magnetic field and this is how we know the energy is coming from the thing pushing on the magnet and not the magnet itself if you compress the magnetic field it's kind of like compressing a spring energy is stored there but it didn't come from the magnet itself when you compress a spring energy is stored there but the energy didn't come from the spring the energy came from me compressing the spring and the second interesting thing is that the magnetic field that's produced in the wire is always pointing in the opposite direction of the magnetic field that's creating the current I.E it always pushes against whatever creates it this part is the most fascinating part to me it is the reason that mechanical energy is being given up to get electricity there's even a name for this it's called lens law it's actually really easy to demonstrate this with some kind of conductor that's not magnetic and that's why I have this uh aluminum tube here you can also do it with copper which is an even better conductor than the aluminum but I need to grab a magnet so here we have our magnet and our copper tube and I'm going to use the bigger magnet first first thing I want you to know is copper is not magnetic and neither is aluminum right there there no sticking to it but copper and aluminum are some of the best conductors of electricity so this is the material you will use if you want to induce current with a magnetic field let me show you first let's do a freestanding test I'm just going to drop the magnet here and is what you would expect right gravity's normal effect on an object falling but I've got a camera here and if we drop it inside a tube you should see a big difference right look at how much slower that is and it's got nothing to do with friction against the tube I can prove that by using a much smaller magnet and dropping it in a longer tube so that we can watch the effect for longer so uh free space right and if we drop it inside the aluminum let's just make sure you can see 3 2 1 right wow one more time I can't believe I'm so excited about this I can barely talk this is my fourth attempt in explaining it but here we go as the magnetic field as the magnet falls through the aluminum tube electric current is induced in the aluminum tube and that electric current induces its own magnetic field and it's always pointed in the opposite direction of the field that's creating it so while the magnet is falling through the tube by gravity the magnetic field from the tube is pushing up in the opposite direction and we get that super slow descent down the tube it's breaking just so amazing to see lens law in action and you can try this at home so I strongly urge you to give it a try in fact the reason I love this particular demonstration so much is because it's so cheap you can buy tube or aluminum tube in any big box door along with magnets it's super cheap please give it a try see that you can see it yourself it's also worth pointing out that gravity is not energy it's helpful to think of it as a way of storing energy when I lift an object up I have added potential energy it takes energy to lift that object up and when I let go I've released it and gravity has this effect but I'm always going to use more energy lifting the object up than I could get back from releasing the object so so it's very common for people to email me and say why don't we use gravity to produce energy and that's because it takes energy to get energy from gravity and the energy that you put in is always more than what you get back no free energy Springs are another example of energy storage device where it takes energy to compress the spring the energy is stored inside until I release it and then you can get that energy back to perform work the energy you get back from the spring is never more than the energy you put in and often it's not even the same amount that you put in now that you understand the Breaking part of generating electricity we can scale this up to the generator when you crank the shaft on a generator you do get electricity on the wires but the electricity that's being generated is pushing back against whatever is pushing on it so this shaft gets more and more difficult to turn the more electricity you generate there there's feedback between the two it's incredible you can start to understand why we only use this arm breing because if you tried to use this while driving you would just use up more energy because it takes more and more work to spin the shaft even if you had a generator separate from your motor because the shaft on the generator gets more and more difficult to turn as we generate electricity you're going to burn up more and more battery power to spin the motor since we're using more energy here than we're getting back from here it's the energy equivalent of spending $50 to get $20 back it doesn't make sense sense but when you're braking you want to slow down the car anyway so you kick on regenerative braking and that automatically slows the car reducing the wear on your brake pads you barely need to use them at all and that's why the brake pads on most EVS last significantly longer than the brake pads on a gasoline vehicle because you barely use them okay now that you understand that part let's go over to the demo and you can see it in action so here's the test rig let's take a quick look at what we have over here I have a custom DC speed controller that I made on this channel I made this using a treadmill speed controller actually and if you want to see that video I'll put a link in the description but this will give me from 0 to 130 volt DC to power this treadmill DC motor this is a permanent magnet DC motor it's designed for 90 volts so we're not going to go above 90 volts in this experiment but because this is a permanent magnet DC motor when you spin the shaft it also generates electricity meaning this can work just fine as a generator and that's why I chose this for this experiment over here is uh all of my wiring is running through this cage and hooked up to these displays this is measuring the flywheel RPM right over here you can see the speed sensor and if I spin this around there's a magnet embedded there uh this is programmed to you know count the revolutions per minute uh this display we won't be using today this is for the experiment which we'll see in the next video it's a whole separate video I'm doing doing with this experiment that has more parts and we'll be testing different things so that'll be coming in the future DC output when I flip the power over from running this as a motor to running it as a generator this meter will then come in line between the generator and the light bulbs the light bulbs represent my battery being charged cuz I wanted a visual display and we can see how much power is being sent to the battery I did record the entire design process as well as the manufacturing of this device here and that'll be in the next video after this one so in that video I'll be talking about flywheels all the design choices I made here you'll get to see all of the CNC Machining the fabrication of this coming together and very often when people see this uh hos CNC machine they will say man I wish I could afford something like that and I got to tell you I I feel you I spent N9 years waiting to get this machine if you look at the early videos on my channel you'll see that I was building my own machine and over the course of 9 years I was selling the machines I was making selling all the gadgets that I made what I'm trying to say is in my case at least it took nearly a decade of patience and trading my labor for money to finally be able to save up and buy one of these machines if you can wait you don't have to have it overnight you can slowly build up to it but I will say that you don't need to buy a big machine you can actually order your parts online quite affordably using PCB way which is the service that I use whenever I have a part that I don't have the time to get manufactured or it's complicated and it's outside of my capacity to manufacture it I'll send a drawing or the 3D model the PCB way and uh they'll CNC cut it from it they also do 3D printed parts and things like that so if you need parts manufactured you don't have to have a CNC machine you can just use PCB we and that's why I'm grateful to have them as a sponsor on this channel cuz their service is really quite helpful so now you know what everything is let's talk about how this device works over here I've got a giant uh drum switch when I push it to the left that's the equivalent of stepping on the accelerator I will have power from the wall coming to my DC motor here when I flip it to the center position we be in coasting mode and that's why I needed this big flywheel I needed something to represent the the momentum the forward mass of the car moving forward and this is going to help maintain our coasting speed if you will in between our accelerator and our brake when I flip it over to brake that's going to switch all of the wiring from uh powering this from the wall to using it in generator mode so now these wires will be connected to the light bulb series and this is why the flywheel is so important because it has all this kinetic energy stored up you can think of it as a giant mechanical battery who has been charged up with speed and when we switch this over to the generator mode we're going to drain that energy by draining off the Speed literally the braking effect and uh using that to charge our batteries so let's start by spinning our flywheel up to 4,000 RPM which is about the top end of how fast I want to spin this thing at least for now we'll flip it into neutral and let it coast and let's measure how long it will Coast because we already know that some energy will be wasted just from uh bearings and heat and friction and things like that now actually that gives me an idea before I do that let me quickly release this and let you see how smoothly this spins with uh out being connected to the motor at all so uh here we go so that spins pretty freely right uh initially I had some bearings on here that were really stiff and it didn't spin nearly this long so uh anyway this is a notable Improvement even though this is a huge improvement over what we have before you can see that there's still friction in this system uh if this was in outer space and we had like perfect magnetic bearings with no friction at all which is basically impossible but just Pi in the sky perfect scenario this would keep spinning after I put energy into it and it would only slow down if I was using something to draw the energy off but here in the real world we've got other things that are also drawing energy off of the system so that's what you see here this spins very freely and this is very realistic for on Earth scenarios that we can expect from a real man-made device all right okay we're ready for our coasting test we're going to run this at uh 2500 rpm actually because I have a new pulley set up now these pulley used to be the same size so forget the number I said earlier whatever that was 2500 rpm will give us the appropriate speed here we'll be able to see that and then we'll measure how long it takes for this to Coast to a stop without we're generative breaking we're just going to be in neutral that'll be our base line and then we'll flip it over to break on the next test to see how long it takes how much faster we can stop with regenerative breaking here we go helps to put it in drive mode all right let's speed up there we go okay 15 seconds so I'll run a couple more tests and tell you what the average is here in just a minute okay that's super consistent so I don't think I need to run more than four tests let's go ahead and try it with braking ladies and gentlemen it's breaking time are you ready for this all right 2500 rpm first braking test 101 all right all within a few milliseconds of each other so that's good so looking at here we're shaving about 5 Seconds off of the time which is uh an obvious result we definitely know that there's a breaking effect on this shaft but I've been uh holding back on you just a little bit you see the more current there is flowing through these wires the faster the braking is so rather than try to manipulate the current by adding a heater and a whole bunch of other elements what if I just shorted the wires out if I do that the current will be near Max it'll be basically the highest possible current that this device can put out and we should get really fantastic breaking so uh kids don't try this at home but let me let me give it a shot and as you can see both sides are are connected together which is essentially a short connection that should maximize the current that we can get from this DC motor and we should see more dramatic breaking I also want to say while I'm thinking about it that the reason I chose light bulbs is because light bulbs work just fine on DC current or AC current and I'm running DC here so I needed something that was easy to plug in but also could operate on DC so with our short connected let's see how much difference there is and breaking 2500 rpm here we go yeah okay so uh less than two seconds and it's done and the whole [Music] reason I can smell that short circuit all right like I said kids don't try this at home I'm a professional at least I look like one all right so here's the deal electrical engineers can manipulate these circuits in all sorts of ways to get more or less forceful braking when you need it you're not powering light bulbs a electric vehicle has a massive motor with very high capacity and so you can get much more dramatic braking by manipulating how much electric current is Flowing uh to the battery but there's a couple other interesting things that happen when you do this because you still need manual braking you can't remove the disc brakes from an electric car the power that's available the braking power if you will is proportional to the speed so as this slows down the braking Force also slows down which means that when your car is rolling at 5 m hour your brakes don't work so you still need to combine the disc brakes with this regenerative uh braking system I found a really interesting article that talks about how Engineers will mix and match uh these various components at different stages of breaking to get different benefits like some of them maximize how much power you regenerate and and so on and you also need to think about what the user feels when they step on the pedal and what happens in an emergency when you try to break instantly and this is not just limited to electric cars trains have been doing this for decades even diesel trains that don't use the electricity would just dis dissipate the energy as heat they maximize the use of regenerative braking combined with normal braking to effectively stop the train smoothly again this technology has more uses than just in electric cars I should point out that even though the concept is the same when talking about diesel trains in particular it's called Dynamic braking since we're not actually charging anything but you get the idea now just because you can regenerate power with this doesn't mean it makes sense to hit the accelerator hit the brake hit the accelerator hit H the brake to try to maximize your regenerative power as we discussed earlier you are using energy to accelerate and you only get a small portion of that back so speeding up and slowing down is still overall wasting energy if you could have just coasted it's much better to just let the car coast and that would be the most fuele efficient or should I say energy efficient way to do it basically you should just use the brakes like you normally use them it's been designed to work exactly that way so you might be wondering just how much additional range are you going to get from using a system like this if used properly and the answer is I don't know I tried to research this briefly before I started recording this sorry I didn't get a chance to do a little bit more homework but from what I could find it looks like some resources are saying between 10 and 20% additional range I you know I might speculate it might actually be as low as 5 to 10% it's probably a safer estimation so again I haven't had a chance to find good hard numbers I think it's safe to say this will probably extend your range by maybe 5 to 7% and it also greatly extends the life of your disc brakes well initially I was planning to measure how much energy went into the flywheel and then how much we got back into our battery but unfortunately this DC meter takes several seconds to power on so it needs power for a few seconds before it starts displaying the energy I did confirm by rechecking the footage that it was supplying power the whole time but the meter itself didn't come on until after several seconds so we unfortunately lost that data but I think it was pretty obvious what was happening here perhaps by the next video I may be able to find a meter that has a separate power supply for the display something to that effect now I posted a short about this and several people commented that if you don't use your disc brakes that they will Rust and then they won't work properly but evv Engineers are already aware of this and they have a system in place that will imperceptibly squeeze the brakes occasionally just to scrape the surface you have no idea that this is happening but the brakes don't rust because there's a buil-in automatic system that protects your vehicle from that problem so it's a real problem but it's already handled and you don't have to think about it to me the most impressive part is you don't have to add any parts to the car it's really just about having good electrical design to optimize the use of this system and you can extend the life of your brake pads and get just a little bit more range which is so precious when it comes to those EV uh electric vehicles I have some exciting news for you instructible is going to be hosting a design competition called make a move and they asked me to be one of the judges for the competition so of course I said yes making a move is what my whole channel is about so anyway I'm super excited about what they're doing I think it's a really fun idea there's prize money involved sorry adults is for mostly college and uh high school students I believe I'll double check that in the fine print but if you're a college or high school student you want to make some money and have fun learning I think this is a great opportunity I would love to have my son participate I think he'd be really competitive but uh there might be a bit of a conflict of interest ladies and gentlemen thank you so much for watching I'm going to put a link to the follow-up video that'll be coming out in about a week so if it's been more than a week since this video's been up the video will be right here anyway if you want to see the rest of what's going to be happening here it'll be in the video thanks for watching
Up Next
131:45
Understanding Electromagnetic Waves: EM Spectrum, Energy & Momentum
@yoprofmatt
4.5M views•2014-08-06

12:53
21cm Hyperfine Transition in Neutral Hydrogen: Radio Astronomy Basics
@AaronRobertParsons
12.4K views•2011-10-13

32:32
NMR Spin Physics I: Zeeman Effect, Resonance Condition & Larmor Frequency
@nptel-indianinstituteofsci8064
2.3K views•2024-01-17

27:14
Entropy and the Second Law of Thermodynamics Explained
@veritasium
27.5M views•2023-07-01
Related Study Plans & Knowledge Roadmaps
Structured learning paths in Physics
physics
Nuclear Physics (Decay, Fission & Reactors)
01Atomic Structure and the Binding Force
02Radioactive Decay and Half-Life
03Nuclear Fission Mechanics and Chain Reactions
+ 2 more learning modules
12h5 modules
Explore Roadmap
physics
Soft Matter (Polymers, Colloids & Rheology)
01Foundations of Soft Matter & Thermal Forces
02Polymer Physics and Macromolecules
03Colloids, Surfactants, and Self-Assembly
+ 2 more learning modules
38h5 modules
Explore Roadmap
physics
Analytical Mechanics: Lagrangian & Hamiltonian
01Mathematical Foundations: Calculus of Variations
02From Newtonian Mechanics to Constraint Dynamics
03The Principle of Least Action & Lagrangian Mechanics
+ 3 more learning modules
28h6 modules
Explore Roadmap
physics
General Relativity (Spacetime & Cosmology)
01Foundations of Relativity: Special Relativity
02The Geometry of Spacetime: Equivalence Principle & Curvature
03Einstein's Field Equations: The Mathematics of Gravity
+ 2 more learning modules
55h5 modules
Explore Roadmap