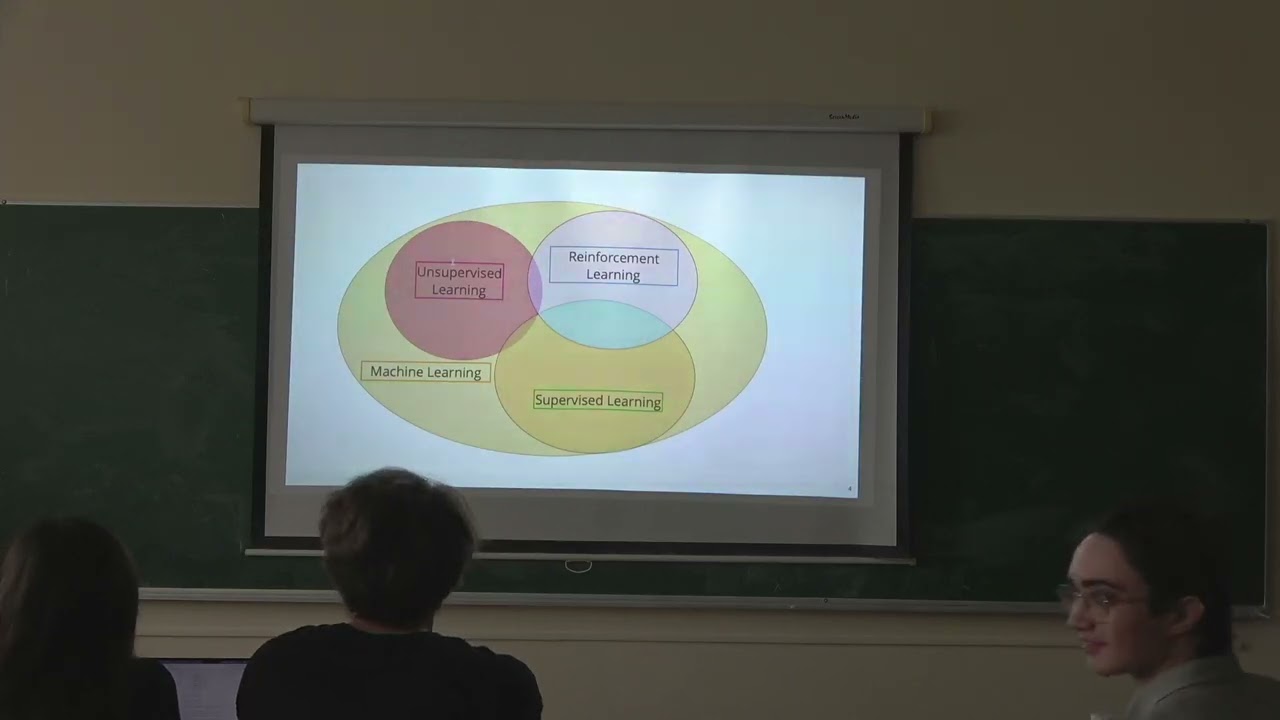
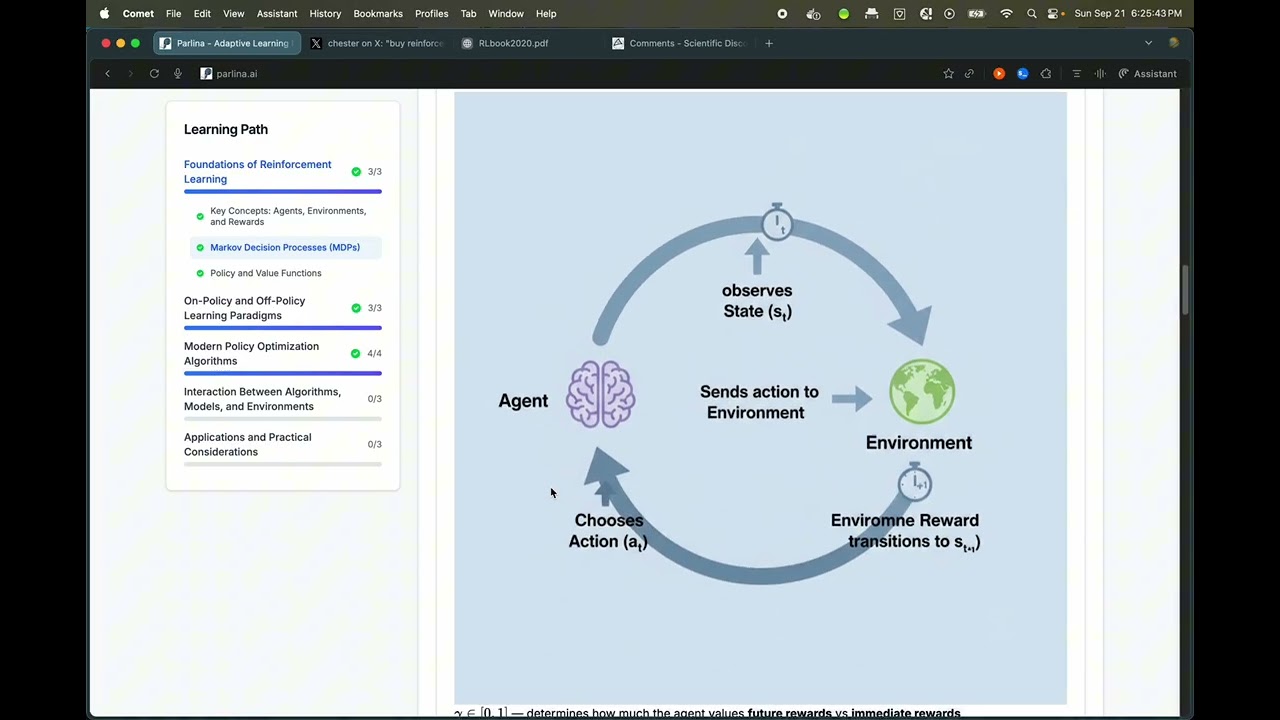

![[EEML'24] Andreea Deac & Ognjen Milinković - Reinforcement Learning Tutorial](https://i.ytimg.com/vi/nCKXzXrdWYo/maxresdefault.jpg)
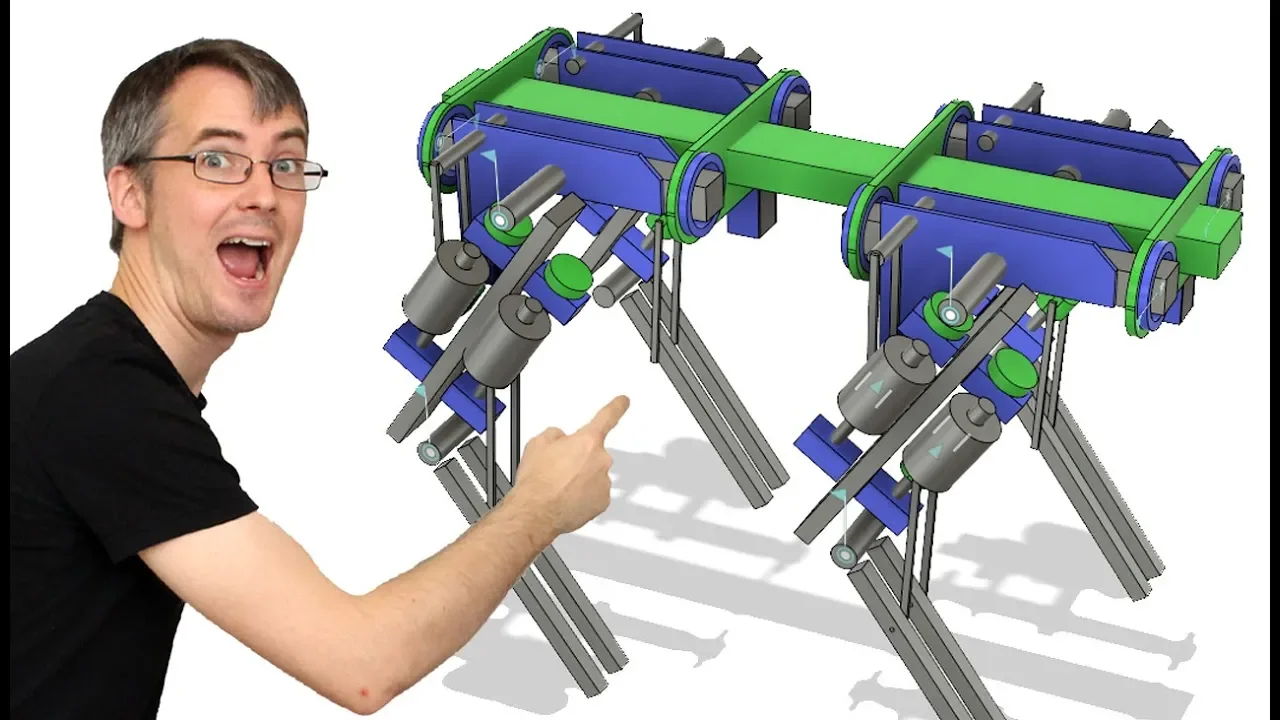






![[LabMeeting] Generalized Force Model Fine-Tuning to Bridge Sim-to-Real Gaps in Bipedal Robots](https://i.ytimg.com/vi_webp/yEhThN3YV1E/maxresdefault.webp)




![[Lab Meeting] BOLT humanoid development update](https://i.ytimg.com/vi_webp/l1nZfwdwYcI/maxresdefault.webp)

![[Lab Meeting] Constrained RL and Egocentric Vision Policy Learning for Humanoid Locomotion](https://i.ytimg.com/vi_webp/UDbAAtEpV6A/maxresdefault.webp)
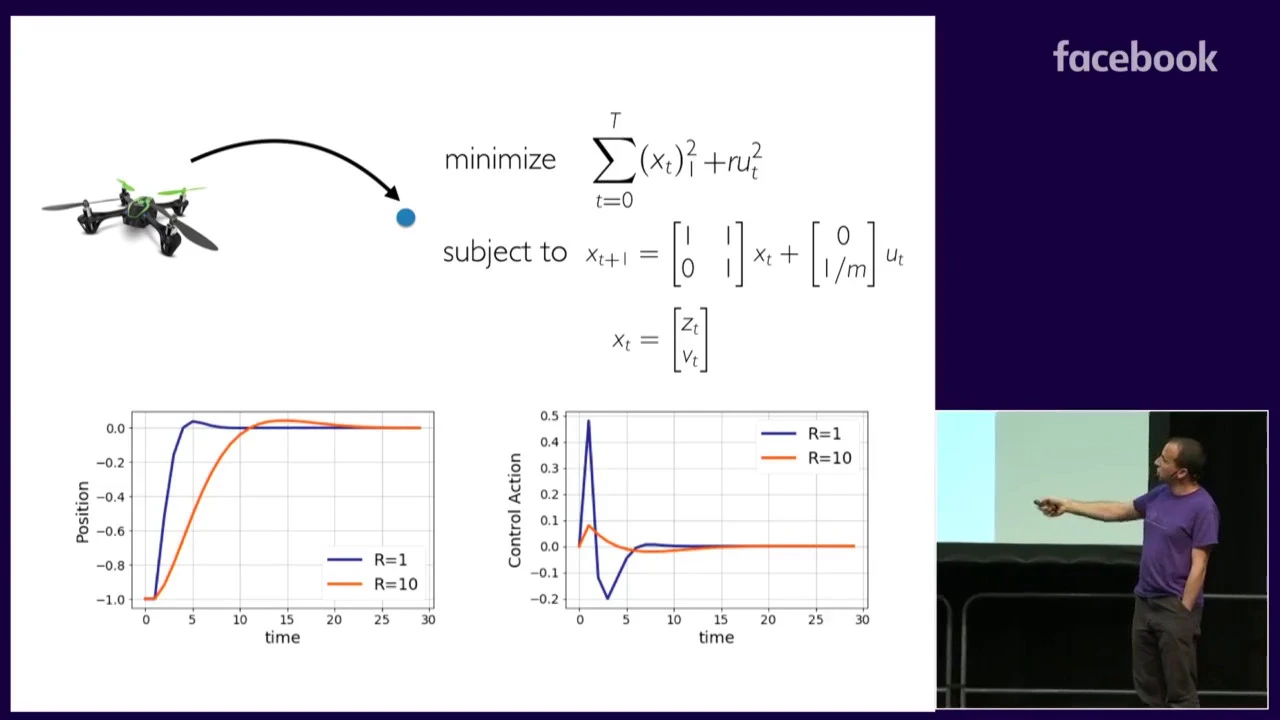
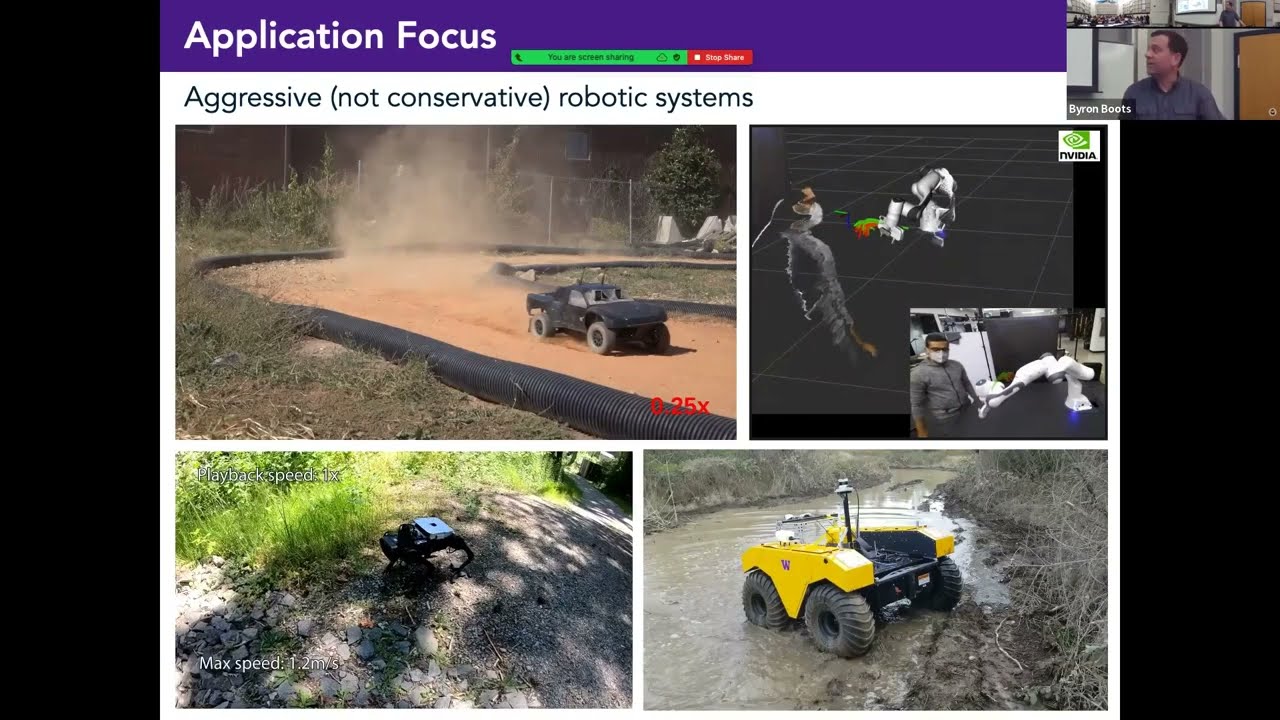
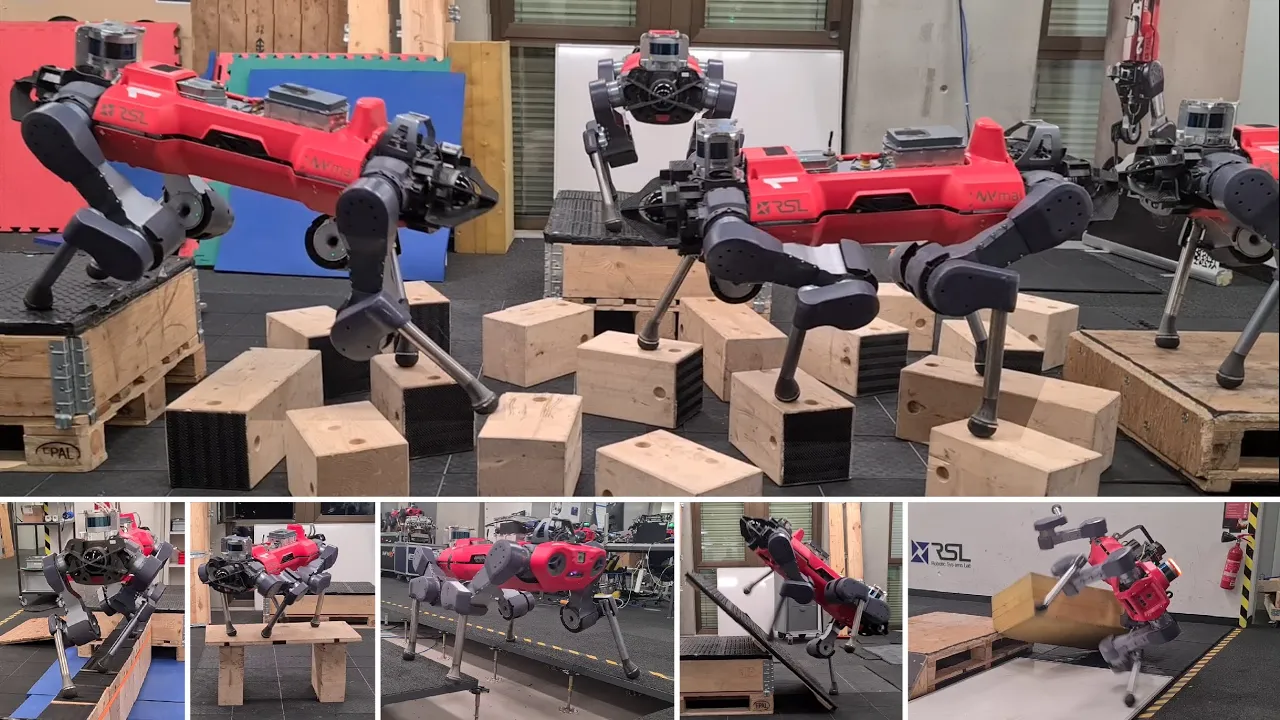


This video demonstrates the complete pipeline for training and deploying reinforcement learning policies to control quadruped robots, covering the installation of simulation environments (NVIDIA Isaac Lab and Omniverse), training policies using reward functions with multiple components, performing sim-to-sim testing for safety validation, exporting policies as ONNX files, and deploying them on real robots through SSH and wireless connections, while highlighting the inherent sim-to-real gap that affects policy performance in real-world conditions.
Quadruped Robot Control with Deep RL: Training and Deployment on Lite3
Added:Fundamental concepts of Reinforcement Learning, including Markov Decision Processes (MDPs), policy gradient methods (such as PPO), and reward function design.
Basics of robot kinematics and control, specifically joint-level PD (Proportional-Derivative) control and the mechanics of legged locomotion.
Familiarity with the PyTorch deep learning library for building, training, and running neural network policies.
Understanding of physics simulation principles and the concept of the 'Sim-to-Real' gap in robotics.
Advanced Sim-to-Real adaptation techniques, such as dynamics randomization, system identification, and domain adversarial training.
Perceptual (vision-based) locomotion, which integrates depth cameras or LiDAR data into the RL policy to navigate complex, uneven terrains.
Hybrid control approaches that combine Model Predictive Control (MPC) with Reinforcement Learning to achieve robust and safe locomotion.
Optimization of RL policies for real-time edge computing on embedded hardware using ONNX or TensorRT.
41.5K views106likes17:11Original Release: 2025-09-06
[Music] Hi, my name is Percy and I'm a control engineer at Deep Robotics. Today I'm going to teach you guys how to train IO policy from scratch to control a live streaming project robot. First, we'll start by installing Aset lab. Aset lab is built by Nvidia. It's currently the most popular simulator for robotics around the world.
To start installing as lab we are using an Anaconda virtual environment and we'll work on that. It's very easy to install Anaconda virtual environment. We simply just copy and paste command and let it run. And here we have our virtual environment.
After that we need to install PyTorch for CUDA acceleration. You can also install PyTorch on the PyTorch official website if you have more upto-ate GPUs like their code may install like a more upto-date version of CUDA and PyTorch.
But here we I'm going to use the command here on their official website cuz it's enough for me.
[Music] Okay, after installing PyTorch, we can start installing SIM. It's very simple.
We just copy and paste this one line command and it will start installing. It may take some time, but uh we just let it run.
[Music] After installing ISX scene, we need to verify the installation. We can simply just type IS6 here and type yes.
[Music] And if you guys can see this empty window pops up, uh that means your i6 has been successfully installed. The first time start is going to take some time. Uh I have already run multiple times here. So it's pretty fast for me.
Now we can start installing lab. First, let's get clone the code from the ripple to our local computer and [Music] let's install some build essentials.
We need to fix some broken dependencies.
Okay, [Music] now we just use the use their script to install it. Islab.sh SH install.
I'll just let it run.
[Music] So there may be some bugs coming up but it's totally fine. Okay. Now we have installed as lab. Let's verify the installation.
[Music] Also, if you guys can see this empty window pops up, it means that ISAC lab has been successfully installed.
And we can also use lab to train a simple robot. We'll choose the ISX end example here to see whether we can start training. Okay, so now you guys can see the code is starting to run and we are currently training an SM robot and now we'll start diving into our live three training code.
Okay, so let's go to our deep robotics GitHub center and go to this IO training repo. First, let's get clone the code to our local computer and install this package.
To verify the installation, we can use this line of code to list the environments.
If you guys see these four environments, it means your our training code has been successfully installed.
And now we can start training our light three robot. We just use this command.
Specify the device [Music] and the code is starting to train.
Now the training has finished and we can check what we got from the results. So let's go to the logs folder and go to this rsl deeper library 3 rough. We can use tensorboard to check the training process. Just type tensorboard log directory and just click this link and we can see the training process smooth curve reload data and increase the number of road components. So there is uh there are many reward components here because the reward functions consists of different reward different parts of the rewards. We'll dive deeply into this in the next video.
Okay. So now we can we can also check the training results uh uh visually and in an interactive way. Just copy this command type keyboard so we can inter interact with it. And you can also specify which checkpoint you want to use. Going to choose the last checkpoint. So the default number of apples we train is 20,000. And you guys can change it if you want to train more.
[Music] And now here's a small live 3 robot here. Just click console and uh we can start controlling the robot.
Oops, this is not working well. And so now you guys can see that the live three robot can be controlled to traverse on uneven terrains uh in Isc lab simulation and it's working pretty well [Music] now. We can also control it to traverse on some stairs. But um this is a very simple policy. It is only for tutorial purposes. Uh this this the performance is not that good. So of just kind of falls to the ground.
So this is this part is called simtosim test. It is very necessary before you deploy the robot deploy the policy into the real robot.
uh you need to check whether the API is correct, whether you send the correct data. Otherwise, if you just like send a very large torque, it's going to burn the motors or it's going to cause some very dangerous behavior. So, it's very necessary, very important to do the simp uh process. After playing lab autonomically, just export the policy as an onyx file. We we're going to use this Onyx file on the real life 3 robot.
It is also very easy to use this ONX file. We can just copy and paste this policy to the IO deploy folder which we'll go back which we will dive into later.
We just check the train policy in ISC lab. Now we're going to check it in uh in the modical simulation because um we built our magical simulation to have the exact same API as a real robot. uh if it if the robot in magical simulation can move uh normally as expected it won't cause any like dangerous behaviors in the real system. So this part is called sim to sim test. It's very important and it's very important for safety.
Before deploying before doing the sim to sim test I want to introduce a very useful tool. It is for segmentation fault. So when working with C++ working with C uh sometimes we just get a segmentation fault and we don't know where the bug is coming from. This tool can tell you which function in which file caused the problem. And to install this function is very easy. will simply just copy these commands and uh start installing and our our code has already integrated with it. So if you install this tool and run our code, our code will just autonomously use this tool.
Afterwards has installed pi bullet and magical code.
I I created cond environment to work with is just uh to separate it from other code.
Okay. Oh, I have already have a like real IO point. Let's just remove it and start over again.
Let's click get get clone it recursively cuz we have a lot of third parties for communication with the hardware uh for UIF models. So, it's a it's a pretty complicated folder.
Okay. Now, let's go into our live 3 IO deploy folder and just make build folder and go to it. check the CMake uh flags.
We'll also dive deeply into the the meaning of this code, the meaning of the flags. Uh but in this video, we're just going to run the process so you guys can deploy it and we'll start compiling.
So the compiling has succeeded.
To run the code to run the program to run the executable program uh we need to open two terminals. So then in the first terminal let's go to the simulation and uh run our module simulation file Python file and in other in the other terminal we run our executable IO deploy file. So, we also have this uh nice colorful debugging information in Mojuko. Uh it will print it out uh one FPS. You guys can uh debug it if you didn't if the sims test didn't goes very well.
And to control the robot in Magical, first press Z to enter standup mode. The robot will just stand up by itself. And then press C to go into control mode.
Now we can start controlling the robot with our keyboard.
So now we can just press WD to control it to move around and Q and E to control it to make turns.
And we can also control it to go upstairs. It works pretty well in simulation at least for now. But usually the stairs seem to real gap and in the real robots doesn't work as smoothly as this.
This is the package of a live 3 quart robot.
This is the charging base.
This is the charger and this is the cable.
You can connect them like this.
And here's the light three battery. Can just put it there and it will start charging. This is the retray game pad. We're going to use this to control the robot. Here are some p some parts for the foot pad of the CPA robot.
If it's broken, you can just use it to replace it. Sorry.
[Music] And this is the light 3 robot. Here's the battery. To get the battery out of the robot, you should lift it up a little bit and there's a button there and just put your fingers at the bottom and click it. the battery will just slip out. And to put it back, just simply do that. Okay. To to start the battery, to start the robot, just short click and long click the battery.
And if you see the lights of the head is starting to turn blue, it means the robot has uh uh has been started.
The next step is to connect both the laptop and the game pad to the robot.
Uh you can find the name of the Wi-Fi from the bottom. You can just flip it and you can see it. And we're going to connect it with the Wi-Fi. The password is usually 1 2 3 4 5 6 7 8.
And we have already connected.
We also need to connect the game pad to the Wi-Fi.
[Music] Okay, we have connected both of them. So the next step is to transfer the files and the policy to the robot. We have already done that. If you guys haven't, you can use SAP file to transfer the files to to the to the robot. The password is a single quote.
So now let's just enter the onboard computer by using SSH.
[Music] Okay. Now we and to run the file. So we have already finished compiling. Uh if you guys haven't just follow the readme command and you will use that uh cm make flags and start compiling. After that just run the IO deploy file exactly the same as to sim.
So you can see the robot is starting to move. The default uh controlling of the robot is to click this one to stand up and to click this one to enter IO control mode. Okay, so now we are inside control mode.
Let's take it for a walk.
So you can use the joystick to control it.
And you can also traverse on uneven terrains as where we uh train it on.
So this is very normal to happen. When it happens, it will just enter a safety mode. You can just uh take it up, put it on a flat terrains, [Music] put the legs like this. Uh okay we better like there's a slope here just in the same way control it to stand up enter the control mode. Okay now we can just control it to walk back.
[Music] So the performance of this policy is not very good. It's only to uh give you guys a tuto tutorial to know how to control the robot.
You can also let it go upstairs a little bit.
So it can uh go over like one or two stairs, but the policy is not trained to go over multiple stairs at the same time. So if you guys remember in the simtosim test, there are some stairs that the robot can go up to. Now we're going to see whether it can go up in the real in the real world.
So as you guys can see it cannot go up.
Uh this is very normal cuz the synal gap is definitely bigger than the sync scene gap and Mojuko simulator it doesn't have any noise doesn't have any uh turbulence. So it is uh very clear that the simp gap is going to be bigger and this is very normal to happen. So this is the end of the tutorials. Uh good luck with your own robot development.
Thank you.
[Music]
Up Next

118:16
Robotics 2: PD Control and Stability Analysis (Lecture 14b) | Prof. De Luca
@videodiag-sapienzauniversi4757
2.5K views•2020-04-23

58:25
MathWorks Virtual RoboSub Simulation Environment | Webinar 2026
@RoboNationInc
209 views•2026-03-10

11:04
How to Build a Self-Balancing Robot: Arduino Nano & MPU6050
@easytechzones
16.8K views•2022-03-09

25:22
Micromouse: The Fastest Maze-Solving Robots on Earth
@veritasium
23.5M views•2023-05-24
Related Study Plans & Knowledge Roadmaps
Structured learning paths in Robotics
robotics
Building Delta Robots: Kinematics & Pico
01Foundations of Delta Robots & Mechanical Design
02Electronics and Microcontroller Setup with Pi Pico
03Delta Robot Kinematics and Coordinate Math
+ 3 more learning modules
65h6 modules
Explore Roadmap
robotics
Building Ballbots: Dynamics, Kalman & LQR
01Embedded Electronics & Omniwheel Actuation
02Ballbot Kinematics & Rigid Body Dynamics
03IMU Sensors & Kalman Filter State Estimation
+ 2 more learning modules
42h5 modules
Explore Roadmap
robotics
Micromouse: Hardware, PID Control & Flood-Fill
01Electronics & Teensy Microcontroller Basics
02Sensors and Actuators: Motors, Encoders & IR
03Precision Movement: Implementing PID Control
+ 2 more learning modules
35h5 modules
Explore Roadmap
robotics
CDPR: Kinematics, Arduino & Winch Control
01Foundations of Arduino & Basic Electronics
02Stepper Motors and Winch Mechanics
03Kinematics of 2D Cable-Driven Robots
+ 2 more learning modules
28h5 modules
Explore Roadmap