












![অধ্যায় ০৬ - মোলের ধারণা ও রাসায়নিক গণনা - বিভিন্ন মোলারিটির দ্রবণ প্রস্তুতকরণ - ১ [SSC]](https://i.ytimg.com/vi/JQB-8OA6vYE/maxresdefault.jpg)








![[TALK 7] Biomolecular Thermodynamics and Calorimetry - Chris Johnson](https://i.ytimg.com/vi/mPg_PgbjRN8/hqdefault.jpg?sqp=-oaymwEmCOADEOgC8quKqQMa8AEB-AH-CYAC0AWKAgwIABABGGUgZShlMA8=&rs=AOn4CLDdf3BdAodgpLjgj1tWAitNnKk70A)


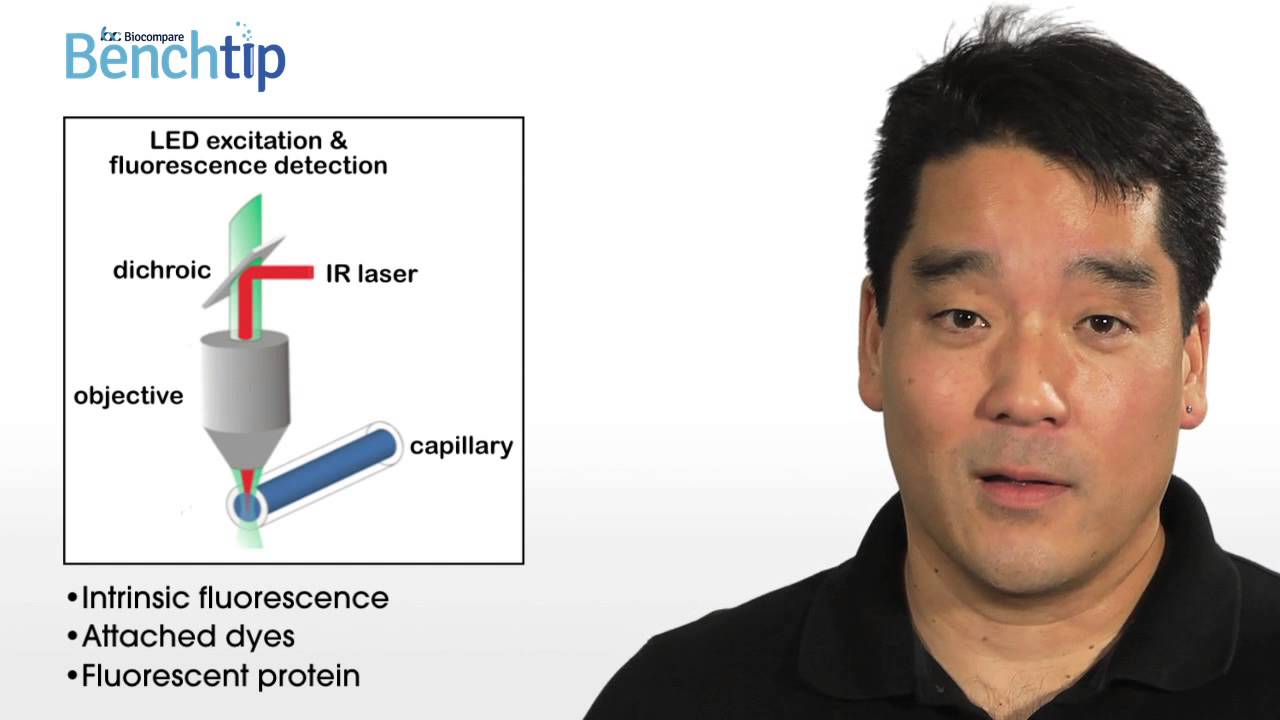






This video demonstrates the complete procedure for running a successful Isothermal Titration Calorimetry (ITC) experiment, covering five essential steps: (1) Washing the syringe using the syringe wash command in the ITC software; (2) Washing the cell with detergent (50 mL) followed by water (200 mL) using the thermovac system; (3) Filling the syringe with approximately 150-200 μL of solution and filling the cell with 300+ μL of solution; (4) Setting up the experiment parameters including total injections (25-35), cell temperature, syringe concentration, cell concentration, volume per injection (1.2-1.4 μL), and spacing (180 seconds); (5) Processing the collected data using Origin software to obtain binding parameters such as dissociation constant (Kd), enthalpy change (ΔH), and stoichiometry (n).
ITC Experiment Tutorial: Isothermal Titration Calorimetry Guide
Added:hey this is Sunil Kumar and today I'm going to show you how to run a successful ITC experiment and uh this is the ITC instrument and uh it contains a reference cell which you can see here and a syringe so we going to run an experiment and it is divided into five parts one is first one is H we're going to wash the syringe wash the cell and then we'll fill the solution in both syringe and cell and then uh we will uh set up an experiment on the on the Monitor and we will start it so first of all uh if you see uh you will find this instrument the syringe in this position and uh what we have to do is uh we will wash it and uh the commands that are controlled by by the monitor so you have to to watch the syringe we have to come to the Monitor and uh these are uh this is the software uh of this instrument and uh if it is not opened you can always open it it's on the desktop itc200 and uh then what you do is uh there are several tabs on that so you have to go to instrument controls click that and then uh you will find different commands here so we were looking for syringe wash you can see here you click the syringe wash it will ask you please connect the syringe and uh then you since the syringe is already on wash position you can see this is the wash position uh and there are there is another position which is the rest position you take it out this is the rest position and if you have to load the solution that will will be the third one which is the loading position so right now we have to wash it so we will again take it back to the wash position click that okay and uh you can see it already start washing the syringe so now the next step is now to wash the the cell and uh we going to use this plunger to do that so there is a hole in the in this box which is for the for filling the solution so you carefully put the plunger inside that and uh softly gently push it a little bit and then one of the tubes you have to wash the the cell with first with detergent and then with water 50 mil of detergent and then 200 mil of water so what you're going to do is you have a tube open ended here uh and you put it in inside the detergent and with the help of this Thermo we going to wash the cell so you startop the the no knob of the thermovac it's always uh in Middle position so you start it by pushing it towards right as you can see it started and uh it will take a few seconds to start coming so solution in the waste which is the soap [Applause] solution and once it started then uh you can move the mob uh sorry the knob to the extreme right and once you finish washing the the cell with the soap then you can switch without stopping the thermovac you can switch the pipe tube to the water and uh you have to repeat the same washing with the water instead of 50 mil now you have to use 200 mil and you make sure you keep on refilling the tube once it's closed to empty with the Nano water from this big bottle and uh they are always there so the syringe is about to be finished washing you can see on the monitor here uh there are only 1.4 minutes left now so once the wash is done uh it's going to stop automatically you don't have to do anything as you can see right now it's still washing but it's going to stop in a minute and uh as far as the washing cell is concerned uh once 200 100 Mil is done you take out the tubing and then you can hold it in hand so that whatever solution left in the cell it come out and uh then you can switch the knob of the thermovac at stock position which is the middle position and then put the put back this plunger take it out gently and then put it back at its earlier position and this is how you wash the cell and you can see over here now in the monitor the washing of the syring is also done so the next step is now to fill the solution in both the syringe and as well as the cell first I'm going to show you how to fill the solution in syringe so for that uh there is a syringe here so you first have to transfer the solution of the legand which you want to fill in the syringe from bigger end off tube to the smaller tiny ones so they are specific for this uh uh ITC you can borrow from here some of the them otherwise you can come here and transfer your solution from your Endor tube to these small ones they are 200 microl L volume so you transfer about 150 or 200 micro L volume and then put it at the load position and uh once you do that now we go back to the monitor and again look for the command which is a syringe fill you can see here click that and it's going to ask to play place the pipit in rest position so you take it out from here and put it this is the rest position and now you hit okay and wait for the next command on monitor and uh it will take 5 10 seconds and then it will ask you to put the pipe it in tirant you move the syringe to the Loading position and then you hit okay so it will take less than a minute to do that it's going to suck the solution up back and forth make sure that uh there won't be any B bubble inside the syringe and then uh we will wait for the next command in the meantime which is the next part to fill the solution in cell so what you do is you take the syringe which is sitting in front of the machine Take Your solution and fill it the cell contains 200 micr solution so ideally you should make 300 microl solution or more than that and uh now what we going to do is we're going to fill the cell with the solution so there's a central hole in that so you slowly put the syring inside and uh release the solution inside so since the volume is 200 microl in there but our syringe contains more than that so you make sure you overfill the the cell and uh then you kind of move the syringe a little bit so that if there is any bubble you introduce during the filling it's going to go away so you kind of move it for 10 seconds inside keep on doing that little bit up and down as well and make sure you remove any bubble if you introduced so after doing that you suck the extra solution from the cell so uh once you get this meses after the syringe dry uh you have to unhook the syringe from the tubing gently and uh you take out the syringe and put it inside the cell so after this you click okay on the screen for this message and uh this is the process of washing the syringe as well as the cell and filling the solution in there so the next step will be to set up an experiment we have to switch from the instrument controls to another tab which is Advanced experimental design click on that and you will see a different screen and uh some commands here so now couple of things one is total injections generally we keep it from 25 to 35 depends on your need or uh you can uh see some old literature reports if somebody has done ITC on your system and uh then the cell temperature you can vary it accordingly uh whatever temperature you want to run the experiment and you are not supposed to touch these uh values and over here you can fill the syringe concentration value so right now U it's 1 M so I'll just change it to 1 Millar and the cell concentration uh is 25 microl here so it's 025 and uh you are not supposed to change others so one more important thing is the volume per injection so the syringe contains 40 microl L and uh you need to make sure that you already have let us say 27 injections here so you multiply this number with this and it shouldn't exceed 40 microl otherwise you end up uh messing up your experiment with bubbles so you always double check the the multiplication so that it won't exceed 40 microl and uh generally we keep uh 1.2 to 1.4 microl of injection but you can increase or decrease it accordingly and uh spacing 180 uh seconds which is 3 minutes people do it up to 5 minutes as well depends on uh how fast or slow you want to go with the equilibrium and uh you see there are all the injections here you can check them and once you are done with this then the next step is uh to put the data in your file so for that you need to make a folder and uh what you going to do is you go to shortcut to data and uh make a folder here so I'm going to show you how to make this folder with my name I made a folder and you can close it now you go to you have to change the tab you go to real time plot um you go to setup and uh over here you double click on the data file path click on ITC data and then you scroll to find out the folder we just made which is here so click that and you do the same thing with the setup file path it's it so that's it so now the experiment you are running will go in your folder so now you come to again advanc experimental design and uh you change it to name whatever you want of your experiment and uh you start the experiment but before starting you might want to double check all the parameters like number of injections temperature and concentrations and volume per micr double check it and you can start the experiment so once you start it the screen will change and will show the real time uh experiment so once the experiment is done then uh we can process the data and to do that we we need uh the software which is origin 5 or origin 7 whichever uh you have I'll show how to do that so origin you double click that go to read data and open the folder and you see a file double click that and it will show the experiment with the row dat data file so you can see the full picture by going to the ITC final figure and this is the full file so you can actually fit it with one binding side or two binding side depends on how many binding side you have on your uh data file so you can just let us say one data file you can fit it uh keep on hitting this one itary until unless you get the ideal plot and then you done so this is how you fit the data and you get all the binding parameters which are here
Up Next

Spatial Justice & the Commons: Urban Sustainability Explained
@unhabitatglobal
5.6K views•2020-08-11

Triumph of Orthodoxy Icon: Byzantine Art & History Explained
@BenCallan
2.1K views•2024-08-06

FastAPI vs Flask vs Django: Choosing the Right Python Web Framework
@TechWithTim
302.5K views•2024-05-26

Game of Thrones Opening Credits: A Cinematic Analysis
@gameofthrones
46.3M views•2011-04-18
Related Study Plans & Knowledge Roadmaps
Structured learning paths in General & Interdisciplinary Studies