













![LAZO ABIERTO y LAZO CERRADO ✅ [Sistemas de CONTROL] #009](https://i.ytimg.com/vi_webp/CxGFoeJ7SD8/maxresdefault.webp)


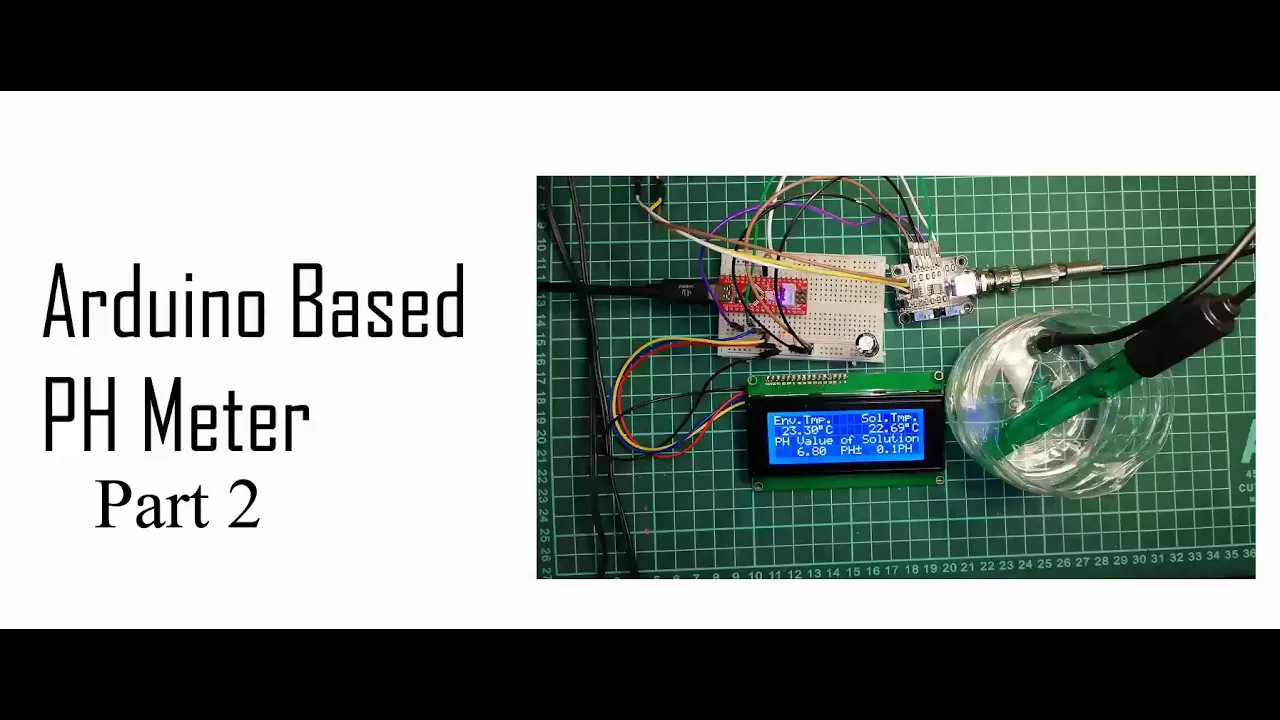
This tutorial demonstrates how to interface a pH sensor module with Arduino Uno, covering hardware connections (VCC to 5V, GND to ground, PO to A0 pin), understanding the pH probe structure with glass membrane and reference electrodes, applying the Nernst equation for pH calculation, and performing two-point calibration using pH 4.01 and pH 7.00 buffer solutions at controlled temperature (30°C). The calibration process involves measuring the sensor output against known buffer values and adjusting the calibration constant in the Arduino code to achieve accurate pH readings.
Arduino pH Sensor Interface: Calibration & Working Principle
Added:Fundamentals of Chemistry: Understanding the pH scale, hydrogen ion concentration, and the logarithmic nature of acidity and alkalinity.
Basic Arduino Programming: Familiarity with the Arduino IDE, writing sketches, and utilizing basic functions like analogRead() to interpret sensor data.
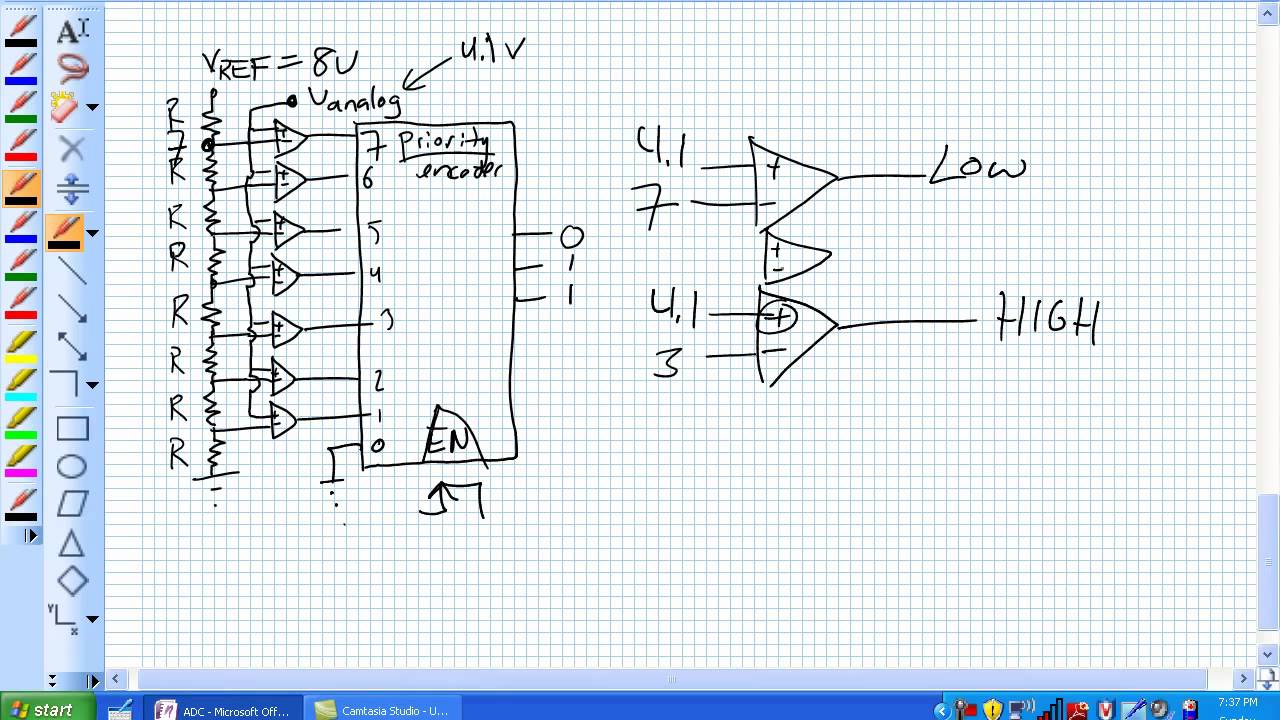
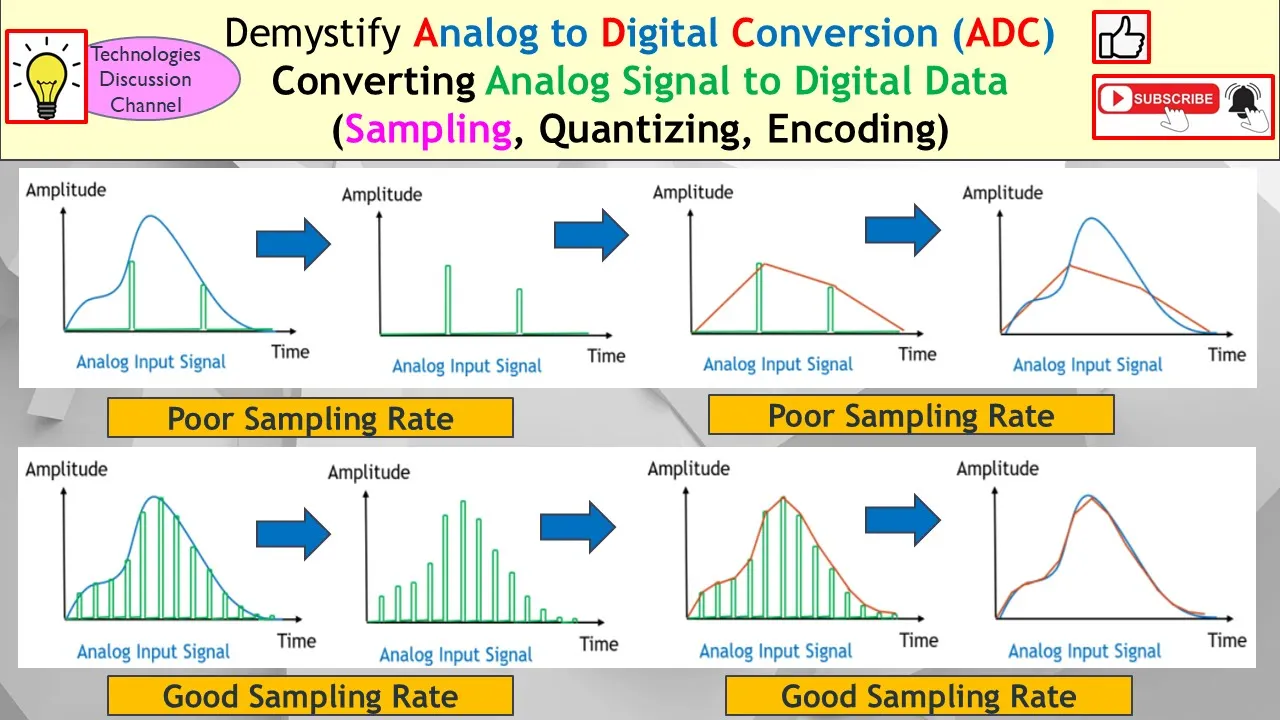
Principles of Analog-to-Digital Conversion (ADC): Knowing how microcontrollers convert continuous analog voltage signals from sensors into discrete digital values.
Basic Electronics Wiring: Understanding breadboard connections, common ground (GND), and power distribution (5V/3.3V) to prevent short circuits.
Temperature Compensation in pH Measurement: Integrating temperature sensors and using the Nernst equation to correct pH readings for temperature variations.
EEPROM Storage for Calibration Data: Learning to save calibration offsets and slopes in the Arduino's non-volatile memory so calibration survives power cycles.
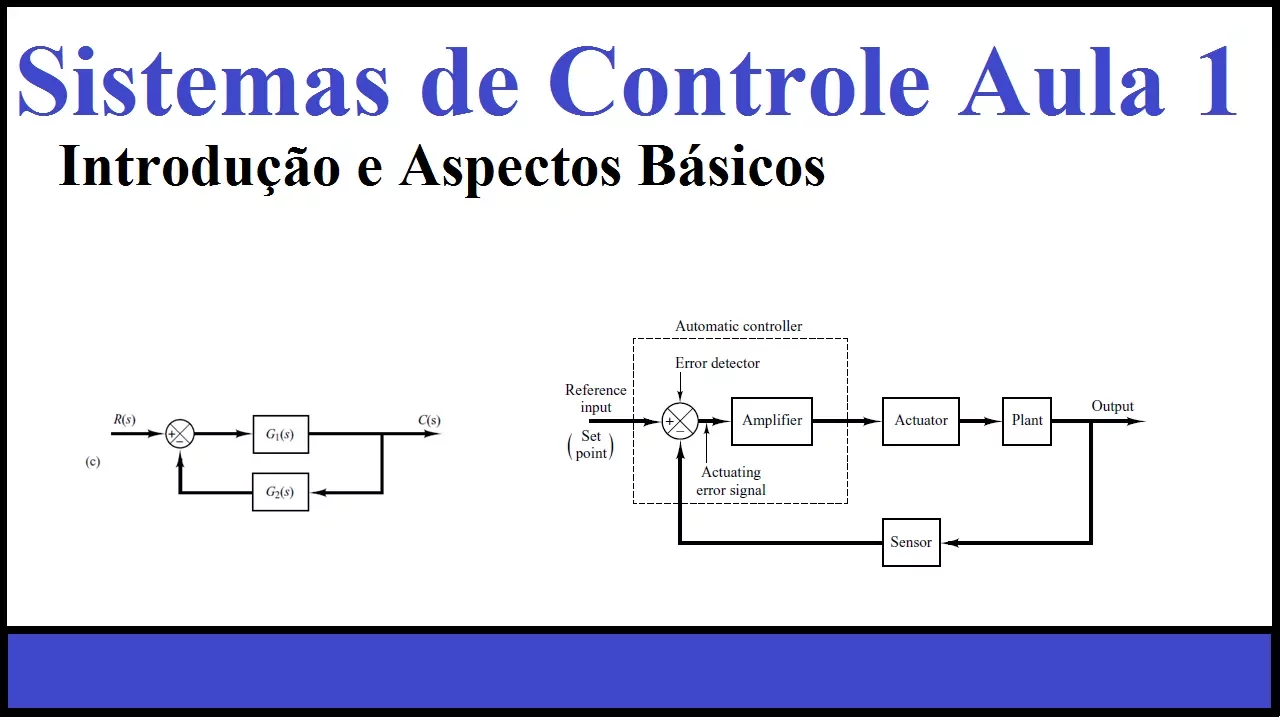
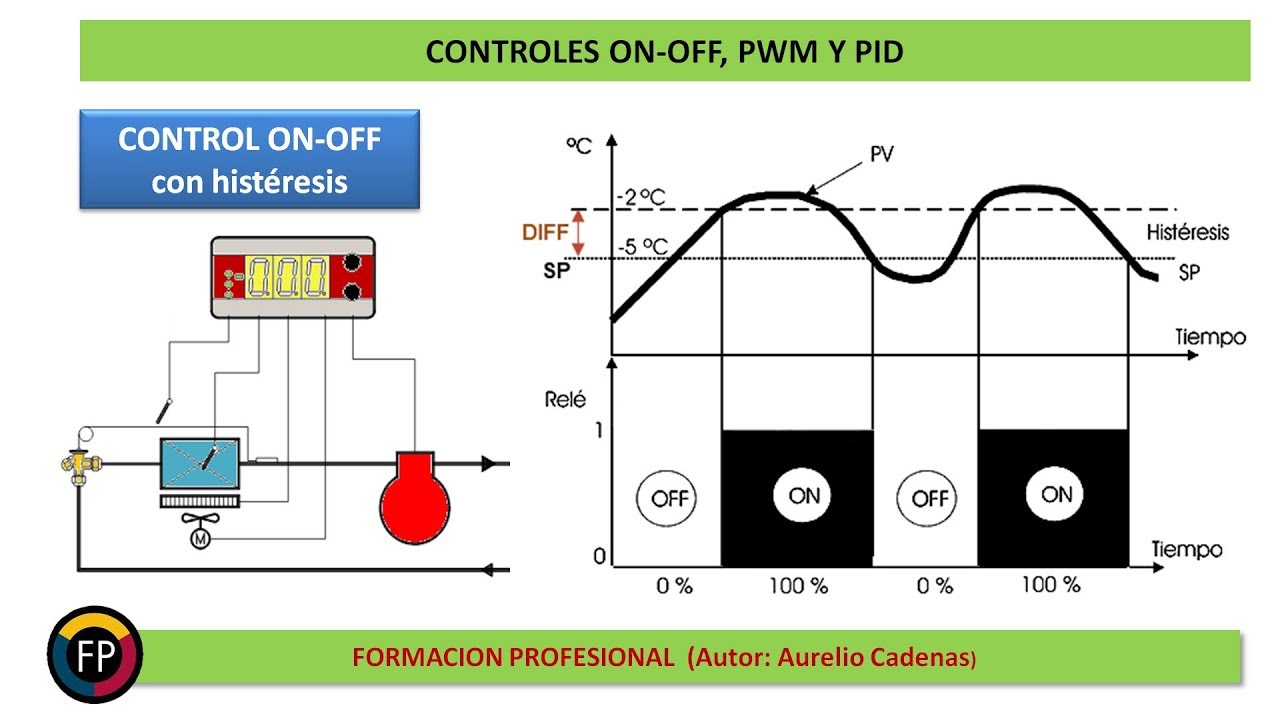
Closed-Loop Control Systems: Developing automated dosing systems (using pumps and PID algorithms) to maintain a target pH level in hydroponics or aquariums.
IoT Integration and Remote Monitoring: Connecting the system to Wi-Fi modules (e.g., ESP8266/ESP32) to stream pH data to cloud dashboards and set up threshold alerts.
17.1K views163likes8:09Original Release: 2021-07-15
[Music] guys welcome to techtube today we will see how we can interface ps sensor with arduino now let us look the ps sensor module as you can see on the right hand side we got our ph module and we have the pins like this todo po ground ground vcc now t os temperature output do is 3.3 volt output po is ph analog output and these are the two ground pins and the vcc pin now we have to connect vcc to 5 volt ground to ground and po to a0 pin of arduino uno now remember guys only connect the first ground pin from here from vcc not the second one as it is not required you can connect that pin also but it is unnecessary so it's your wish now we'll see the ph probe this is the ph probe look like uh we have the glass membrane internal buffer elect internal electrode reference electrode and the reference electrode from this side okay now how the ph is calculated is based on the nernst equation and the next equation is look like this go to this blog as you can see or this site and go to ps sensor and click on the read mode see the next equation look like this e is equal to e0 minus 2.3 rt upon nf ln of q and you can find the parameters over here now we'll see the hardware so this is how ph module look like i have got a as you can see ph4502c now these are the pins of ph module as you can see and we have got one bnc connector bnc interface and we have pins like this we have tos temperature output we've got d o d o is for 3.3 volt output then p o p o is ph analog output and we've got two ground pins and one vcc pin and as you can see these are two variable part one this variable part is for analog reading offset and this variable part is for ph limit setting now as you can see this is nothing but temperature compensation and these are four mounting holes so this is how the ph module look like and here we'll connect the ph pro i will show you how ps pro look this is the ph pro and it's stored in electrode storage bottle i will show you how it looks like let me open this as you can see this is the liquid and i will focus here as you can see this is the glass and we have to store the ph in the storage electrode storage bottle only to get the perfect reading otherwise it will it will affect the readings and will connect the bnc cable as you can see pro like this now we are ready to go connecting the hardware the first thing you should do is to calibrate your ps sensor and how you can do that by adding this ph buffer powder we all know that as the temperature varies the ph varies right so how you can do that first take 20 hundred 250 milliliter of water right and add this 250 ml liter solution powder in that now suppose the temperature of water is 30 degree celsius so after adding ph 6.86 at 30 degree celsius of water you should get the result around 6.85 you can do the same thing in the code and i will show you how to do that in the code first you have to understand this let's go to our whiteboard now suppose we have a solution whose ph is seven right whose ph is seven and now when the electrode is dipped in the reference solution and as i have shown you uh we have got one probe and the in the lower part of the probe we got the electrode storage voltage right when you upload this code first you will get some initial ph right suppose that ph is 6.5 right now what you have to do you have to subtract these two value and you will get 0.5 now in the code as you can see at line number seven float calibration value is 21.34 but this is not what we want okay so what you have to do you have to calibrate it by adding 21.34 plus this result okay 0.5 now after adding this you will get 21 [Music] right so now you have to write 21.84 now we'll upload this code okay as it says now we'll upload this code okay as it says done uploading and one more thing guys what you want to see in the future please comment down in the comment down and let me know what sensor would you like to see in the future videos and stuff like that and also you can go to [Music] these site this website and you can find everything related to ps sensor the pin diagram and how to calibrate it and how to check the offset and the ph buffer powder how you can do that calibration you can find the code over here and you can see the result here okay right and you can also see the newest equation and copying code and uh just uploading in the arduino is not what we you want right you just want to uh learn everything about that sensor you work on so please comment down and let me know what you want to see in the future for now we'll see the hardware right now i have connected the r arduino with lcd and i have connected the ps sensor as you can see with the arduino un now will write the code for the same after uploading the code as you can see i have dipped this ph probe into the glass of water and you have to stir it well to get the correct reading now as you can see we are getting 6.76 almost close to neutral so this is how you interface ph sensor with arduino uno
Up Next
4:43
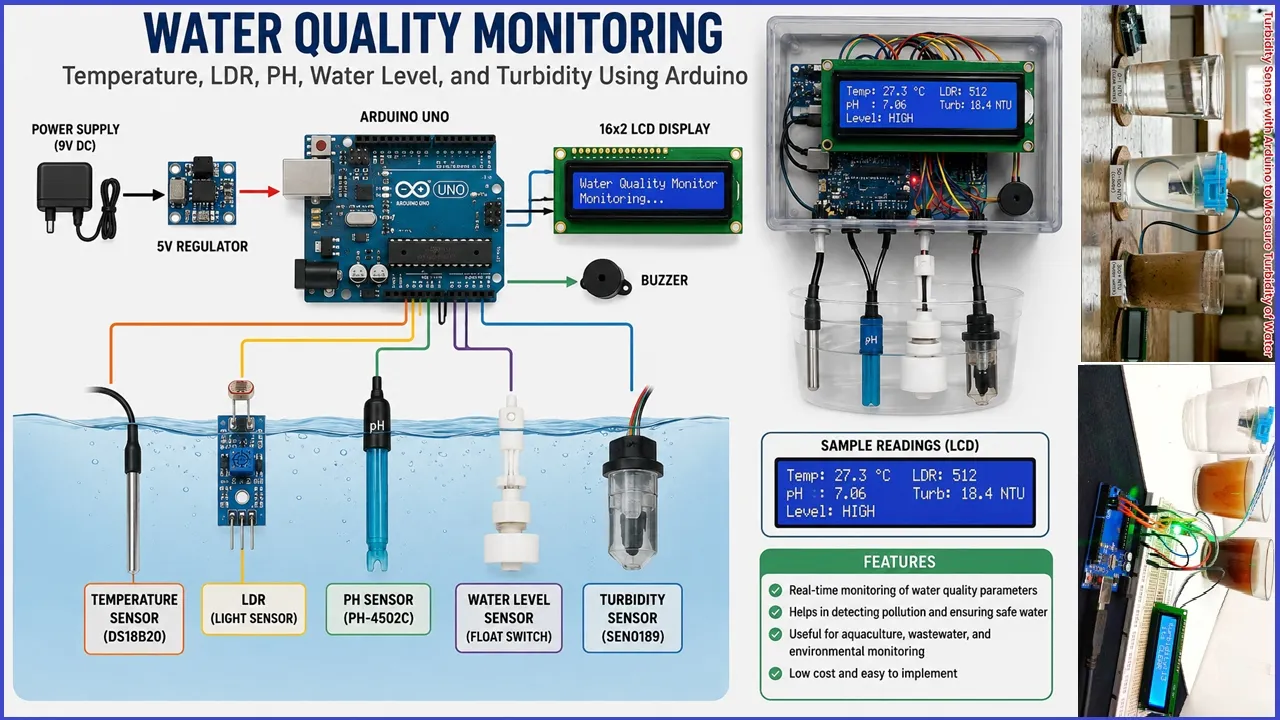
Arduino-Based Water Quality Monitoring with pH, Turbidity, Temperature, LDR, and Water Level Sensors
@svskits
18.8K views•2023-11-07

30:32
Ultrasonic Transducers: Resonant Frequency Measurement and Horn Design
@imajeenyus42
229.9K views•2017-02-22

54:16
Polymer Environmental Degradation: Mechanisms & Stabilization
@iit
1.8K views•2012-07-10

33:39
How a Student's Question Saved a NYC Skyscraper from Collapse
@veritasium
22.8M views•2025-04-26
Related Study Plans & Knowledge Roadmaps
Structured learning paths in Engineering
engineering
Building Acoustic Levitators: Physics & Arduino
01The Physics of Sound and Standing Waves
02Piezoelectric Transducers and H-Bridge Drivers
03Arduino Programming: Generating 40 kHz Signals
+ 2 more learning modules
14h5 modules
Explore Roadmap
engineering
Building Peltier Cloud Chambers: Particle Tracks
01Cosmic Rays & Cloud Chamber Physics
02Thermoelectric Cooling (TEC) Fundamentals
03Custom Liquid-Cooling Loop Design
+ 2 more learning modules
18h5 modules
Explore Roadmap
engineering
Yagi-Uda Antennas: Modeling, Build & VNA Test
01Introduction to RF and Antenna Fundamentals
02Yagi-Uda Antenna Design Principles
03Antenna Modeling and Simulation in 4NEC2
+ 2 more learning modules
18h5 modules
Explore Roadmap
engineering
ECG Monitor Design: Op-Amps, Filters & Noise
01Electronics & Breadboard Basics
02Op-Amps and Instrumentation Amplifiers
03Bioelectricity and ECG Fundamentals
+ 2 more learning modules
18h5 modules
Explore Roadmap