![Microplate Reader for Absorbance Measurement [Surface and Colloid Science]](https://i.ytimg.com/vi/dkyKbRBi3dg/maxresdefault.jpg)





![[WEBINAR] Gen5 Agilent | Potência Relativa em Bioassays (Original Agilent Content)](https://i.ytimg.com/vi_webp/Bdd2TwMW7vc/maxresdefault.webp)


![[Elabscience Webinar] ELISA Experiment Guide-From Novice to Master](https://i.ytimg.com/vi_webp/o7zcFO42NVE/maxresdefault.webp)


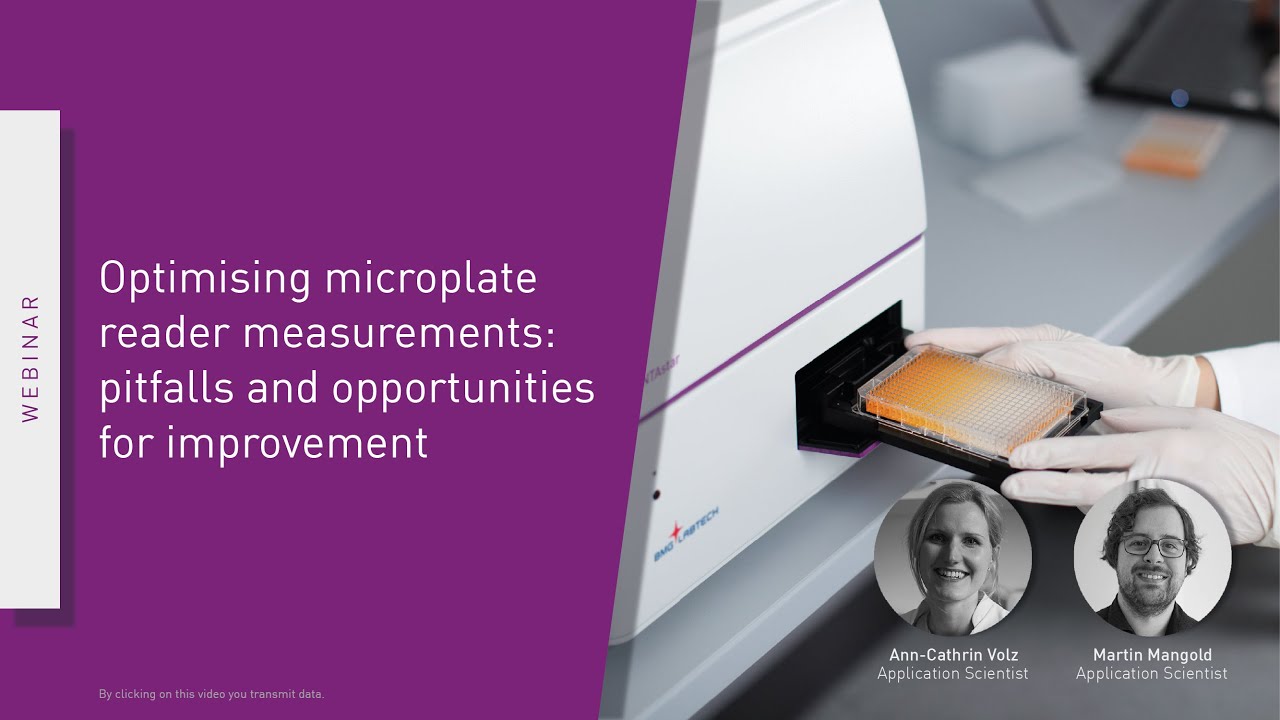



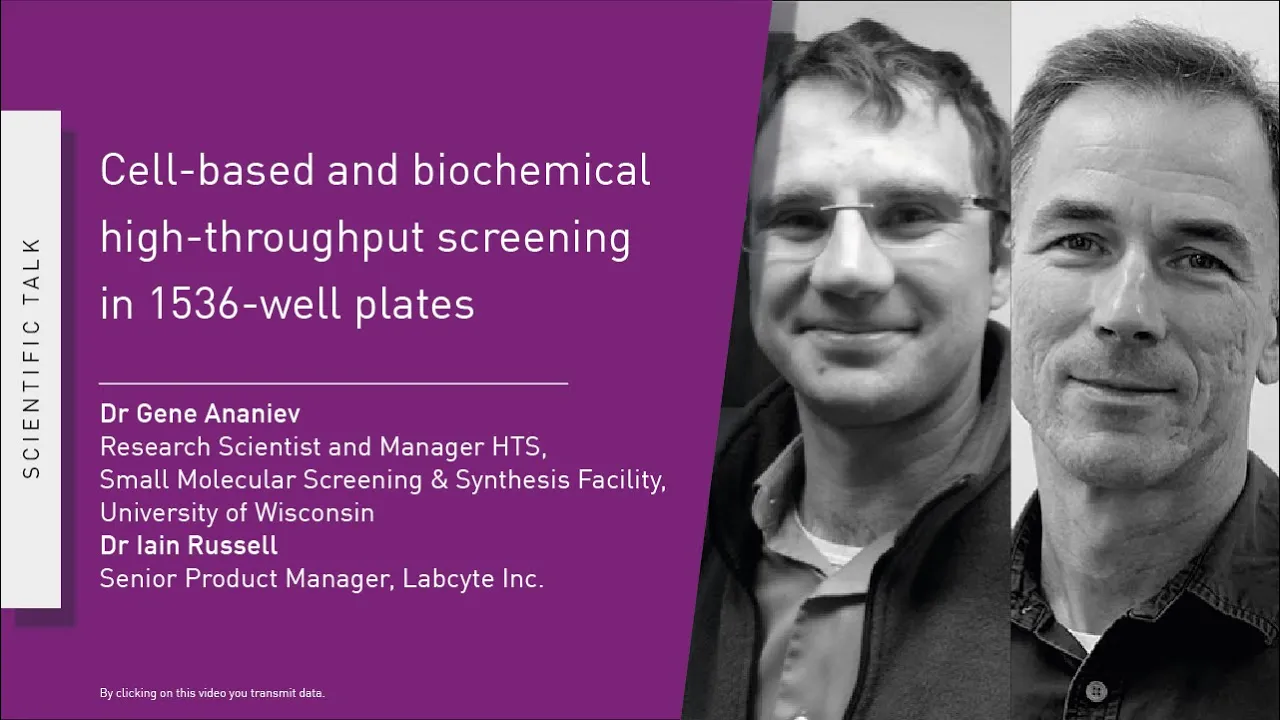

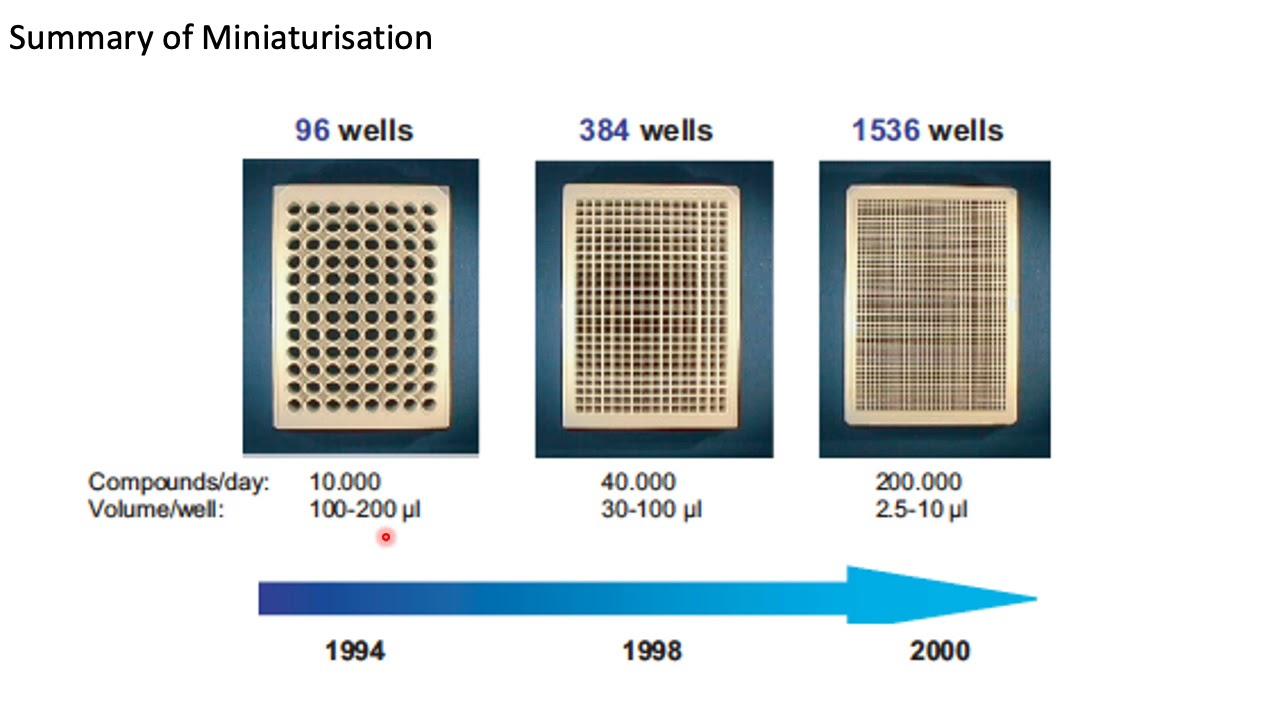

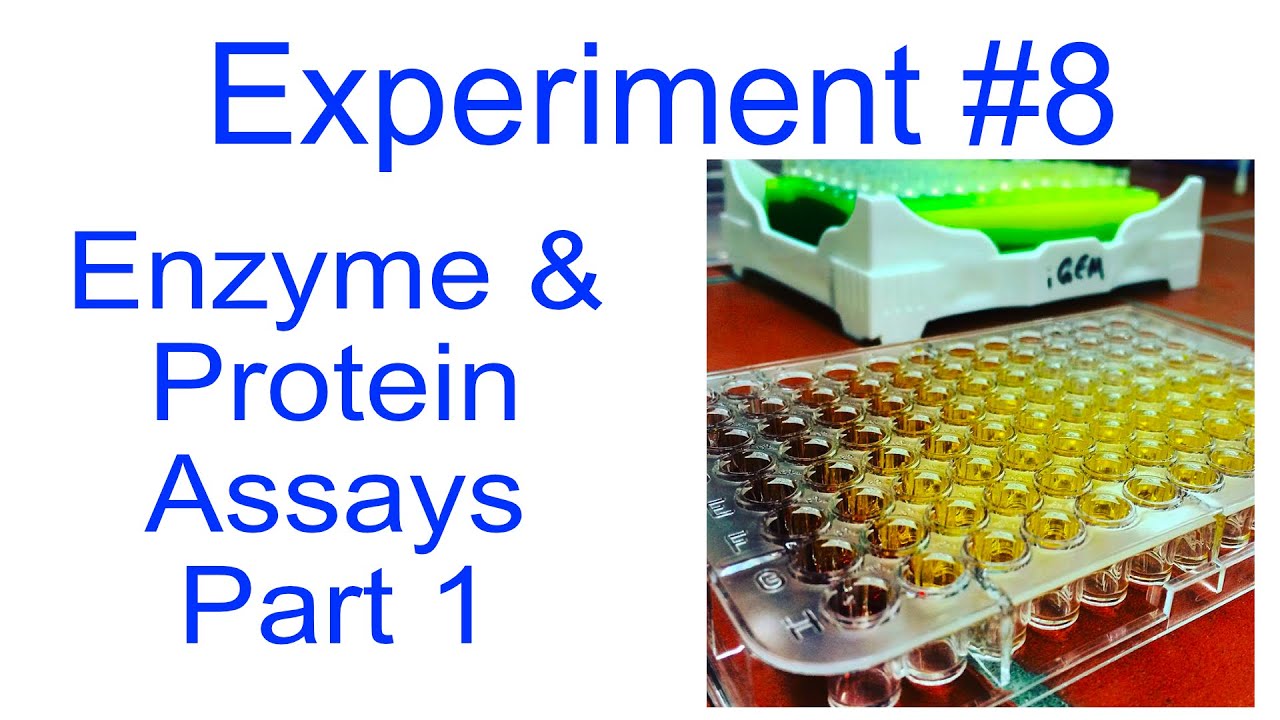
This tutorial demonstrates how to set up the BioTek Synergy HT microplate reader using Gen5 software for ELISA, luminescence, and fluorescence assays, covering protocol creation (standard, calibration, or multi-plate assay protocols), procedure setup (selecting read type, wavelength, shake, and temperature), plate layout configuration (defining blanks, standards, controls, samples, and replicates), and executing the plate read through the task manager with options for blank correction and data export.
Gen5 Plate Reader Setup Guide: ELISA, Luminescence, Fluorescence Assays
Added:Fundamental working principles of microplate readers and standard microplate formats, such as 96-well plates.
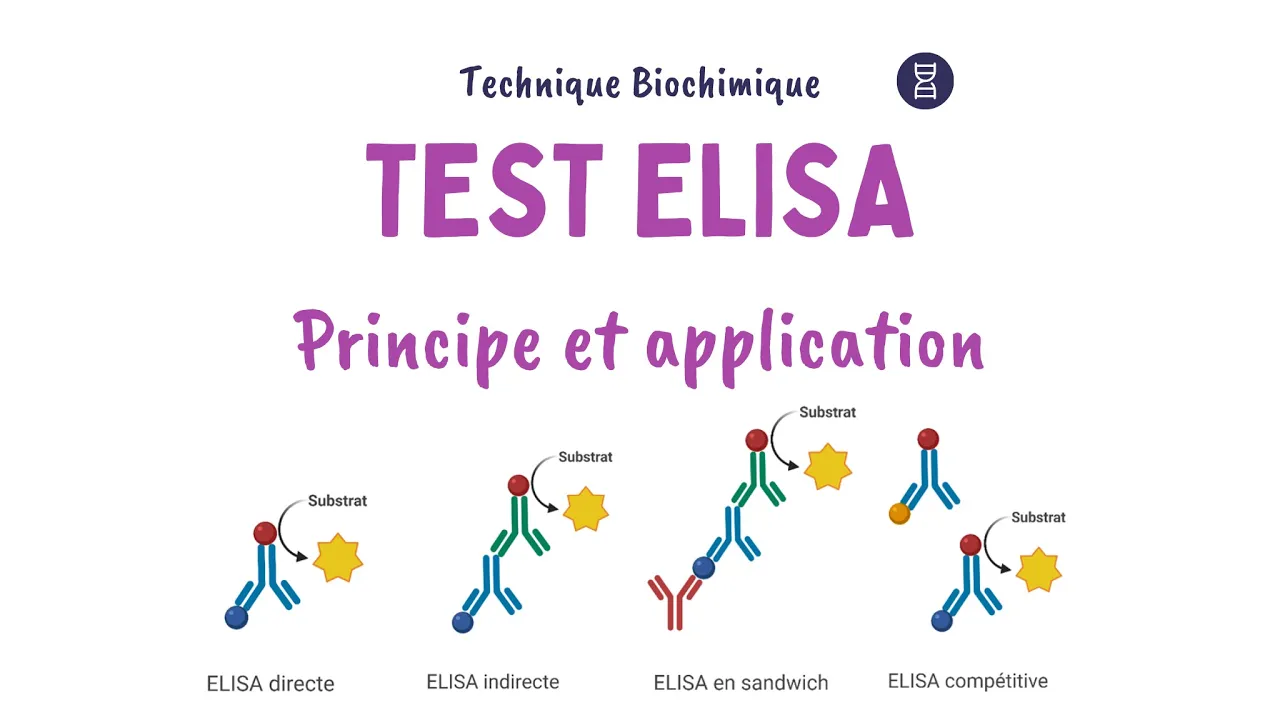
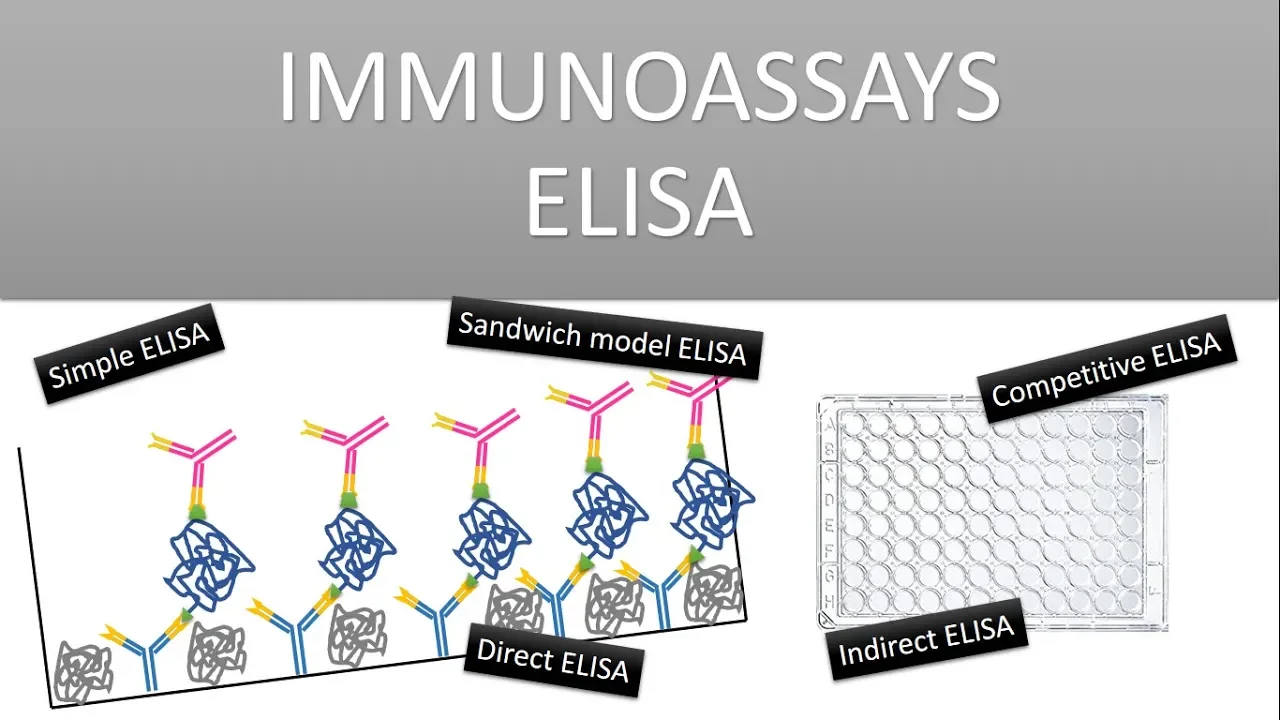
Basic biochemical mechanisms of Key Assays, specifically Enzyme-Linked Immunosorbent Assay (ELISA), fluorescence (excitation/emission), and chemiluminescence.
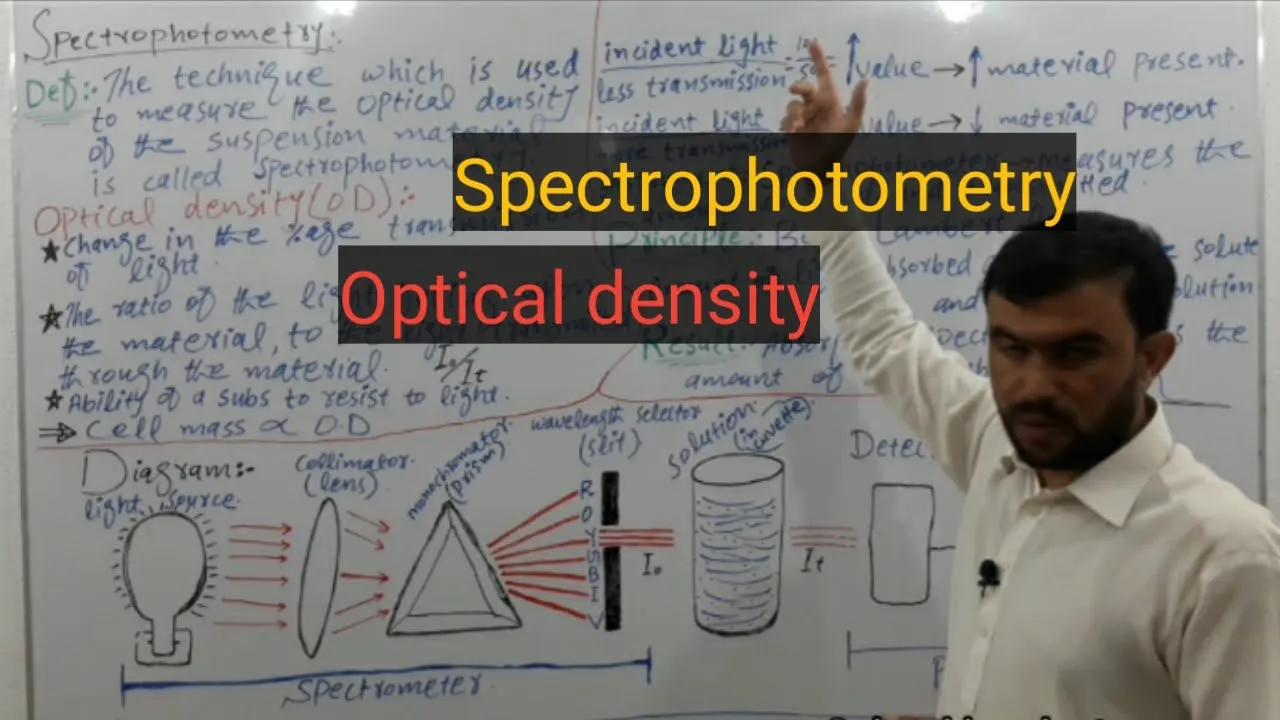
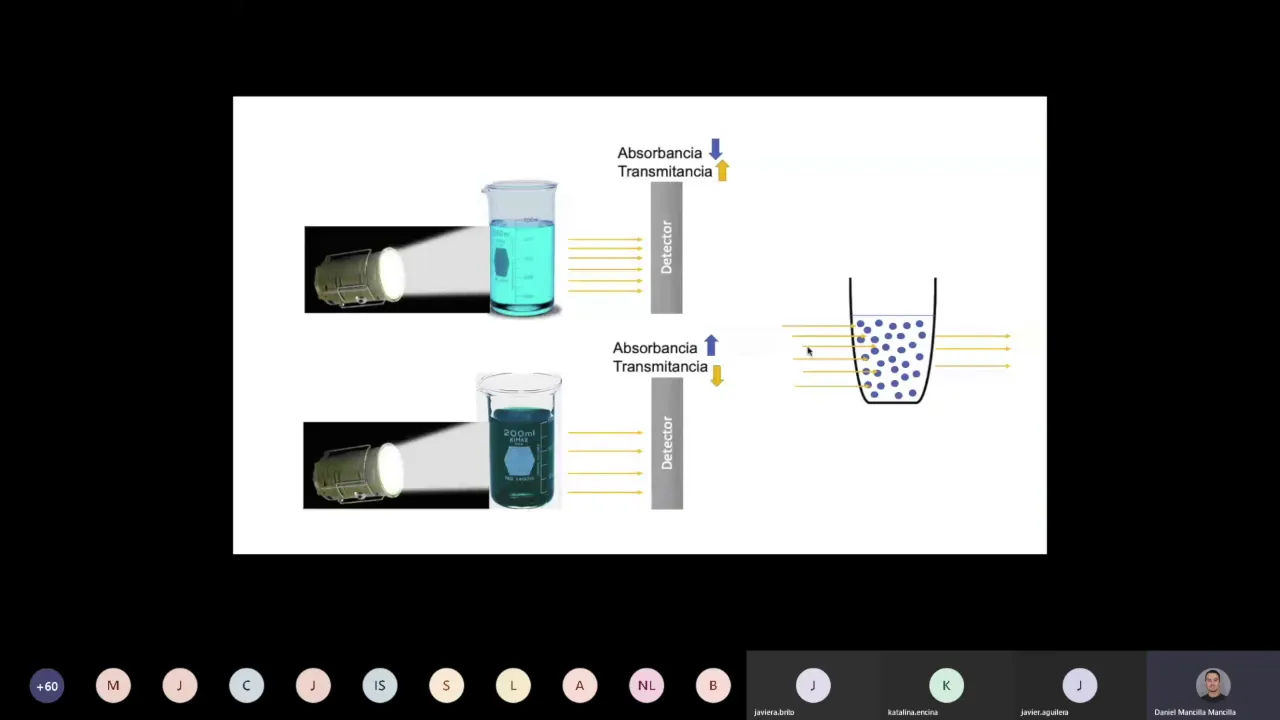
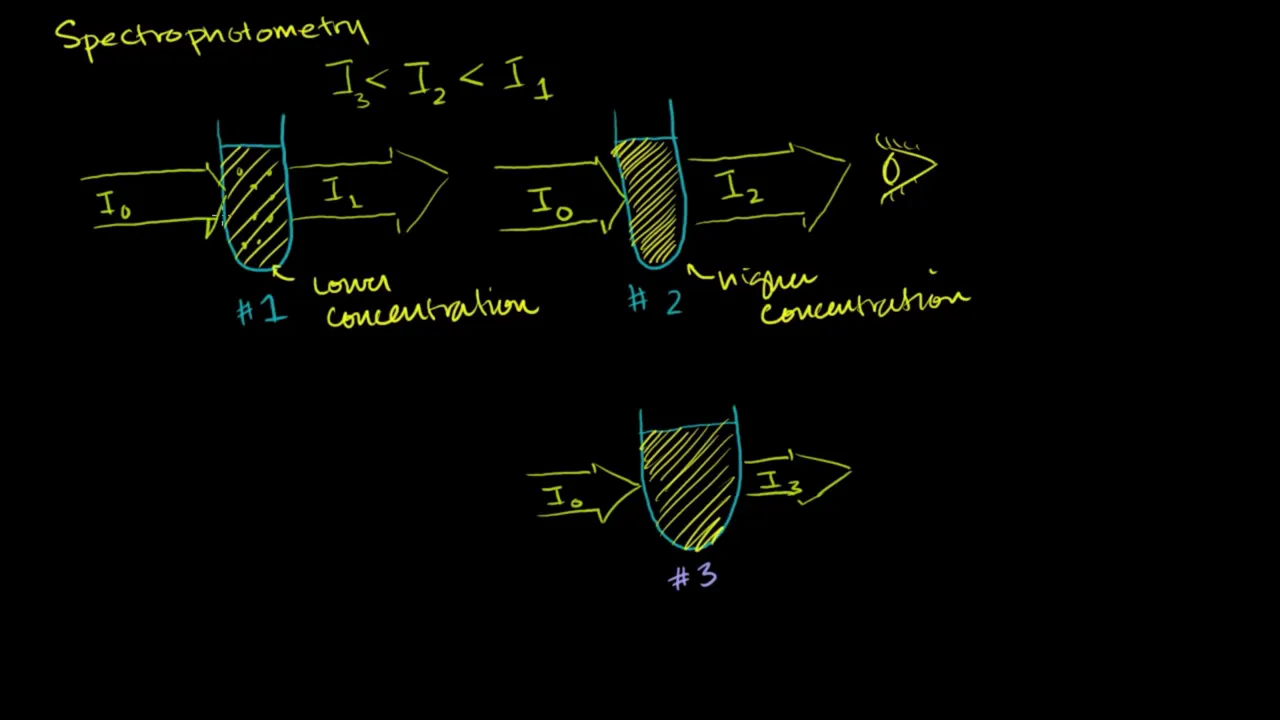
Spectrophotometric concepts including optical density (OD), Beer-Lambert law, and wavelength selection.
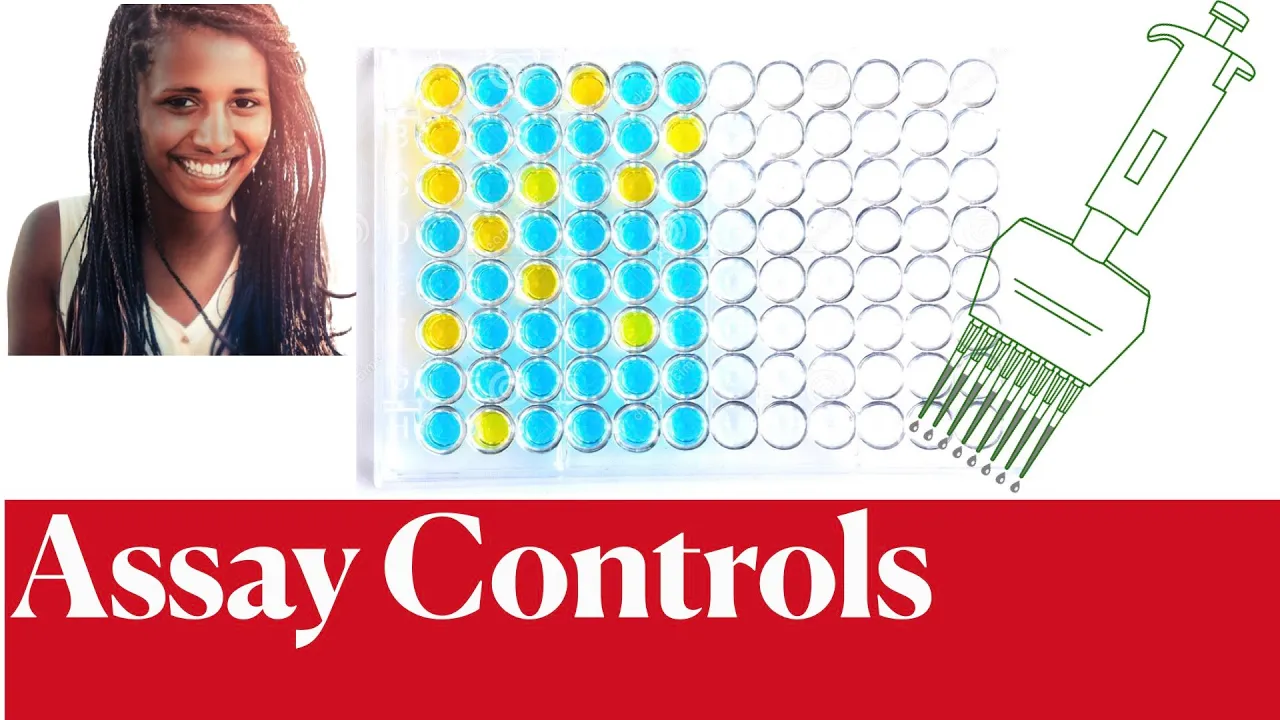
The purpose and use of assay controls, blank wells, and standard curves in quantitative biochemical analysis.
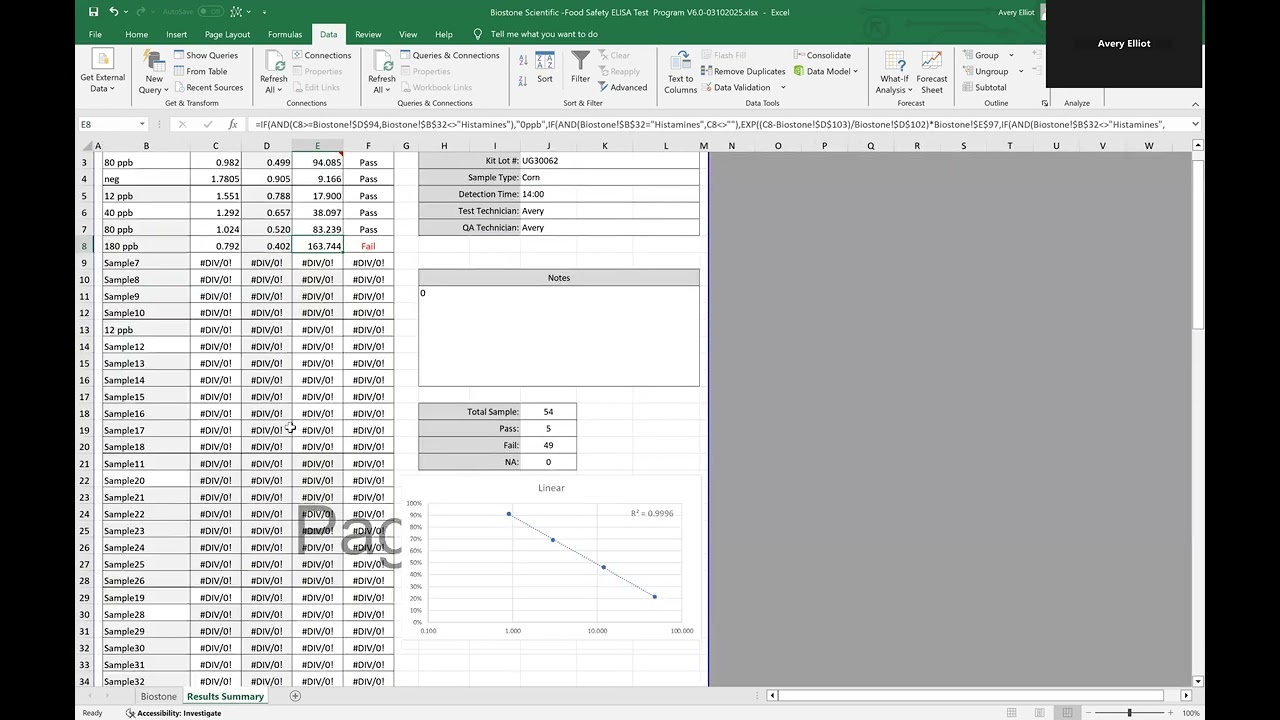
Advanced data analysis and curve-fitting techniques, such as applying 4-parameter logistic (4PL) regression within the Gen5 software.
Troubleshooting common plate reader errors, including signal saturation, high background noise, and incorrect gain settings.
Assay optimization strategies, such as adjusting read heights, integration times, and temperature control for kinetic assays.
Integration of plate reader protocols with laboratory automation, liquid handlers, and high-throughput screening (HTS) workflows.
23.6K views192likes8:05Original Release: 2021-11-26
[Music] here's a run-through of how to use the gen 5 software so on the desktop just click on gen 5 2.06 and then what you want to do is set up a protocol. you want to go ahead and create a protocol and within protocols you can then access an experiment. so if you go to experiment then you can call up a protocol to use for that particular experiment. Of course you can have multiple experiments using that one protocol. so when you first start, obviously you need to create it, so go to 'create new' and then it asks you to select the protocol type. so you have three options you can have a protocol... a standard protocol where the data reduction is performed independently for each plate. so each plate will have different data reduction steps that is followed. you can also have a calibration protocol. so calibration protocol allows you to have standards on a particular plate, be used to analyze data on another plate.
so if that's the sort of thing you're doing then you want to pick the calibration protocol.
alternatively you can pick a multi-plate assay protocol and this involves the standards and controls or samples being distributed across multiple plates. And so when it comes to the handling of the data, if you select a multiplied assay then this is factored in, that your standards, your controls, your samples, are distributed on more than one plate.
For this example just go ahead and select a standard where each plate will have its own independent data manipulation. you get the interface where you've got the option of going to a 'procedure' so here you create or edit the list of steps that you want the program to execute when reading. We're going to go ahead and choose read and let it know what sort of read we're doing. Now are we doing absorbance? are we doing fluorescence? are we doing luminescence?
So for this example we just go ahead and select 'absorbance'. We're just looking at light absorbance in the... as the final readout. And you need to select the read type is it just one endpoint read, or do you want it to do an area scan, or a spectrum? So for this example i'm just selecting endpoint because the assay, the ELISA was performed and then we just want an end point.
Gen5 five asks you the kind of read speed you want. You can do normal, rapid or sweep. I'm sticking to 'normal'. Then the important part... uh... is the wavelength that you want to do the read at. Whether it was absorbance, luminescence, or fluorescence. So using absorbance, we're just reading at one particular wavelength. Sometimes you may be doing two wavelengths. So i'm going to go ahead and select... you've got a range of wavelengths depending on the filters that you have, and i'm going to go and select 450nm (nanometers) for my read.
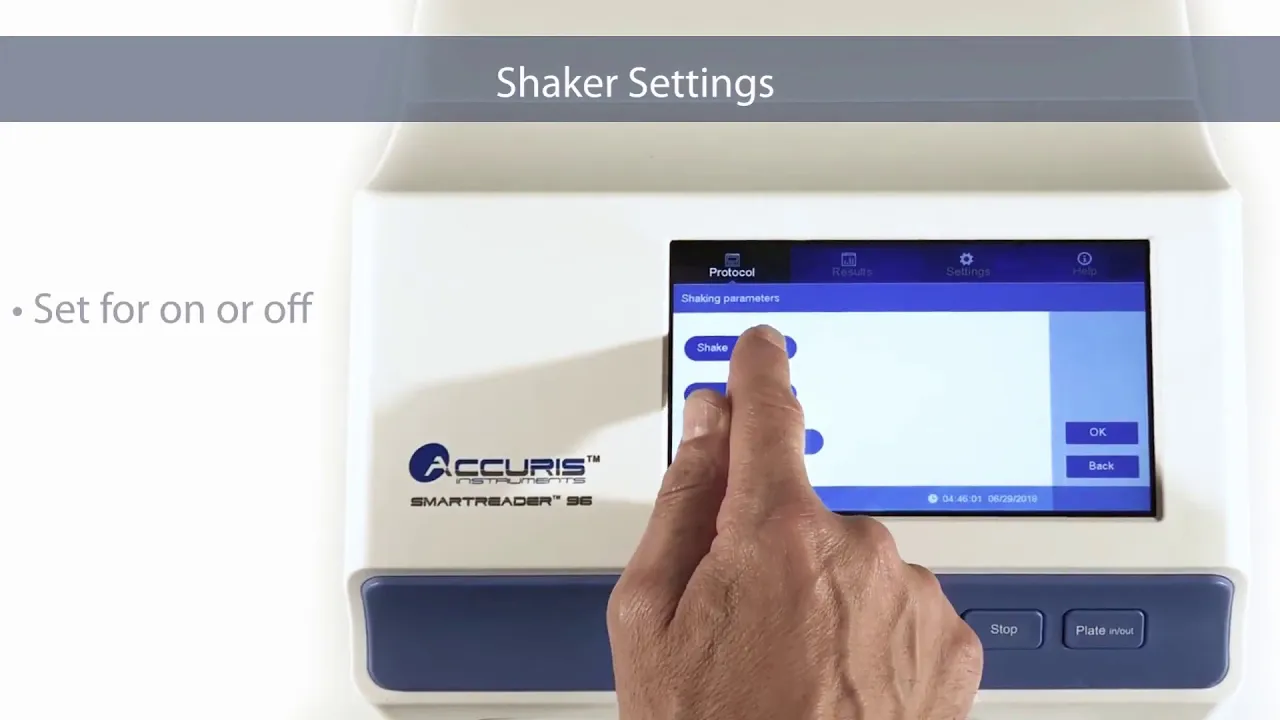
But you've also got other wavelengths that you could read at. So with the read you may want to do like a shake... a quick shake before it reads. uh... just be careful to put the shake option ahead of the read because if you put it after, the software will complain.
So go ahead and select that you want a quick shake. So i'm gonna... and... temperature as well; you get to set... so it's got an incubator that's like default 'on'. I don't need the incubator on, I want to just read at room temperature. So i've done the procedure, I want the steps that it needs to follow, I have defined it. So, i'm going to go ahead and do the plate layout now.
Here's where you tell the software where your blanks are, if you're going to have blanks.
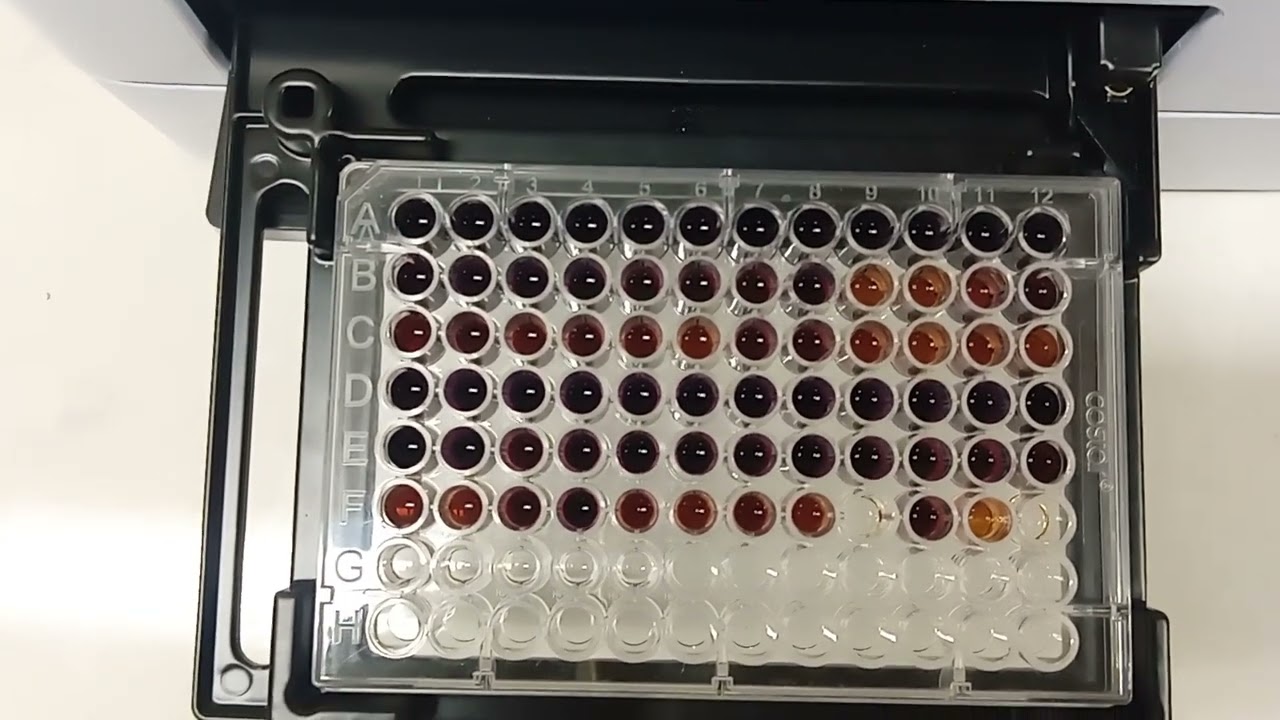
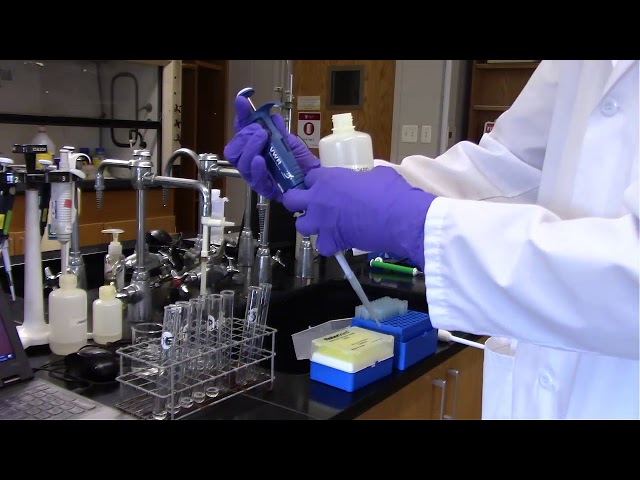
Where your assay controls are, if you're going to have assay controls, where your standard curves are, which you will have, if you're doing a quantitative assay. Where your samples are and if you have any sample controls as well, you can select it. So i'm actually gonna say select all of these, but if you don't have a blank or you don't have a sample control or you don't have a negative or positive control you could... you could just not select those options. Just give it a little bit of information; it gives you a plate abbreviation like each well abbreviation, so i'm going to go ahead and you just type in what the actual abbreviation stands for; so later you're not confused. And what's important is to see how many replicates you've got. Are you doing duplicates? triplicates? quadriplicate? so on and so forth. So i'll go ahead and select that i'm doing duplicates. If you have a control then you just go ahead and tell it where the control is in the um... as the prompts and once again remember to change the number to indicate the replicas that you have. In standards you can name the actual standard, like if it's a particular hormone that you're measuring, a particular protein that you're measuring, you can put the name there, so you know what the standard was and you can indicate the units. So if it's like picograms, nanograms, microgram amount, milligram amounts, or maybe even gram amount which is unlikely, whatever amount that you're using, then you indicate it. So in my case it's picograms per ml is what my uh... standards are in. You have to enter the standards, that is the step where you actually have to indicate what concentrations of the standards you have. So go ahead and depending on the number of standards that you have, enter that. Then it offers you the option to tell it what samples you've got. So you can tell it the dilutions that you're using or the concentrations that you're using. But often you don't know what your samples are so you can just leave the bottom part unfilled and just go ahead and indicate the number of replicates and move on.
You get the sample control - if you have one - then just click finish. And that will allow you to now draw where everything is. So by selecting where the blank, or the control, or the standard, you can put in where it is on the plate because initially you're just saying these other components i'm going to have, and now you tell it where it is on the plate.
Starting off with my standards, I just select the top standard, and I see at the bottom that the serial assignment is acknowledging that there are replicates, so go ahead and just click into the wells and it will just enter it. By selecting on the 'sample' I can go ahead and tell it how many samples i've got and which wells they're in. The same for your blanks and your controls.
Select okay and now it knows when it goes to read the plate which wells contain a standard, which wells contain a sample, which one has your blank, your control and your sample control. okay don't forget to save your procedure. So go ahead and select 'save' and name it appropriately.
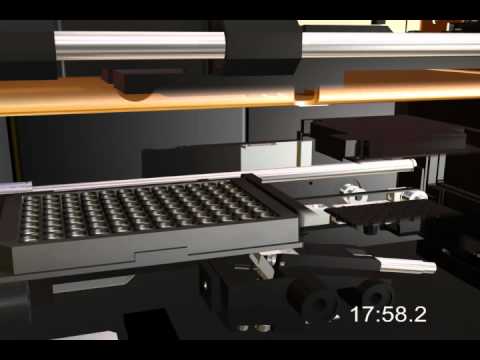
Then it's time to read the plate. You want to use the task manager, so click on 'task manager' and then you will end up back with this dialog box where you can select 'run'. In the 'run', now you will get the option to retrieve the procedure that you've just saved or any other procedure that you want. And then you'll be able to read the plate. You'll get a dialog box to tell you that the plate has... the plate holder is now out and you can place a plate on it. And once you do, it will retract and start reading (once you acknowledge by clicking ok ). After the read, you'll be able to toggle between the different wavelengths if you had a blank wavelength for instance you can go ahead and look at the blank corrected read versus the raw reads prior to the blank correction and finally you can export an editable excel format of the results by clicking this icon and then you can go ahead and analyze your data.
Up Next
22:46
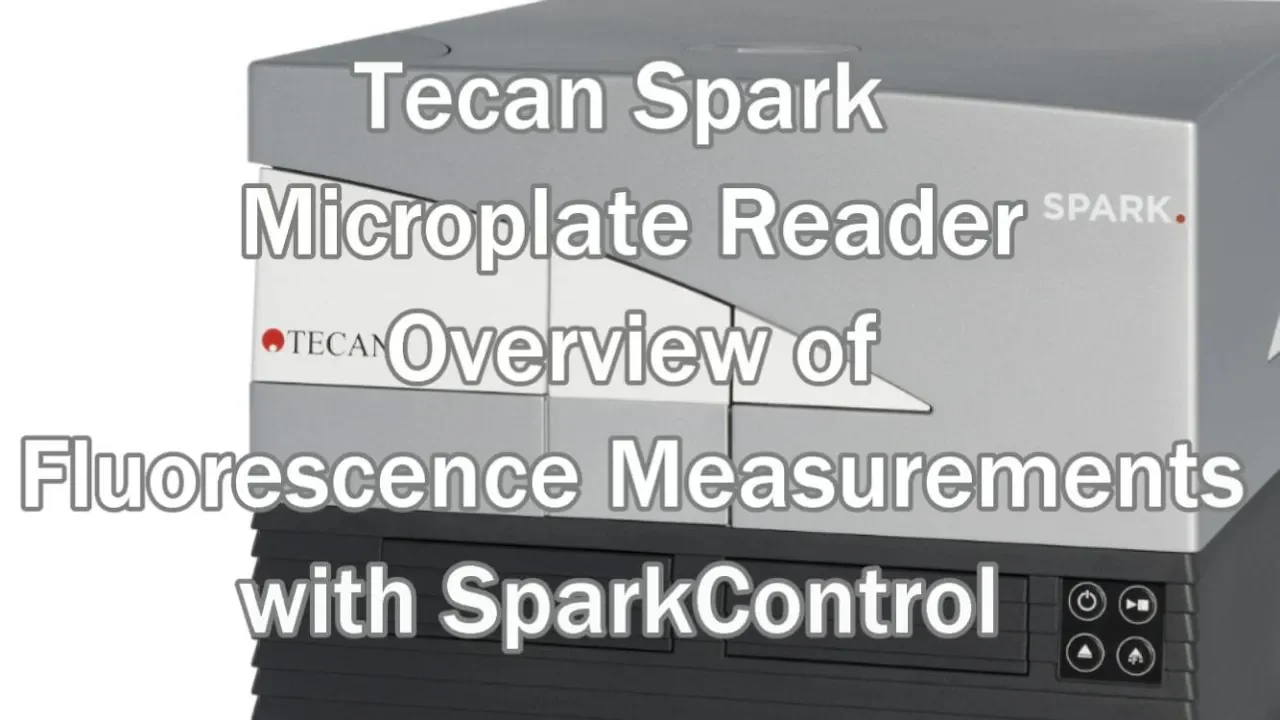
Fluorescence Intensity Measurement: Tecan Spark Microplate Reader Tutorial
@videotutorialsforscientifi3584
18.2K views•2019-10-13

12:54
Triumph of Orthodoxy Icon: Byzantine Art & History Explained
@BenCallan
2.1K views•2024-08-06
15:22
mRNA Purification: Globin & rRNA Depletion Protocol for cDNA
@adwoabiotech
169 views•2025-04-16

1:42
Game of Thrones Opening Credits: A Cinematic Analysis
@gameofthrones
46.3M views•2011-04-18
Related Study Plans & Knowledge Roadmaps
Structured learning paths in General & Interdisciplinary Studies
general-studies
Elevator Engineering: History, Physics & Cities
01From Hoists to Safety Brakes: The Dawn of Vertical Lift
02Hydraulic vs. Traction: The Engineering Physics of Elevators
03Modern Speed, Safety, and Algorithms
+ 2 more learning modules
12h5 modules
Explore Roadmap
general-studies
Rubber: Material Science, History & Geopolitics
01Origins of Natural Rubber & Mesoamerican History
02The Chemistry of Natural Rubber & Vulcanization
03The Geopolitics of the Rubber Boom & Colonization
+ 2 more learning modules
12h5 modules
Explore Roadmap
general-studies
Containerization: Evolution, Logistics & Trade
01Ancient Trade & Bulk Cargo: Amphorae to Barrels
02The Industrial Revolution & Cardboard Packaging
03The Containerization Revolution: Malcom McLean
+ 2 more learning modules
12h5 modules
Explore Roadmap
general-studies
Textile Tech: Evolution, Labor & Global Impact
01Pre-Industrial Textiles: Handloom & Cottage Industry
02Mechanization: The Spinning Jenny to the Power Loom
03The Factory System & Global Labor Transformation
+ 2 more learning modules
10h5 modules
Explore Roadmap