



![UGC NET Paper 1 Research Aptitude | QUALITATIVE & QUANTITATIVE RESEARCH [PART1] | By Abhay Sir](https://i.ytimg.com/vi/D6TOlsgpfmc/maxresdefault.jpg)




















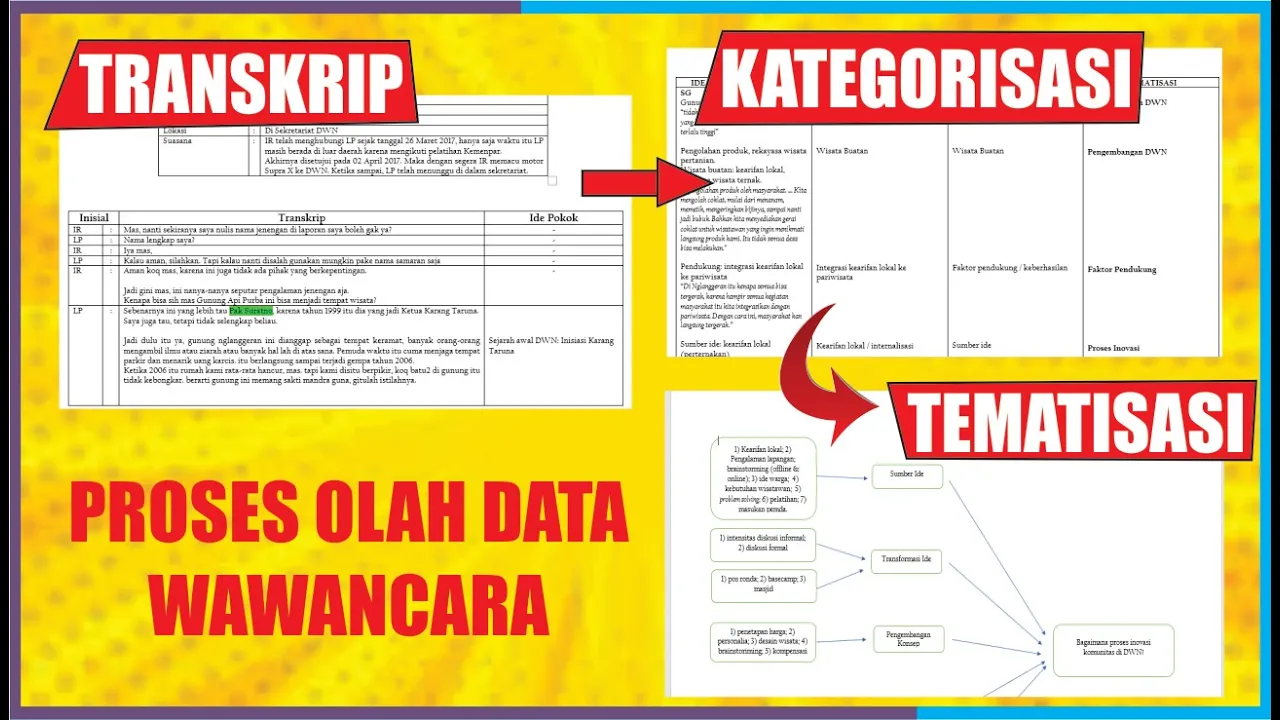


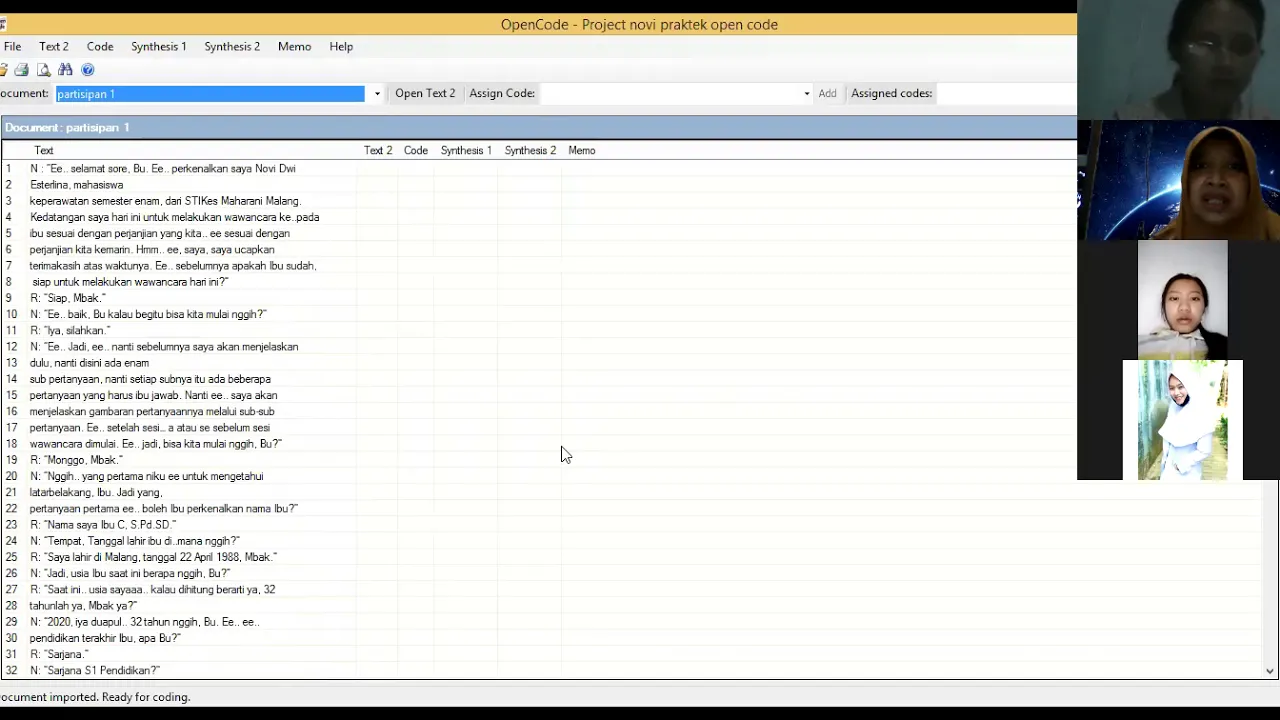

This video tutorial demonstrates how to conduct qualitative data analysis using NVivo software, covering the complete workflow from preparing cleaned transcripts with participant IDs to systematically coding data under research questions. The process involves creating containers for each research question, selecting significant information, and applying appropriate codes using either drag-and-drop or code selection methods. Key concepts include understanding different analysis types (content vs. thematic analysis), choosing appropriate coding strategies (description focus vs. interpretation focus), practicing bracketing to set aside personal biases, and organizing codes hierarchically to develop themes that address research questions.
How to Code Qualitative Data in NVivo: Step-by-Step Guide
Added:Fundamental understanding of qualitative research methodologies and how they differ from quantitative approaches.
The conceptual definition of 'coding' and 'thematic analysis' in qualitative data analysis.
Familiarity with qualitative data collection methods, such as semi-structured interviews and focus groups, and their resulting transcript formats.
Basic file management skills to prepare and organize transcript files (e.g., Word documents or PDFs) prior to software import.
Utilizing advanced NVivo query tools, such as Word Frequency and Text Search queries, to explore deep patterns in the data.
Applying case classifications and attribute values to compare coding segments across different demographic profiles (e.g., age, gender, role).
Generating data visualizations within NVivo, such as hierarchy charts, cluster analysis, and concept maps, to represent findings visually.
Developing and reporting inter-rater reliability (IRR) metrics when conducting collaborative qualitative coding with a research team.
Synthesizing coded themes into a cohesive qualitative findings or results section for an academic publication or thesis.
232.6K views3.6Klikes35:44Original Release: 2023-04-20
Hi everyone.
Are you thinking about analyzing your qualitative data?
Are you thinking about using a software called NVivo and you don't know how to use it?
This video is for you.
So what I'm going to do is I'm going to show you a step by step how to analyze your qualitative data using NVivo.
So let's go to the screen.
So imagine that you have interviewed five people and you want to learn about the courses and the solutions of burnout among primary healthcare physicians.
This is your demographic information.
You interviewed five participants you collected their demographic information.
Your research question that you want to address.
What are the causes of burnout among primary healthcare physicians?
And the second research question is, what could be done to reduce burnout among primary healthcare physicians?
So imagine that you have interviewed them.
Finishing your finished interview.
You have transcribed your audio.
And the next step is to analyze your data.
The first step that you have to do is to clean your transcript.
This is a transcript that I have.
It has already been cleaned.
Cleaning means that you are making the transcript ready for analysis.
How do you make it ready?
You have to take out all identifiable information from the transcript, and also you can give them participant IDs.
You can see participant one or P one, and I have the person's demographic and also their responses.
It's not a lot of data because this is an actual interview.
This was done for just a demonstration purpose.
So it's not an actual research, so that's why it's not a lot of information here.
But the lesson here is that clean your data, make your data ready for the analysis, right?
So you can see that I don't have any identifiable information there, like participant name.
When you are saving that information, you have to save it based on the ID you gave to participants.
So here I have, P one, P two, P three, P four, P five, right?
And then if you plan to bring demographic information into inviro, you can put them in Excel spreadsheets, like what I have here.
The first column will be the participant ID.
You see here that the ID should be the same as how you saved your data or how you save the transcript.
Why is it important?
Because when you send the transcript and also the demographic information into NVivo, the system will match the IDs that you are given to participant and the name of the file.
So that's why.
The name that we are given to the file should be the same in the first column here, right?
And then you have your demographic information.
You don't have to send your demographic information to NVivo if you are not planning to compare and contrast, let's say gender or experience with the data based on the themes that you got, right?
If you are not planning to do that, there's no need for you to bring demographic information.
But if you have an intention to do some comparison to see, in terms of gender, what kind of themes that came out of the data that can be connected to maybe male or female, then you can bring demographic information.
So, it's not required.
But if you think that you have to do further analysis after developing the themes, then you have to consider bringing the demographic information.
You see here I have my demographic information in Excel spreadsheet, then you can close it when you finish.
The same way, when you finish cleaning your data, you have to close it before you try uploading them into NVivo.
Another thing that you have to think about is you have to label your research questions.
So you see here I've given a label for my first research question, which is burnout causes the second research question is, burnout solutions.
It's very important to label your research question.
As I said in my previous video, it helps you to organize the codes based on the research question that you have.
You see the usefulness when we go to NVivo.
When you are ready, you go to NVivo.
If you want to get access to in Vivo, you have to go to their website and download the software.
You can use this for 14 days for free.
And they have student version that you can purchase.
So you just see the one that is okay for you so that you get access to the software.
So imagine that you have access to the software and you open it.
This is what you're going to see.
You're going to start a new project, right?
So you can see here that there's a recent project, if you already use this software, you have your recent project here.
If you wanna go straight, you can click on the project and then you go there.
But if you wanna use a new project, you go to new project and you give it a title.
Any title that will remind you.
So maybe I will say project two.
You can give a description.
It's not required.
But if you have couple of projects and you want to really make sure that you wanna know what a project is about, when you wanna go back, then you can give a description.
But it's not required for you to give a description.
You can also think about where you want to save that information, right?
So you can browse your computer and then decide where you wanna save.
Do you wanna save it on the desktop or you wanna save it under a document, or you wanna create a new folder.
So you have to determine where you want to save this project.
You can check, keep a log off your actions.
this one is if you want to go back and see the steps that you took in analyzing your data, you can check that and the system will keep track of how you were analyzing your data in case you want to document that process.
It's not important to me.
So I will not check that.
But you know, it's an option for you to check.
Then you go to next here if you want the system to automatically save your work as you are doing it, you can click on the yes here.
If you want to save it yourself every 15 minutes, then you can check yes here.
But I want the system to automatically save for me.
It's safer that way.
The next one is to think about, recovery.
This is where in case you want to recover your project.
This is the place that you can go.
So you can browse and decide where you want to save that information.
Just like a second way of saving your project in case you wanna get access to it, and you are not finding that when you go to where you initially decided to save.
So when you finish everything, you click on create project.
This is what you're going to see if you want the system to show you what the functions are, you can click on next, but you can skip if you don't want the system to give you a tour.
And then you click on close here so you can get an empty space here.
So the next process is to upload all your transcripts and your demographic information if you plan to do that.
So the first step is to go to import, but before we go, I just want to give you a brief information about some of the main functions that you can use.
If you wanna import file, word document, video, images, you can click on files and then import that.
If you want to import a survey, you'll be able to upload that information into the system.
So there are many options here, but I'm going to limit myself to the files because we just have word document to upload.
Right.
And capture is when you have information online that you have downloaded.
And then upload them into the system for you to analyze.
The next step is to click on files.
And then you get access to your transcripts.
So I have five transcripts.
So I click on the first one, and then I click on shift and click on the last one.
So I'm using Windows pc.
You can bring them one by one, but it is good for you to select all of them at once and then bring them.
So what I do is I click on the first one, hold on, shift and click on the last one so that I can select all of them and click on Open.
Then I click on create a case for each imported file.
I talked a little bit about this in my first video about NVivo overview.
So what this one is going to do is it'll create a file for each participant.
So in this case, the system going to create five files.
So the file will contain participant's transcript, participant demographic information, and the themes and the code that you developed- connected to that participant.
So each participant will have a file or a folder that has all the information connected to the participant.
So the system is asking you, do you want to create a case or a folder for each participant?
And then I said, yes.
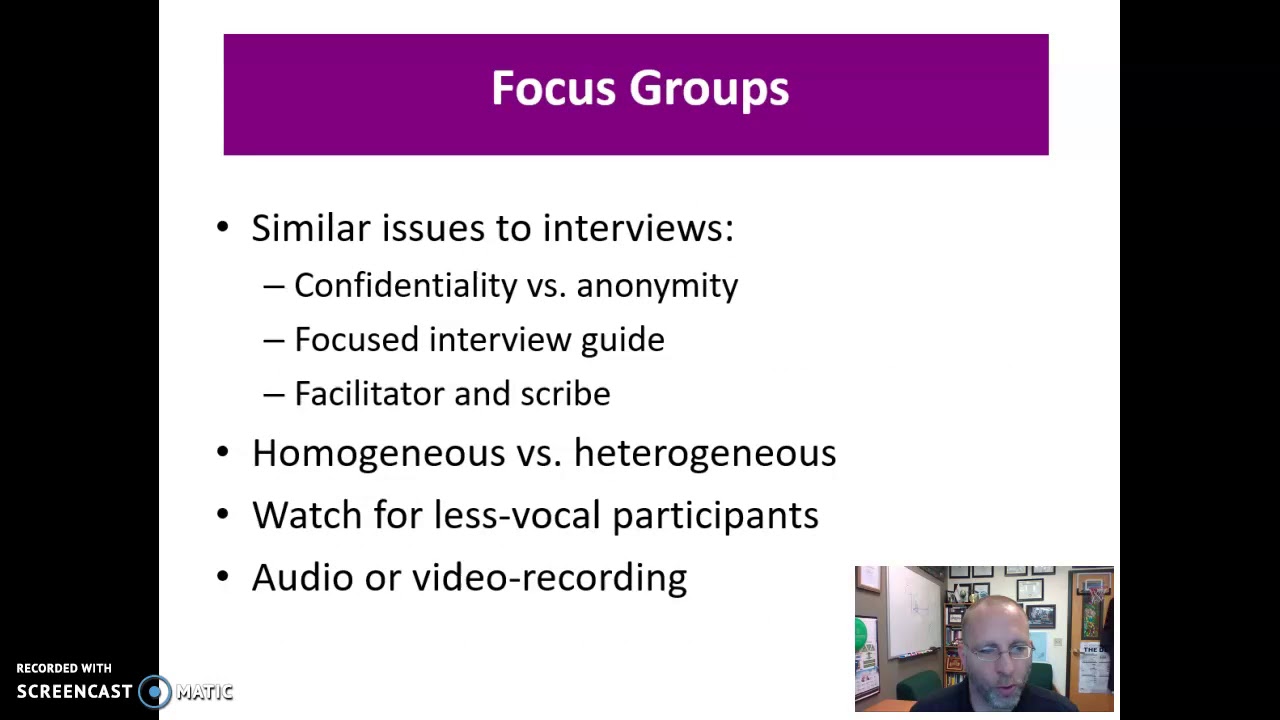
One thing that you have to note here is that, it's gonna be the same kind of process, if you have transcripts for focus groups, right?
And you have only one document, it can ask you to create a, a file.
You don't have to create a file when you have only one document, because it is for all the participants in the focus group.
You don't have to create a file.
But it it doesn't have to create a file for each document that you bring.
Let's say you did interviews.
So you create a file for, in each participant, and also you did a focus group.
You can also create a file or a case for them.
So to make things easy, just check here and then it'll ask you about, you have to give a name for the whole case.
So I would just say participants, And then click on import.
So here I have all my files here, I have all the participants' transcript here.
The next step is to import the demographic information.
If you plan to do that, if you wanna import demographic information, you go to import, you go to classifications, and then, you select import classification sheet.
You click on that, you go to browse, and then you look for the Excel spreadsheet and make sure that you close that Excel spreadsheet before you import.
So you click on that.
You click on open, and you go to next.
You don't have to do anything here.
You just have to make sure that you select case classification and you go next.
You'll click on as name.
You remember we created cases for each participant.
So what is gonna do is that the system is going to connect the demographic information to their expressive cases, right?
So participant P one will have its demographic information in that case, it'll be the same thing for all of the participants.
So you click on, okay, then you click on next.
You click on finish, and then what will happen is that you have your demographic information here, right?
You don't have to do the next step I'm going to do, but in case you wanna make sure that the system has connected the demographic information to the cases that you have.
So what you have to do is you can go to explore, you go to map and click on project, and then you type test because you're just testing whether the system has connected the demographic information to each of the participants.
So you click on, okay, You right click here.
You click on ad project.
So let's try to find out whether demographic information have been connected to participant P one.
So you select P one transcript, and then it'll come here, you right click on it, and you go to show associated items, and you go to cases, and you double click here.
Now we have the case that we created for participant, and we have the transcript.
So we have to click on the case, right click on it, and show associated items, and we go to attribute values.
And then you go down here and you click on age.
So it shows here that participant P one age is, 37.
Participant P one is female.
You double click on that, 12 years of work experience and the person is African American.
When you open a case, you have participants' demographic information and also the transcript here.
So you see this is to show that the system has connected the demographic information to the transcript.
And, you know, you can make it nice by going to this place.
You can change how it's showing right?
You can go here, you can change it the way that you want to make it look like.
If you want to export this one, you can right click on it and click on Export map and you will be able to export.
So this is just to check whether that the system has done the connection, right?
So if you finish, you can close it.
So the next step is to develop containers for each of the research questions.
In case you have research question, if you don't have research, question can create containers based on maybe the purpose of the study or the research aim or objectives, right?
The essence of you creating the containers is to help you to organize the codes under each of the research question or research objectives that you have.
So what do you have to do?
You go to codes.
You click on close here, you see empty space here, you right click and click on new code.
And then what you going do is I have to look for the name that we gave to the first research question.
So the name for the first research question is burnout causes.
So I just copy that.
And then I put it here.
So for the research question, but before I type, it's always good to remind yourself that this is for research question one.
So in parenthesis RQ 1, and then here you can give a description, but the description, you can just copy and paste your research question there, just to remind you that this is for research question one, right?
You see how simple the process is?
It's so simple.
If you understand what you are doing, and then you click here, aggregate coding from children, right?
The reason why you have to do that is let me show you this PowerPoint here.
I think you understand it better if you show you this, or if you look at my previous presentation on this one.
So when you go here you see here that burnout causes, you have 14 here.
If you check aggregates, the one that I showed you that you have to check, right?
What it does, it, it's adding everything that you have here and automatically putting that number here.
It shows the number of significant information connected to each of the codes.
So we have 2, 1, 1, 1, 4, 1, 1, 1, 1, 1, 1.
If you add everything up, you get 14.
So here what we are telling the system is automatically telly everything for me if I bring a code under this research question.
And I brought significant information into them, right?
Add all the number of significant information and put it up there.
That's what you're telling the system.
That's why you have to check this one, right?
Then you click on, okay, let me show you what I have here.
So I have, for research question one, I'm gonna do the same thing for research question two, you right click this space and click on new code.
And then the second research question is burnout solutions, right?
So before you bring the burnout solutions in parenthesis R Q two for research question two, and then you copy and past the research question two here, and what you have to do is to click on.
The same way aggregates coding from children.
You can't choose the colors, but I don't see the need for now, so I just leave it like there and click on.
Okay, so now we have containers for the research questions, right?
And then what we are going do is that we are going to do the coding.
That's a fun part.
The coding.
We we're going to generate containers under the research question that we have, and select the significant information and drop them into the containers.
But let me give you a brief, you some background information so that you can understand the coding process.
Before you started coding, there are some things that you have to be clear about.
You have to yourself, what kind of analysis are you doing?
Are you doing content analysis or thematic analysis?
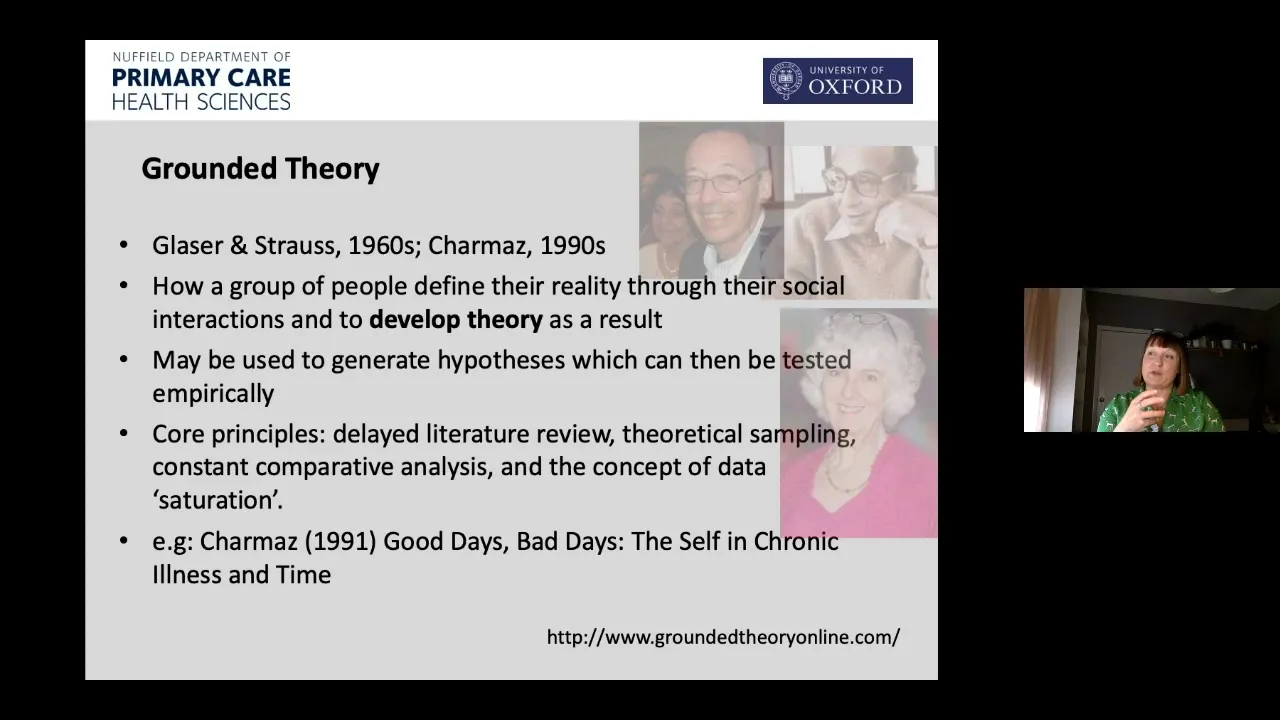
Or you are using grounded theory analysis, right?
Any kind of analysis that you are doing, you have to be aware because if you are doing content analysis, what you have to do is that you have to create the containers that you're going to put a significant information into.
All the quotes you have to create them under each of the research question before you start the coding process, right?
So you kind create quotes under each of the recess question if you're using content analysis.
So content analysis is where you create the containers or the codes before you go through the transcript to identify significant information and drop them into the containers that you have under each of the research questions.
If you are doing thematic analysis, you don't create containers first, right?
You only create containers for the research question, but you go through the transcript, identify significant information, then create containers or codes and put them under the respective research question that you have so you see the difference.
So you have to know the kind of analysis that you are doing.
Another thing that you have to know is the kind of coding strategy that you are using, right?
What coding strategy are you using?
Description, focus, coding or interpretation?
Focus Coding.
Or you're using something different like in vivo coding, um, and other coding strategy, teaming code.
Um, uh, you know, You, you, depending on the kind of coding strategy that you are using, then it'll help you to decide how you can create a code or the content of the code.
Right.
For this kind, for this example, I'm using description focus coding.
There isn't being that I asked participant a specific question about the burnout out courses send solutions and they, they have provided that information to me and my research question is about burnout out courses, send solutions.
So I'm just describing what participant are giving me, right?
Or I'm describing what participant gave me.
I'm just like a reporter going through the transcript, identifying significant information, and then trying to develop codes.
To represent those significant information at the same time addressing my research question.
So that's what I, that, that's why I'm using description focus coding.
You could use interpretation, focus coding if you think that you have to make sense of the data before you can address your research question.
The distance between the data and the research question is so, is very wide.
The information that you need is implicit.
It's insight is embedded in the, in the data that you don't, it cannot just describe what participant is telling you, but you have to make sense of it by considering who is saying what and what kind of circumstances participant find themselves in so that you can develop a code that best represent participant information at the same time addressing your research question that you have.
So now that you have decided, the next step that you have to think about is whether you're going to do bracketing, right?
Bracketing is reflecting on your past experiences, your preconceived ideas, the biases that you have, and setting them aside so that they will not have, they will not overly influence how you are making sense of your data, right?
So it just, you know, making sure that you allow the data to speak to you.
You are developing themes or code based on what the data is telling you, not based on what your experiences are because in qualitative analysis, we are an instrument.
We are making sense of the information and our background and biases that we have can influence how we are making sense.
So you have to be aware of your background and biases that you have set them aside as you are making sense of your data.
Back to NVivo.
Now that you have created the containers for the research question, the next step is to start the coding process.
How do you do that?
It's very simple.
You click on the files, you double click the one that you want to analyze.
So I double click participant P one. I can put this one in so that everything will show.
Then I click on codes so that the research question will show here because I'm going to code stuff and put them in under the, the respective research questions that you have.
Coding is all about going through the data and identifying significant information.
So assuming we are going through data and then we identify something that is significant, what did we identify?
Let's say the person said long hours so we think that this long hours is addressing the first research question is because it talks about the burnout causes, right?
So then you have to think about, okay, what phrase should I use to represent this information?
So a phrase could be having long hours.
It could be in between two to five words.
Having long hours reflects.
What participant is saying at the same time helping you to address your research question.
So when you decide a code that you wanna create, you right click on the research question, you click on new code, and then you bring that information here, having long hours.
That's the code representing the significant information.
The description option here, you can provide what this code means, right?
What this code represents.
So you can type this code represents participants' expression of spending a lot of time at work.
It's not required for you to give a description, but in case you want to come back and remind yourself what this code represent, then it's very important for you to operationalize this code.
It's gonna be helpful for you, especially when you start thinking about categorizing the code, you can go back, but if the code is so obvious, you don't have to write a description.
Then you click on here, aggregate coding from children, and you click on, okay, so you see here that I have a code here, but it's empty.
It's an empty container.
So the next step is to drag and drop, So you see when I drag and drop, now is one here.
This means that one file, participant connected to this code and one reference, one significant information that I've dropped in this container.
If you want to know what is in this container, you can double click and see what is in the container.
So I double click and see what is in the container, only one significant information.
That are put in this container.
You can close it if you want to.
So this is the one way of doing the coding, right?
There's a second way of doing it, but I like this one because it's easy.
You right click on the research question that you want to create the code and click on the code and you can put that information there.
The another option is to, let me show you another option.
Let's look for another significant information.
Numerous clinical and administrative tasks that can address the first research question.
Now that we know that this information is significant, one way of doing the coding is right-clicking on it, and go to code selection.
And you click on the research question that you want to code this information under.
So I want to code this under the first research question and then click on child code.
Child code means that it's going to come under a parent code.
The research question is a parent code, and this one is a child.
So you click on that and then new code.
So here, you just type that information there.
So that information will be having numerous work related tasks.
So when you finish your click on code selection to new code, and then that information automatically come here.
So you see here that the container has already been filled with this information, right?
You have already put that information there so you don't have to drag and drop like what you did the first time.
The first way of doing is right click here, you create a container, and then when you finish drag and drop, the second option that you could do is sellect that information here.
You go to code selection and then do that.
Follow that steps that I gave you.
So that's a another way of doing it doing that.
The third way you select that code so thinking about this No Work Family Balance will best represent this significant information.
Then you can click on this one and click on code selection and it'll take you to this place.
And you select the code and then click on child code and then type that information here and click on code selection to this one.
And then you can go selection to then this label and then to take you to this part.
So you see how there are many ways of coding your data, but the one that I like is where you easily create a container here and then drag and drop so that's how the coding process is.
There's another information here that we can also code, spend time in prayer and reflection.
So this one is part of research question two, right?
So what do you have to do?
You have to decide what code can you use to represent an information at the same time helping you to address your research question.
So the code is en engaged in meditation will be the best code.
So you right-click here new code.
You bring that information here.
And then you can, you know, you can give a description.
If you don't wanna do that, you could go, you just check here and then click on.
So as you can see, is that empty container you drag and drop that into the container.
So that's how the coding process is gonna be.
You go through your transcript, identify significant information, and create containers right and you drag and drop them.
So that's how the coding is done.
Imagine you are doing a coding and then you want to stop and take a break, right?
And you reach this stage.
What you can do is that you can click on edit, you check edit, and then this, information will come and then it looks similar to word document, tool bar and then let's say you want to, you want, you will reach this part, right?
You can just change the color from black to any color that you want, maybe blue, just to remind you that you have reached here.
And then, you know, when you come back, you know where you wanna, you want to continue on the analysis, right?
So that's another way of a, a way of determining where you reach.
So that's what I have for you concerning the coding for the second the, at the first participant, when you finish the first participant, you close it.
And then you go to file and then double click the second participant transcript, and then click on code.
So that the codes to be show here.
And then the same process when you see something that is significant.
Let's see whether we can see something.
For the second participant, that is significant.
There's something significant here, this is in relation to having numerous work related tasks.
We have already created container about having numerous work-related tasks.
So what you have to do is just drag and drop it into that container and see how the, the number will change.
Here is two, because this is the second file that's connected to this code.
And it's two, because you drop this second significant information into this container.
So it's two for the number of significant information and then two participant connected to this one.
This is the strategy.
When you are going through your data and you identify significant information and you decide the code that you want to use, look into whether you can drop it into any of the existing code.
If you cannot drop them because it has no relationship, then you create a new code.
So let me give you an example.
so this multiple patient is quite significant, it's about taking care of multiple patients.
So this one, none of this code is connected to this one.
So what do you have to do?
You have to create a new code.
So you right click here, click on new, and type that information, the name of the code, and then click here and click on, okay and then you drag and drop it into that.
As I said, the principle is that you identify significant information.
If there's no existing code that can do that what do you do?
You create a new container or a new code and drop them into that.
So when you open a container, you can see that you have the significant information in there.
So you can see it's two significant information.
And then you can click here to see where you did the code.
What is the source, right?
So you can click on the source.
Let's say you are coding, and then you change your mind concerning the code that you want to use to represent the significant information.
You can right click on the one that you have changed your mind on, and then click on code properties.
And then you can change anything that you want here, right?
You can add anything and change it.
You can also add information here if you want to.
And then you click on okay, when you finish.
So, and if you want to change something here to, you can click on, you can click on it two times.
And then it can give you the chance to change the name here.
But you know, the easier way is to right click here and go to code properties, and then you'll be able to make any change that you want and click on, okay?
Let's say you made a mistake and brought this code under the first research question.
Instead of the second research question, you select it and then drag and drop to the second research question.
So you see how it came to the second research question.
If you want to bring it back, you select that and then drag and drop into the first research question.
So you can easily drag and drop stuff.
If you want to bring it outside the two research question, maybe you realize that, oh this code has nothing to do with the first research question, right?
Or the second research question, and I just wanna put it aside.
And maybe put it under other findings.
Or just put it aside.
You can drag and drop it into the code so that it'll be outside here.
I drop it here into the code tab, and then it'll come here.
If you wanna bring it back, you drag and drop it there, let's say you are creating codes and the codes are so important, but it has nothing to do with the research question that you have.
You can create a, another container called other findings.
Check aggregate and click on, okay.
And then you'll be able to create codes that, you know, they don't belong to either the first or the second research question, but they are important that you wanna look at it later.
You can bring it to other findings, right?
But at the end of the day, what do you have to do is that you don't have to code everything that you see in the data.
You are coding things that are going to help you to address your research question.
Another thing that you have to think about is that normally we don't code based on your interview questions, you are not coding to address your interview questions.
You are coding to address your research questions, right?
At the end of the day, you want to address the research question.
You are not addressing the interview question.
The interview questions helped you to collect data from participants.
The research question is the one that you have to use the interview responses to address, right?
But not using the interview responses to address the interview questions.
So you always have to be aware that at the end of the day you are addressing the research question, not the interview questions.
That's what what I have about coding.
If you have any question, you can drop it in the comment.
I'll be happy to address them for you because I want you to understand this process, right?
How to do the coding.
Some of the functions might not be relevant for you to get a basic understanding, but I'm just showing the ones that are important for you to use I'm going to show you how to categorize the codes too in my next video, right?
So this is what I have for you concerning the coding process, and I'm gonna show you the final product.
This is how the final product gonna look like.
So as you can see, I have my first research question, and all the code that have been created here based on the data that I have.
If you follow the steps that I provided to you, this is what you're going to see.
You can see that we have a lot of codes, right?
And you can just, just go ahead and do the presentation of your findings, right?
You have to think about categorizing the codes based on the similarities so that at the end of the day you have themes, maybe about five or six or seven themes addressing each of the research questions.
So because we have a lot of codes here, we have to move on to the next stage to categorize the codes so that we can develop themes and use the themes to address our research questions that we have here.
So you can do the categorization inside in vivo, or you can do it outside.
My next video, I'm gonna show you how, what's the best way of doing the categorization to develop themes to address your research question.
Up Next

13:47
Qualitative Data Analysis in Atlas.ti: Step-by-Step Tutorial
@DrUSP
62.2K views•2023-01-25

12:54
Triumph of Orthodoxy Icon: Byzantine Art & History Explained
@BenCallan
2.1K views•2024-08-06

9:49
FastAPI vs Flask vs Django: Choosing the Right Python Web Framework
@TechWithTim
302.5K views•2024-05-26

1:42
Game of Thrones Opening Credits: A Cinematic Analysis
@gameofthrones
46.3M views•2011-04-18
Related Study Plans & Knowledge Roadmaps
Structured learning paths in General & Interdisciplinary Studies
general-studies
Elevator Engineering: History, Physics & Cities
01From Hoists to Safety Brakes: The Dawn of Vertical Lift
02Hydraulic vs. Traction: The Engineering Physics of Elevators
03Modern Speed, Safety, and Algorithms
+ 2 more learning modules
12h5 modules
Explore Roadmap
general-studies
Rubber: Material Science, History & Geopolitics
01Origins of Natural Rubber & Mesoamerican History
02The Chemistry of Natural Rubber & Vulcanization
03The Geopolitics of the Rubber Boom & Colonization
+ 2 more learning modules
12h5 modules
Explore Roadmap
general-studies
Containerization: Evolution, Logistics & Trade
01Ancient Trade & Bulk Cargo: Amphorae to Barrels
02The Industrial Revolution & Cardboard Packaging
03The Containerization Revolution: Malcom McLean
+ 2 more learning modules
12h5 modules
Explore Roadmap
general-studies
Textile Tech: Evolution, Labor & Global Impact
01Pre-Industrial Textiles: Handloom & Cottage Industry
02Mechanization: The Spinning Jenny to the Power Loom
03The Factory System & Global Labor Transformation
+ 2 more learning modules
10h5 modules
Explore Roadmap