












![[플라즈마 응용] 12. 플라즈마 광학적 진단 1 - 전북대학교 문세연 교수님](https://i.ytimg.com/vi_webp/Mb4HKOdhM_k/maxresdefault.webp)

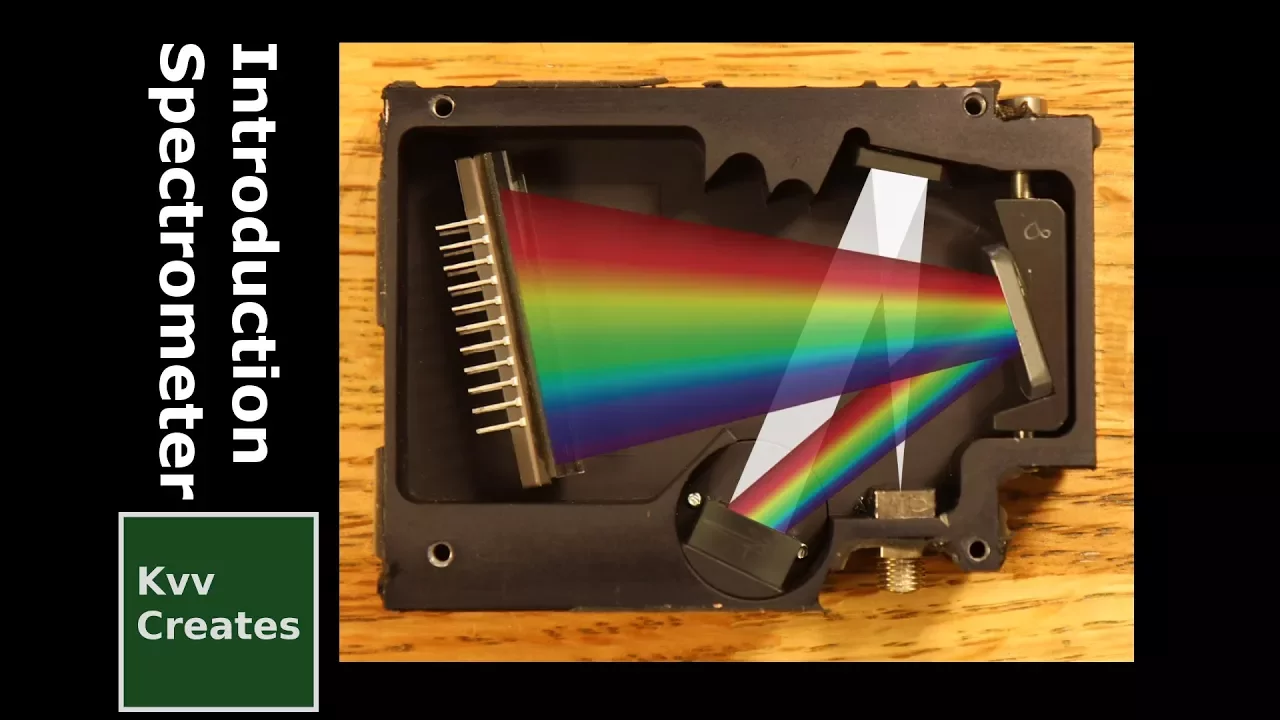





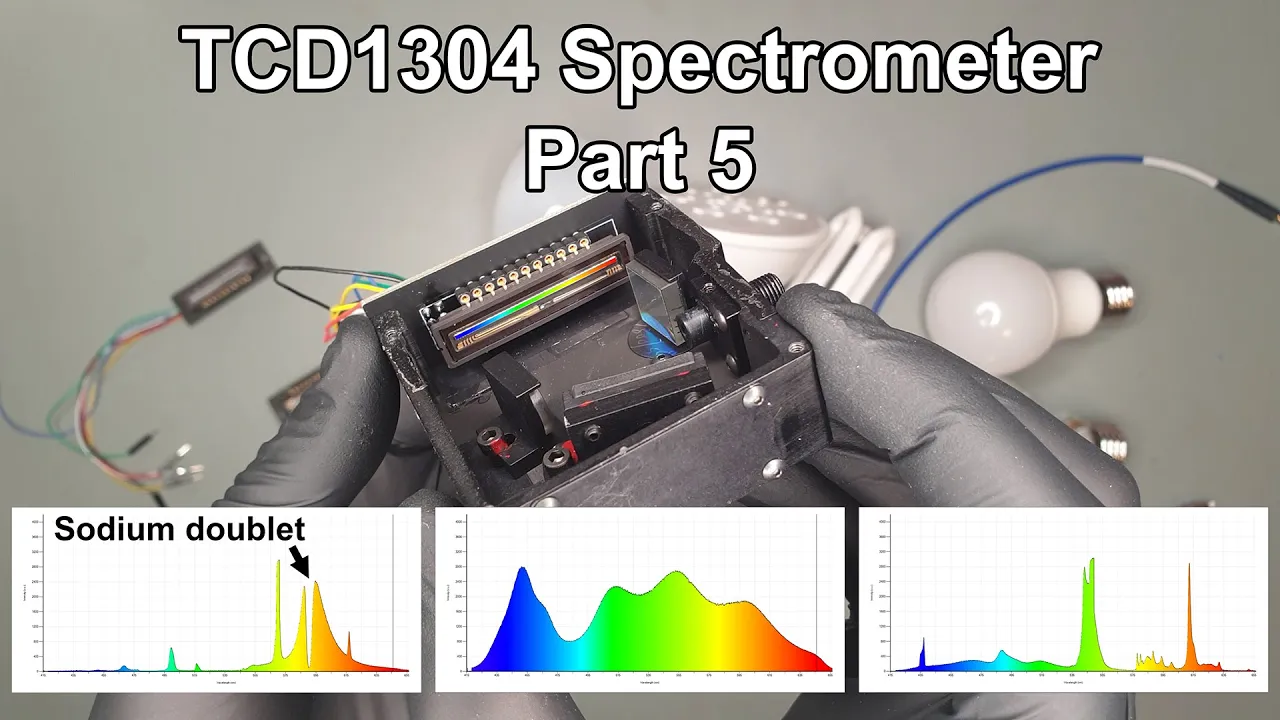
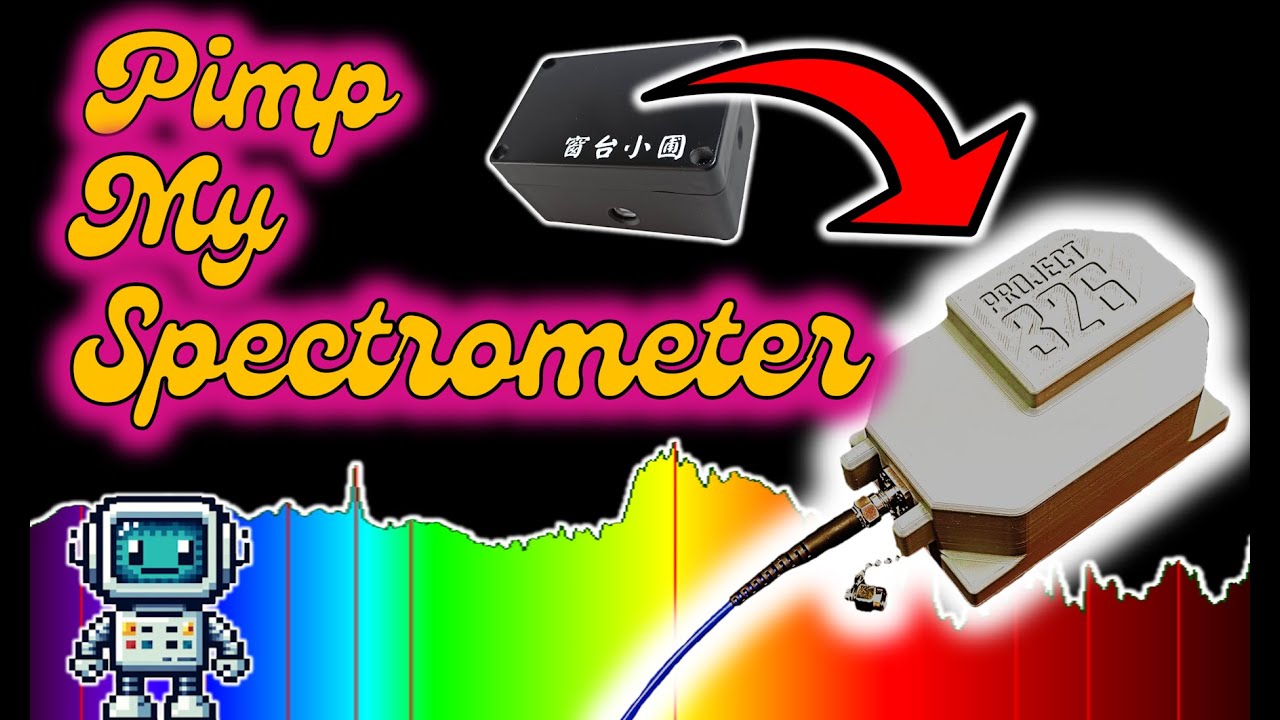
A simple spectrometer can be constructed using a CD as a diffraction grating, foam core cardboard for the body, razor blades to create an adjustable slit, and a smartphone camera to capture and analyze light spectra; this device works by allowing light to pass through a narrow slit, diffract through the CD's microscopic grooves, and project a spectrum onto the camera sensor, enabling qualitative analysis of light sources such as LEDs, lasers, and fluorescent bulbs.
Build a CD Spectrometer Tutorial | MIT Nanomaker Lab
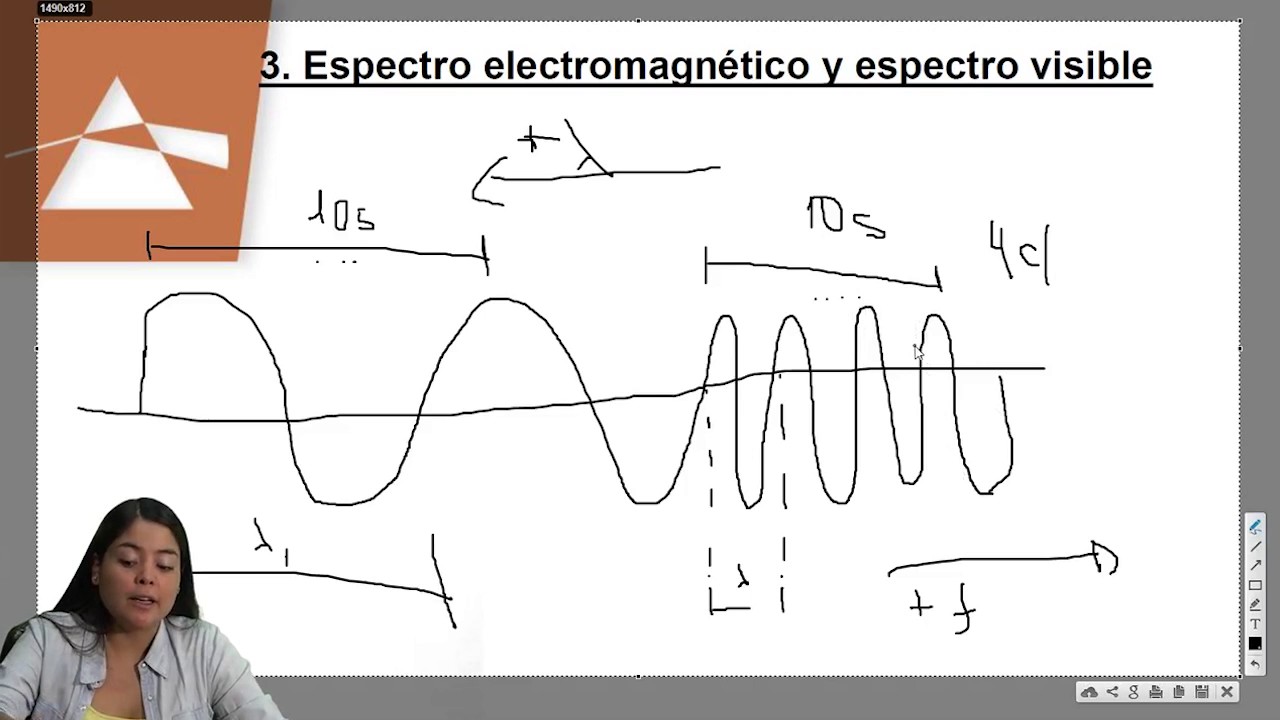
Added:Understanding the electromagnetic spectrum, specifically the visible light region and the concepts of wavelength and frequency.
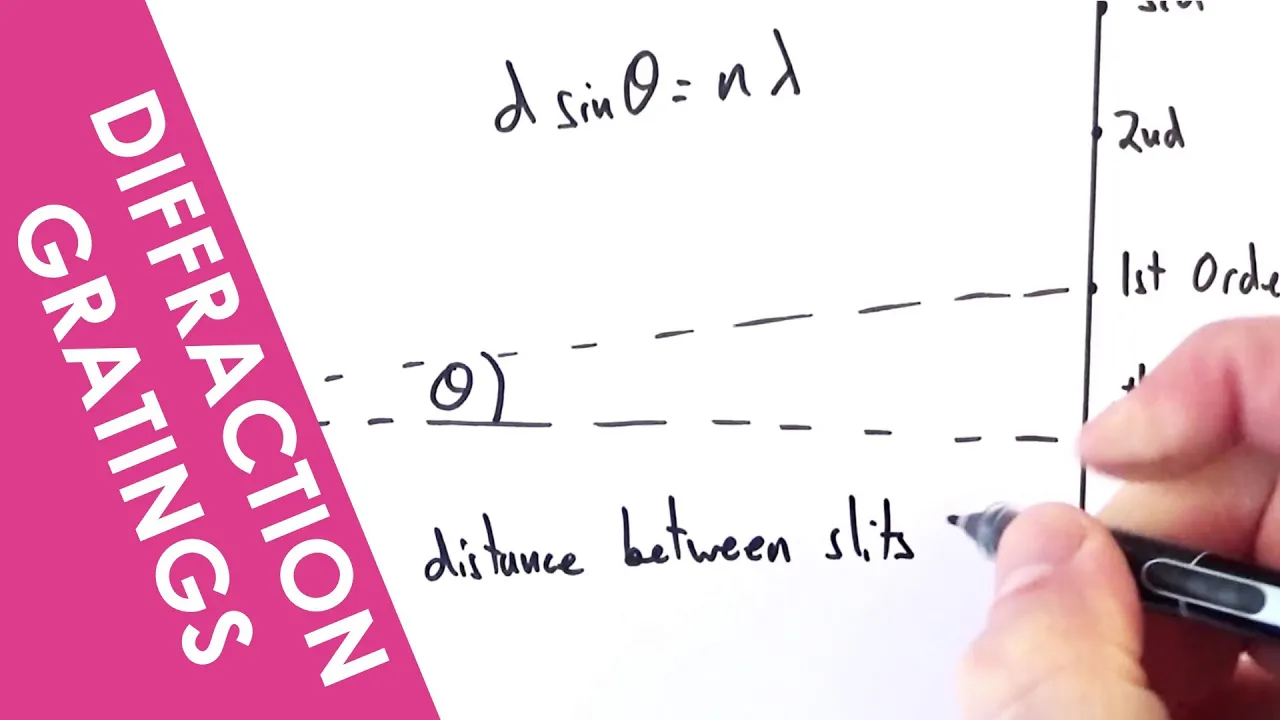
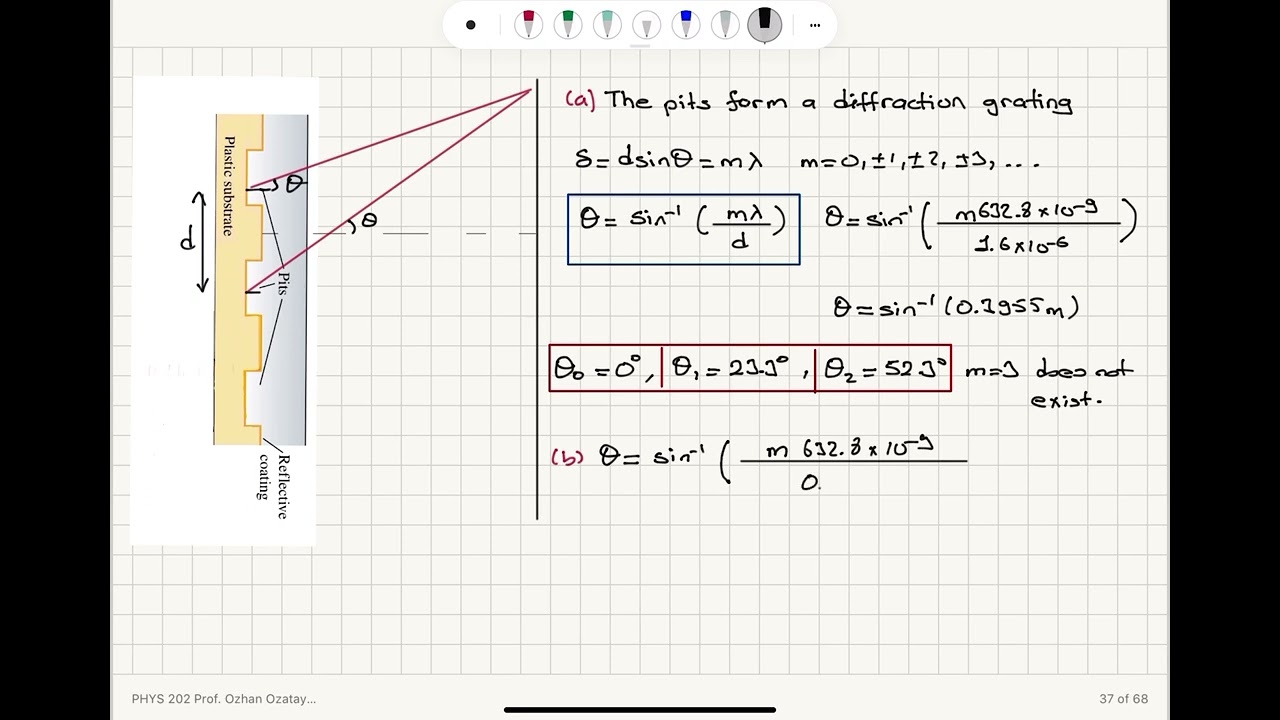
Basic wave optics, particularly the phenomenon of light diffraction and how a diffraction grating splits composite light into its constituent wavelengths.
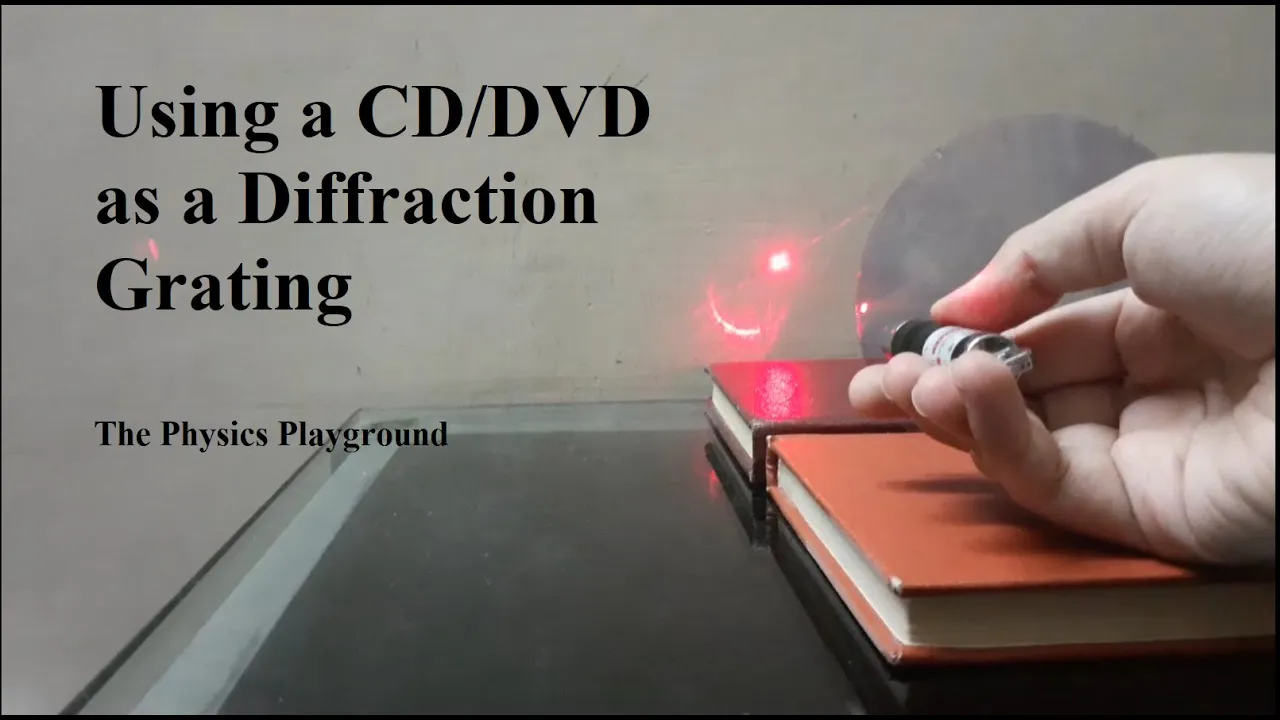
The physical structure of a Compact Disc (CD), specifically how its closely-spaced micro-grooves act as a reflective diffraction grating.
The fundamental difference in emission profiles between continuous light sources (like incandescent bulbs) and discrete or monochromatic light sources (like LEDs and lasers).
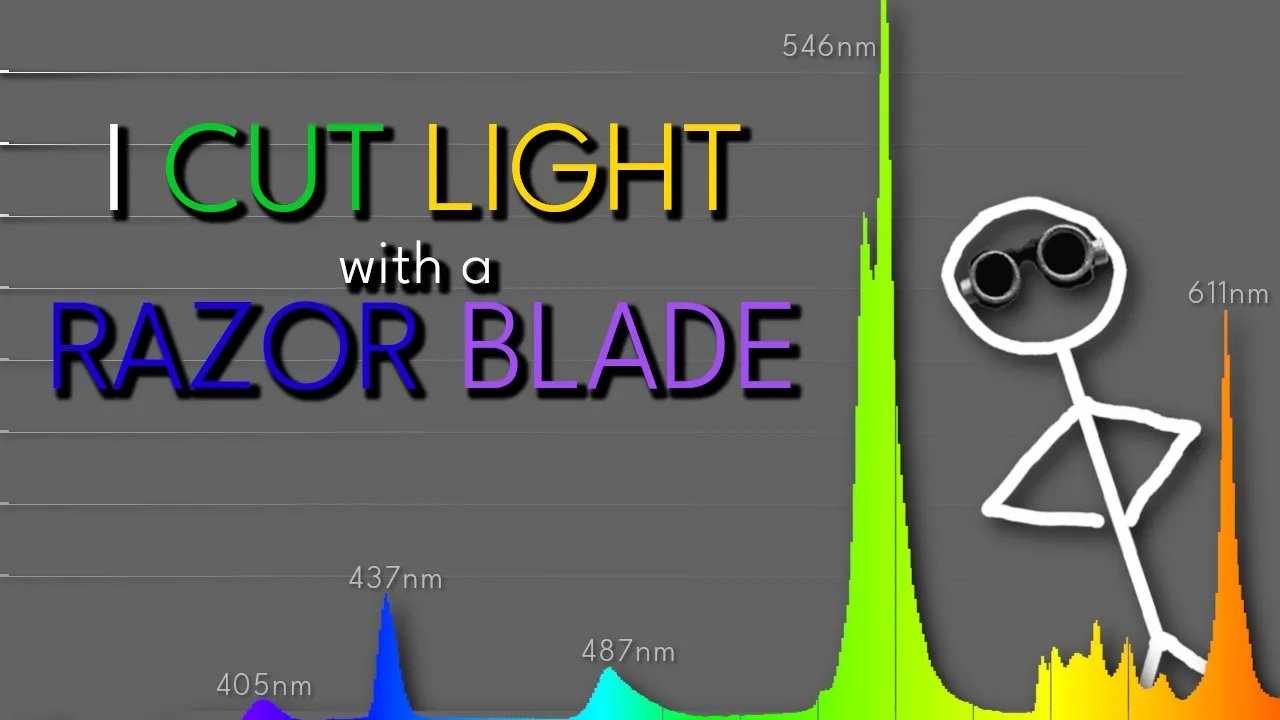
Calibration techniques using known light sources (such as a fluorescent bulb's mercury emission lines) to convert pixel position into precise nanometer wavelength measurements.
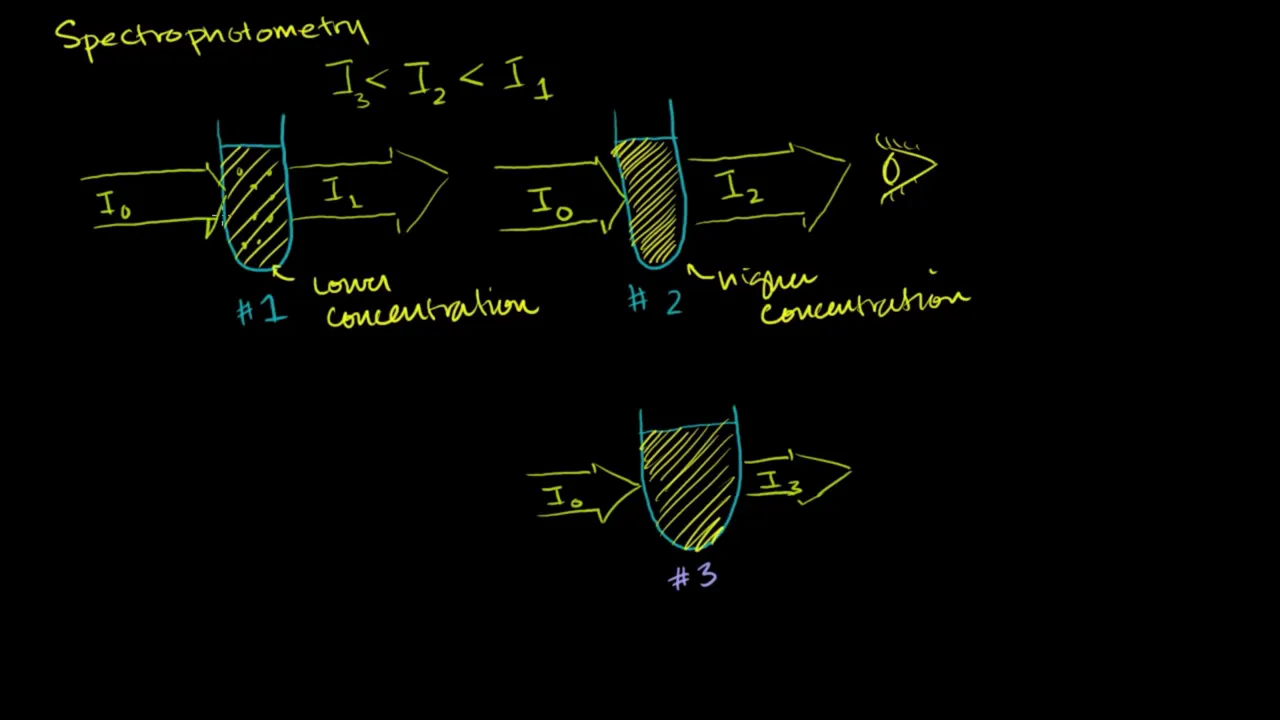
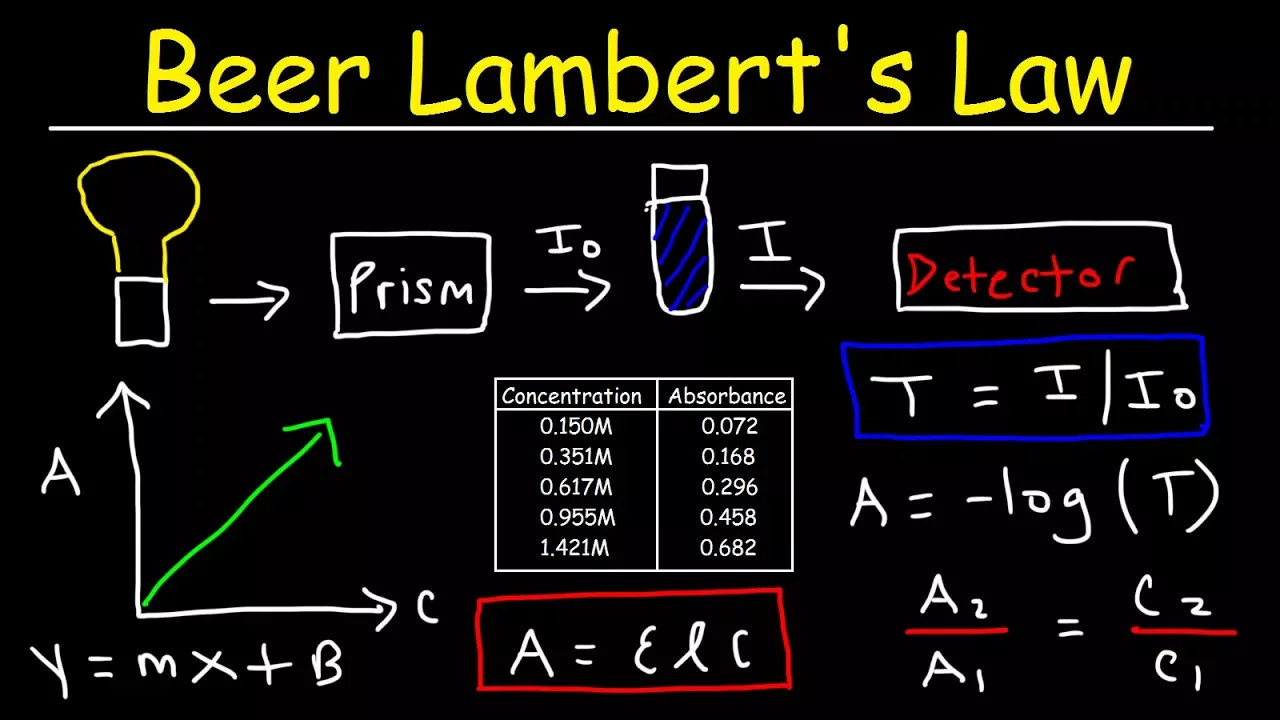
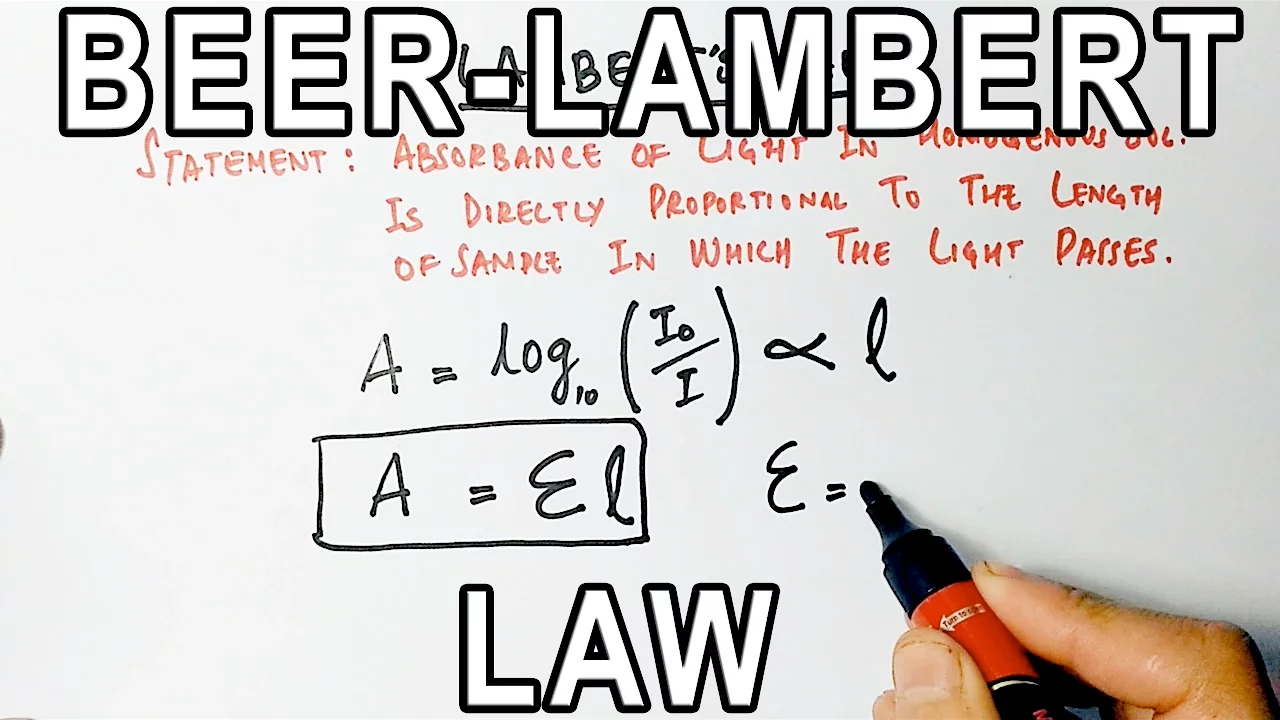
Applying the DIY spectrometer to chemical analysis, such as exploring the Beer-Lambert Law by measuring the light absorption of different liquid solutions.
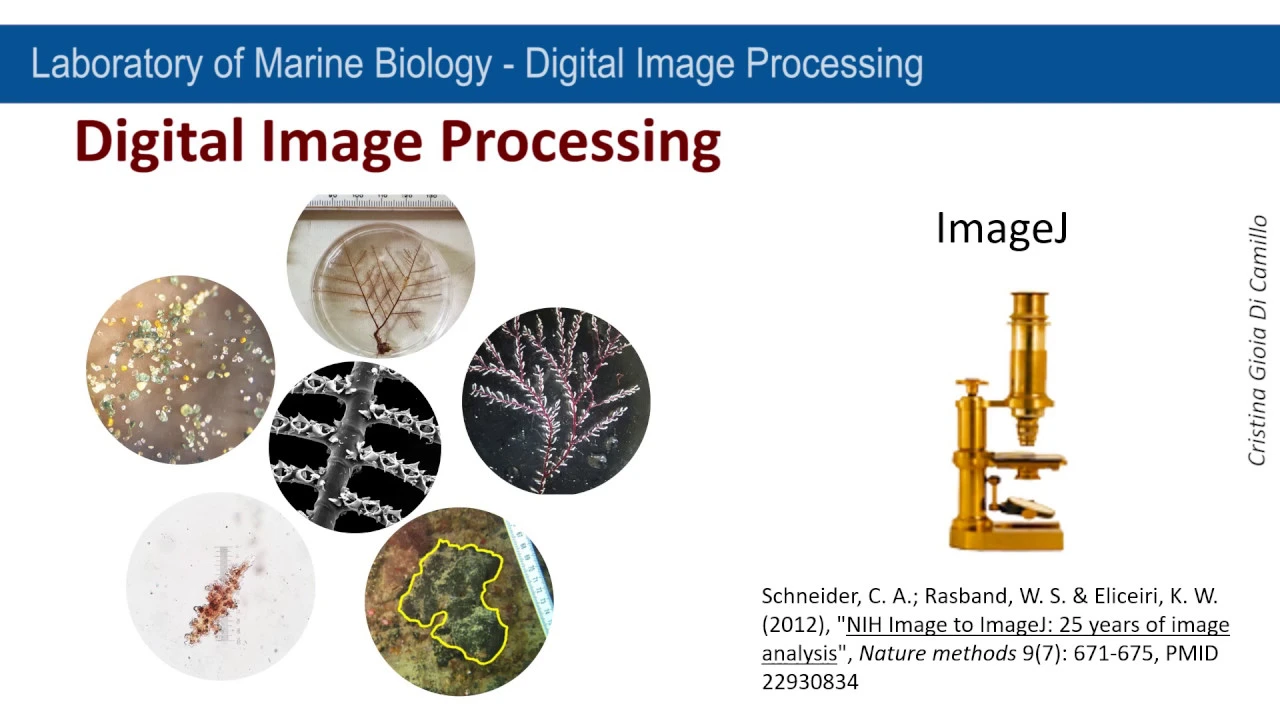
Using digital image processing software (like ImageJ or Python-based spectral analysis libraries) to convert smartphone camera photos of spectra into quantitative 2D intensity graphs.
Upgrading spectrometer resolution by optimizing slit width, adding collimating and focusing lenses, and comparing CD vs. DVD track densities.
Exploring advanced scientific applications of spectroscopy, such as identifying elements in distant stars (astrophysics) or detecting contaminants in water samples.
175.1K views1.8Klikes6:09Original Release: 2013-11-15
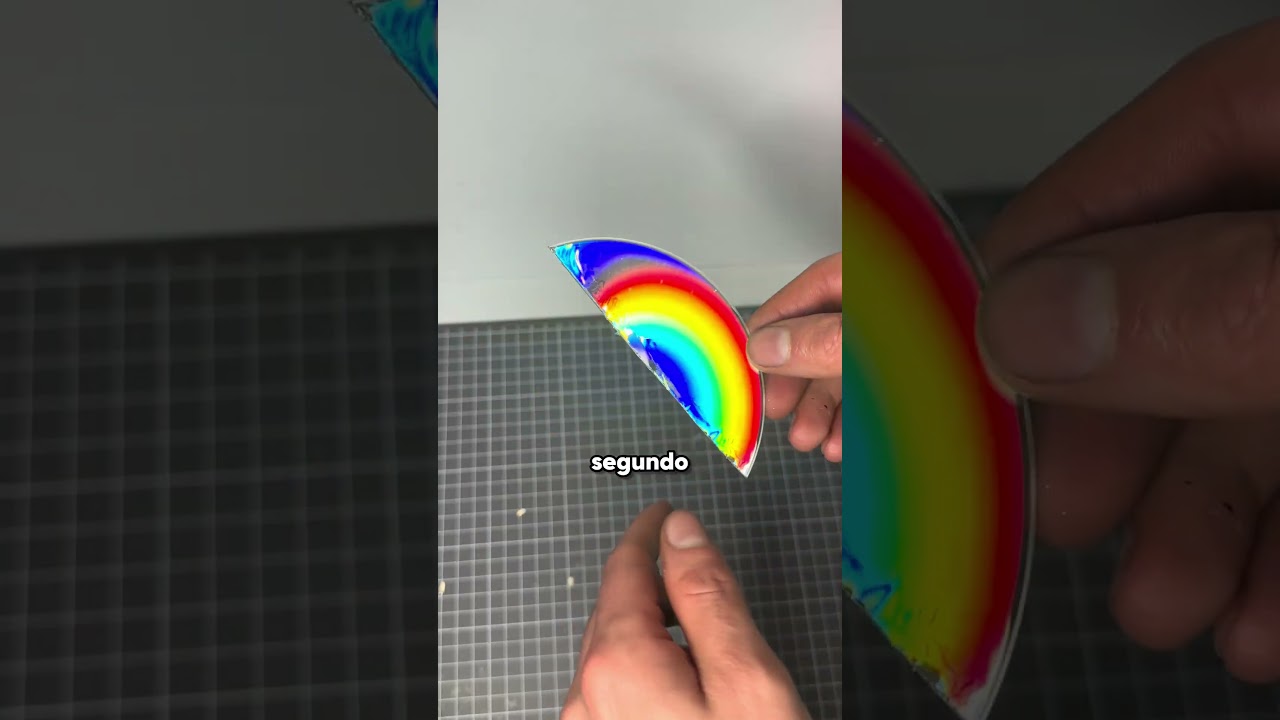
supplies for this lab you'll need four 2in x 4 in pieces of foam core a 2 and 1/2 in square piece of foam core rolls of duct tape and masking tape a recordable CD a ruler two razor blades and a box cutter step one assembling the spectroscope tube first use the masking tape to assemble a hollow tube out of the four 2in x 12in pieces of foam core only a small amount of tape is required to hold the pieces together however gaps are clearly visible at the joints between pieces these gaps will need to be covered to prevent light from entering the tube from the sides use pieces of duct tape to completely cover each of the four joints the duct tape will strengthen the tube and prevent ambient light from linking into the spectrometer after applying a couple of layers of duct tape your completed tube should look similar to this the joints should be completely covered with duct tape and no light should enter through the sides of the tube step two making the optical entrance slit use the box cutter to cut a 1in square hole into the center of the 2 and 1/2 in square piece of foam cord remove the protective cardboard from the two razor blades next place the razor blades over the hole with the sharp edges facing each other use a piece of masking tape to secure one of the razor blades to the piece of foam core cut out two small pieces from a printer transparency and place them on top of each other use the transparencies to space the two razor blades the thickness of the two transparencies will be equal to the slit width of the spectrometer once the second razor blade is in position use a piece of tape to secure it to the foam core tape over the razor blades with a second layer of duct tape take care not to cover the slit now tape the slit cover to the end of the foam core tube apply a second or third layer of duct tape to firmly attach the Slick cover and to prevent light from entering through the joints light should only enter the tube through the slit step three preparing the CD defraction grading place the recordable CD onto a table label side facing up use a razor blade to cut the outer perimeter of the CD along the edge of the reflective metal foil next cut along the inner perimeter of the foil now apply duct tape to the back of the CD for best results cover the entire surface with tape peel off the tape to remove the metal backing this will expose the grooves that make up the recording track of the CD use a pair of scissors to cut a quarter section out of the CD next place the section of CD on the open end of the foam core tube the foil side of the CD should be facing the inside of the tube this will protect the CD surface from smudges Orient the CD so that its tracks run parallel to the slit at the opposite side of the tube once the CD is in the proper position attach it to the tube using masking tape finish the spectroscope by trimming the protruding edges from the CD and taping the perimeter with duct tape your spectroscope is now ready for use step four using a cell phone camera to measure Spectra virtually any camera can be used to measure Spectra using your spectroscope ideally for quantitative measurements the camera should allow manual control of focus exposure time and white balance most mobile phones have integrated cameras with high enough resolution to obtain nanometer scale spectral resolution locate the camera on your phone and launch the phone's relevant image capture program now place the camera flush against the CD defraction grading holding the camera against the grading is important for achieving consistent results aim the spectrometer at a light source such as a fluorescent bulb you should see the slit in the center of the image move the spectrometer until the slit overlaps with the light source the Spectrum will appear to the side of the slit once you've obtained a clean Spectrum take a snapshot here we see the Spectrum from a fluorescent light bulb now you can use your spectrometer to capture Spectra from virtually any visible Source such as a white LED or a red laser please see the course website for further instructions on how to calibrate your spectrometer and take quantitative spectral measurements
Up Next

16:29
DIY Spectrometer Calibration: Emission Peak Analysis and Setup
@Cannabisoriganum
7.1K views•2018-02-13

12:53
21cm Hyperfine Transition in Neutral Hydrogen: Radio Astronomy Basics
@AaronRobertParsons
12.4K views•2011-10-13
81:16
Lagrange's Method with Examples | MIT 2.003 Engineering Dynamics
@mitocw
747.1K views•2013-09-03

27:14
Entropy and the Second Law of Thermodynamics Explained
@veritasium
27.5M views•2023-07-01
Related Study Plans & Knowledge Roadmaps
Structured learning paths in Physics
physics
Nuclear Physics (Decay, Fission & Reactors)
01Atomic Structure and the Binding Force
02Radioactive Decay and Half-Life
03Nuclear Fission Mechanics and Chain Reactions
+ 2 more learning modules
12h5 modules
Explore Roadmap
physics
Soft Matter (Polymers, Colloids & Rheology)
01Foundations of Soft Matter & Thermal Forces
02Polymer Physics and Macromolecules
03Colloids, Surfactants, and Self-Assembly
+ 2 more learning modules
38h5 modules
Explore Roadmap
physics
Analytical Mechanics: Lagrangian & Hamiltonian
01Mathematical Foundations: Calculus of Variations
02From Newtonian Mechanics to Constraint Dynamics
03The Principle of Least Action & Lagrangian Mechanics
+ 3 more learning modules
28h6 modules
Explore Roadmap
physics
General Relativity (Spacetime & Cosmology)
01Foundations of Relativity: Special Relativity
02The Geometry of Spacetime: Equivalence Principle & Curvature
03Einstein's Field Equations: The Mathematics of Gravity
+ 2 more learning modules
55h5 modules
Explore Roadmap