
























Telescope resolution—the ability to distinguish between two closely spaced objects—is fundamentally limited by the aperture diameter and the wavelength of light, following the formula θ = 1.22λ/D (Rayleigh criterion), where larger apertures provide higher angular resolution and smaller apertures result in poorer image sharpness; this diffraction-limited behavior means that even perfect optical systems cannot overcome these physical constraints, which explains why the James Webb Space Telescope's infrared observations (longer wavelengths) will have lower resolution than Hubble's visible-light observations despite having a larger aperture.
Telescope Resolution Explained: Aperture, Wavelength & JWST
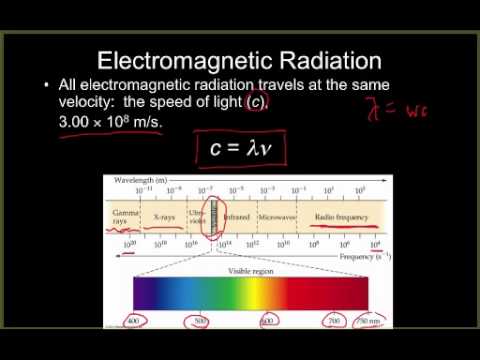
Added:The wave nature of light, including the concepts of wavelength, frequency, and electromagnetic radiation.
Basic telescope anatomy, specifically the role of the primary aperture (mirror or lens) in collecting light.
The fundamental concept of wave diffraction, which is the bending and spreading of light waves when passing through an aperture.
A general understanding of the electromagnetic spectrum, particularly the differences between visible light and infrared light.
The mathematical formulation of angular resolution, specifically calculating limits using the Rayleigh Criterion.
The impact of atmospheric distortion ('seeing') on ground-based telescopes and how Adaptive Optics systems correct for it.
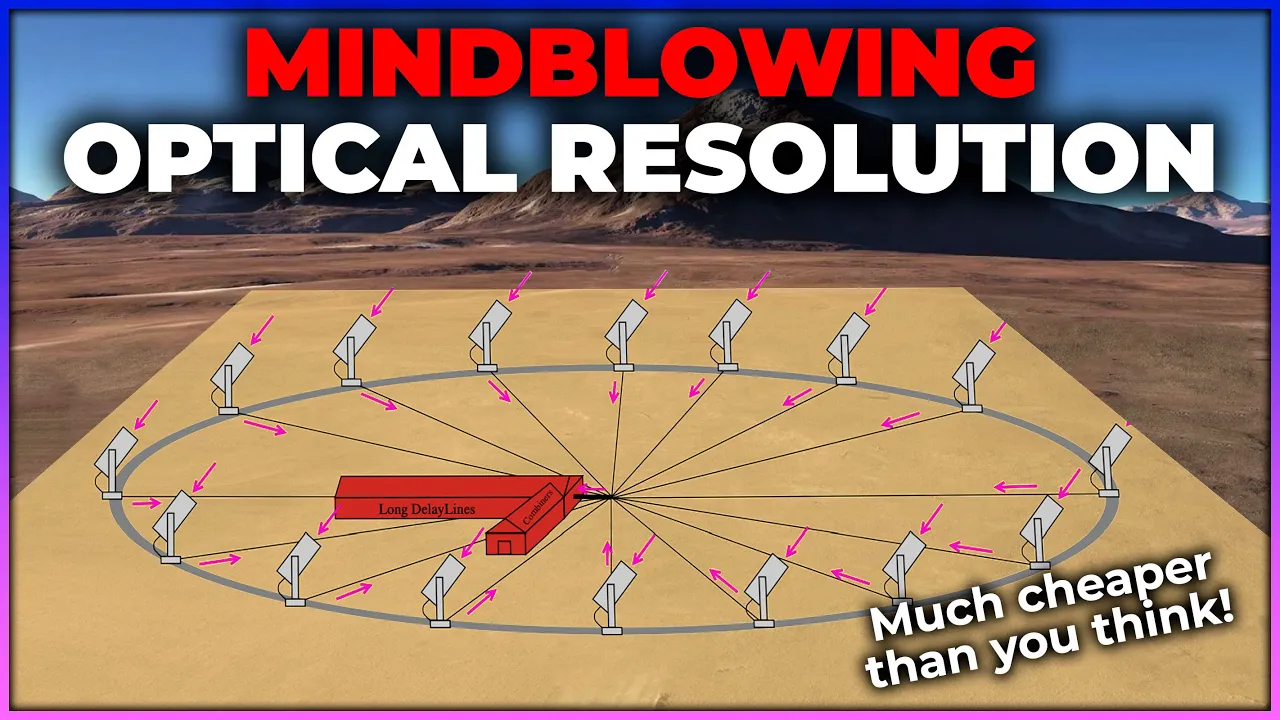
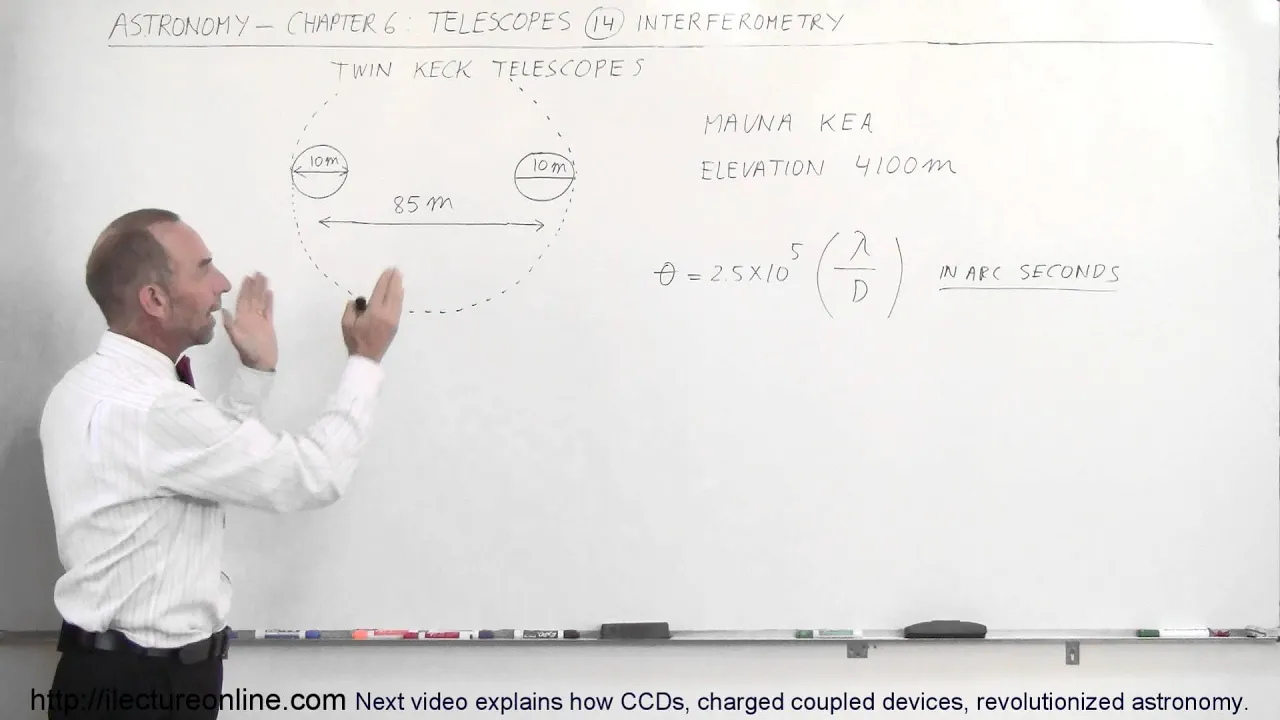
The principles of Astronomical Interferometry, which links multiple telescopes to achieve the resolution of a much larger virtual aperture.
The specific engineering challenges of the James Webb Space Telescope, including the deployment and alignment of its segmented hexagonal primary mirror.
224.9K views8.9Klikes21:14Original Release: 2022-01-10
Hi everyone, In my last video I visited Rik ter Horst who was making tiny monolithic telescopes for use in small satellites.
Now, for some reason, this video got a lot of attention and both Rik and I were contacted by numerous companies and individuals that asked if we could supply these devices.
Most requests came from people developing drones and small satellites.
But the thing is that both Rik and I are more into tinkering around and discovering interesting things.
We are not really the greatest business men and have little commercial motivation.
Luckily, other people did see a business opportunity here.
In a fairly recent post on linkedin, a startup called Eon space labs claimed they managed to make their first prototype in just a few weeks’ time.
It’s indented use: cube-sats.
Anyway, I just wanted to share this with you, just to illustrate how an idea can remain dormant for decades.
And then suddenly evolve into a product once it reaches the right audience.
A frequently made comment about the tiny telescope video was that I did not show any images through the actual device.
And I agree, it’s one of the biggest shortcomings of the video.
The thing was that I could not get hold of any footage through one of Riks devices at the time.
Of course, I could have just pointed a camera into the rear end, but that would have looked something like this.
In order to see images, you need to connect it to a CCD camera or use an eyepiece.
But the thing is: the views really aren’t that spectacular.
Basically, what you see is equivalent to the view through small binoculars.
Based on the reactions on the video I discovered that there are a lot of misconceptions about resolution and sharpness of telescopes.
So, I decided to make this video about exactly this subject.
Because it touches upon one of the most fundamental aspects of optics: aperture.
Apart from the quality of the optical elements and turbulence in the atmosphere, the diameter of a telescope is THE fundamental limitation of what you can see through it.
With a tiny telescope, you will be able to see details that you can’t see with the naked eye, but for astronomical purposes, like for example the observation of planets or deep sky objects, it is utterly unsuited.
For two reasons actually: In astronomy you are dealing mostly with rather dim objects.
So, you need something that can collect a lot of light, and more aperture means that you can see the fainter the objects.
But when it comes to resolution, a larger telescope can actually create sharper images then a smaller telescope because of physics.
So let me first quickly demonstrate the effect of aperture with a simple experiment.
Here is a view of my back yard with a smartphone.
About 50 meters away, you see the branches of a tree and as you can see the digital zoom of my smart phone is not really suited to see a lot of detail in these branches.
Now, when we point a 300mm telephoto lens in the same direction, we get a completely different field of view and it allows us to see much finer details.
What I did before recording the image was limit the aperture of the telelens to a well-defined value.
In this case I put a 45mm aperture in front of the lens.
But let’s now look at what happens if we exchange the aperture with one of only 7mm in diameter.
So, same lens, same focal settings, just a different aperture.
And here you see a side-by-side comparison of photos taken with these two apertures.
At first glance, the main difference is a dramatic increase in the depth of focus with the smaller aperture.
With the 7mm aperture, things in the foreground that were previously out of focus, like this branch here, suddenly appear sharper.
But the main thing I want to point out here is the overall loss of sharpness at the focal distance.
If we zoom in on small details, like for example these ball-shaped seeds hanging in the tree, we see that the image recorded with the small aperture is noticeably less sharp.
So, same optic, same focus setting, smaller aperture and down goes sharpness and contrast, especially if we look for this effect in the fine details.
Now for telescopes, sharpness (or resolution) is actually a key parameter, because if you want to observe details in objects very, very far away, it’s all about these fine details.
But before we go deeper into the effect of aperture in telescopes, let me quickly address what we mean exactly by the sharpness or resolution of a telescope.
Resolution is actually determined by the ability to distinguish between light coming from different angles.
So, the resolution of a telescope is angular resolution.
For example, if we take a look at 2 stars from earth that appear very close to each other in the sky, there is no easy way to tell how far they are away from us, or from each other for that matter.
They are so incredibly far away that they can only be considered as point sources without any angular dimension.
So, the only thing that we can observe is the apparent angle between the two, which is indicated here with the Theta symbol.
Now if you were to look at these two stars with the naked eye, they would probably appear to you as one single star because our eyes have insufficient angular resolution.
But with the right telescope you would actually be able to see that we are dealing with 2 objects.
So, in shorth, the resolution of a telescope is its ability to distinguish between objects that are at a small viewing angle.
And the smaller this angle, the higher the angular resolution of the telescope.
In the past people have established the relation of this angle of separation with the wavelength of the light used for the observations and the diameter of the telescope, and the relation is described by this relatively simple formula: The minimum angle of separation (Theta) that you can see is equal to a constant, times the wavelength of the light, divided by the diameter of the telescope.
So, when considering aperture only: if the diameter of the device becomes smaller, the angle of separation between which you can distinguish two objects becomes bigger.
So, in effect this means that the resolution goes down with smaller apertures, which is basically what we observed previously in the telephoto lens experiment.
By the way, the constant in this formula is dependent on what you would find acceptable as the intensity dip between two the two objects.
And by this, I mean to definitively say that there are two sources rather than one.
And a frequently used criterion in this case is the Rayleigh limit.
At the Rayleigh limit, the dip is around 26% percent.
So, for the case that we accept the Rayleigh limit as our criterion, the constant is found to be 1.2 radians.
Just a quick example calculation: if we have a 200mm amateur telescope, and we observe in the visible spectrum, so with a wavelength of around half a micron, we see that the angular resolution is about 3 e-6 radians.
Or if we translate this to degrees: 0.6 arcseconds, which is in fact a very small angle.
I don’t expect you to get very excited about these numbers.
The only thing important here is to understand the relationship between angle of separation, wavelength and aperture.
But with this out of the way, let’s just have a look at what this means in practice.
And we will do that by comparing the theoretical best images of a few celestial objects with a few different telescopes: first a 1000mm diameter small observatory-type telescope, then a 200mm amateur telescope, and as the third example, the 24mm tiny telescope from the previous video.
For the first comparison they are all directed towards the same 2 far-away stars which are at an angle of 2 arc seconds.
So these images show what is theoretically achievable with the different instruments at identical magnification.
You see a spectacular difference.
With the 1000mm telescope, the stars look like 2 extremely well resolved small points.
With 200mm telescope this is still the case, although the spots are significantly bigger.
But with the 24mm we would just observe a single blurry spot, and it would be impossible to say whether these are actually 2 stars.
The same effect also reflects on the details that we can observe on the surface of planets in our own solar system.
For example, here is Jupiter together with one of its moons, as seen through the same 3 telescopes.
With the 24mm tiny telescope, the moon has become invisible and in fact you can barely make out the planets’ red spot.
Same here with Saturn: with the small telescope it will never be more than a blurry blob no matter how large your magnification, and if you did not know that Saturn has a ring, you would have a hard time guessing it’s actual shape.
So to conclude things: for telescopes, size does matter.
Not only can a large telescope collect more light and see fainter objects but it also has a much higher theoretical angular resolution than a small telescope.
Despite all of this, small aperture telescopes can still be useful in a cubesats and drones for daylight and earth-based observations.
Because under these circumstances, the amount of light is not really an issue.
And we can still see a fair amount of detail with a very compact optical component.
Here for example, you can see what the statue of liberty and the square around it would look from 400km up in space.
You see that even with the 24mm you can still make out some important details.
Just don’t expect to be able to read any license plates.
Now, the interesting question of course is: what is behind this phenomenon?
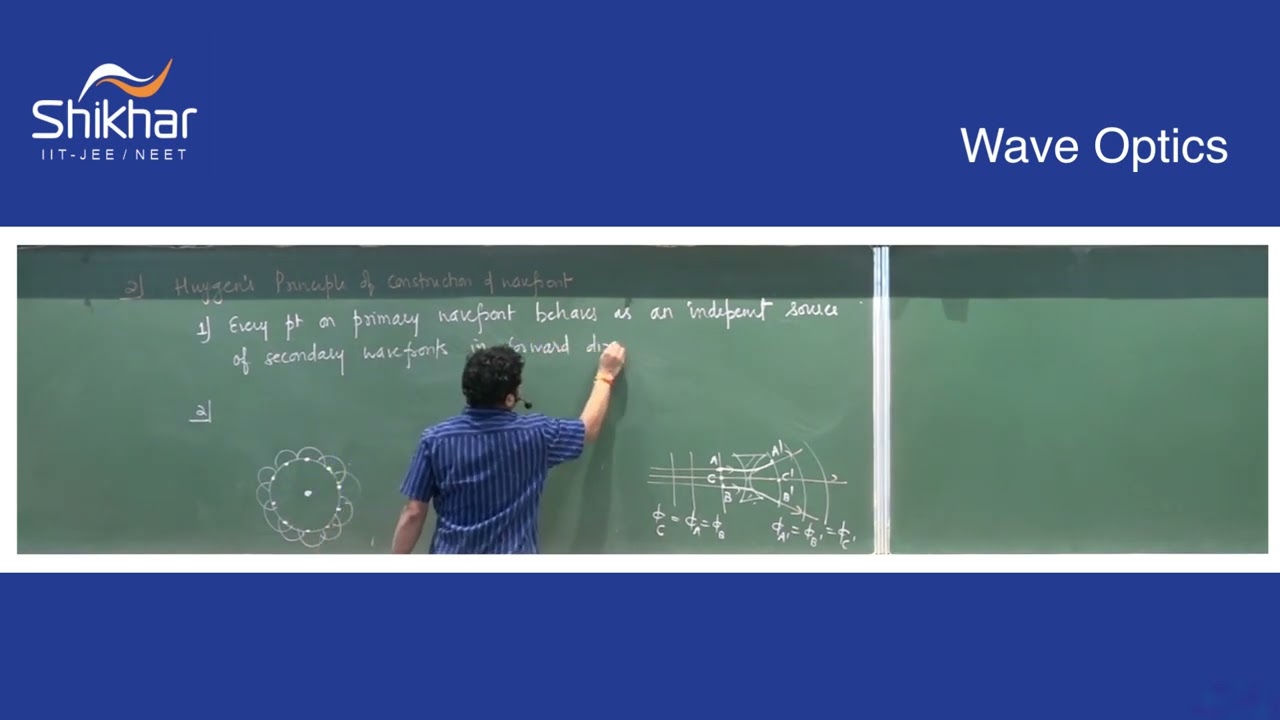
And a very common way to explain is by saying that light is a wave and it behaves according to the Huygens-Fresnel principle, which address the phenomenon of diffraction.
But I must admit that this principle is far more often explained than it is understood.
The Huygens Principle states that in propagation of waves, every point of a wavefront acts as an origin for the creation of a new wavefront.
But the principle does not really explain why that is, it basically just tries to describe the behavior of waves.
If you really want to understand waves, it’s better to look at energy.
If you examine the circumstances where waves occur, you will find that they always involve some form of continuous and complete transfer of one type of energy to another type of energy.
Take a pendulum as a very simple model: it makes a harmonic wave-like movement because its kinetic energy is converted into potential energy and then back into kinetic energy and so forth.
The same is actually true for waves on a water surface: A wave can be set into motion by using kinetic energy, for example by throwing a ball in the water.
And this kinetic energy is then converted to surface tension energy and then back into kinetic energy and so forth.
And this process actually takes place in each point on the surface.
Now, the nature of the relationship between the kinetic energy and the surface tension energy is the reason why we cannot contain waves without the presence of physical boundaries.
Sure, we can create a flat wave front in a channel.
And if the walls reflect the energy of the waves efficiently, it will continue its path unaltered.
But as soon as these boundaries are gone, the energy will start spreading out over the surface due to the fact that surface tension is not pointed in one specific direction, but always works in all directions along the surface.
And in essence the Huygens Principle is not about every point of a waves creating new waves.
It’s about every point in the surface of a wave transferring energy onto its next neighbors.
If you consider a continuous and infinitively wide wave, then the points cannot transfer energy to the sides by surface tension forces, because all these points move synchronously at identical levels.
The only direction in which energy can be transferred is perpendicular to the wave front where there is a surface curvature.
But cut a piece of the wave away and suddenly the energy in the wave has addition neighboring points that can accept its energy by the force of surface tension.
So this means that this energy is immediately going to spread in all directions.
In light or electromagnetic radiation in general, we have something very similar.
In the classical model, an electromagnetic field consists of an electric field component and a magnetic field component.
The field is initially created by the acceleration of charge but it can then autonomously move though space by exchange of the energy between the two field components.
But not in some static relationship.
The nature of the relationship between the electric and magnetic field is that one is the derivative of the other.
Now this is one of the Maxwell equations describing this relationship with the absence of charge, but it is better known as induction.
Anyway, an autonomous electromagnetic field moving through space must behave like a wave, because of the differential relationship between the two types of energy.
And this is analogue to what we have seen with the kinetic energy and surface tension energy on the surface of a liquid.
Because the continuous energy exchange between the electric and the magnetic field is the only way that Electromagnetic energy can even exist without the presence of charge.
Now, let’s do a little experiment with the good old microscope and take a look at a small aperture of about 0.3mm diameter.
Here you see the coherent light of a laser coming through the aperture.
Don’t pay too much attention to the non-uniformities of the beam, these are just artefacts of the laser and microscope.
Instead, focus on what happens here at the edge, after the light has passed the aperture.
We start to observe these fringes at the edge of the aperture moving inwards.
Now, following Huygens you would say that these are caused by interference between light coming from the edge with the rest of the wave front.
But how would that work?
Because most of the wave radiated from the edge would not even reach the rest of the wave front, and the part of the wave that does, does so perfectly in phase.
In view of what we have just discussed about waves and energy, there is actually an explanation that makes more sense.
What we observe here is the process of energy redistribution from the beam to the sides.
With the sharp boundary condition of the pinhole suddenly gone, the energy finds additional directions to move in.
But why do we only observe a wave moving inward?
Well there is actually also a wave moving outward, we just can’t see it because of the camera settings.
If we increase the brightness of the camera a bit and look at what happens on the outside of the aperture, we observe the same thing.
Here we also see waves develop, but now they seem to be moving outward.
The waves we observe on both sides are actually the result of energy transfer from the high energy density inside the beam, to the low intensity outside the beam.
And if you wonder why this energy transfer occurs in the shape of a wave.
Well, because it’s the only way that light knows how to transport energy.
Now personally I think that looking at diffraction from this angle, so just considering energy transport in space is one of the most fascinating ways to do this and one that actually makes sense.
In a confocal beam such as in a telescope, a similar process occurs at the edges of the optical components.
And by the time that the ripples in the wave caused by energy redistribution end up at the focal plane, these ripples are the cause that a lot of the energy contained in the wave, ends up next to the focal point instead of in it.
Of course, the bigger the relative size of these ripples, the bigger the effects will be in the focal plane.
And regarding aperture, this means that the resulting ripples are relatively big for a small aperture, and relatively small for a big aperture.
Basically, any surface discontinuity creates ripples in a wavefront and causes this effect.
It can be at the edge, or a central obstruction in a surface.
And all these energy ripples can lead to additional un-sharpness in the focal plane.
And lift-off. (decollage). Decolage, lift off! From a tropical rain forrest to the edge of time itself, James Webb begins a voyage back to the birth of the universe.
Now currently, there is a lot of attention in all the media for the James Webb telescope, and as you have just heard, people have great expectations.
And I must say that I am also super excited about it.
But I view of the previous part of the video, it is interesting to know how the capabilities of the instrument are limited by aperture.
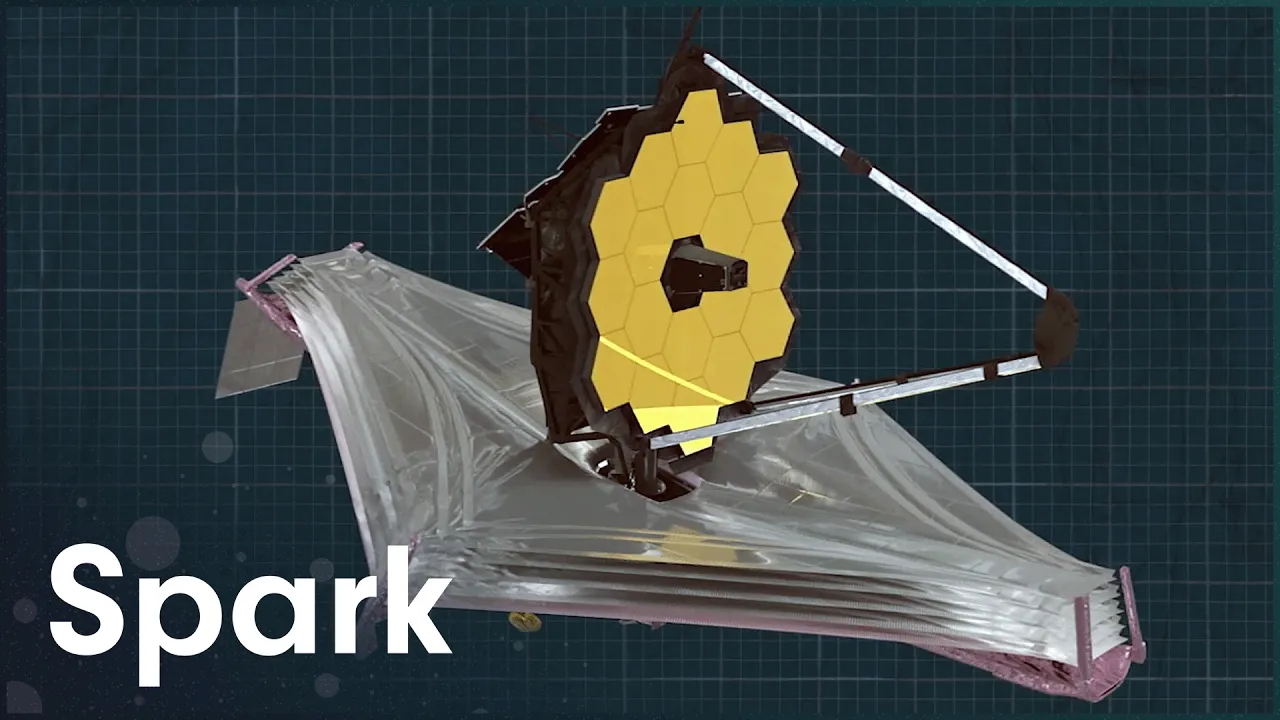
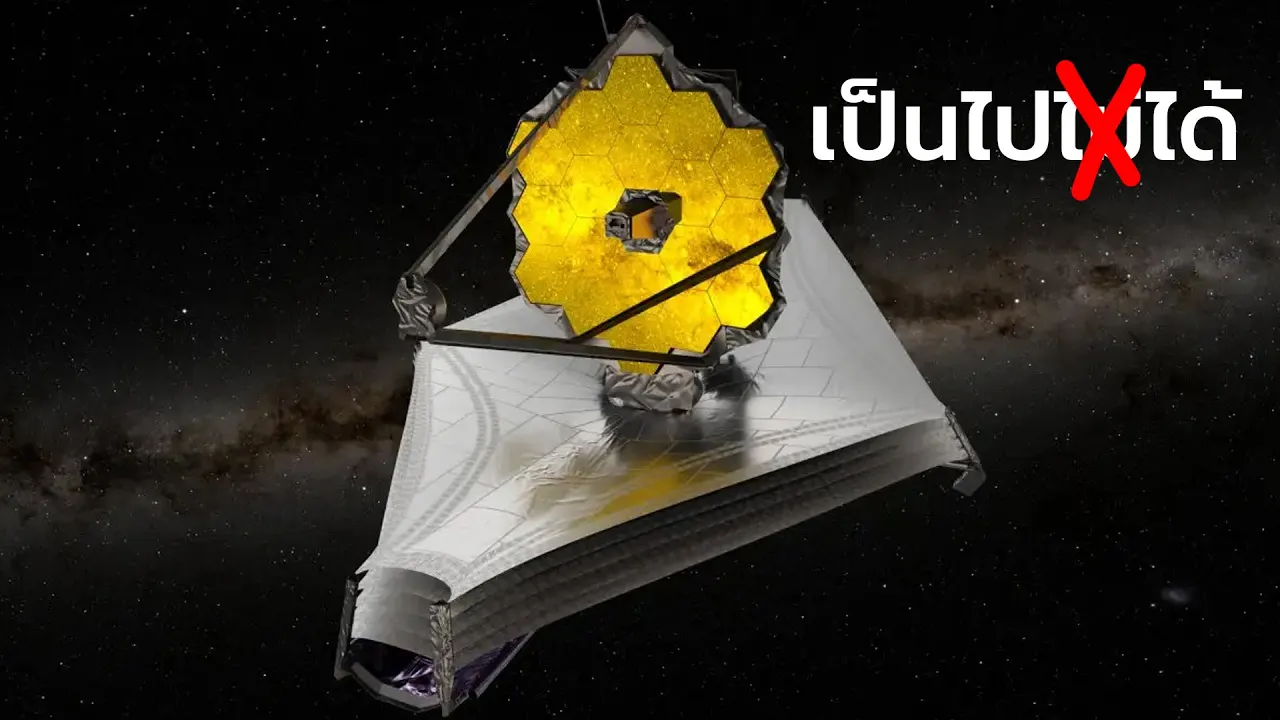
With its maximum diameter of 6.6m, the James Webb primary mirror is significantly bigger than the one in the Hubble telescope.
But there is a catch: the Webb’s mirror is segmented.
And between the segments is a spacing that is much larger than the wavelength of the light.
Now at first, I was pretty worried about these, because each of these spacings is basically sending energy in the wrong directions and causing ripples in the wavefront.
But by using special interferometric methods, apparently it is possible to work around this effect and make that the resolution is still limited only by the full aperture of the telescope.
So, this makes the Webb telescope about 2.7 times sharper than the Hubble telescope.
The biggest challenge for the Webb’s resolution however is in the spectral range it is intended for.
Remember this formula?
Well, regarding the limits in resolution, wavelength is an equally important part of the equation.
And for this limitation, I guess there is no easy work-around.
The Webb telescope will be used to look at wavelengths in the infrared part of the light, so light with a larger wavelength than visible light.
And the idea behind it is that space itself in our part of the universe is expanding and this expansion of space causes a red-shift towards longer wavelengths.
The longer the light has been on its way to reach us, the bigger this shift in wavelength.
This means that in order to look further back in time, the James Webb telescope has to look deeper into the universe.
But since the light has been red shifted, it has to search for infrared light rather than visible light.
While moving from the visible to the far infrared part of the spectrum, the James Webb telescope will slowly start to lose resolution.
For example, at 15um, the resolution is about 30 times lower than the resolution at 500nm in the visible.
And this makes the Webb telescope at 15um equally sharp as a 200mm aperture telescope in the visible range.
The deepest that the Hubble has ever looked into the universe is while recording the deep field image.
To create the deep field image, the light from an apparently empty patch in the night sky was collected for a total exposure time of a 140 hours.
And the resulting image showed us incredible details of deep space.
But how does the resolution of the James Webb compare to this at a wavelength of 15um?
Well, at that wavelength, the details in a deep field image it would look something like this.
So rather than by capturing more spectacular images, I think the biggest discoveries of the Webb telescope will come from analyzing the spectral distribution.
Because that is the aspect that is going to tell us most about the history of our part of the universe.
Anyway, if you have thoughts about this yourself, please share them with me and the other viewers in the comments.
It would be very interesting to know about your expectations.
Up Next

13:05
Why Telescopes Resolve Stars: Wave Optics & Angular Resolution
@KhanAcademyIndiaEnglish
19.6K views•2022-11-09

12:53
21cm Hyperfine Transition in Neutral Hydrogen: Radio Astronomy Basics
@AaronRobertParsons
12.4K views•2011-10-13

31:21
DIY Deformable Mirror Design for Adaptive Optics
@HuygensOptics
225.4K views•2025-10-04

27:14
Entropy and the Second Law of Thermodynamics Explained
@veritasium
27.5M views•2023-07-01
Related Study Plans & Knowledge Roadmaps
Structured learning paths in Physics
physics
Nuclear Physics (Decay, Fission & Reactors)
01Atomic Structure and the Binding Force
02Radioactive Decay and Half-Life
03Nuclear Fission Mechanics and Chain Reactions
+ 2 more learning modules
12h5 modules
Explore Roadmap
physics
Soft Matter (Polymers, Colloids & Rheology)
01Foundations of Soft Matter & Thermal Forces
02Polymer Physics and Macromolecules
03Colloids, Surfactants, and Self-Assembly
+ 2 more learning modules
38h5 modules
Explore Roadmap
physics
Analytical Mechanics: Lagrangian & Hamiltonian
01Mathematical Foundations: Calculus of Variations
02From Newtonian Mechanics to Constraint Dynamics
03The Principle of Least Action & Lagrangian Mechanics
+ 3 more learning modules
28h6 modules
Explore Roadmap
physics
General Relativity (Spacetime & Cosmology)
01Foundations of Relativity: Special Relativity
02The Geometry of Spacetime: Equivalence Principle & Curvature
03Einstein's Field Equations: The Mathematics of Gravity
+ 2 more learning modules
55h5 modules
Explore Roadmap