













![Decoración de un Pastel [Usando SOLO 1 BOQUILLA]😱](https://i.ytimg.com/vi/wWZLrSLTAyU/maxresdefault.jpg)


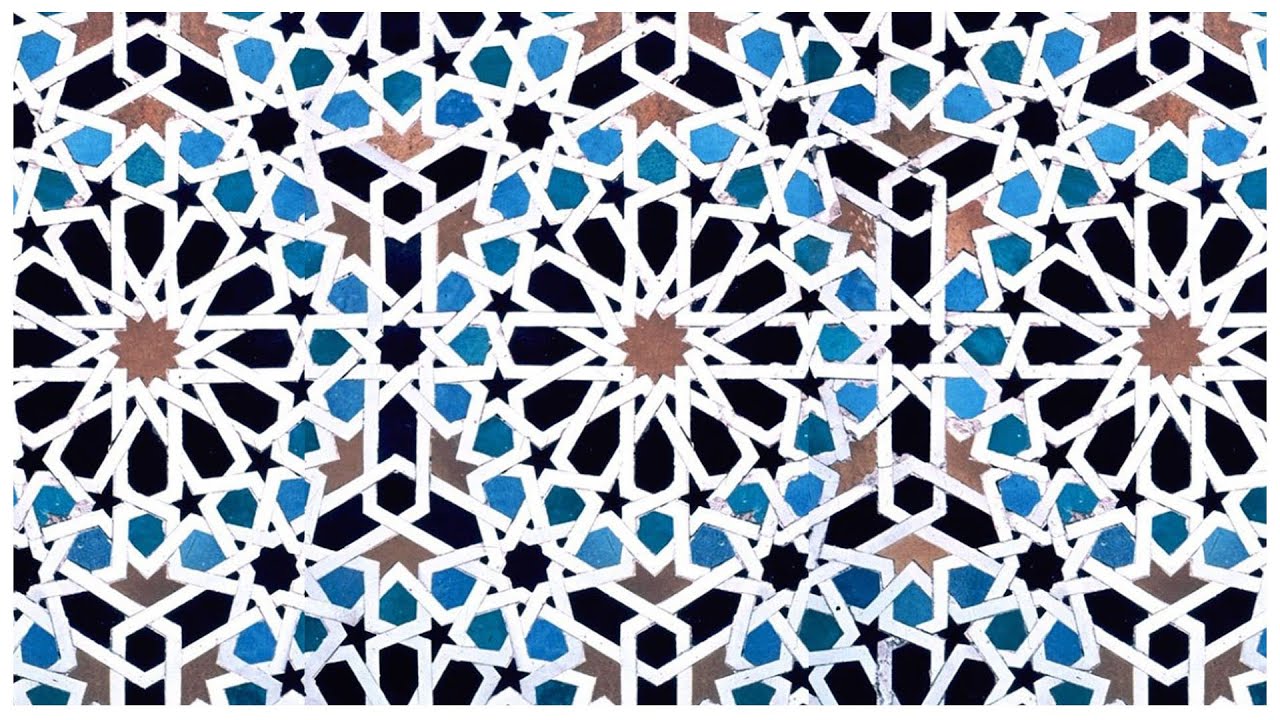





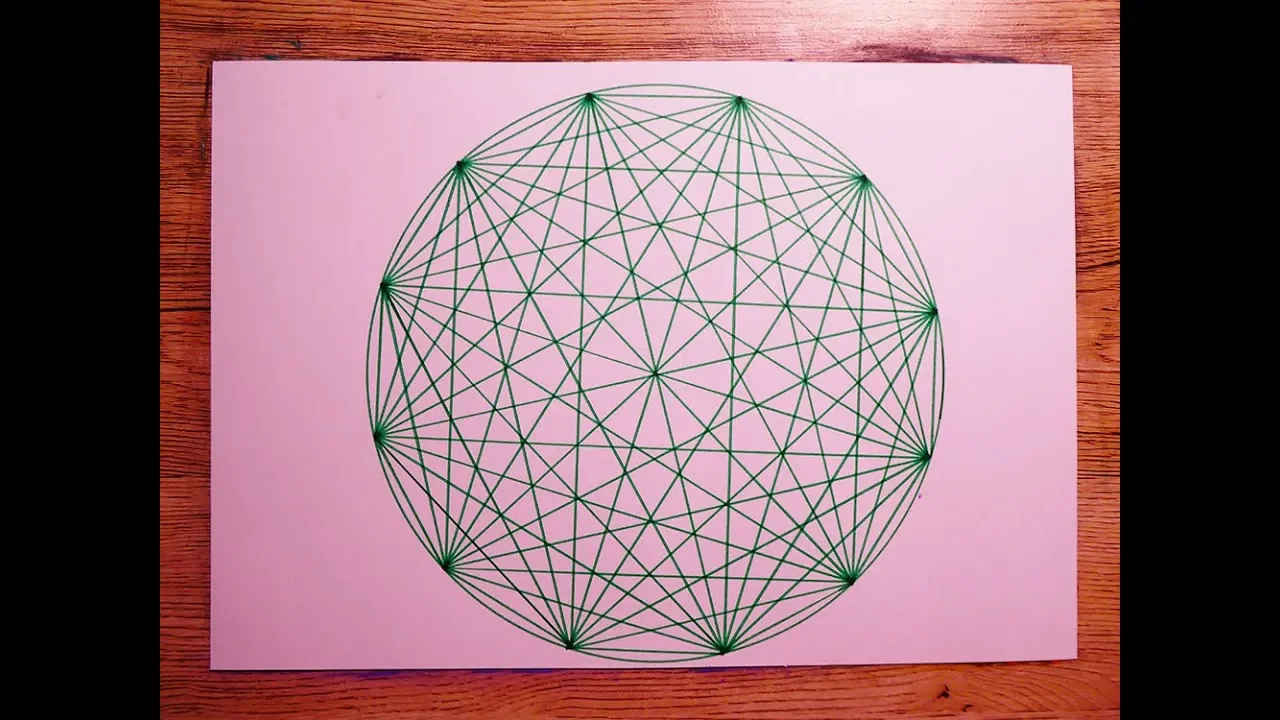
This tutorial demonstrates how to create a continuous interlacing geometric design by first constructing a circle divided into 12 equal segments using compass and straightedge techniques, then drawing three squares at 30° angles to each other, creating additional circles and parallel lines to form a 12-fold rosette pattern, and finally applying an interlacing technique where the continuous line alternates between going over and under at each intersection point to create a fully interwoven design.
Islamic Geometric Design Tutorial: Drawing a 12-Fold Rosette
Added:Basic compass-and-straightedge construction techniques, including bisecting angles, drawing perpendicular lines, and creating regular polygons.
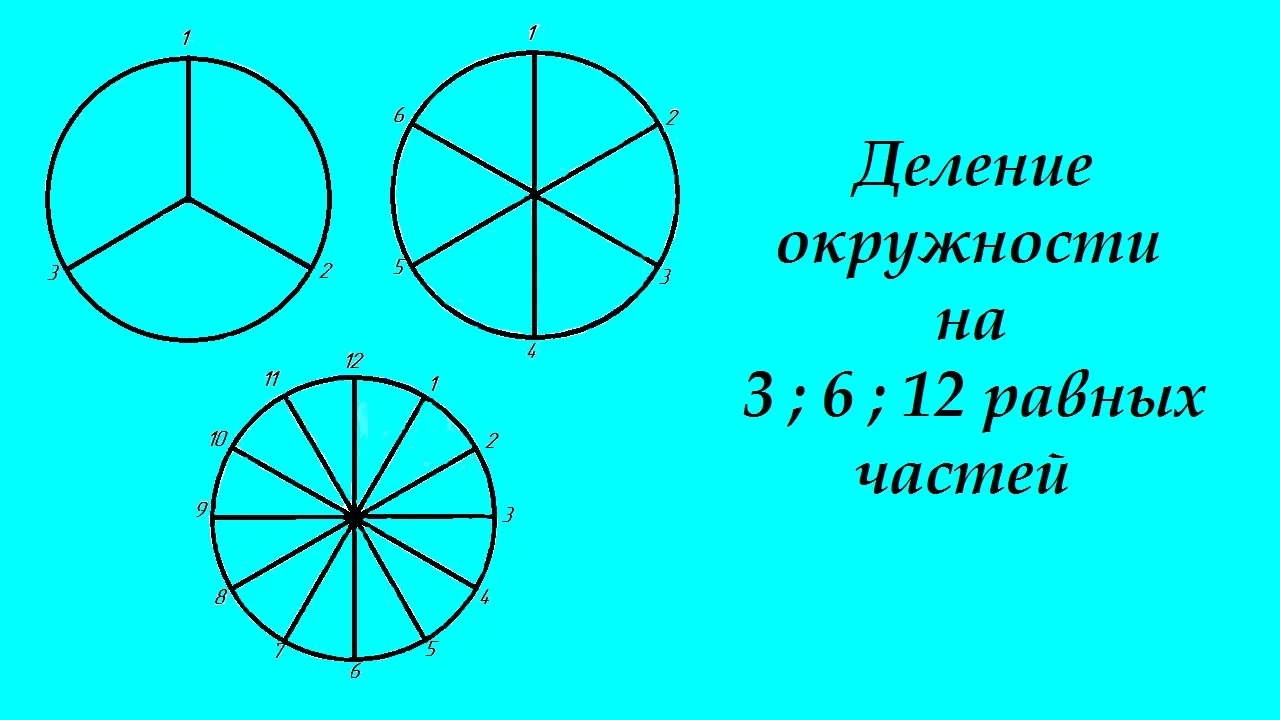
The principles of circular division, specifically how to divide a circle into 6 and 12 equal sectors using radial symmetry.
Familiarity with the terminology of geometric design, such as concentric circles, intersection points, and construction lines (grids).
A conceptual understanding of interlacing (the visual 'over-and-under' weaving of bands) in decorative arts.
Tessellation and tiling techniques, learning how to seamlessly repeat the 12-fold rosette pattern across a two-dimensional plane.
Applying advanced color theory and rendering techniques to emphasize the interlaced pathways of the rosette.
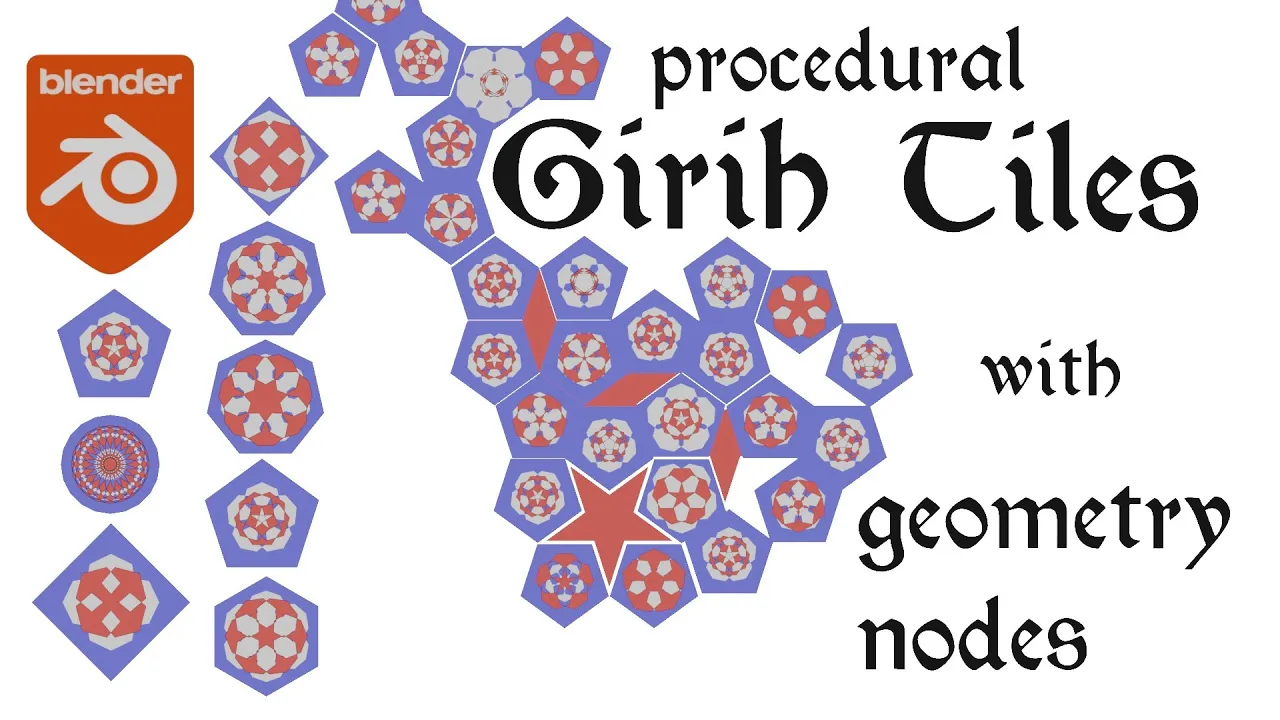
Exploring higher-order symmetries, such as 16-fold or composite geometric patterns (e.g., Girih tiling systems).
Digitizing hand-drawn patterns using vector software (like Adobe Illustrator or GeoGebra) for precise manufacturing, laser cutting, or digital art.
Studying the historical and regional variations of Islamic geometric design, including Andalusian, Seljuk, and Mughal styles.
998.1K views10.2Klikes17:09Original Release: 2014-10-24
Right, this is going to be a slowed down version of one of my old um Islamic geometry videos. A couple of people said they were too fast and they were too fast. So, you want to start by drawing a horizontal line and then take a pair of compasses and scribe an ellipse.
Then open up the pair of compasses and go through the intersection of the circle and the horizontal line.
And you want to scribe a small line at the top and at the bottom from that intersection.
And then go to the other intersection and do the same. And that should give you a cross at the top and the cross at the bottom.
And you want to run a line between those two points through the center.
And that will give you a 90° angle between the two lines. So you've got a perfect vertical and a perfect horizontal.
So now set the pair of compasses back to the original radius of the original circle and through the top intersection.
Steady up those and recheck.
through that intersection. I do another ellipse the same size as the original and it should go through the center. And then on the other intersection at the bottom, another arc.
And then the last two intersections.
So I've now got four ellipses with an ellipse in the in the center, all of the same diameter.
And that's produced more segments.
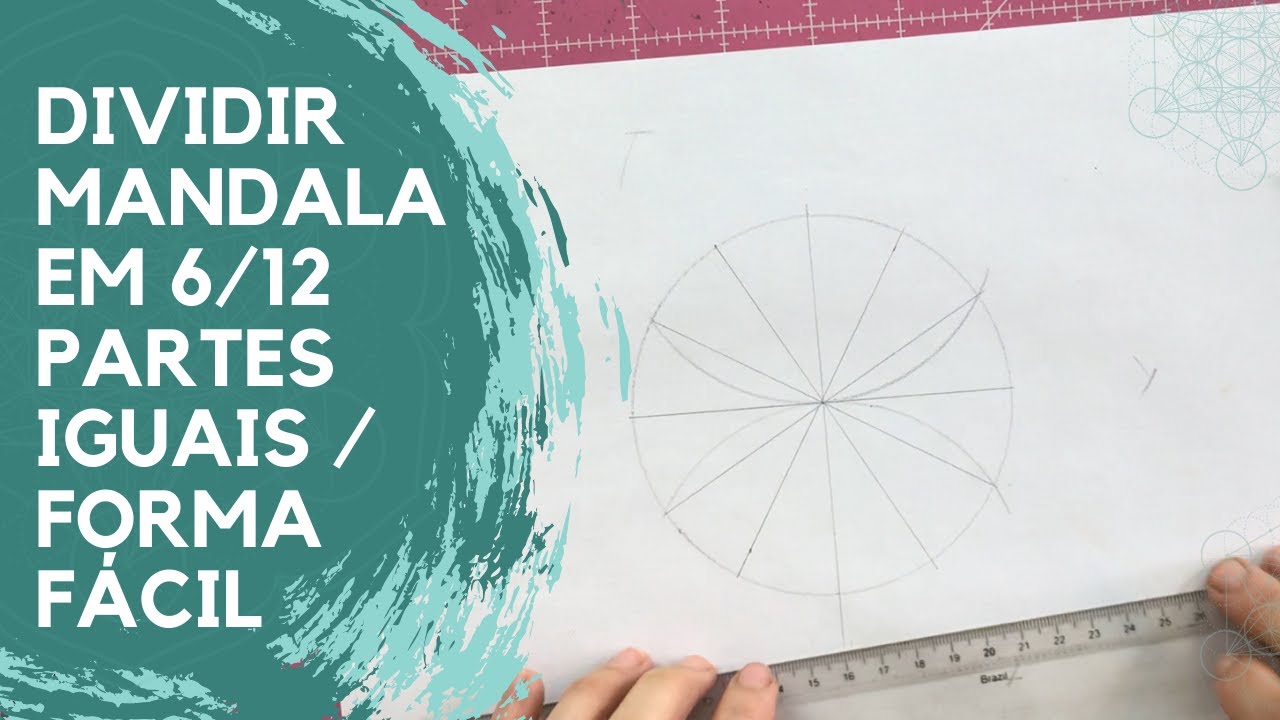
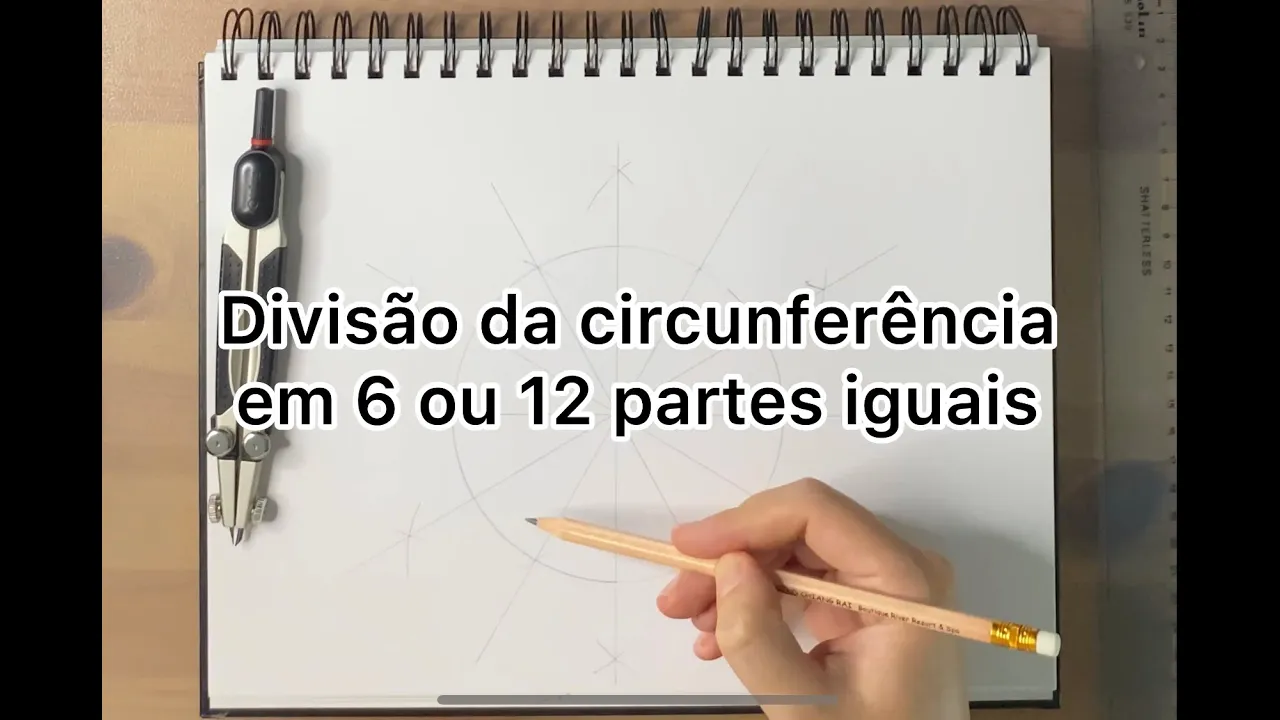
I've split the the original circle into 12.
So now I want to join the intersection.
So I pick one, go through the center and connect to the other side and scribe a line.
Now pick the next intersection through the center and out the other side.
Scribe a line.
The next intersection is already done through the center and out the other side and so on.
that split the circle into 12.
So now I want to draw three squares starting with the first small puppy.
So that's the first square. And now at 30° to that, another square.
And then the final square at 30° to that.
I want to take a smaller set of compasses and using the intersection of two of those squares and one of the original lines.
Going a bit closer so you can see what I'm doing and exactly where to take the measurement.
So where two of the squares intersect and one of the original lines, I want to set my pair of compasses to that radius and create an ellipse.
Now I can use that circle to give me a radius for my second circle which will go through the center and have the first circle as a tangent.
So I set my distance and then create another circle inside the first circle.
Using the C using the squares that I created before using those intersections I'm now going to split the original circle into 12 more parts. So it will now be 24 segments.
One intersection through the center out the other side and so on.
So now I'm going to link these two points and they should should run parallel with one of the lines.
At the moment, it's the one that's minus 30° from vertical.
I count two intersections along on each side and then I complete the parallel line.
I have three parallel lines.
I take two more intersections and run another parallel line parallel to the vertical one.
Two along and then down parallel again and so on.
And that's the final star.
From here, I should be able to create a continuous line.
And so for the interlacing, I follow a continuous line all the way through. So, wherever wherever a line goes over, the next time it it intersects, it should go under.
So, it's gone over there.
And so, it must go under here. So, it alternates between going being the one on top and the one on bottom. And as long as you follow that all the way around, then you should end up with a a fully interlaced continuous line that creates this 12fold rosette.
So that's gone over there and it must go under here.
So that's the basics.
I'm going to go back to my drawing now and I'll use a blue pen to create the continuous single line.
And then I'll go over it later in black pen with the interlacing.
But it's very hard to interlace um without putting in the line just and then erasing all the construction lines cuz they get confusing when you're trying to ink.
I'm going to start at the top and then work anticlockwise for no particular reason.
So that's it done. Um, and I'm going to go in and rub out all the construction lines now so I'm left with just a continuous line.
Right.
So now I want to start trying to uh interlace the continuous line.
I'll just get it in a bit closer so you can see what I'm doing.
Right. So now I'm going to start inking.
So I pick one intersection to start from. Then I decide that one of those is going to be over, which means the one that intersects it has to go under it.
So I fill that in so I know it's over.
So that's the top one. So the next one it must go under and it alternates between going under over under over under over. So that's over. So it must go under. So the one that intersects it there must go over it.
So I fill that in.
So where it goes under, I break the line. Where it goes over, it's a continuous line.
Normally I'd do this with a rule. Um, but I'm just doing it freehand so it's a bit quicker and so you can see it easier.
and so on. Um, so as long as you follow the line and it goes under, over, under, over, um, and that you shade it this way, um, you should end up with a continuous interlacing line over a 12 rosette at the end. So, I'll just speed this up, um, so you can get a better picture of it.
You can either follow a line from one point all the way around, but I like to work from the top down. I just find it easier. Um, and I can reference from other pieces so that I'm just work a bit quicker.
I'm just going to change the view so you can see the whole thing. Now, And there you go.
Um, it's very messy. Um, but if you can get it nice and tidy, you can then fill in those white areas with more detail or other lacing patterns.
Up Next
36:30
Inside a Stunning UAE Villa Inspired by Arabic Calligraphy
@TheNestormilic
18.8K views•2026-02-28

12:54
Triumph of Orthodoxy Icon: Byzantine Art & History Explained
@BenCallan
2.1K views•2024-08-06

9:49
FastAPI vs Flask vs Django: Choosing the Right Python Web Framework
@TechWithTim
302.5K views•2024-05-26

1:42
Game of Thrones Opening Credits: A Cinematic Analysis
@gameofthrones
46.3M views•2011-04-18
Related Study Plans & Knowledge Roadmaps
Structured learning paths in General & Interdisciplinary Studies
general-studies
Elevator Engineering: History, Physics & Cities
01From Hoists to Safety Brakes: The Dawn of Vertical Lift
02Hydraulic vs. Traction: The Engineering Physics of Elevators
03Modern Speed, Safety, and Algorithms
+ 2 more learning modules
12h5 modules
Explore Roadmap
general-studies
Rubber: Material Science, History & Geopolitics
01Origins of Natural Rubber & Mesoamerican History
02The Chemistry of Natural Rubber & Vulcanization
03The Geopolitics of the Rubber Boom & Colonization
+ 2 more learning modules
12h5 modules
Explore Roadmap
general-studies
Containerization: Evolution, Logistics & Trade
01Ancient Trade & Bulk Cargo: Amphorae to Barrels
02The Industrial Revolution & Cardboard Packaging
03The Containerization Revolution: Malcom McLean
+ 2 more learning modules
12h5 modules
Explore Roadmap
general-studies
Textile Tech: Evolution, Labor & Global Impact
01Pre-Industrial Textiles: Handloom & Cottage Industry
02Mechanization: The Spinning Jenny to the Power Loom
03The Factory System & Global Labor Transformation
+ 2 more learning modules
10h5 modules
Explore Roadmap