

















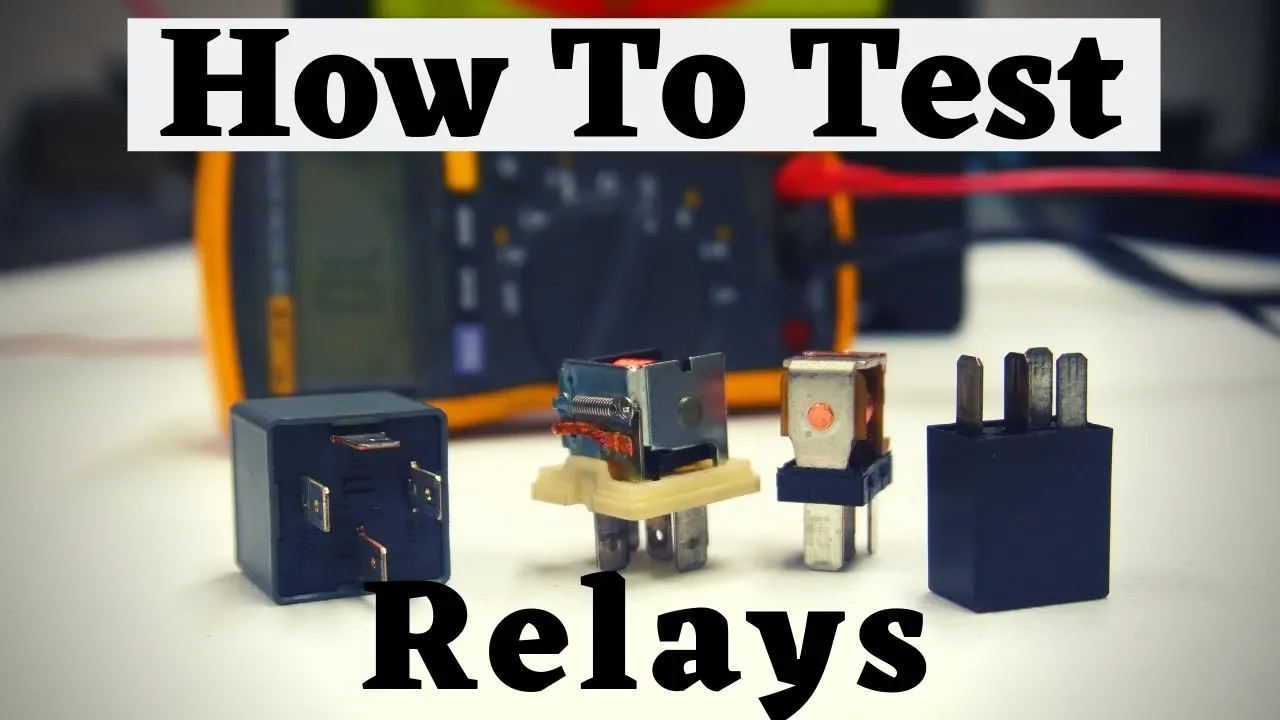



A relay is an electromagnetic mechanical switch that allows you to control a high-current circuit (like a compressor or fuel pump) using a low-current input (such as a toggle switch or key switch), making it essential for automotive electrical systems where direct switching would overload smaller switches; the standard 12V relay has four terminals (87, 30, 86, 85) where 87 and 30 form the main power circuit, and 85/86 form the coil circuit that energizes the switch when powered, enabling you to wire relays for various applications including toggle switches, ignition key activation, or thermostatic temperature control.
How Relays Work: 12V Relay Wiring Guide for Automotive Systems
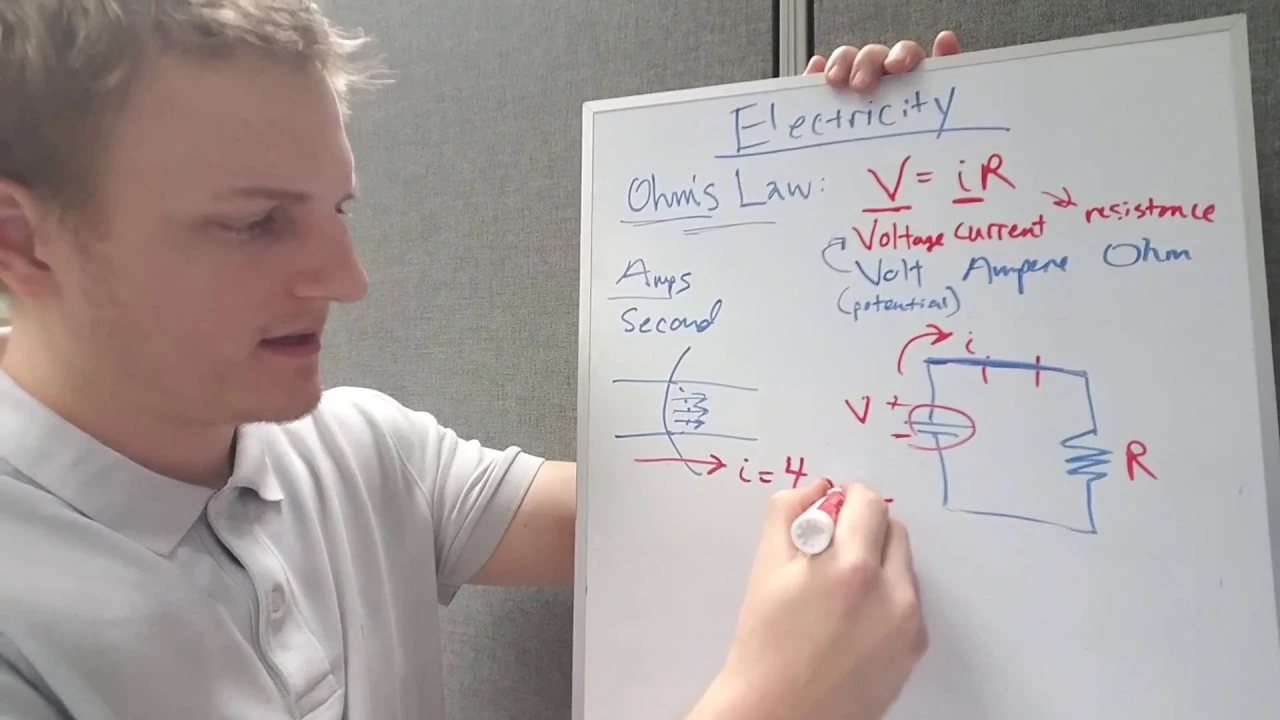
Added:Basic DC electricity concepts, including voltage (V), current (A), resistance (R), and Ohm's Law.
The anatomy of a simple electrical circuit, including power sources, loads, switches, and ground paths.
Fundamentals of electromagnetism, specifically how an electrical current flowing through a coil generates a magnetic field.
Standard automotive electrical components, such as wire gauges, fuses, and basic toggle switches.
Designing complex multi-relay circuits, such as interlocking relays or polarity-reversing circuits for power windows and motors.
Understanding flyback (snubber) diodes and their critical role in protecting sensitive automotive electronics from inductive voltage spikes.
Diagnostic and troubleshooting techniques for faulty automotive relays using a digital multimeter (DMM).
Integrating relays with electronic control units (ECUs), microcontrollers, or Body Control Modules (BCMs) in modern vehicle networks.
189.6K views2.5Klikes28:27Original Release: 2017-10-10
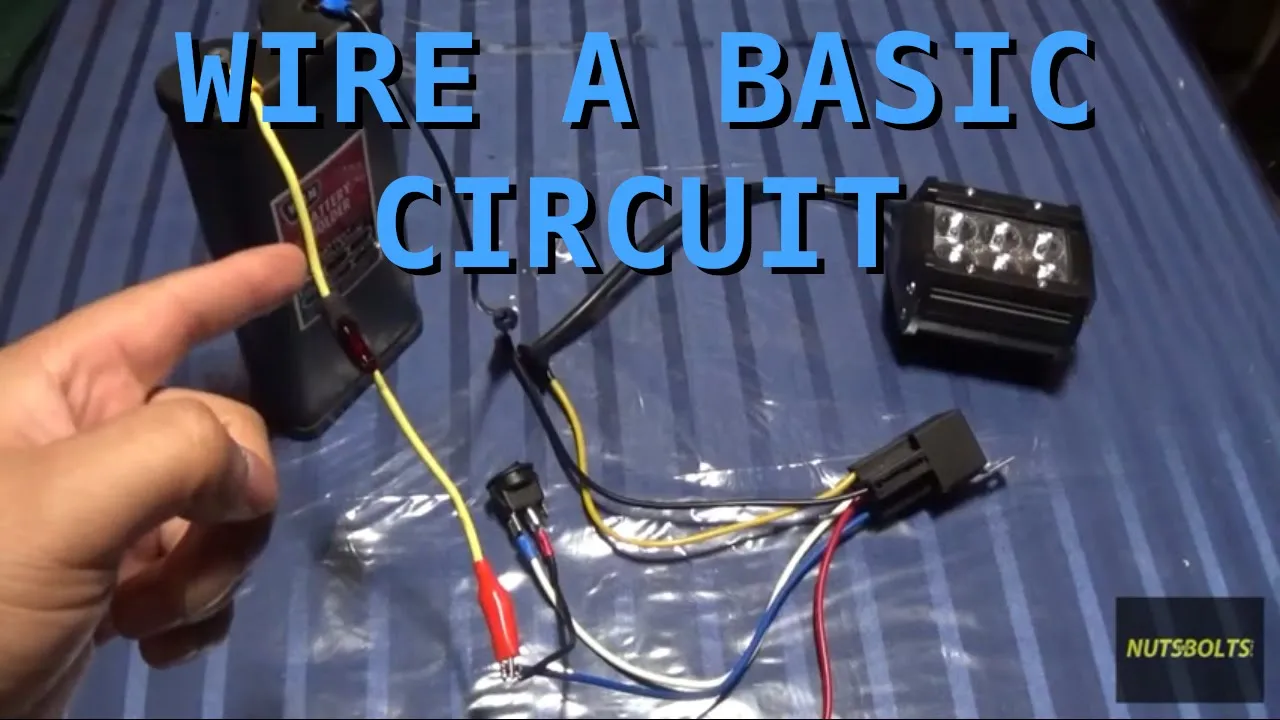
hey everyone how's it going sit low just hanging on the garage doing a little bit of wiring on this c10 project and I'm wiring up my compressor and I've already pretty much got the compressor wired up the only thing I got a wire left still is the relay that powers it so I figured I would just kind of include you guys in this video and show you guys try to teach you a little bit about relays and you know what they are what they do why we need them and just you know different scenarios and how you can wire them to do different things and you know work with the key work with a switch work with you know however you need to wire them so this would be kind of a fun video we'll get into the basics of wiring up relays we'll get to play with some wires we'll play with some crayons and it'll be a good time so stick around and let's learn a little bit about these doodads right here so relays okay you guys so first and foremost let's go ahead and take a look at the relays and the different types right here I got two relays so you can see this one on the left-hand side is only got four four tabs and this one over here has five tabs you know there's they're pretty much the same although this one does a little bit different functions this is referred to as a single pole single throw relay it's just more or less used to control one circuit and this guy over here is a single-pole double-throw relay and this one's more used for like power locks power windows convertible tops and any kind of situations where you need to either reverse polarity or have some kind of like indicator warning light or something like that so you probably aren't going to use too many of these for you know unless you're doing like power locks power windows and stuff like that so you're more or less gonna be look use enough for wiring up fans pumps and compressors and you know [ __ ] like that you're more or less going to just use the SP st relay the single pole single throw relay and as you can see there the terminals I don't know if you can see it you can see the terminals are numbered we got 87 30 86 and 85 over here now those numbers all mean something and I'm going to show you guys what those numbers mean in a second now before we get into it let's just talk a little bit about what it really is now when I used to work at a car stereo shop back in the early 1930s when I was first introduced to these things my garage manager at the time pretty much worded it to me like this he said a relay is an electoral electromagnetic mechanical switch which sounds complicated but it really isn't it's exactly what the term implies so I'm gonna go ahead and pull this one apart here because this is just a spare one I had laying around and I'm going to show you guys exactly what I mean by the electoral a magnetic mechanical switch portion of it so okay before I go ahead and take this thing apart I just want to elaborate a little bit more on the whole electromagnetic --all portion of the relay now inside this relay before we take apart I'm just going to tell you there's a there's a coil of wire that is just round and round and round and round around and what happens is when you energize it power ground or vice versa you could put ground over here power over here what that does is it creates a magnetic field it basically magnetizes and what happens when that coil magnetizes is inside here there's also another set of contacts that once you magnetize the coil that contact will shift over and complete your circuit from 87 to 30 so now that we kind know that let's go ahead and take it apart and take a peek I've already had this one it's gonna pop it apart again if I can I can't find my little pick tool anywhere so I guess I'm kind of limited to using this but whatever okay now that we got this thing apart we can see what I'm talking about see that coil of wire in there that is the electromagnetic coil of the relay and then you can see that thick copper wire thicker copper wire going here to here that is what completes your main circuit okay so what happens is when you magnetize power ground on the electromagnetic coil side you see this little contact here will shift over and it will complete your circuit from 3287 and when you de energize the coil it'll flick back over and I'm gonna go ahead and just rig up a little just a little battery and a couple of wires just to kind of demonstrate and show you guys what I'm talking about so stay tuned okay guys so here before me I've got a small power sports battery got my multimeter got the relay and a couple of these Spade terminals which I typically like to use to connect relays these Spade terminals just go right on there just fine now they make all kinds of different harnesses and stuff for that you know I'll show you guys a couple of those like here's one for example and as you can see you know these are pretty much the same harnesses this is one for a the single-pole double-throw so it has the v way or there but as you can see they got different color wires you know this one has a red wire this one has a white wire this one has a black we're going to what would be what would be the brown wire over here so like I said these harnesses you know although they're convenient for simply being able to just plug the relay right on into the harness they can actually you know when it comes to wiring them can be somewhat confusing because you know you're trying to tap into different color-coded wires you know I've read numerous forum articles where people were chiming in saying I'm trying to wire up this and that and the other thing and I don't know where the green wire goes so you know like I said even some of these got green wires so I'm got purple wire some got fricken you know like I said they're not 100% color-coded so that is why it's important to remember those numbers the 87 the 85 86 and the 30 because if you know what side of the the relay those those different colored wires are going to you you'll be a lot you'll be a lot better off trying to figure out how to wire these stupid harnesses but anyway setting those aside so like I said got my small battery here got my meter right here go ahead and turn it on for you turn the speaker on and I got it set to continuity right now so when a circuit is complete you'll hear the meter beep okay complete circuit closed circuit open close open so let's go ahead and let's take a couple of these Spade terminals on here just to make hooking it up to our relay a little bit simpler all right so now I'm going to show you guys just exactly what goes on when you energize the what I like to refer to as the trigger side or the coil side of the relay as you can see I got a ground wire going to terminal number 85 going straight to our negative posts on our battery and this red lead going to our friend 86 and I'm just gonna temporarily tap this one to the battery terminal just so you can guys just so you guys can watch and see what happens now remember these contacts I was telling you about earlier when I energize this coil as I explained it's gonna shift this contact over and complete our circuit from 87 to 30 okay so let's just go ahead and watch how this thing works alright contact closed circuit open on/off closed open so now that we get that let's go ahead and hook this thing up to our multimeter where'd that Spade terminal go here she is stick this suck around here again go ahead and wire this one up to plug this one in I should say to terminal number 87 and get this one going here to terminal number 30 make sure speakers on speakers on so now when i energize the relay you should hear the real or the multimeter beep indicating that is completing the circuit from terminal 87 to 30 so here we go on pretty simple huh alright so I just popped this cap back on let's just take a moment to kind of talk about what we know what they are and pretty much how they work but we need to figure out now why do we need relays why do we even need to wire these things in and the answer is very simple okay that you can wire these things so many different ways you can wire them for you know to turn on when the key when the keys on you can have it wired up to a toggle switch you can have it to like some kind of thermostatic on/off switch you can have it to like some kind of a you know any way you can think of you can pretty much wear this thing but the fundamentals and the basics are the same as long as this coil 85 and 86 or energized it's going to complete the circuit from 87 to 30 okay so um the main reason why we use these things is because what relays do is they allow you to control a high current circuit with a low current amperage input ok so let's say I wanted to run my my compressor just off a toggle switch it would only work for so long because that compressor is probably rated at about 30 amps 30 amps of max current draw and you know most toggle switches have a rating of maybe 15 amps okay so if I just ran a typical toggle switch to my compressor sure it would work but I would literally be starving my compressor of current it would be you know getting hot my compressor wouldn't be working as good as it should be and it would ultimately end up burning that switch down because you're trying to draw 30 amps of current through a 15 amp switch now the beautiful thing about relays is you can mount these things anywhere you can you typically find these like under the fuse compartment of your car's hood or whatever but what these like I said before these allow you to control a high amperage circuit with a low amperage input all right you guys just to further elaborate on the whole high amperage circuit with the low amperage input basically what that what I mean when I say that is let's say for example you've got a fuel pump you've got a set of electric fans you got a water pump or you got an air compressor for example and let's just say that that compressor that pump draws let's just say 20 amps occurring okay you can complete that 20 amp circuit okay by simply energizing this coil using you can literally use I believe these relays only require like like 0.5 amps of current to energize so you can control this this 20 amp circuit with literally like a a 1 amp input if you get what I'm saying so what that allows you to do is let's say you know if you're running your fuel pump or your fans or whatever you're gonna want to run you know at least let's just say 14 16 to 14 gauge wire - those type of appliances and air compress or anything that draws anything more than one of your 30-inch you're gonna want to step it up to maybe 10 gauge or maybe even eight gauge or what have you so without this relay if you wanted to control that pump you would literally have to run from your battery a 10 gauge wire into the cabin of the car then into the toggle switch and then from the toggle switch all the way out of the car and then to the pump or whatever so you're gonna have you know once you start adding in fans the fuel pump the water pump the kraut the compressor the LED light bars the list of that and the other thing by the time you get done with that you're gonna have a whole mess of thick gauge wires going in and out of the cabin of your car and it's just you know not to not the safest thing in the world relays and I eat them you know control those circuits remotely okay with a low amperage input so and plus another cool thing is you know this it's like a switch that controls stuff for you without physically having to activate a switch as I'll explain later about the thermostatic control switches and whatnot like stuff like that so uh you know let's say for example you just want your your fuel pump to come on when you simply turn the key on and you don't want to have to flip a freakin toggle switch every time you want your car to turn your fuel pump to turn on and off you know you can use a relay tie it into your switch power on your key ground the other side and Bob's your auntie so just kind of wanted to explain a little bit more these pretty much I want you know keep it so you can simplify your wiring keep your wiring tidy control certain functions without physically having to you know turn them on and off themselves they'll have sensor you you know you can have sensors and other switches controlling these to control the output and you know you'll get what I'm saying let's go ahead and play with some crayons now and I'm going to show you guys a couple of different wiring scenarios on how you could do how you can wire these things slightly differently so I'll be right back okay now I got my notepad as you can see here we got kind of a little schematic going on here we got our battery here and we got our pump here that could be a fuel pump a compressor an LED light bar it could be a set of fans or whatever you know it could be anything you're trying pretty much the pump represents what you're trying to power up by using the relay okay now this red marker kranj whatever you want to call it is gonna represent our positive 12 volts and this black one here is gonna represent our negative our ground so first and foremost I want to get this pump to turn on using a relay how am I gonna go about doing that well there's like I said there's many different ways you can go about wiring it but this is pretty much gonna be the simplest and easy this is gonna be what I call real a trigger switched through ground and I'll show you guys that right now okay so first and foremost you got your battery down here power wire coming out going into a fuse holder always use a fuse holder I don't care who you are use a fuse holder this will wholly keep your car or whatever from melting to the ground when something finally does pinch or whatever something goes wrong so anyway battery fuse holder we're going to run that straight into terminal number 87 here okay and then from there from terminal number 30 into the 12-volt positive input of our compressor our fuel pump our fans whatever you want now I want to control this switch through a typical just I'm going to draw a toggle switch over here real quick alright there's our toggle switch I know I'm not the best drawer in the planet but you get the idea I'm gonna go ahead and I'm gonna ground this leg one of the legs of the switch I'm just gonna go ahead and ground it this can't this switch is inside the car okay and I'm just gonna run a tiny ground wire and then from there I'm gonna go from the switch to our front 86 okay now whatever this switch is on whenever the switch is on it's going to allow ground to get to to go through the switch and get to terminal 86 now you can also here's another here's another thing you can you can also wire 85 or 86 it doesn't matter this can be power and this could be ground this could be ground and this could be power it really doesn't matter as long as it sees the power and ground on either side of that coil it's going to magnetize and complete this circuit here from 87 to 30 so you can control it with a ground off a toggle switch or you could you could have it to where you can it's constantly controlled by your switch and you would simply just jump a wire from 87 to 85 okay and once you got that wired up all you'd have to do is control it with that toggle switch you turn it on and off that is switching the relay through the ground okay now let's say you got let's say you got another let's say you want to wire it through to come on when the when the car comes on with a key switch alright so go ahead and look at this other graph here it's the same as the other one same fuse holder same pump whatever fan you name it you whatever you want to call it and let's over here draw a try to draw I'm not the best drawer on the planet so bear with me anyway this will be a let's just call that a key switch let's go ahead and call that our key switch okay so I want this pump to come on my fuel pump to come on when I turn the key of the car on when I turn the ignition on so again 12 volt to the fuse from the fuse to 87 okay that's gonna be our thicker gauge wire going from the battery to the 87 and then from 30 again over to our pump okay simple enough now since we want to use the key ignition to turn the pump on and off we're gonna go ahead and ground our friend 85 over here and then you know obviously there's a key switch there's already power going into the key so I'm just gonna draw this wire representing power going into the key switch so once you've found a switched 12-volt ignition when you turn the key on and you found 12 volts there you just simply run that to your key switch so now when you turn your key forward it's going to energize this coil and it's going to allow current from 87 to pass through 230 and turn on your fuel pump pretty damn simple that's just another way you can wear it let's go ahead and play with some fans now you know cuz some people like having their fans on a toggle switch some people like to use a thermostatic control on-off switch but like I said the fundamentals and the ways you wire it it's all pretty much the exact same so we got our electric fans here okay here's our engine column because like I said some people like to use a which we'll call it a thermostatic we controlled the on/off switch and what those do is those those are the switches are normally open and when they reach a certain temperature the circuit becomes normally closed the circuit closes normally open means that there is no current flowing through it normally closed means that there is there the circuit is complete and there's current flowing through it so most of these thermostatic on-off switches are normally open until they reach that certain temperature and then they closed allowing a current to pass through so anyway I'm gonna quit rambling we are a fan here we want our fan to come on when our motor reaches whatever the thermostatic temps which is most are likely the fan comes on at 185 and it shuts off at like 165 simple so again 12 volts fused coming from the battery back to our friend 87 again oh [ __ ] we're gonna need to ground our fans to because I'm an idiot all right fans grounded now again from 30 to our fan okay now I explained to you guys about the key ignition the 12 volts either way it doesn't matter as long as there's long as there's 12 volt positive on this side it can be from a key it could be from a toggle switch you could you could make a jumper where that jumps from 87 to 85 which you know some people do or you could have this on your keyed ignition you have this key ignition to turn it on it it'll only and all the fans that come on when the keys on now here's our engine over huh the engine is grounded obviously so your alternator can charge and all that sort of stuff and all that good stuff and then the thermostatic switch is typically located up on the intake here and that's just a single wire input that pretty much when it gets to that certain temperature it completes the circuit of ground so it'll run ground 286 here so when this thermostatic switch gets up to let's let's just say it's 185 on switch when it gets up to 185 that switch will close and it will allow ground to go through the switch to our relay energizing the coil allowing current to pass from 87 to 30 pretty simple alright guys so now that we understand the fundamentals of the relay and pretty much how they work let's go ahead and put some of what we've learned into real-life situations just just for shits and giggles here we got an air compressor we've got our battery again we've got toggle switch a very small toggle switch a fuse holder and our relay friend so let's go ahead and now make this compressor work from this relay using this teeny tiny toggle switch so let's go ahead and get ready alright guys so now I got pretty much everything set up and just even make it a little more realistic this bar here is gonna represent a chassis ground as of now I've got the air compressor grounded to the frame of the car lol I've got the battery grounded to the frame of the car again 12 volt coming from the battery going into our fuse holder then I was telling you guys about then this is just going to be our four-hour relay trigger and this is going to be the main power going to our compressor so now what have we learned in our video here from the battery to 87 and then the compressor here this is the power going to the compressor black and white wire we're gonna hook that up to our friend 30 okay now trigger side this is this is going to be a relay switched through ground so this it's just constant 12 volts also tied into our fuse holder down here but this could also be a switch power however you want to wire it like I said there's so many millions of different ways to wear it now the only thing we're lacking is a ground wire some means of energizing this coil here so I got this wire here going to our toggle switch here and the other side of the toggle switch I've also got grounded to our chassis ground so now that we got it wired up when I flip this switch on that compressor should fire right up let's see what happens it's working all righty so as you can see here I'm literally controlling I know this isn't really like a super high amperage compress or anything but I'm controlling that compressors on and off there is this little teeny tiny microscopic freaking on/off and that is why we use relays and hopefully I was able to you know there's probably a million and a half videos on how to wire relays on freaking YouTube but you know you guys been following me along building this c10 build I figured I'd include you guys in and I'll show you guys how I plan on wiring my compressor up and also drop a little bit of knowledge to you guys about relays like I said there's probably a hundred and fifty thousand videos just on what I just talked about so hopefully I didn't confuse the hell audio alright guys so that's pretty much it for this episode hopefully it was helpful and hopefully you guys learned a thing or two about relays now all I got to do is wait for my valves here but in the meantime I gotta get this compressor wired up on this truck so stick around when the valves get here I'll be time to plumb and wire everything and we'll be hitting some sweetches homes so yeah stay tuned hopefully enjoyed this video thanks for watching like it subscribe whatever you got to do thanks again alright you guys so that's pretty much it for this episode hopefully episode with an F episode [ __ ] [ __ ] out crazy yeah
Up Next

9:25
Understanding Hysteresis in Control Systems | Schmitt Triggers Explained
@gasstationwithoutpumps
398 views•2020-10-04

30:32
Ultrasonic Transducers: Resonant Frequency Measurement and Horn Design
@imajeenyus42
229.9K views•2017-02-22

54:16
Polymer Environmental Degradation: Mechanisms & Stabilization
@iit
1.8K views•2012-07-10

33:39
How a Student's Question Saved a NYC Skyscraper from Collapse
@veritasium
22.8M views•2025-04-26
Related Study Plans & Knowledge Roadmaps
Structured learning paths in Engineering
engineering
Building Acoustic Levitators: Physics & Arduino
01The Physics of Sound and Standing Waves
02Piezoelectric Transducers and H-Bridge Drivers
03Arduino Programming: Generating 40 kHz Signals
+ 2 more learning modules
14h5 modules
Explore Roadmap
engineering
Building Peltier Cloud Chambers: Particle Tracks
01Cosmic Rays & Cloud Chamber Physics
02Thermoelectric Cooling (TEC) Fundamentals
03Custom Liquid-Cooling Loop Design
+ 2 more learning modules
18h5 modules
Explore Roadmap
engineering
Yagi-Uda Antennas: Modeling, Build & VNA Test
01Introduction to RF and Antenna Fundamentals
02Yagi-Uda Antenna Design Principles
03Antenna Modeling and Simulation in 4NEC2
+ 2 more learning modules
18h5 modules
Explore Roadmap
engineering
ECG Monitor Design: Op-Amps, Filters & Noise
01Electronics & Breadboard Basics
02Op-Amps and Instrumentation Amplifiers
03Bioelectricity and ECG Fundamentals
+ 2 more learning modules
18h5 modules
Explore Roadmap