







![CS리더스관리사 중요 내용 특강-(8강) │국민 수험서-출간 후 부동의 1위 │ 출제율 높은 교재 │ 초창기 강의부터 [국내유일]강사│최근 기출복원문제 6회분 제공](https://i.ytimg.com/vi/utM8saAoGkg/maxresdefault.jpg)










Process mapping is a systematic method to document and improve business processes by visually representing workflows using four basic shapes: circles (start/end points), rectangles (steps/actions), diamonds (decision points), and arrows (flow direction). The five-step process involves: (1) defining the start and stop points of the service, (2) outlining all steps from beginning to end by asking 'what happens next?', (3) adding swimlanes to track responsibilities, (4) converting the map into a task list for execution, and (5) creating templates for reuse. This approach helps businesses feel more in control, operate efficiently, and consistently meet client expectations.
How to Build a New Service Process with Process Mapping in 5 Steps
Added:Fundamental business process terminology, including concepts like inputs, outputs, actors, and process boundaries.
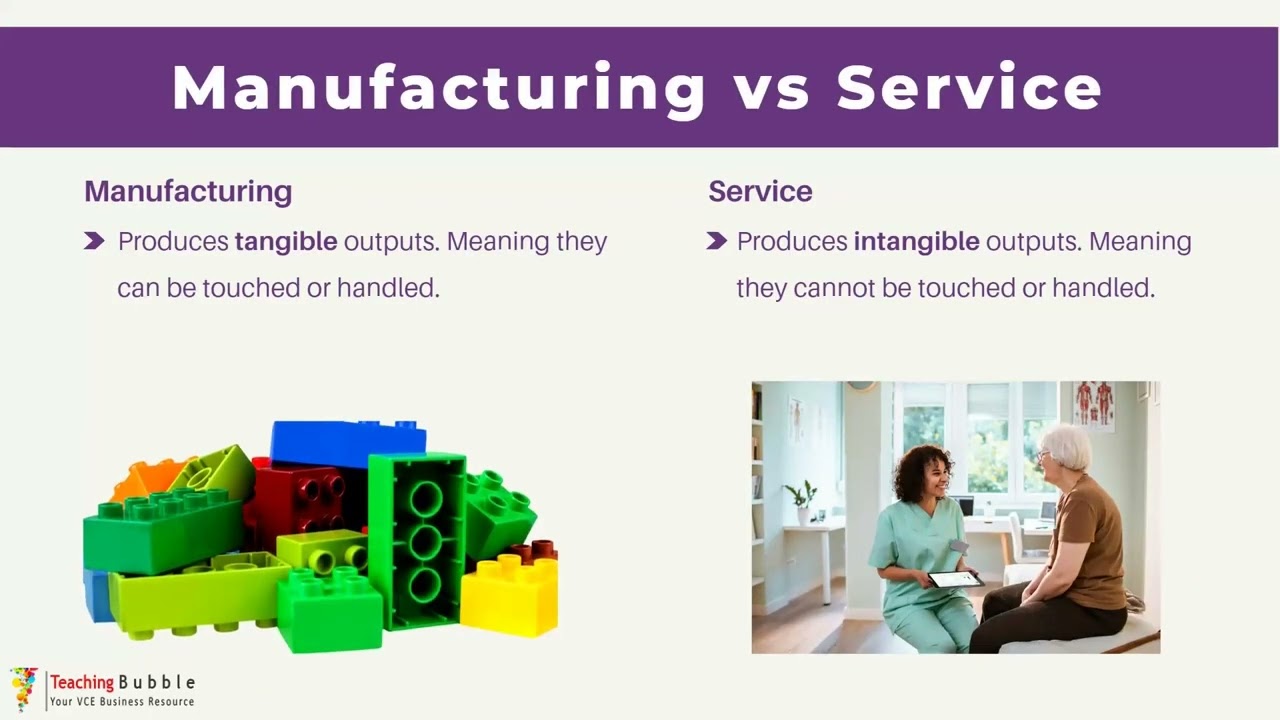
The core distinctions between service operations and product manufacturing, particularly intangibility and customer co-creation of value.
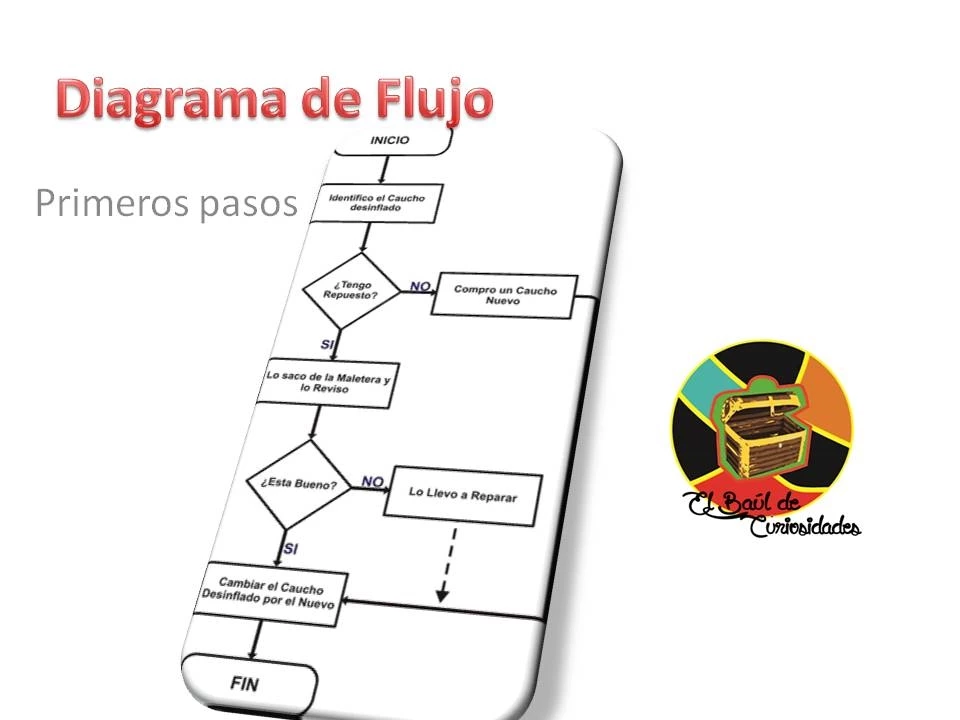
Basic flowcharting and diagramming techniques, including standard symbols for tasks, decisions, and process flows.
An understanding of customer-centric design principles, as service processes must align with customer needs and pain points.
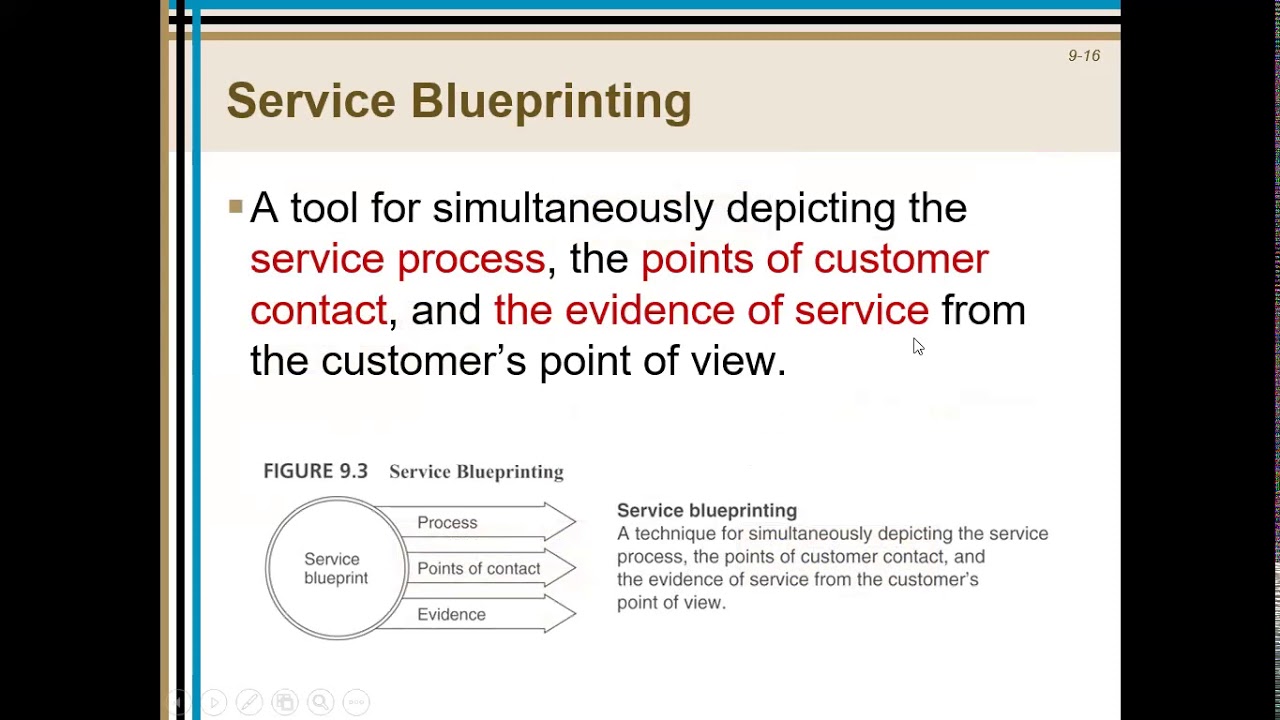
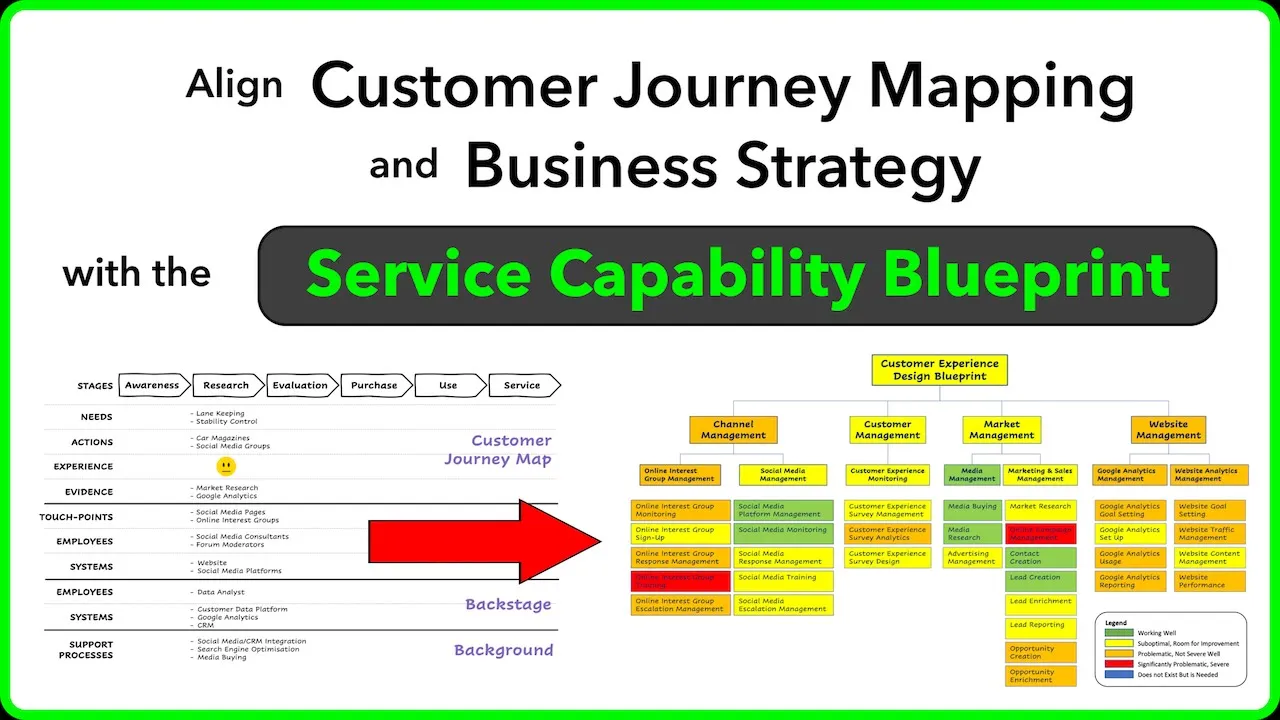
Service Blueprinting, which expands standard maps to include physical evidence, customer actions, and line-of-visibility boundaries.
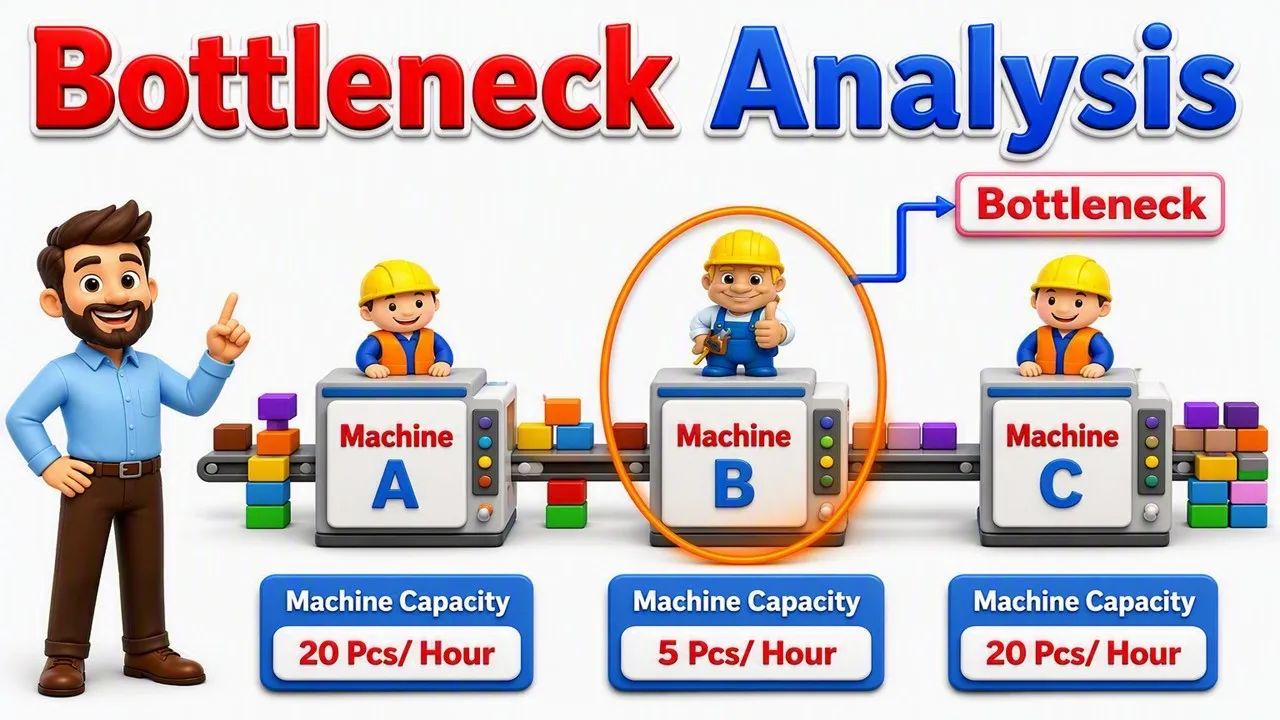
Process Bottleneck Analysis and Lean principles to identify inefficiencies, reduce waste, and improve service cycle times.
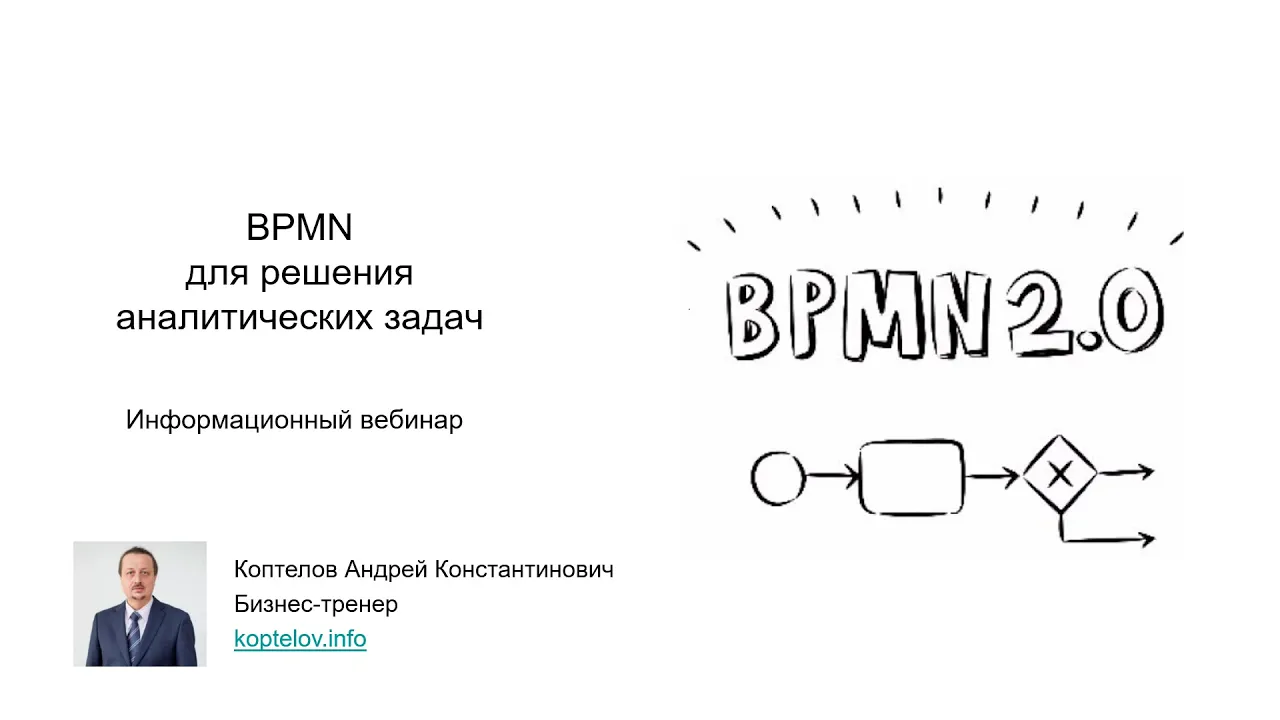
Business Process Model and Notation (BPMN 2.0) standards for technical and enterprise-grade process documentation.
Change Management methodologies (such as Prosci ADKAR or Kotter's model) to successfully implement and transition to the new service process within an organization.
16.5K views653likes13:05Original Release: 2023-02-03
Why, hello there, today we are going to be going through how you can use a Process Map to help you feel more in control of your new service or offer whatever it is.
What I'm going to be showing you is a practical and crazy simple way to start defining the steps in whatever it is you're going to do.
Whether it's host a party, deliver a service, mow a lawn, and do so in a way that helps you feel like you're going to not miss a step, that you're going to deliver things with your best foot forward, and that you're going to feel really good about the end service you're providing your client.
To get us started, we're going to be going through some Process Mapping vocabulary and practice using an example service together.
If you're ready to get started, keep watching.
But before we get started, I want to say a quick hello, typical YouTuber thing, just to say if you like learning about business processes, systems and software to help you get more work done and operate in a way that's a bit more human, be sure to like and subscribe to this channel because it'll ensure you see more videos like this.
With that, though, let's get started with our process documentation by going into some vocabulary and really in this case, it's more of like shape-cabulary because we just need to learn a few symbols.
So in terms of the shapes, we need to understand to start process mapping our heart's desire and feeling more in control of what we're offering, we've got four shapes.
Well, really three shapes and an arrow.
The first one we need to learn, is this guy right here, it's called a circle. Have you heard of it?
I think you have.
All we need to remember for the purposes of today, is that a circle means something is beginning or ending.
In other words, it's like a bookend, it's finishing off what we are working on in the Process Map session.
Got it? Cool.
The second object we need to know inside our Process Mapping universe is a square or a rectangle.
In this case, a rectangle, which I'm sure you're familiar with, is a step, that's going to be our definition for today.
It basically just means an action or activity or something is happening.
In addition to thinking about these steps as the actions we need to do, I want you to also remember that this is a small rectangle and if you are going to write a step, it should be one step per rectangle.
Very easy rule to remember, but just keep that in mind.
The third symbol we need to learn today is the diamond symbol.
This diamond is a decision symbol, which is telling us that we need to choose a fork in the road, okay/ Robert Frost style, two paths are going to come up next after this symbol and we now have a choice as to which route we're going to go. Beyond the decision diamond we have the arrows, this one is really self explanatory, but I want to put it here just in case.
This arrow is just telling us which direction we're going, so if this is on your pen and paper, just make sure you're pointing it in the direction that things are going so you don't get lost, I guess. We're going, not be that complex, but just in case you need it, the arrows are there too.
When we zoom back out and review these shapes, we've got starter, stop, steps and decisions.
So this is our toolbox when it comes to Process Mapping.
And again, Process Mapping is going to allow us to reflect on what we need to do so we can feel more in control, more efficient, and more on it when we actually need to do that activity.
To actually start to Process Map, I have five steps for you to walk through, step number one is to define the start and the stop.
Now, I'm a little bit cheating here because it's kind of like two steps, but just just give me some grace, five is a nice number to hold with one hand.
So what we're going to do is we're going to take our circle or draw a circle and we're going to define when our thing, whatever it is we're mapping starts and stops.
If you're not sure what the start and stop is, I'm going to ask you two questions.
We're talking about services here, right?
So what moment does someone become a customer?
What happens? Do they pay online?
Do they check out?
Do they book a call?
Do they sign a contract?
When does your service begin?
That's what you want to have as your start circle up at the very top of your page or far left of your digital whiteboard.
Then do the same thing for the end, on the other book end, if we're talking about services, when does someone stop being a customer?
Is it when their contract expires?
When the last deliverable is sent?
When they pay the final invoice?
When is it over?
In this case, it might be sending a wrap up email.
This start and stop is giving us kind of the scope of our Process Mapping session.
This is step one.
Oh, and a quick note here.
If you're struggling with this piece of what are my processes, what are my starts and stops, what the heck do I even do?
Check out the link in the description below where I have a free training that kind of walks through and approach an exercise to help you figure that out.
So with that, back to the video.
Step two of Process Mapping is to take your squares, your steps that you already have, and start outlining what actually happens to get you from the start to the stop.
To go through this, what I would suggest you do is to go at the very beginning and ask yourself what happens next?
It's a very simple question.
If you need help, just pull in a friend or a spouse or a partner and pull them in here and say, all right, they submit an online order, then what happens?
They receive an order confirmation email.
What else happens?
Oh, you know, an order is created in our online system.
What else happens?
Just keep going, asking what happens next?
Until you achieve or reach the end or the stop point of your process.
Now, if you get to a point in your process where things fork off, meaning one of two things could happen, that's when I want you to use the decision symbol.
So let's just grab one in here.
The decision symbol is where you can write a particular question or variable you are checking for.
In this case, maybe whether or not the payment was successful determines what happens next.
Because maybe the order is created in the system, but if it's not successful, maybe we don't move on to start fulfilling it, which would make sense.
For example, here we have a diamond asking whether or not the payment is successful.
This diamond isn't reflecting any manual or automated action, it's just a check for anyone reviewing this flowchart to see whether or not this is true.
If it is true, we continue down the path and personally, I like to keep it all in one line so we show what the normal path is and if it's not a successful order, we go into the weird path which I have down here, where it reflects that we cancel the order.
If you have any conditions like that, feel free to map them in.
However, don't go crazy here.
There's a tendency for folks to want to include every possible variation, and while you're welcome to do that, at this point, let's only focus on things that are relatively common.
For example, if you had an order at one point that was from the White House, but it was actually just a prank caller from South Park, Colorado, we don't need to include that one time weird situation inside this flowchart.
We want to focus on the normal stuff. Sorry to jump in, but I want to share a quick word from our sponsor today's video TextExpander.
Now, if you guys are the productivity enthusiast that I'm pretty sure you are, you probably already know about TextExpander and you're already using it for your team.
But if you are not, consider this your wake up call.
TextExpander is like the must have tool.
It is the tool when it comes to expanding your text from shorthand keystrokes.
Basically, as you see on their website here, you can type different phrases such as contact, create a space, and have TextExpander automatically populate long form structures, layouts, modules, and things that you get to load and set up inside TextExpander's interface.
You can use TextExpander for things like leaving internal notes, putting timestamps on things, or even writing out full email correspondence and having those templated so you can reuse those same email templates in the future.
This is particularly great if you are someone that's working on multiple platforms.
So sometimes you're emailing from ClickUp, sometimes from Gmail, sometimes from Outlook.
If you are in multiple systems but you need templates that follow you no matter where you go, TextExpander is a really amazing tool and a great time saver for both individual and team use.
If you'd like to check out TextExpander for yourself, check out the link in the description below and with that, back to the video.
All right, now that we've finished the start, the stop, and the steps in between, we can start actually using this Process Map in order to expand on more details.
This Process Map is a tool to set us up for future activities.
There are so many different things you could layer on top of this Process Map to optimize for them.
Some common ones are technology usage, so what software is it being used at each point?
Team, who is doing each step? Or templates, how much is predefined at each of these steps?
An additional one that you'll see often in marketing would be something like the customer happiness, the emotional journey.
So at each step you would then outline how is the customer feeling at this moment?
Are they at highs, lows, and so on?
Whatever it is you're trying to optimize for one thing that I like to do is to break out my chart by that topic.
Now, let's say I wanted to optimize this service for who's doing what clarity of ownership to ensure that the client isn't kind of waiting on us, we're not waiting on the client, that we clearly know who's in charge of what step.
Well, if I wanted to improve based on that, I might add swim lanes, basically just horizontal categories to my chart. Same exact chart, but all I've done here is kind of drag them, around so that way I can separate out what is happening when. When I zoom out now you can see, we've got client facing experience up at the top and back of house experience at the bottom, and it's more clear for me and the client now what steps each party is involved in.
This is an example of how we could optimize something based on the person doing it or the experience and delays.
Notice that all we're doing here though, is just reorganizing what's already there.
These are the same exact process steps as what I had above, just broken out in different areas and that's one reason why we call process documentation, process documentation and not process building, because oftentimes we are not building anything new we're just capturing what already exists and trying to do it better.
Once you have your process defined, maybe you've done a little bit of systemizing organizing and looking at ways to make it better now we can actually start turning this into a tool that helps us feel more in control.
One of the easiest tools we can do, which is just one of many, but the easy one is to create a Checklist of Tasks.
So what we want to do here is look at all of the steps in our process and anything that requires action, whether we need to do something or we need to check something, we want to create as a Task in our task management tool of choice.
So if you're using a digital software such as ClickUp here, you might create a Task, some Subtasks or Checklist and then save this baby as a Template so that you can reuse it in the future.
That is one option for how to create a Checklist.
Just be sure that if you go this route, you are not including any Automated Tasks here.
So for example, the automated confirmation email, unless I want to manually check that every time, there's no reason to include that in this task tactical, to do list area.
In fact, that difference is one of the beauties of the Process Map.
This map shows us all of the stuff that happens, which makes it fabulous for communicating our value add to clients or for orienting new team members.
Meanwhile, the task list just focuses in on actual actions.
If you are someone that does not use a task management tool, or if your task management tool does not allow you to template things like this, don't worry about it.
I mean, you can go up to this video and find a task management software that suits your personality, but if it's not for you, it's not for you.
I totally get that.
In that case, I would still suggest you create a checklist, but turn to a physical or typed piece of paper instead.
In fact, I have seen some tremendous success, particularly in brick and mortar businesses, by doing something as simple as what you see here on the screen.
This is just a document, built in Google Docs, where I have some checklists that I'm adding using the bulleted checklist option right here and what I would have somebody do is just print this out and print a copy for each new order and have it stacked on a pile or attached to a clipboard on a wall and use this to track orders progress.
Once you have this list ready to go, start printing off those copies or creating that duplicate task and that is step five of our preparatory process here getting this Templated.
The next time that order comes in or the first time you get that new consulting client, you can click duplicate or click print and have that list ready to go so you never miss a step, you never miss a beat, and you never let your clients down.
Which, ultimately, is why we're doing this to begin with, to make sure that we are able to show up and deliver what we want to deliver.
So our business reputation just grows and grows and so that we can feel really good about the work we do for a living.
If you have any questions about this concept of process documentation, or if you'd like to go a little bit deeper into it, check out the resource below in the description where I have a free training that goes over how to figure out what your processes are, so you can better Process Map them and better serve your customers.
Whoo and don't forget, if you want to check out TextExpander, the sponsor of today's video, go ahead and go to the description below and click that link.
Thanks so much and Enjoy the Process.
Up Next
8:35
Franchise Disclosure Document (FDD) Essentials: Legal Compliance Guide
@entrepreneurskickass
11K views•2019-05-16
46:36
Retention Habits of Top DTC Ecommerce Brands Revealed
@SendItPodcast
44K views•2026-03-03

15:23
Decoy Effect: How Pricing Psychology Influences Consumer Spending
@bobinvestsUS
90K views•2026-01-05

17:30
The Planned Obsolescence of Light Bulbs and Tech
@veritasium
25.3M views•2021-03-26
Related Study Plans & Knowledge Roadmaps
Structured learning paths in Business
business
Pop-Up Retail: Strategy, Design & Execution
01Introduction to Pop-Up Retail & Strategic Goal Setting
02Budgeting, Site Selection, and Legal Essentials
03Experiential Retail Design & Visual Merchandising
+ 2 more learning modules
15h5 modules
Explore Roadmap
business
Reg CF: Startup Funding, Marketing & Launch
01Introduction to Equity Crowdfunding & Reg CF
02Platform Selection & Legal Preparation
03Crafting High-Converting Campaign Assets
+ 2 more learning modules
14h5 modules
Explore Roadmap
business
Productized Services: Scaling Solo Freelance
01Foundations of Productized Services
02Packaging and Scope Definition
03Pricing and Subscription Models
+ 2 more learning modules
15h5 modules
Explore Roadmap
business
Gov Procurement: Find, Bid & Win Contracts
01Introduction to Government Procurement & Business Setup
02Small Business Certifications & Set-Asides
03Finding and Analyzing Contract Opportunities
+ 2 more learning modules
14h5 modules
Explore Roadmap