













![[PART 2] CVPR 2021 Tutorial: All About Self-Driving](https://i.ytimg.com/vi/P3mlA0mhUWc/maxresdefault.jpg)
![[CVPR'22 WAD] Keynote - Raquel Urtasun, Waabi/UofT](https://i.ytimg.com/vi/g0uIVWecws4/sddefault.jpg)
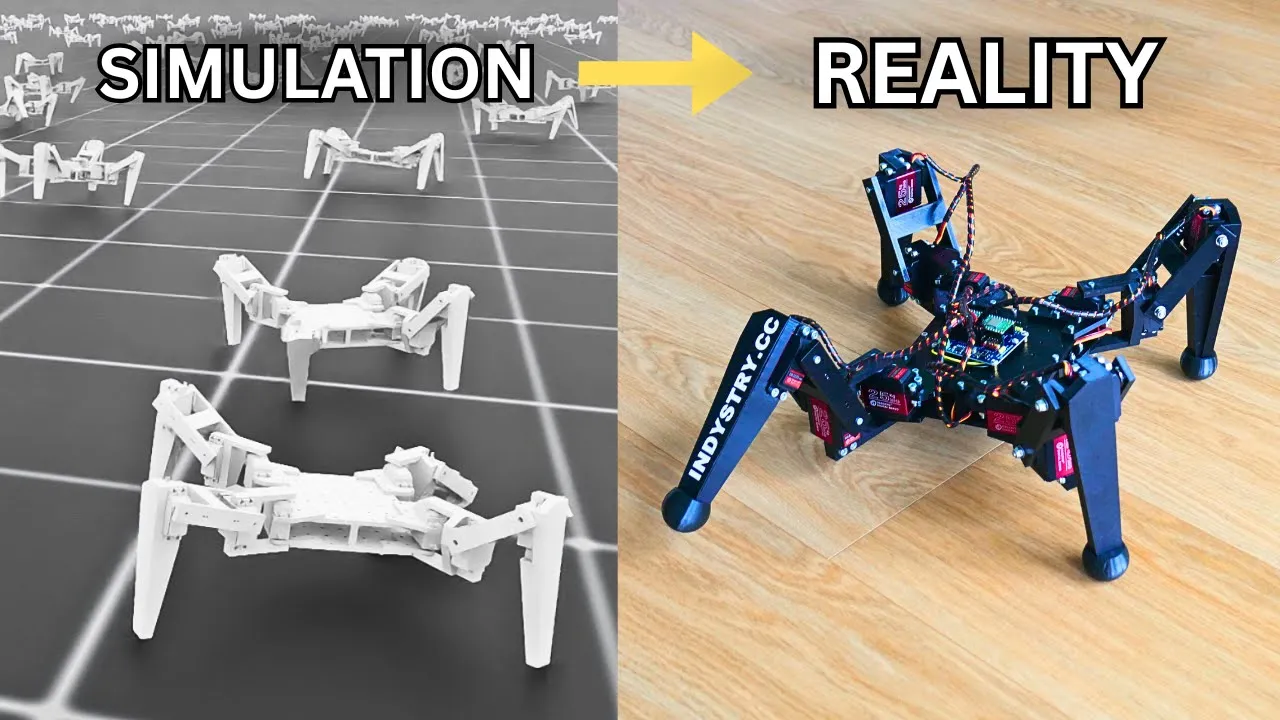
This tutorial demonstrates how to run the open-source Spot Micro quadruped robot simulation using Pybullet physics engine in Python within VS Code, covering the complete workflow from installing Python 3.8, cloning the spot_mini_mini repository, setting up a virtual environment with pip requirements, and executing the simulation in various modes including basic movement, foot path visualization, elevated rack testing, and auto-reset functionality for when the robot gets stuck; the code review explains the modular structure including the gym environment framework, inverse kinematics solvers for leg positioning, and gait generation algorithms that enable coordinated quadruped locomotion.
Step-by-Step Guide to Running Spot Micro Simulation in PyBullet
Added:Intermediate Python programming, including object-oriented programming (OOP) and package management with pip.
Basic concepts of rigid body physics, coordinate frames, and kinematics (forward and inverse kinematics) in robotics.
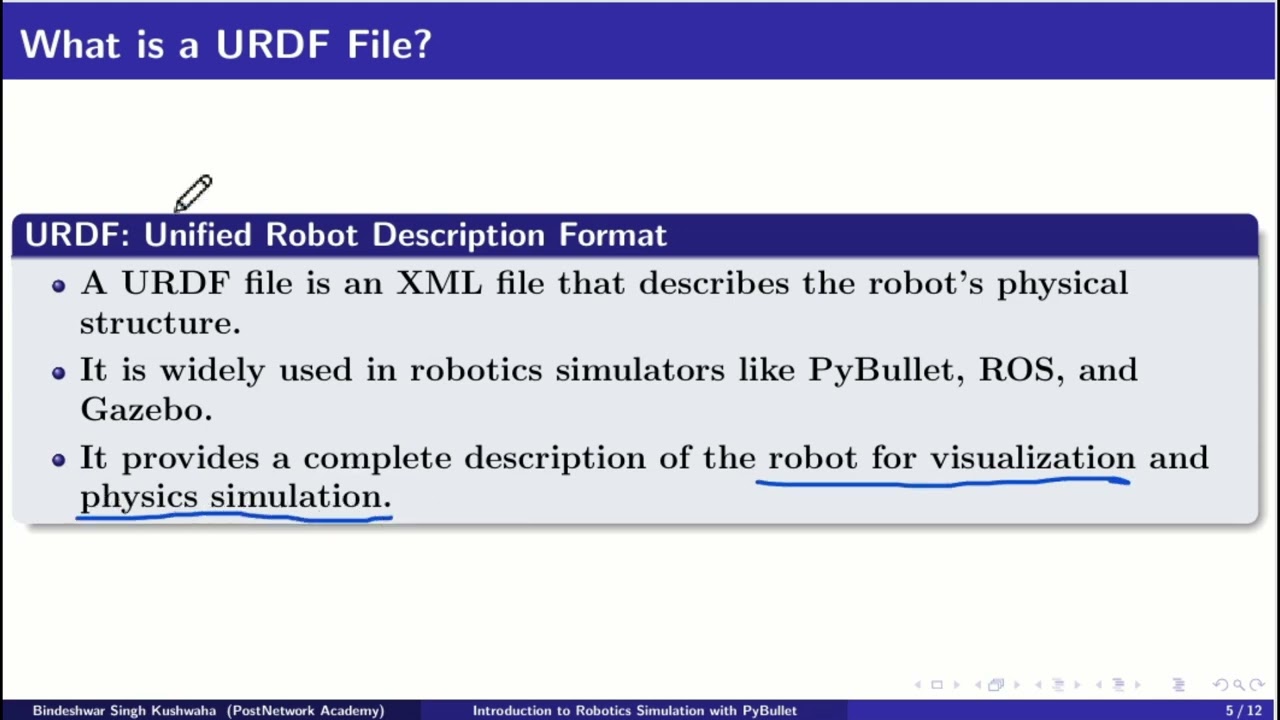
Familiarity with URDF (Unified Robot Description Format) files, which define the visual and physical properties of robot models.
Fundamental understanding of command-line interfaces (CLI) for setting up virtual environments and running scripts.
Implementing advanced locomotion control algorithms, such as Bezier curves or Model Predictive Control (MPC) for quadruped gait generation.
Integrating Reinforcement Learning (RL) frameworks, like Stable-Baselines3, within PyBullet to train the Spot Micro to walk autonomously.
Bridging the Sim-to-Real gap by porting the simulated controller to a physical Spot Micro robot using ROS (Robot Operating System).
Adding simulated sensors (such as IMUs, camera feeds, or LiDAR) to enable closed-loop feedback and autonomous navigation.
9K views173likes25:59Original Release: 2023-12-23
[Music] all right in this video I'm going to show you how to run spot micro in PIP bullet using python in vs code so you can see right here we have the simulation up and running and it is upside down playing dead so we're going to start off by going over spot micro and what it is giving you a brief overview of what that is and the different aspects of this project we'll jump into installing python go into cloning the spot mini mini repo which contains all of the source code that you will need to run the simulation we'll talk about setting up your virtual environment and there's going to be a few different modes that we'll be running so we're going to run spot micro in the basic mode which is nothing added on just um the basic things that it has we're going to run spot micro with the foot path we're going to run spot micro on the elevator rack we're going to run spot micro with the reset mode so this is great if spot gets stuck it'll just automatically reset for you and then we're going to review the spot micro pie bullet simulation code to give you an idea of how the code actually works if you're new to my channel I teach open CV computer vision python C++ git Ross 2 solid works mechanical design and I have a GitHub that goes along with it so subscribe to learn more so we're going to go over spot micro this is the main website that they have so you can see they have a homepage they have all of the 3D prints for you if you want to design your own Parts um but in this video I'm just going to talk about the simulation aspects of this project so you can see they support uh Pi bullet and Ross in this video I'm just going to go over over the pie bullet um part of this project how to get that up and running so you can see here there's a simulations tab it gives you some of the basic um commands that you'll need and the different um things you could use to get it up and start get it up and running and then there's different um more information on the kinematics if you want to go ahead and run the kinematics that's up to you and then also they have some things on reinforcement learning which you could have it train in this gym to do um different things okay so that's the main spot micro uh documentation you could go ahead and check that out uh but first off you want to install python I'm using python 3.8.1 so you could go ahead and go to this website and download python okay so next up you want to clone the spots mini mini repo so I already cloned it here as you can see this is going to be the repo but you could find it on this website here it's going to be the github.com open quadr ped spot mini mini so you can see this repo here is structured it has like a docs it uses mini Ross um spot bullet there's a spot re spot micro and then some of the markdown files that it has so you could go through it read me you could have a better idea of what this is you can see this is an example of a robot um the spot that has been built and you can see there's more videos of it in real life as well as in simulation so you can see there's a table of contents in this uh git you could go over that to get more information so you could go ahead and check that out but all you need to get started for this video today is If you go all the way to the top you could just click here to the code and then copy this link and you'll get the um whole path to do the git cloning so that's what we did here we're just going to go ahead and get clone this repo so that's what you see here so next step is setting up the virtual environment so when you set up the virtual environment uh what you do here is we're going to run this command pi- 3.8 so in case you have different python versions this will guarantee you're creating your virtual environment in the 3.8 version and then you're going to make your virtual environment so that you don't have any uh conflicts with your different modules that you may have already installed so once you do that you're going to go ahead and activate it you can see here I already activated it so you could see this is green that says the name of my environment this name could be arbitrary choose whatever name you want and I went ahead and made a requirements.txt file which you could go ahead and add to your repo that just clone and run the PIP install dasr command to save um to go ahead and download the requirements so you can see here these are all of the requirements that I have so I already want ahead and install that so you could just uh do that as well so after you installed everything you could go ahead and run the spots micro in the basic mode so go ahead and CD to the source folder which I did here and then if you go ahead and run the python d r environment test.py if I run this you can see spot is going to show up so here we have spots in our simulation so you can see um you could go ahead and play with a different um guey slider so you can see this one will make it move back and forth and then this next one here will make it tilt side side to side and then this one here will make it go up and down okay so you could go ahead so what I did earlier to make it flip over was you extend it pretty high and then tilt it this way and then you could like tilt it pretty hard you could make it flip so this is how I got it to flip and then if you played with the step length you could see the leg start moving so it's pretty much stuck here so later on we'll see a mode where if it gets stuck like this it'll just reset for you but let me close this up and then run it again so that it's not stuck so you can see um there's the roll which tilts the whole body so this will do coordinated motion for you using inverse kinematics and you have your pitch which will do the pitch for the body and you have the yaw which will do this turn about a center axis of his body and you can make it start walking by choosing a step length you can see it's starting to walk and then you have like a YW rate uh it'll start turning if you have negative it'll go in the other direction so now it's turning towards me so there you go different YW and then you could do like lateral fraction this will change the gate a little bit you could change the step velocity if you wanted to step faster you could see that it's going back and forth up and down a lot faster you also have like the swing period so you can see that changes the period of its swing you also have like a clearance height if there's uh different obstacles is trying to cross over and a penetration depth so now it's going a little bit crazy and now it's back on his back okay so that's that's kind of what you could do is just play around with the different settings to see what happens okay so that was in the base basic mode and then the next one is if you want to check out its foot path so all you need to do here is type A Das p and then this will show you the path of its foot at as it's walking so you can see if I choose some step length you can see there's the foot path is being drawn and you can see each foot has a different color and notice that um because it's drawing the path it's actually going to run a little bit slower so that's why you see as I change the step length it's still pretty slow but um The Stride is bigger so you can see if I decrease it uh it's going to be smaller and again you could play with like the step velocity you can see that it's going to go up and down a little bit faster but again uh depending on what PC you're running you may have some resource limitations that it's going to slow it down but this is a nice way to see the exact trajectory that you're foot is actually going in okay so the next one is you could have you could run spot micro on an elevated rack so this is nice if you just want to see what the foot is doing and not be too worried about the um spot micro flipping over so you could go ahead and see here it's elevated on a rack and if I do some step length you can see it's it looks like it's running in place right which is what we expect and you can see the step velocity um the different speeds you could have a different swing period as you can see so this is really nice because again it's not going to move around so you could adjust the legs in different positions and nothing will happen you could try playing with the role because the body is fixed only the foot will be moving relative to it so this is really good if you want to do some debugging and just make sure the legs are actually behaving like you expected to so the next one is running spot micro with the reset mode so this is great if you want to uh run it because your robot gets stuck so I'm going to run the AR so is going to do the reset so you can see if I try to flip it again like I did earlier by extending it and then shifting this and play around with this one really hard so you can see it just keeps resetting for you okay so that's that's what that does so this is great if you want to if you accidentally um change one of the sliders to something you don't want then you could easily do something to uh fix it so that's pretty good okay so you can see here it's doing something crazy and whenever it flips it'll just do a reset so that's pretty nice okay so now we're going to jump into the code that actually does all of this magic that we're seeing here so if we take a look at the file this is environment test.py which is in spot bullet in the source code so you look here we import some of the modules that's pretty standard so we have numpy map plot lib and then some other stuff that's being used like CIS and copy these here are some of the more custom files that's under um this repo here as you can see there's a spot micro so that's what this is uh spot micro so it's actually obtaining some of these files from the spot micro folder so if I expand this spot micro folder you're going to see we have the different things that it's using so we have a we have a gym environment here which it uses a kinematics folder that it uses we have a gate generator and then we have the spots environment randomizer so all of these things are being used for both a kinematics as well as the reinforcement learning aspect of this project so we could go ahead and jump into each one you can see this one the spot uh basier environment so this is derived from the spot gym environment and if I jump in that is derived from the gym do environment so the gym do environment is classic for reinforcement learning um as you see in many popular reinforcement learning repos so that's that's what that is so this one here will do some of the gate analysis for you on how to actually do that and then the gooey here is um we'll show you all of the sliders that we have available so you can see the first three we were playing with was like the XYZ and then you have the role pitch yaw you have the step length ID the Y rate the lateral fraction ID step velocity swing period and all of that so those were all the settings that we were doing earlier so we were using those to adjust it and then there's also options to play with the camera which we didn't have set up for this so that's what the guey is and then here we have the spot model so this defines all the kinematic lengths for you and all of these lengths are stored inside of the class with these parameters and then we have a dictionary to store the leg ik solver so you see there's a bunch of Ike that's being used to compute the inverse kinematics for the leg positions based off of the desired so you can see here if we jump into the leg ik it takes care of all the kinematics for you so the general structure of this you can see in the leg ik if I minimize this and expand this you're going to see the general structure you have a a nit function here H you have the get domain solve right ik left ik so this is the general structure of this ik file okay so I won't do go into too much of the details of the kinematics but the general idea of inverse kinematics is you have a desired uh position and you need to calculate the angles to get there so that's what all of this stuff does here okay so drop a comment if you want me to go over the inverse kinematic than I can and here we have the rpy so this is roll pitch yaw so this does some of the rotation computation just using basic you know transformation matrices to figure that out so if you guys know about um R P Y is just a simple representation here you can see is using 4x4 but the main important part is the inner 3x3 Matrix that represents the rotation so it's just um more compact way of expressing some of your angles when you're doing kinematics so that's that's what that is now if I hop back into here we have the baser gate so this part is does the actual gate calculation the previous baser this one was more for the environment this one is more for the gate analysis so you can see in here we have a class we store like things like the time step we have some reference um you have some different stands for the trajectories the swing phase and all of that so you have some of these main parameters that it needs to keep track of as the legs are moving and then you can see the general structure here is you have the init if I minimize this and expand this you have the init here that's one of the main Constructor right and then you have reset uh get phas get TI increment uh get TouchDown uh baser swing the sign dance sign stance uh the ya Circle swing steps uh stance step get footstep and then generate trajectory so this generate trajectory is probably the main one that is being used to generate the TR trajectory so um this file will figure out how how to like swing its legs and stuff like that but you can see from here it's uh pretty much just calculating the steps for each foot for you based off of these inputs like the lateral fraction y r velocity and so on the clearance height uh the penet the penetration depth so jumping back into here we have the spot environment randomiz uh randomizer so this does some of the things that changes different parameters of your environment so uh you can see this the script is not too long but basically uh you can see it it does some Randomness you can see it uses the mp. random so it just generate different factors in your gym environment which is good for training because you want to have variety to train your um spot in okay so that's the gist of the modules that this file is using you can see here this is the argument so this is using because we ran this script in the command line we know that it's expecting some input arguments so you can see based on the uh argu ments you type after the name of the file it's going to do the different things and set different things based on what you set so here you have the HF option which is the height field you have the- R which is the debug rack you have the debug path with the- P the auto y the- ay Auto reset is a-r and then the don't randomize is the DD so you can see this is a main function and this main function is inside of here so if name is main we jump into the main function so this is the main thing that's running once it's running it's going to start spot test environment so here we have um just gets some path for you and then once it gets the path we see we have some model and results so this is just setting up all of the paths to get all the things we need for the simulation to be up and running so based on what the arguments are we set different things so you can see there's an onrack variable a dra foot path variable and so on so all of these variables will be passed into this spot baser um basier environment so this is the gym environment that we're using to do some of the reinforcement learning and the simulation and same here for the seeds set some seeds and then do the NP random seed which is for the reinforcement learning so after we do that uh I think we we already jumped into here previously but this is a gym environment for spot so you can see you know this does all the settings for you to do the different testing that we need so this is good for the reinforcement learning aspect of this project but for here we're just really going to move it around so that's what uh we're worried about so after we set that up you have some environment and here you're going to have some states so you have a state dimension action Dimension which we're not currently too worried about uh the main thing we're worried about is the gooey sliders that we have so here we have the guey so environment spot. uh quadraped so you can see the environment that we created here has a spot attribute so the spot if we jump into here we see that uh we should find a spot in here self. spot so you can see there's a spot that's been defined and you can see that um the spot here is probably up somewhere you can see yeah so from spot micro import spot so if I jump into the spot here you can see that uh this is our main spot. Pi file so this defines all of our um you can see we have our initialize um motor values and all of that so that's what all the spot is four okay so we go ahead and jump back you can see we're back to here so the spots has different things that can help us get the different aspects of the robot so in this case you could do like get position or get base orientation and so on okay so if I jump back to where I was that's what this is you they Define some spot in there and then you have a quadruped but here we also have a spot model that we Define directly so you can see here is in the spot kinematics so this one's a little bit different this one is a spot model so this one defines the kinematics you have some Center Mass you have L parameters and so on so all these things are stored and then it's going to be used to compute some of the kinematics in this file so that's the main spot kinemax file you can see inside this file we have um we have the hip to foot function so if I minimize this and collapse that we have to init hip to foot and then the final I case so this final ik function will give us all of our joint angles okay so that's what this file is and if I jump back again so here basically we're defining a spot uh instance of an object for the spot and then here we could get the different Transformations so here we get a world to foot that's what this is and then once you do that um you could use that information to do some of the trajectory that you want to end up drawing so here in the baser gate basier gate um you can see we're passing in the time and then we have a bzg and then inside this bzg let's see where this is used you can see that um this will be responsible in the main Loop to activate the swing so you could see that right here is just some of the initialization um the basier step here will help us do some of the step planning so you can see in here uh you have a ramp up reshuffle which state you have a state machine so you know that um which state it's in and basically all the things here will help you do some of the open loop um stepping that happens so I'm going to go ahead and jump back out of this and then you you see we have a bunch of lists to store some of the information and here we're printing out um when we actually start the environment so you have some Max time step which is defined uh let's see where it's defined 4 e to six here so we have a pretty long time and here we have the bz step ramp up so here ramp up it just does some check and then based on that you multiply some step length by some DT so if step length is zero obviously there's going to be nothing so um that's what this ramp up is and then here you can see uh the bz step will access the state machine that we took a look here so this will tell us you know which state is in so it knows what to actually do so that's what that is and then here we have the guey we get the user input to figure out what these actual values need to be and then here we have something that keeps track of the yaw so we have some yaw rate that's always constantly updating and then here we have some step length lateral fraction you already step velocity that gets um reinitialized or reset based on what the user actually inputs and then here we just keep appending these values to the phases and then here we generate the trajectory based off of the step length lateral fraction y rate step velocity and so on and then finally we run spot.
inverse kinematics this will give us our joint angles and then we get the joint angles and appended to FL elbow and then finally We Pass the Joint angles here and then we get the observation which will probably help with some of our simulation feedback and then the environment step we actually do a step so this is for the reinforcement learning and then that pretty much closes up everything so if you want to look into more details you could jump into these functions which we briefly talked about earlier here but you could you could just go inside of here and you could see the implementation of their inverse kinematics which is pretty straightforward and then that's pretty much the whole thing for this environment so you can see after we overviewed it the main takeaway is um just go through some of the spot micro modules that has available you could look into the code and see what it does but the general structure is that this file is a command line use the command line to run some of these different modes and then once you get that up and running you could just go ahead and let spot do whatever you want as we showed earlier so you go ahead and make it do anything you want and play around with these yourself okay so if you found this video helpful give a like And subscribe and I'll see you in the next [Music] one
Up Next

27:06
Tiny Reinforcement Learning for Robotics: Edge AI & Control Theory
@hackaday
1.5K views•2023-11-05

12:54
Triumph of Orthodoxy Icon: Byzantine Art & History Explained
@BenCallan
2.1K views•2024-08-06

9:49
FastAPI vs Flask vs Django: Choosing the Right Python Web Framework
@TechWithTim
302.5K views•2024-05-26

1:42
Game of Thrones Opening Credits: A Cinematic Analysis
@gameofthrones
46.3M views•2011-04-18
Related Study Plans & Knowledge Roadmaps
Structured learning paths in General & Interdisciplinary Studies
general-studies
Elevator Engineering: History, Physics & Cities
01From Hoists to Safety Brakes: The Dawn of Vertical Lift
02Hydraulic vs. Traction: The Engineering Physics of Elevators
03Modern Speed, Safety, and Algorithms
+ 2 more learning modules
12h5 modules
Explore Roadmap
general-studies
Rubber: Material Science, History & Geopolitics
01Origins of Natural Rubber & Mesoamerican History
02The Chemistry of Natural Rubber & Vulcanization
03The Geopolitics of the Rubber Boom & Colonization
+ 2 more learning modules
12h5 modules
Explore Roadmap
general-studies
Containerization: Evolution, Logistics & Trade
01Ancient Trade & Bulk Cargo: Amphorae to Barrels
02The Industrial Revolution & Cardboard Packaging
03The Containerization Revolution: Malcom McLean
+ 2 more learning modules
12h5 modules
Explore Roadmap
general-studies
Textile Tech: Evolution, Labor & Global Impact
01Pre-Industrial Textiles: Handloom & Cottage Industry
02Mechanization: The Spinning Jenny to the Power Loom
03The Factory System & Global Labor Transformation
+ 2 more learning modules
10h5 modules
Explore Roadmap