

![Frontend Concept - HTML/CSS/JS [Tagalog]](https://i.ytimg.com/vi_webp/8DYBT8_Jf7Y/sddefault.webp)




![[ Arduino Basic ] Bài 2: GPIO trong arduino uno phần 01](https://i.ytimg.com/vi/3awvEF2_52U/maxresdefault.jpg)




![Listen to ESP32 GPIOs from ANYWHERE in the World [Step-By-Step Tutorial]](https://i.ytimg.com/vi_webp/5Q1cyi6IJzw/maxresdefault.webp)


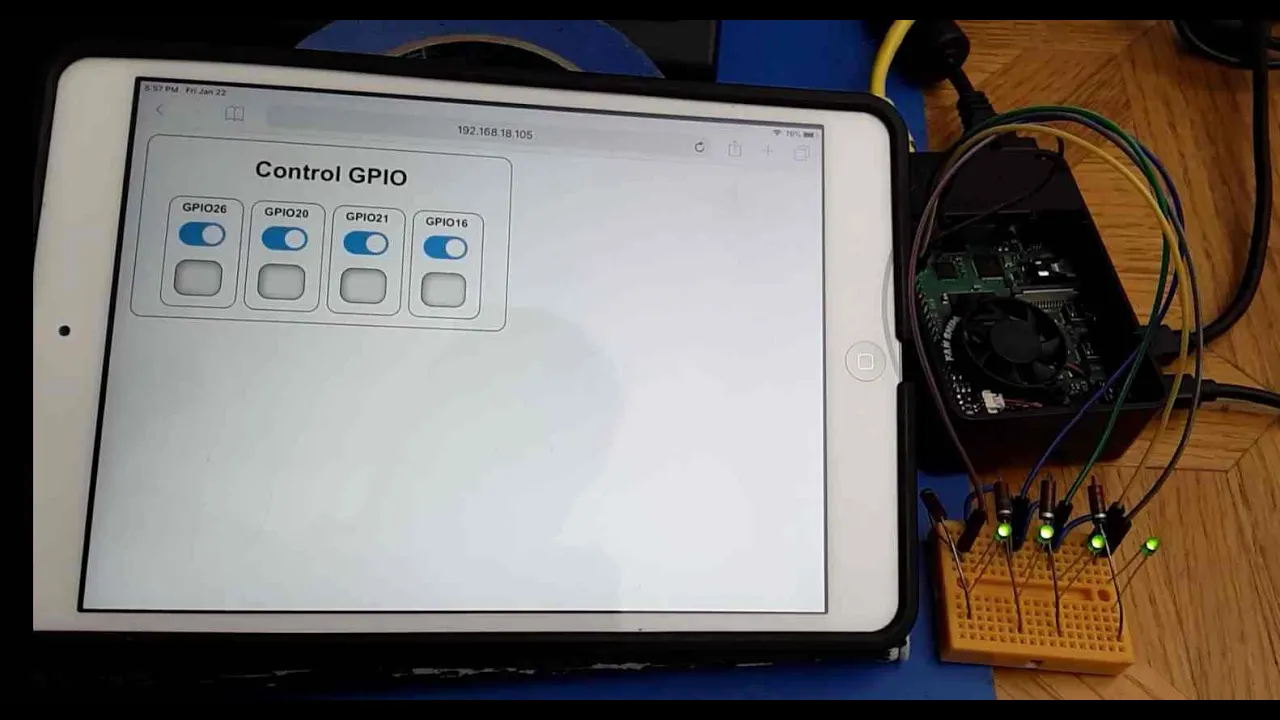
![[IOT] NodeJS - NodeMCU Socket.io Communication Part 1 - Walkthrough](https://i.ytimg.com/vi/Cf7CDq5BIBQ/maxresdefault.jpg)

![[IOT] NodeJS - NodeMCU Socket.io Communication Part 2 - API (Sequelize, PostgresSQL, Express, etc.)](https://i.ytimg.com/vi/Ity1llEFsyA/maxresdefault.jpg)
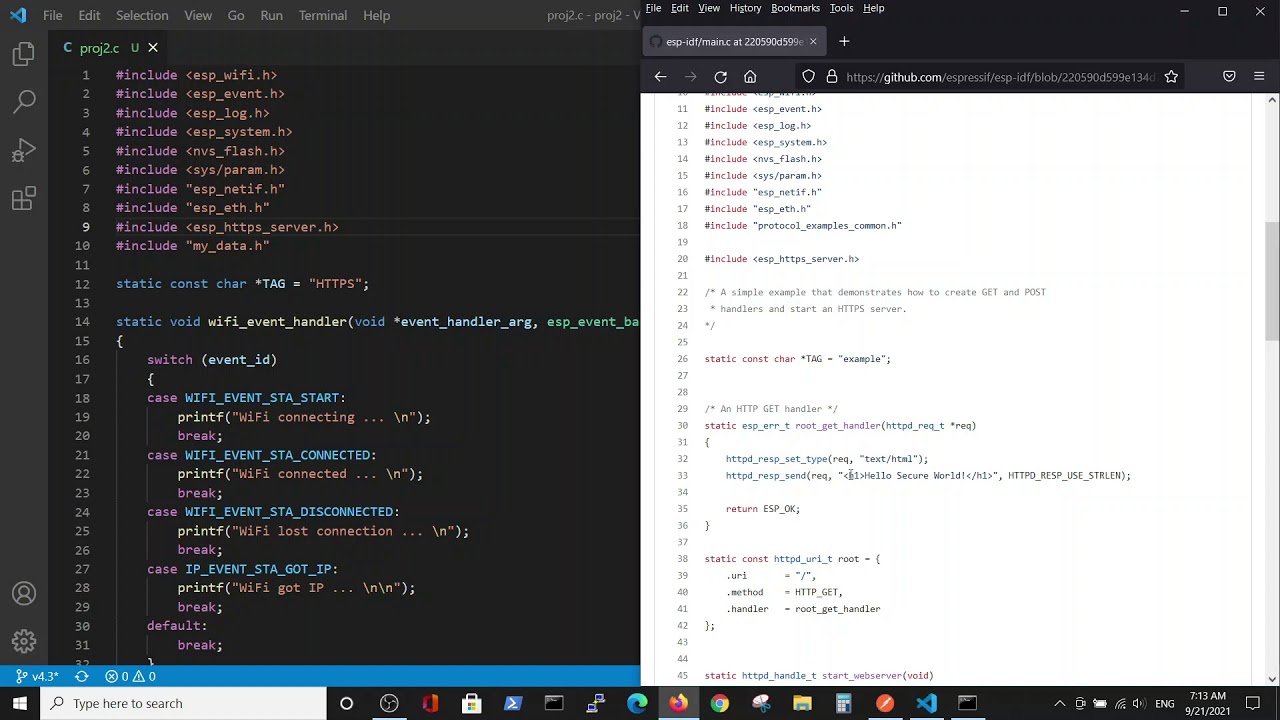


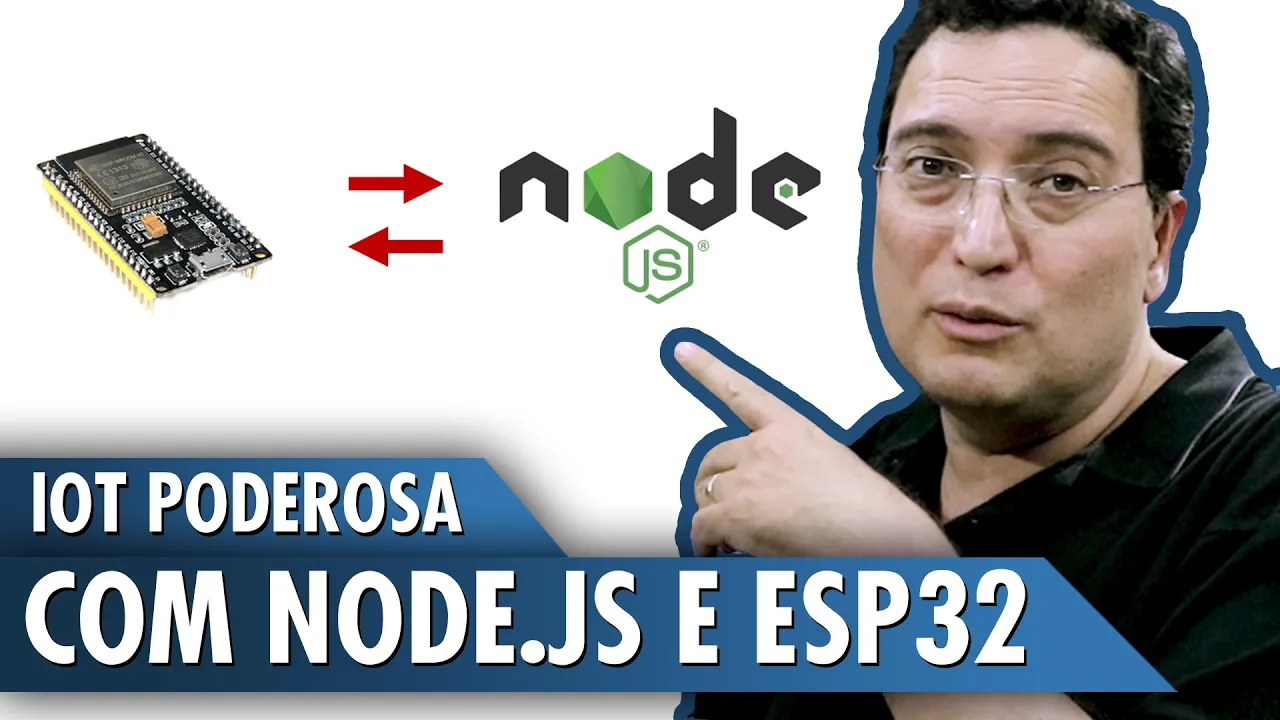
This video demonstrates how to create a web server with WebSockets on an ESP32 using Arduino, where the ESP32 acts as a WiFi access point, hosts a web server serving an HTML page from SPIFFS, and uses WebSockets to enable real-time bidirectional communication between a web browser and the ESP32 hardware, allowing users to control an LED connected to the ESP32 through a webpage button.
ESP32 WebSocket Server with Arduino and SPIFFS Web UI
Added:Basic microcontroller programming in C/C++ using the Arduino IDE, including compiling and uploading sketches to an ESP32.
Fundamental frontend web development concepts, specifically HTML for layout, CSS for styling, and JavaScript for client-side logic.
Understanding of the client-server model and the basic HTTP protocol, including how a browser requests and receives web pages.
Basic electronics and GPIO control, including how to wire an LED to a microcontroller and write digital signals (High/Low) to it.
Transitioning from SPIFFS to LittleFS, the modern and officially recommended file system for ESP32 and ESP8266 architectures.
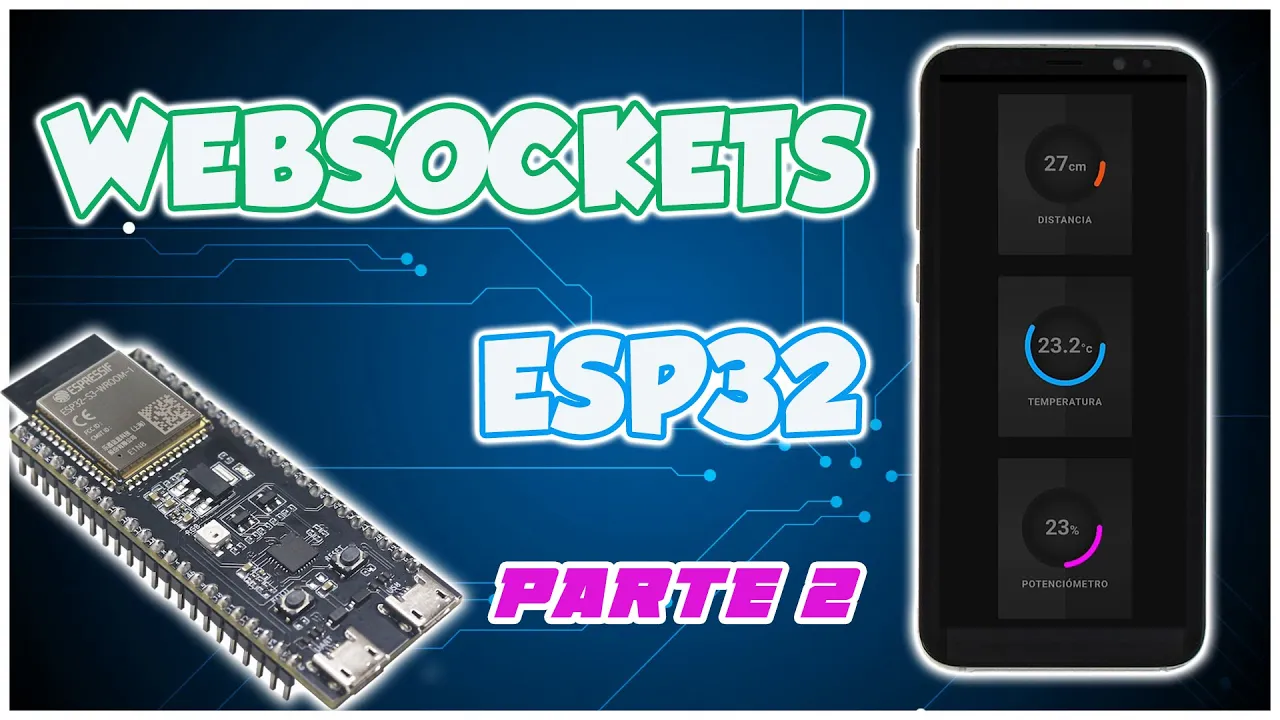
Implementing real-time bidirectional telemetry, such as streaming live sensor data (e.g., DHT22 temperature) from the ESP32 to the web interface.
Handling multi-client state synchronization, ensuring that when one client toggles the LED, the UI updates instantly for all other connected clients.
Exploring IoT network security, including securing the ESP32 server with HTTPS, Secure WebSockets (WSS), and basic access control or authentication.
166.9K views2.8Klikes12:42Original Release: 2019-09-09
a few months ago I created a WebSocket server on an ESP 32 and used it to send messages back and forth to my computer feel free to look at that video if you need a refresher this time let's use WebSockets to control actual Hardware on the ESP 32 we'll start by connecting some hardware to the ESP 32 I'll use an LED as a basic example next we write an Arduino sketch that turns on the soft access point on the ESP 32 runs a basic web server that responds to HTTP requests and serves up a simple HTML file and finally runs a WebSocket server that responds to WebSocket requests this sketch will be compiled and run on the ESP 32 we'll upload our HTML document directly to the ESP 32 using the serial peripheral interface flash file system or spiffs for short this HTML page will be very simple something with some text a button and a basic graphic to show the state of the LED it will instruct the browser on our phone or computer to connect to the ESP 32s WebSockets server and send WebSocket messages whenever the button is pressed when the sketch runs it will turn the ESP 32 into an access point which broadcasts a Wi-Fi SSID we'll use our phone to connect to the Wi-Fi access point and then request the index.html page the ESP 32 will respond by sending over the HTML page which the phone's browser will render part of this page will include some JavaScript that will instruct the phone to immediately connect to the ESP 32 s WebSocket server as soon as the page loads then whenever we press the button on the page it will send a WebSocket message to the ESP 32 the ESP 32 will interpret this message and toggle our led to start let's connect an LED to pin 15 I'm using an Adafruit feather huzzah 32 but most other ESP 32 boards should work we'll use a 330 ohm limiting resistor to upload files to the spy flash file system we need a special Arduino plug-in go to github calm me no dev Arduino ESP 32 FS plug-in go to the releases page and download the latest zip file unzip that file and navigate into the folders to find the ESP 32 FS jar file copy that dot jar file go to your Arduino installation directory and go into the tools folder create a new folder named ESP 32 FS in all capital letters in there create another new folder named tool in all lowercase letters place the dot jar file into this new tool folder restart Arduino and look in tools in the menu bar you should see ESP 32 sketch data upload this tells you that you've installed the spiffs uploader correctly back in github click on me know devs username to see a list of their repositories we'll need the ESP async webserver to help us respond to HTTP requests download the zip for that repository in arduino go to sketch include library add dot zip library import the ESP async webserver zip file to load the library into arduino to make ESP async webserver work with our ESP 32 we need to install async tcp perform the exact same steps to download the zip file and import it as a library into arduino in a new sketch include the Wi-Fi and spiffs libraries which should come with the ESP 32 package we installed in the first video we also include the ESP async webserver that we just installed and we also include the WebSocket server which we installed in the first video as well we'll create a bunch of constants first we need to give our access point an SSID and password anything silly will do as long as you can remember the strings will store a couple of strings that we will use as messages to send across the WebSocket connection finally we'll set our DNS HTTP and WebSocket ports followed by the pin number that's connected to the led we need a few global variables for this sketch so we save the web server and WebSocket server as different objects we'll save any incoming WebSocket messages in this 10 character buffer we'll also remember the state of the LED so that we can send it as a message to our client because this sketch can be quite long I like to divide up my sections with large obvious comments I'm not quite at the point where I would use separate files but almost most of the web server and WebSocket server code happens asynchronously which means we need to write a series of callback functions we'll start with the WebSocket event this function is called if there's any type of WebSocket activity the color will provide us with a type which we'll use to figure out how we need to respond if the client disconnects we'll just print it to the console and not do anything else if we have a new client connecting we'll figure out the IP address of the client and print that to the console next we have a text type we first print it to the console if it's equal to our toggle LED string we actually toggle our attached LED otherwise it's likely a get LED state message if so we send out our own WebSocket message with the ASCII character 1 if the LED is on or ASCII 0 if it's off there should not be any other WebSocket messages we can receive but just in case we'll print any unrecognized messages to the console for all other types of WebSocket events we won't do anything we'll need to write our web server callbacks next we start with our main HTTP request for a web page which will respond by sending them index.html located in the spiffs directory I'll include the callback for a dot CSS request here just so you can see how it's done we won't need a style dot CSS file as we're just going to do everything in HTML and JavaScript however you are welcome to upload a style.css file with your index.html 2 spiffs if you want a prettier web page in case we get a request for a web page that doesn't exist we'll want to send a 404 error back to the browser in setup we initialize the LED and make sure it starts off we also open up the serial port so we can send debug info to the console after that we initialize the spy flash file system if it fails we'll print an error message and then purposely hang the processor if spiffs works we'll start the access point with the SSID and password we set earlier once it's up we print out our own IP address to the console which we'll need to know for our HTML file then we start assigning callbacks if we get an HTTP request for the root directory we will respond by running the on index request function we wrote earlier in it we send the our index.html file similarly if they request a style dot CSS file we run the on CSS request function and send style dot CSS assuming we have one in our spiffs directory finally we tell the server to call on page not found if we get a request for a page or resource that we don't have after that we start the WebSocket server and assign the on WebSocket event function as our callback the only thing we have to do after that is to call WebSocket loop within our loop function this ensures that events are handled when they arrive let's upload this to our ESP 32 note that it's important to name and save our sketch as we'll need the folder structure for uploading spiffs files I'll call mine ESP 32 WebSocket host once you're done compiling open a console and look for the IP address of the ESP 32 you might need to press the reset button on your ESP 32 board to get this information to appear copy it or write it down note that this is the default address given by the soft AP function go to sketch show sketch folder which should open the location of your arduino sketch on your computer create a new directory in a sketch folder named data' all lowercase the folder must be named this as when we use the spiffs uploader tool it will look in this data directory for files to send to the ESP 32 in data create a new file named index.html open index.html with your favorite editor at the top declare the doctype as HTML and set the character set to utf-8 these are pretty standard tags at the beginning of most HTML files we'll give the page a title like WebSocket test will then open our JavaScript tag and begin writing our WebSocket handler the address of the WebSocket server is the IP address of the ESP 32 that we copied earlier along with the WebSocket port number that we set in the Arduino sketch we'll also declare a few variables to help us control the webpage to set up the page from JavaScript we create a callback function which we'll call a knit in it we get the page elements and then use the HTML canvas element to draw a basic circle at the end we call a function named WS connect that we're about to write in that function we create a new WebSocket object using the IP address of the ESP 32 and port number of the WebSocket server we'll also assign all of our callbacks here that help handle WebSocket requests in the first callback when we first make a WebSocket connection we output to the browser's console and enable the button we then send the string get LED state to the ESP 32 if the WebSocket connection closes we log it to the console and disable the button on the page we also set a timer which will attempt to re-establish connection with the WebSocket server in about two seconds if we receive a WebSocket message we print the message contents to the console and parse it if we receive the character 0 it means that the server was telling us the LED is currently off so we log it to the console and update the circle on the web page to mimic the state of the LED by filling it with the color black if it's a 1 it means the LED is on so we log that and update the circle by filling it with the color red if it's a message we don't recognize we'll just ignore it we don't expect any WebSocket errors but just in case we get some we'll log it to the browsers console so we can see what's going on we called do send earlier so we need to actually write that function will log what we're sending to the console and then use the WebSocket object to send whatever string we pass to the function finally we need to handle the toggle button push so we write this on press function all we do here is send the string toggle led to the ESP 32 followed by the get LED state string requesting the current state of the LED even though we wrote the anit function earlier we need to assign it to our window we tell it to call init as soon as the page loads finally we can close out our script tag now we can actually build the web page we'll give it the title LED control will make a simple table that puts our button next to the canvas circle that shows us the LEDs status I added this output div to help me with debugging so you don't really need it save your HTML file and exit out of your editor back in Arduino go to tools and click sp30 to sketch data upload this might take a couple of minutes so wait while the plugin uploads your index.html file to the spiffs directory on the ESP 32 it does this over the serial port so make sure you don't have the arduino serial console open when you're trying to upload to spiffs once that's done your ESP 32 server is complete with your phone or computer connect to the ESP 32 s access point enter let me in please as the password you might get an error telling you there's no internet access but that's okay my Android phone makes me click through a pop-up where I have to tell it to stay connected to this Internet less access point bring up a browser and enter the ESP 32 s IP address which is 192.168.1 you should see a simple circle and button feel free to zoom in to make it easier to see press the button and the LED should turn on press it again and the LED should turn off notice that the circle also changes color to match the state of the LED even if we turn on the LED and refresh the page the browser asks the ESP 32 for the state of the LED as soon as the page loads so it should not lose the LEDs state this might seem like an overly complicated way to send messages between a browser and an ESP 32 but it is one of the fastest ways that I've found to control hardware over Wi-Fi as WebSockets seem to have very little overhead the LED is really just a starting point feel free to take this to the next level and make internet connected sensors and robots happy hacking
Up Next

35:06
STEM Education: Friction, Water Purification & Hands-on Learning
@shreekrishnaparnamipublics729
159 views•2026-03-21

30:32
Ultrasonic Transducers: Resonant Frequency Measurement and Horn Design
@imajeenyus42
229.9K views•2017-02-22

54:16
Polymer Environmental Degradation: Mechanisms & Stabilization
@iit
1.8K views•2012-07-10

33:39
How a Student's Question Saved a NYC Skyscraper from Collapse
@veritasium
22.8M views•2025-04-26
Related Study Plans & Knowledge Roadmaps
Structured learning paths in Engineering
engineering
Building Acoustic Levitators: Physics & Arduino
01The Physics of Sound and Standing Waves
02Piezoelectric Transducers and H-Bridge Drivers
03Arduino Programming: Generating 40 kHz Signals
+ 2 more learning modules
14h5 modules
Explore Roadmap
engineering
Building Peltier Cloud Chambers: Particle Tracks
01Cosmic Rays & Cloud Chamber Physics
02Thermoelectric Cooling (TEC) Fundamentals
03Custom Liquid-Cooling Loop Design
+ 2 more learning modules
18h5 modules
Explore Roadmap
engineering
Yagi-Uda Antennas: Modeling, Build & VNA Test
01Introduction to RF and Antenna Fundamentals
02Yagi-Uda Antenna Design Principles
03Antenna Modeling and Simulation in 4NEC2
+ 2 more learning modules
18h5 modules
Explore Roadmap
engineering
ECG Monitor Design: Op-Amps, Filters & Noise
01Electronics & Breadboard Basics
02Op-Amps and Instrumentation Amplifiers
03Bioelectricity and ECG Fundamentals
+ 2 more learning modules
18h5 modules
Explore Roadmap