


![[PHẪU THUẬT THỰC HÀNH] - Bài 7: Các mũi khâu cơ bản khâu vết thương phần mềm _ CTUMP.](https://i.ytimg.com/vi/2NgBC1EdVRc/maxresdefault.jpg)



![Anatomy of the Skin [Epidermis, Dermis, Hypodermis]](https://i.ytimg.com/vi/GYLXDSq3n1U/maxresdefault.jpg)










![수술후 상처관리 [★에이스 Q&A 정재훈에게 물어봐★ 제 1편]](https://i.ytimg.com/vi_webp/SI9CF_qGavE/maxresdefault.webp)





The simple interrupted suture is a fundamental wound closure technique where the needle enters and exits the skin at a 90-degree angle to create parallel bites that approximate wound edges without inversion; the technique uses an instrument tie with square knots (crossing back and forth) to secure each stitch, with all knots positioned on one side of the laceration to avoid interfering with healing, and suture tails should be left long enough to prevent the last throw from slipping but short enough to avoid interfering with adjacent sutures.
Simple Interrupted Suture Technique: Step-by-Step Surgical Guide
Added:Basic wound assessment, including identifying wound depth, cleanliness, and indications or contraindications for primary closure.
Aseptic technique and sterile field management to prevent surgical site infections.
Fundamentals of skin anatomy, specifically understanding the epidermis, dermis, and subcutaneous layers.
Identification and safe handling of basic surgical instruments, including needle drivers, adson forceps, and suture scissors.
Advanced suturing techniques such as continuous (running) sutures, vertical mattress, and horizontal mattress sutures for specialized tension management.
Deep dermal and subcuticular suturing methods to reduce skin-surface tension and optimize cosmetic outcomes.
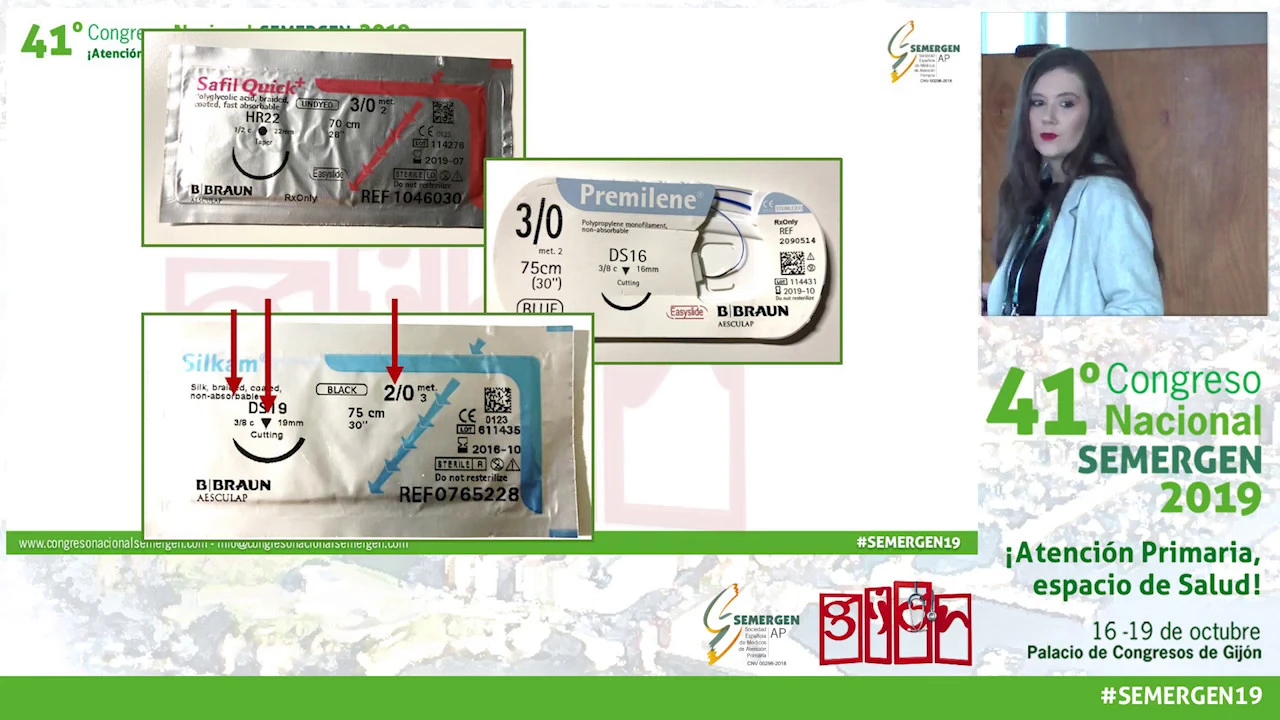
Guidelines for suture material selection, comparing absorbable versus non-absorbable options and understanding size numbering (e.g., 3-0 vs. 5-0).
Post-procedure wound care, patient education, and appropriate timelines and techniques for suture removal based on anatomical location.
Identification and clinical management of wound complications, such as infection, hematoma, and wound dehiscence.
1.2M views15.4Klikes8:30Original Release: 2016-07-19
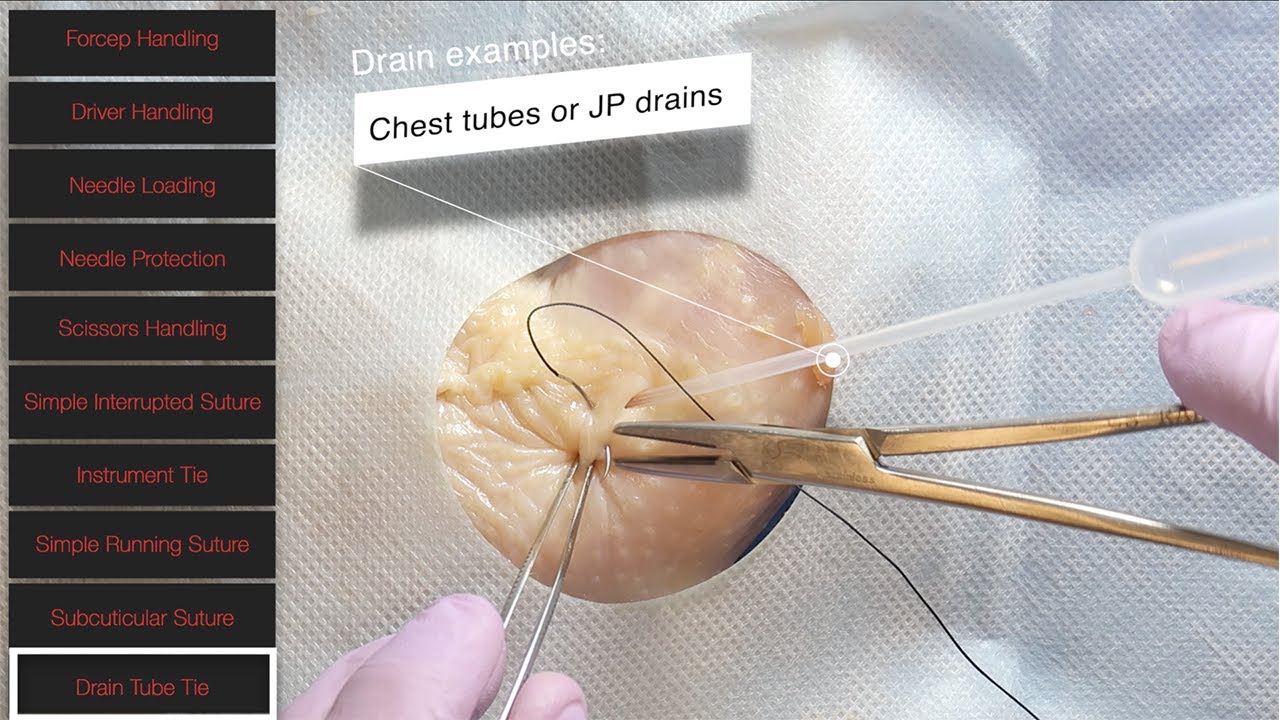
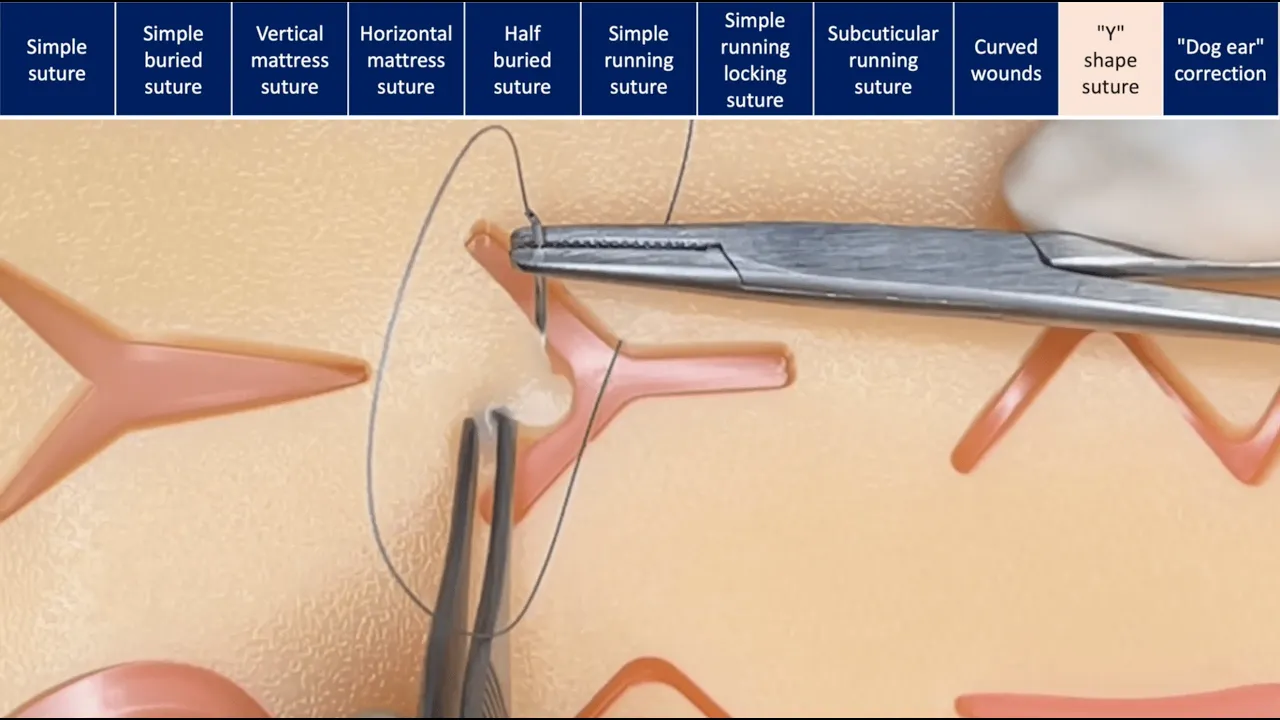
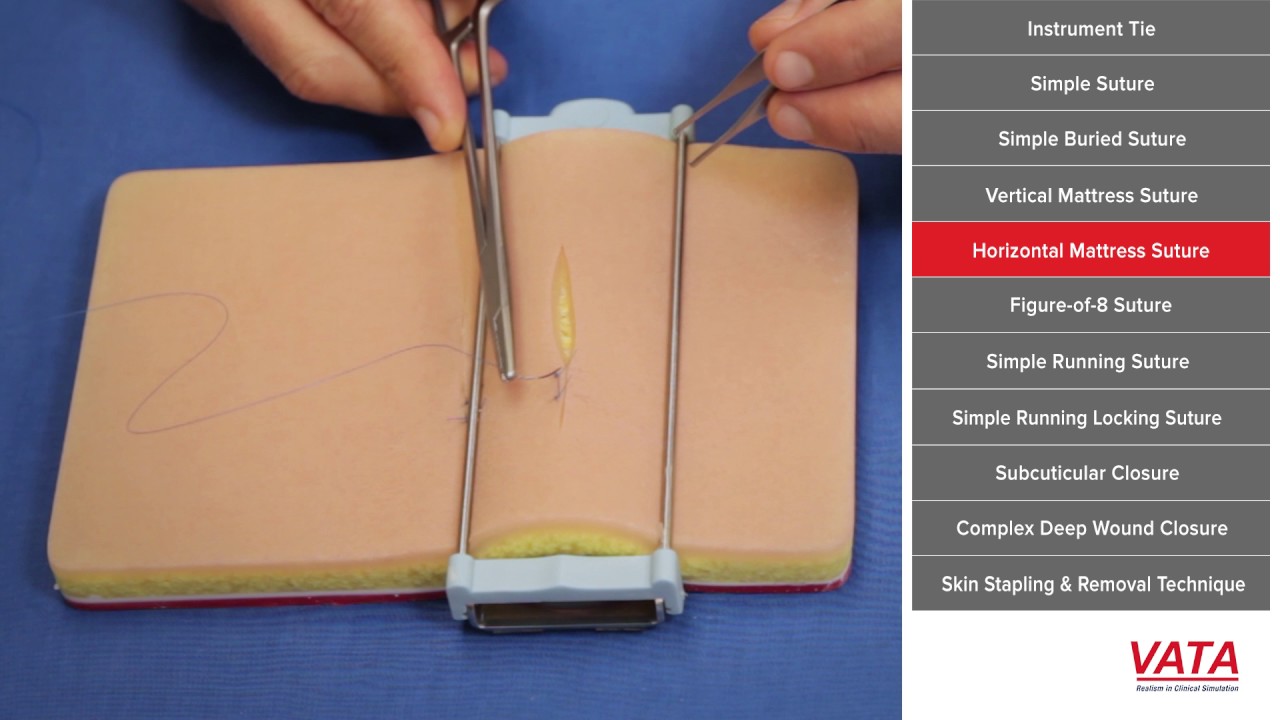
hi everyone I'd like to demonstrate very quickly for you a simple interrupted suture and it's a good basic suture for your basic simple lacerations something like this where there's where there's not a lot of tension now if you're if your laceration is in a situation where it's on an arm or leg and it's big and gaping like this then the you know the first thing you need to assess well first of all really is how deep is it do you need some deeper absorbable sutures but if not if but you're able to really still need to close a gaping laceration like this then you might need to go with something like a vertical mattress suture or a horizontal mattress suture at least to start it off but you know in a normal situation let's say there's a laceration on someone's thigh and approximates pretty well and is not under a lot of tension your good simple interrupted suture is a is a great technique so let me show you real quick vertical excuse me a simple interrupted so always when you are suturing you want to make sure that your suture excuse me your needle is entering the skin at a 90 degree angle so rat a big mistake that a lot of people make is that they're going to be entering the skin at this type of an angle where their their needle is entering you know maybe it at 20 to 45 degrees but really you want to really rotate it over in a way that your suture your needle is entering at a 90 degree angle okay and as you do that as it gets into the depth then you start to rotate your wrist driving it through the rest of the way okay so 90 degrees rotating and keeping the depth appropriate so there we go something like this okay so not too superficial you got a good bite but you're you entered at 90 degrees that 90 degree is potentially the most important part of a simple suturing because if you don't get a good 90 degree bite then the skin edges will invert and the skin will not heal well we need the skin edges to either just a little bit because as you get to the fourth phase of healing in that skin the remodeling phase there's a lot of tension and a lot of pulling and so the eversion of the the the most superficial part of the skin is going to allow that healing and that remodeling to take place without causing a buckling of the scar okay and then as you're going on the other edge you need to make sure that you're staying that right that exact same depth so however deep you are here you need to be entering the same depth this side straight across from where you were now you want to be exiting again 90 degrees and so one way that I like to do that want something I like to do is with my my pickup here with my Adson I like to push down on the skin here which helps me to get that 90 degree exit okay I'm going to let go I'm going to pull the rest of my suture through being careful not to pull it all the way through and then we're going to do a simple inner excuse me as an instrument tie to help pull this together so to instrument tie you want to keep your needle driver inside this v that is made by your suture so inside the V and with this side and with my hand I'm going to come around my needle driver two times because that's going to help create some tension as I'm pulling this tight and then I'm going to open up my needle driver grab the tail and then as I'm pulling this across I'm going to use my hand that I'm pulling with to pull that off of my needle driver okay and notice how that the suture now I've got a double throw through there and then I can pull that gently down over the skin not pulling too tight just enough that it's approximated the skin edges and because of that double throw it's going to help hold it in place rather than its slipping out and you losing your tightness there and then to come back the other direction again I'm going to be here in the middle with my needle driver parallel to the laceration coming over the top okay a lot of mistake is made where they go like this and bite it but that's going to basically be giving you a slipknot instead of a square knot so make sure your needle driver is starting in the middle you come over the top of it then you're going to grab again your tail and then with your pulling hand you're going to pull it again opposite direction from where it was the first time so notice how I was over here and now my left hand is coming across and that's going to make sure that you're pulling it in a way that in the end it's going to create a square knot rather than a slipknot see that and then I'll pull it over onto one side okay and this almost came together a little too tight but then again I'm here to go for my next throw I can start again with my needle driver in the middle coming over the top just once the first time is the only time you need to go twice grabbing the tail here with my pulling hand I'm starting on the left side so I need to go on to the right and that's going to allow that square knot to fall if I don't do this back and forth across with each throw then it's not creating a square knot and you're running the risk of that not coming undone later so make sure you're going back and forth across your knot so that you are confident that those are square knots that you're leaving behind square knots are not going to slip out on you okay and so there you go now we can cut our cut the tail of our suture I've been asked several times how long do you need to cut it how long should you leave it and really there's no rule for it if you cut it too short though you might run the risk of that last throw of your suture slipping out and your knee you're not coming undone so you want to make sure that it's long enough that that doesn't happen but you also want to make sure that it's not too long that it gets in the way of your next suture because if it's so long that now if I'm placing my next suture here and mine this this is in the way then that's going to be a little bothersome while you're doing your next suture so for my next one I'll this will be much faster us talking so 90 degrees good appropriate depth making sure I'm going to enter on this side at the same depth to push down so that my needles coming out at a good 90-degree angle distance here to here is the same as here to here we call that equidistant okay I'm going to pull that through now instrument tie in the middle running parallel with the laceration with my left hand going to go over them my needle driver twice for that first throw grabbing the tail and because my hands on the Left I know that I need to pull it over to the right side for that first throw spending it down but not too tight if you go too tight you're going to strangulate the the skin and cut the blood supply off and then as I come back again needle driver in the middle coming over the top grabbing that tail and because my hand is over on the right side I know I need to come to the left now and that's going to create my square knot that I need okay pull it over to the side again in the middle over the top once grabbing the tail and tightening it down and then one more time for good measure okay so there we go now make sure one important point too is that at the end when you are done suturing all of your knots should be over on one side of the laceration rather than in the middle if you leave your knot in the middle there and the knot is right on the skin edges then that's going to prevent good healing of the skin right there so you need to make sure that you're pulling your knot off to the side so that the act so that the skin edges are not being pushed on by your knot okay and again you want to make sure over to the side now the nice thing about the simple interrupted is if it's done right then with that 90 degrees see how the skin edges are approximated well they are not inverting on each other if you did not do the 90 degrees then the skin edges would invert and that would prevent proper healing so hopefully this has been helpful for you thanks for watching
Up Next

5:11
Instrument Tie Suture Technique: Step-by-Step Guide
@minimedlessons
178.9K views•2016-07-19

12:54
Triumph of Orthodoxy Icon: Byzantine Art & History Explained
@BenCallan
2.1K views•2024-08-06

12:17
Subcuticular Running Suture Technique: Step-by-Step Guide
@minimedlessons
3.2M views•2016-07-19

1:42
Game of Thrones Opening Credits: A Cinematic Analysis
@gameofthrones
46.3M views•2011-04-18
Related Study Plans & Knowledge Roadmaps
Structured learning paths in General & Interdisciplinary Studies
general-studies
Elevator Engineering: History, Physics & Cities
01From Hoists to Safety Brakes: The Dawn of Vertical Lift
02Hydraulic vs. Traction: The Engineering Physics of Elevators
03Modern Speed, Safety, and Algorithms
+ 2 more learning modules
12h5 modules
Explore Roadmap
general-studies
Rubber: Material Science, History & Geopolitics
01Origins of Natural Rubber & Mesoamerican History
02The Chemistry of Natural Rubber & Vulcanization
03The Geopolitics of the Rubber Boom & Colonization
+ 2 more learning modules
12h5 modules
Explore Roadmap
general-studies
Containerization: Evolution, Logistics & Trade
01Ancient Trade & Bulk Cargo: Amphorae to Barrels
02The Industrial Revolution & Cardboard Packaging
03The Containerization Revolution: Malcom McLean
+ 2 more learning modules
12h5 modules
Explore Roadmap
general-studies
Textile Tech: Evolution, Labor & Global Impact
01Pre-Industrial Textiles: Handloom & Cottage Industry
02Mechanization: The Spinning Jenny to the Power Loom
03The Factory System & Global Labor Transformation
+ 2 more learning modules
10h5 modules
Explore Roadmap