


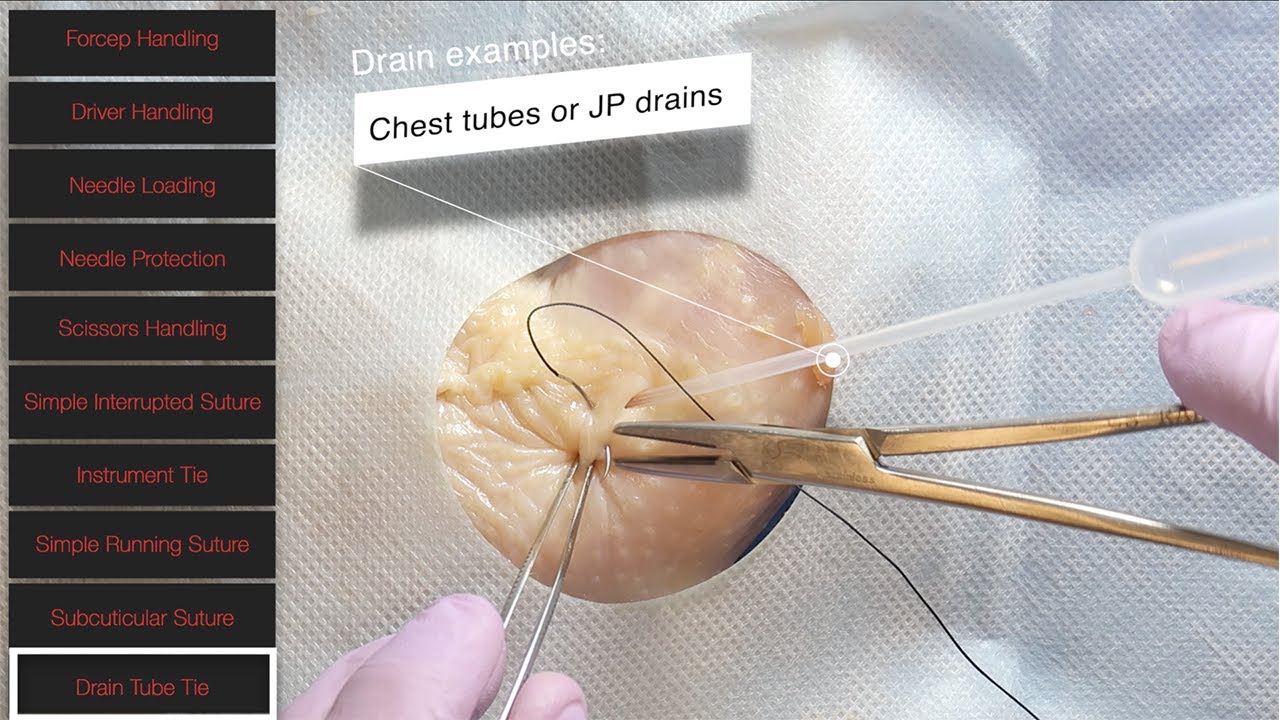




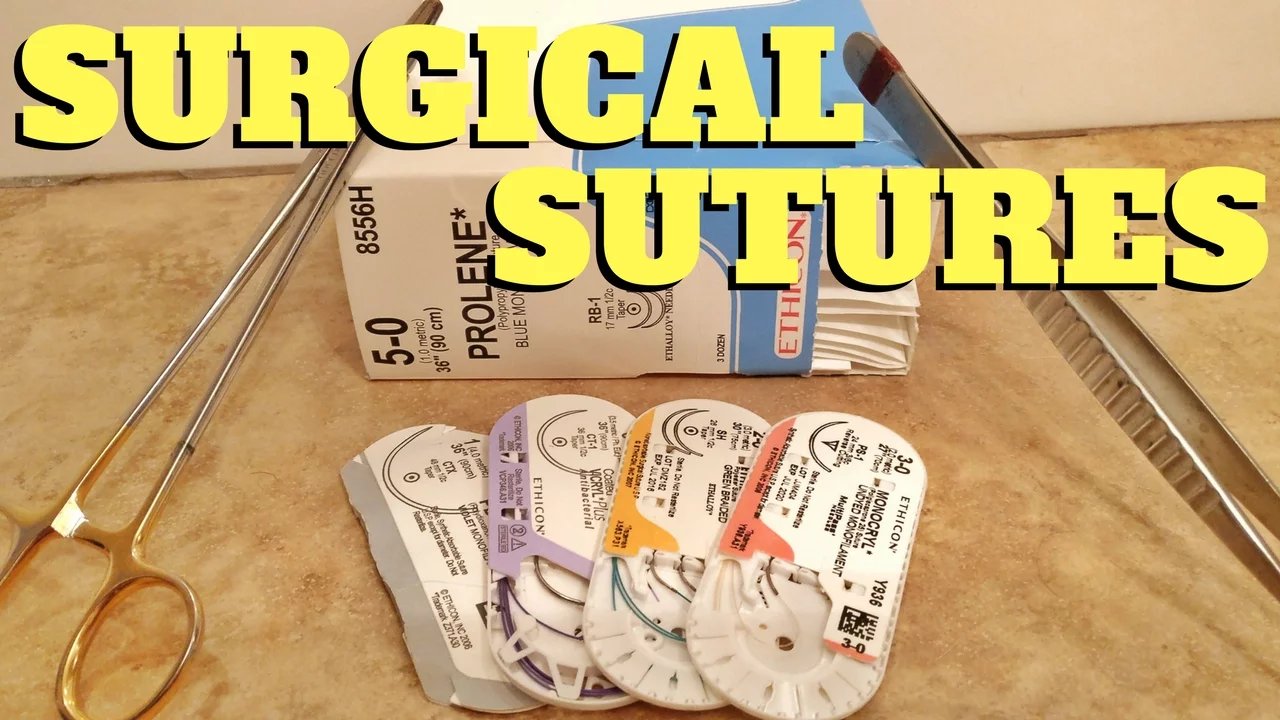



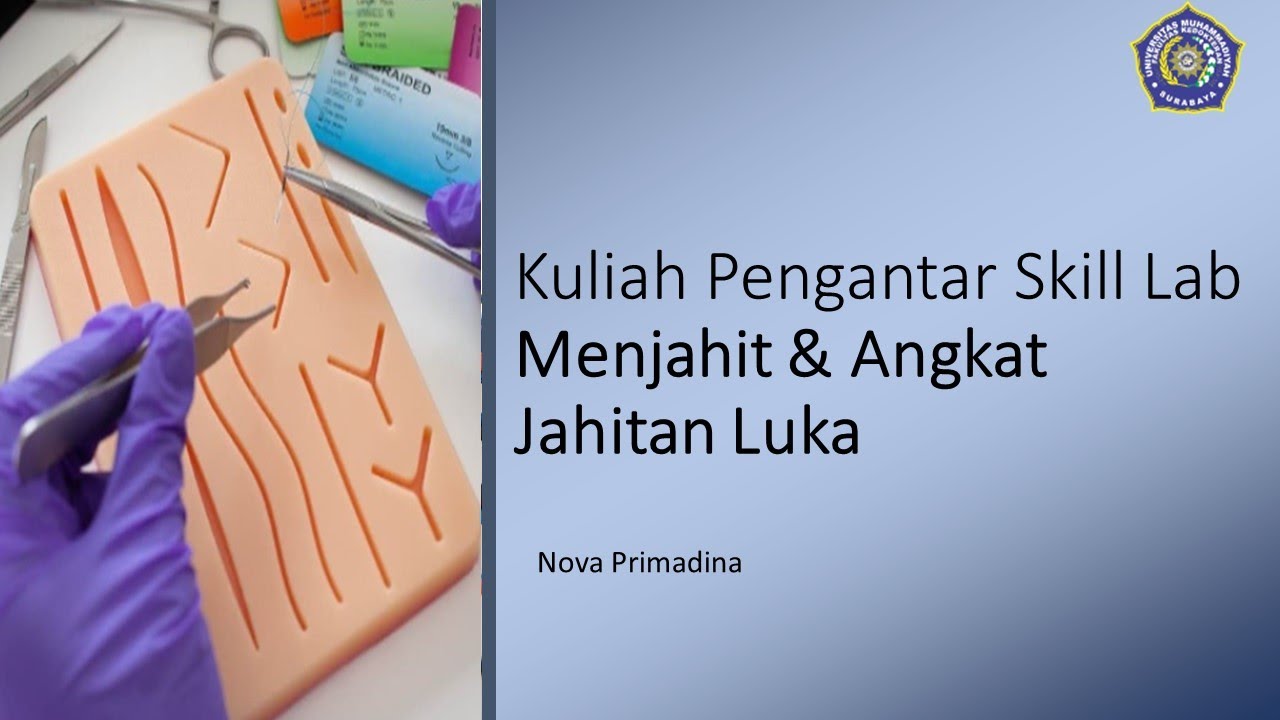


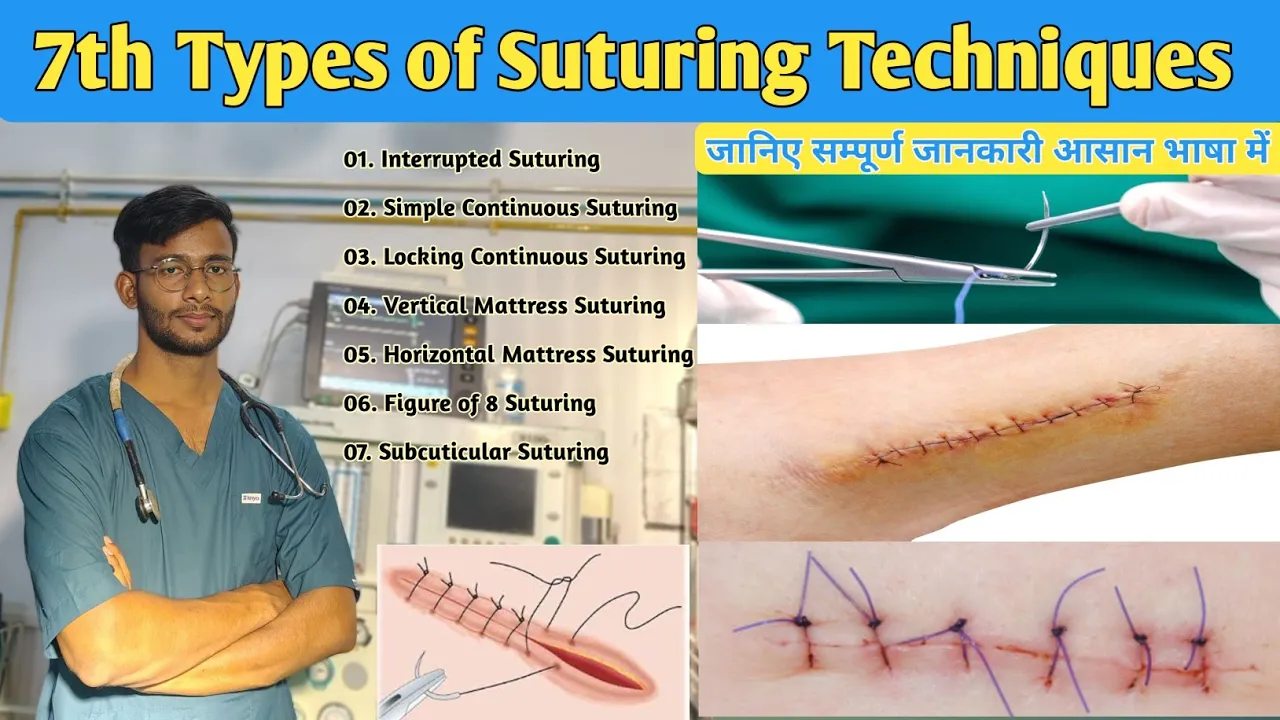


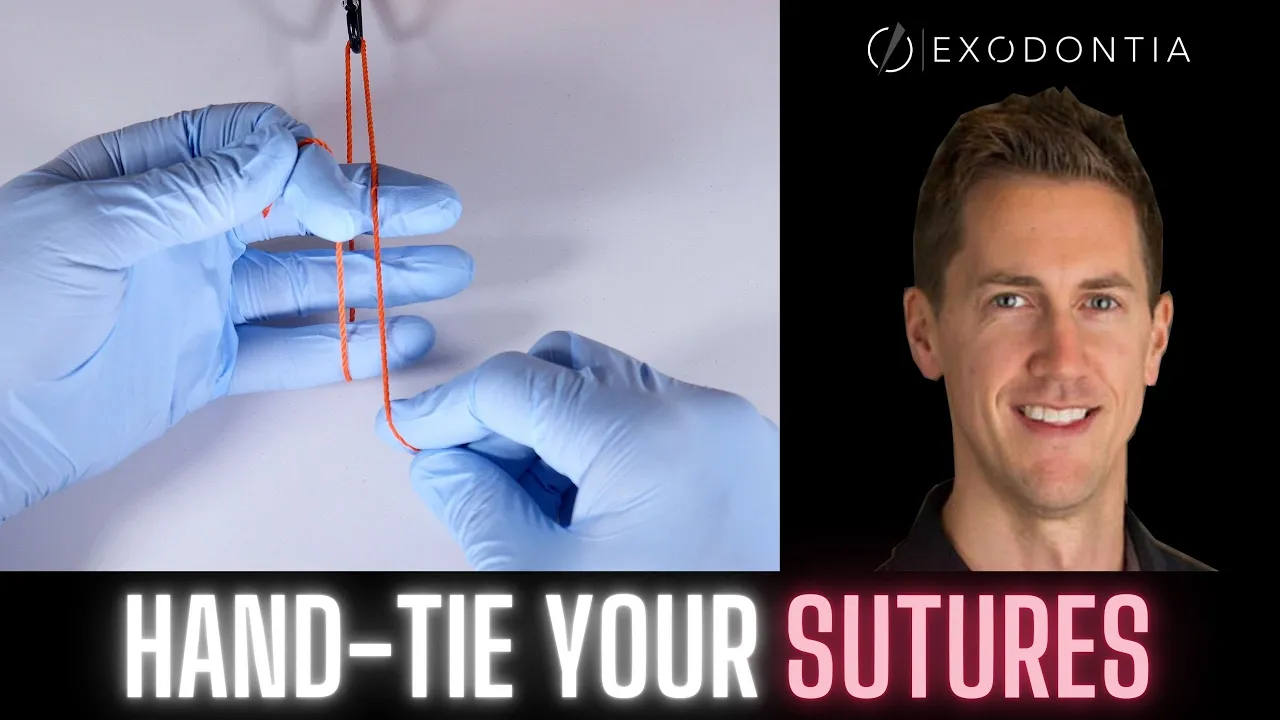




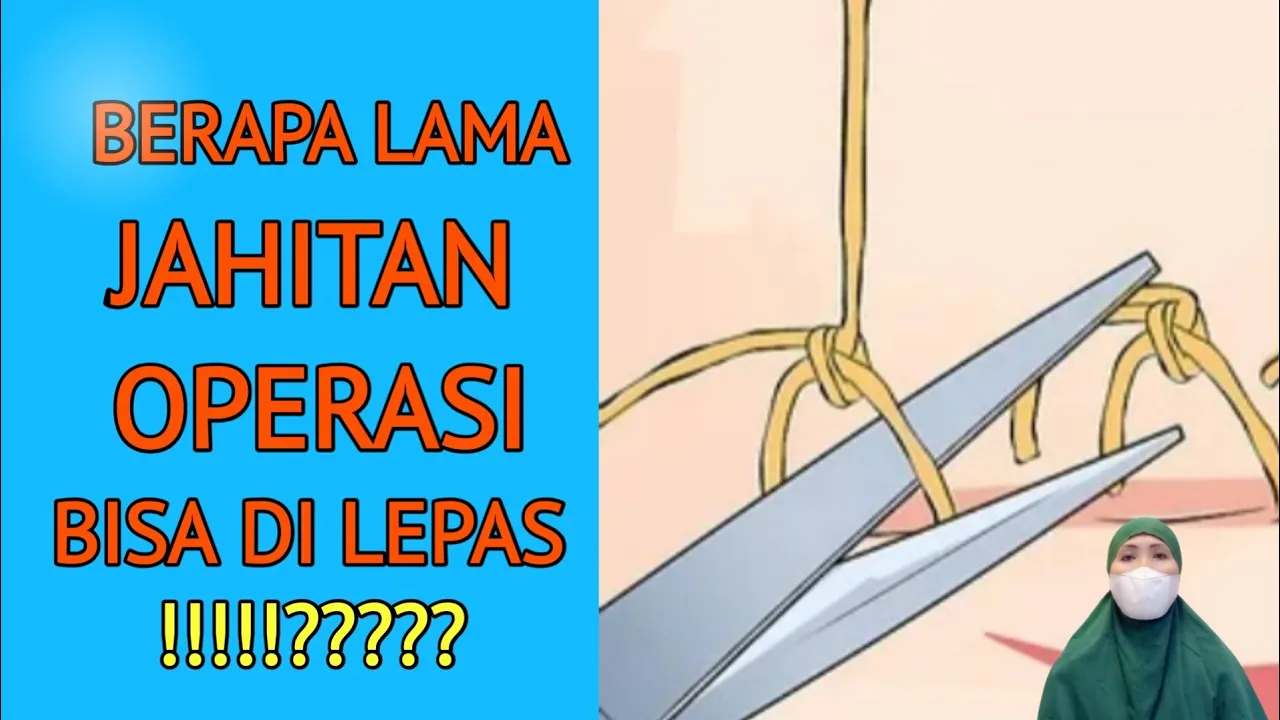


An instrument tie is a suturing technique where the needle driver is used to tie knots at the end of suturing; the proper method involves starting with a tail of approximately one inch, positioning the needle driver in the middle of the suture edges parallel to the laceration, passing over the top of the needle driver two times for the first throw, then switching hands and pulling the tail off the needle driver to create square knots that prevent the suture from coming untied; typically four to six throws are performed, with the needle driver always returning to the middle position for each pass to ensure proper knot formation.
Instrument Tie Suture Technique: Step-by-Step Guide
Added:Basic wound healing physiology and skin anatomy, specifically understanding tissue layers (epidermis, dermis, and subcutaneous tissue) and wound tension.
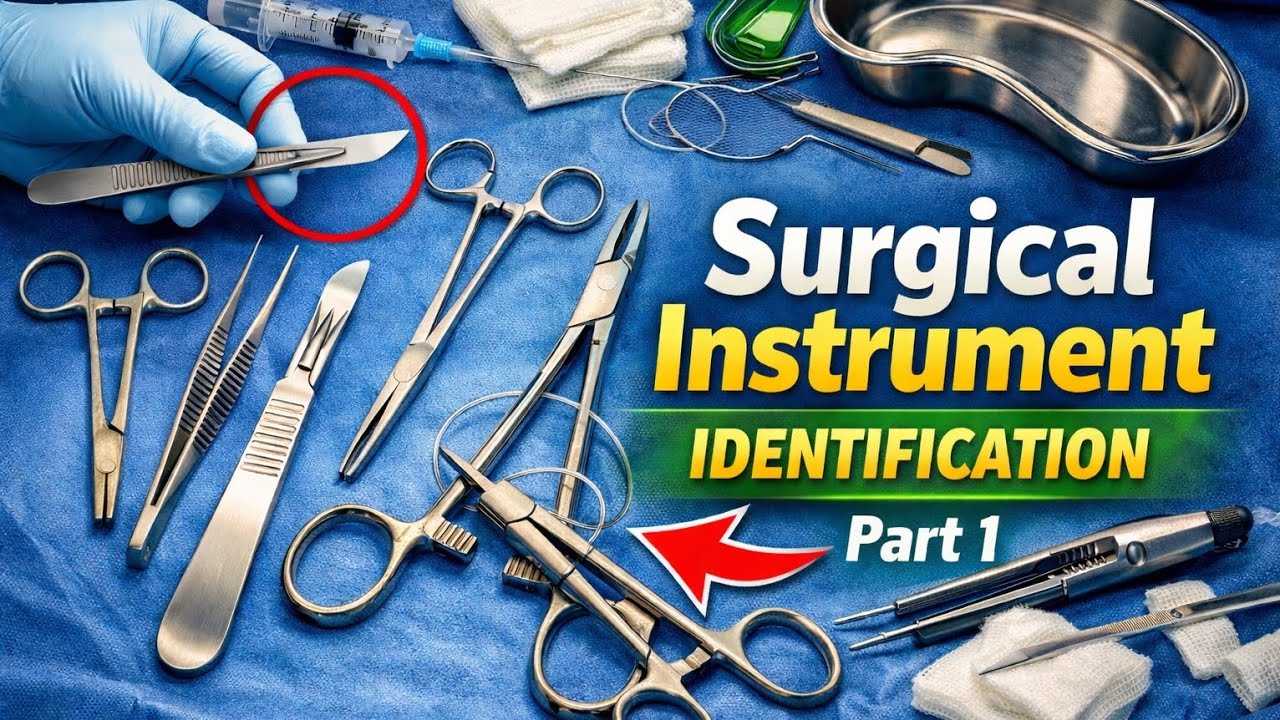
Identification and proper handling of fundamental surgical instruments, such as needle holders (drivers), tissue forceps, and suture scissors.
Knowledge of suture material properties, including the differences between absorbable and non-absorbable, monofilament and braided sutures, and needle geometries.
The physics and geometry of surgical knots, specifically the structural difference between a secure square knot and an unstable granny knot.
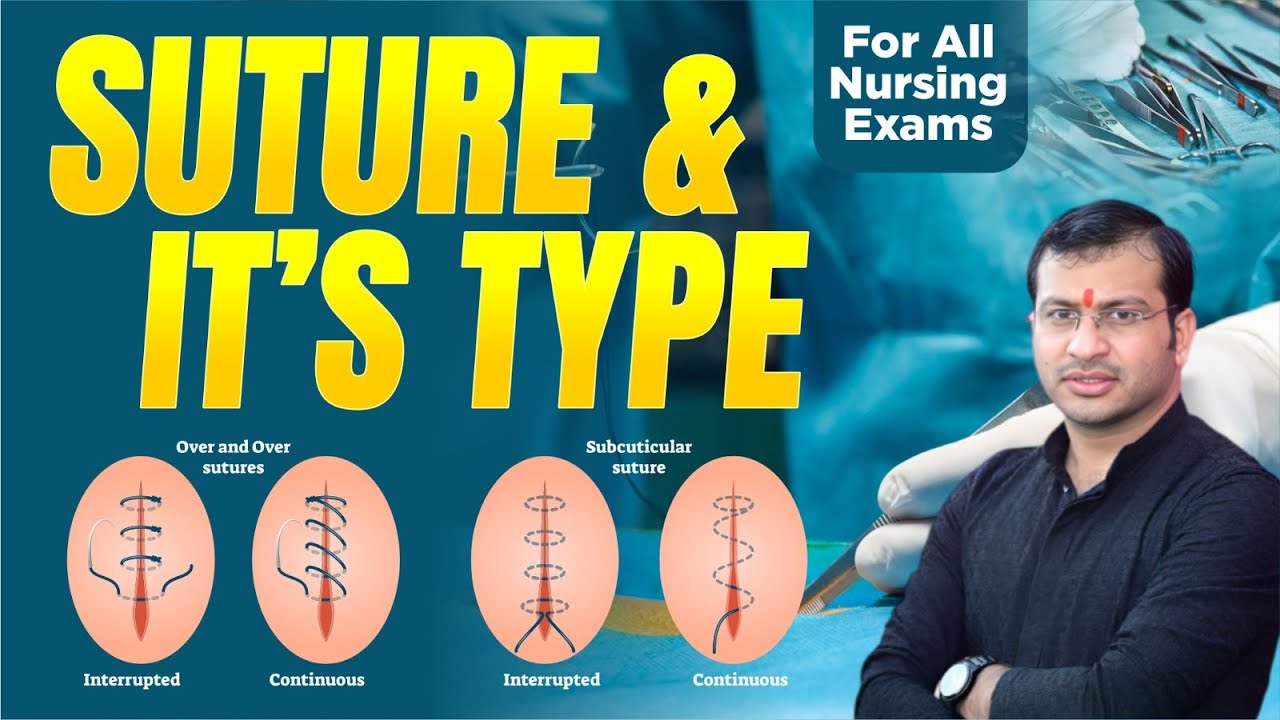
Mastery of various suture patterns, such as continuous (running) sutures, horizontal and vertical mattress sutures, and subcuticular closures.
Manual hand-tying techniques, including the one-handed and two-handed tie, which are essential when working in deep cavities or confined spaces.
Aseptic technique and sterile field management to minimize the risk of surgical site infections during wound closure.
Clinical wound assessment and decision-making regarding suture selection, tension management, and appropriate suture removal timelines based on anatomical location.
178.9K views2.3Klikes5:11Original Release: 2016-07-19
Hey there, thanks for watching. I would like to uh demonstrate for you how to properly do or properly perform an instrument tie. Okay, so you're going to be using your your instrument, primarily your needle driver to tie a knot at the end of suturing. So I have other videos posted about how to uh do certain suturing techniques. this video I'm going to just quickly throw a simple interrupted suture so that uh we can talk about how to tie it. Uh but uh for proper technique on throwing certain types of sutures uh feel free to check out my other videos. So I'm going to pull this through so that we've got just a little tail here on the end. Okay. So there you go. Now to do a proper instrument tie, have your tail, you know, roughly/ in to an inch. You don't want to have it too short, but you also don't want to have it too long. And then I'm going to set my pickup down. Now, some actually in the O and the ER when I'm actually suturing, I'm going to have it I'm just going to leave it in my hand while I'm doing this, but for the video, I'm going to set it down. So, your needle driver should be to start this out in the middle of your two suture edges. Now, if I were to pull up on these, see that V? Okay. So, I'm going to keep my needle driver inside the V parallel with the laceration. There's my laceration. Okay. Now, with my left hand, I'm my left hand's the one that's going to be doing the majority of the work. So, for your first pass, you should come around your needle driver two times. But notice how I went over the top. A big mistake is that people will come from this direction and then and but you need to keep at the beginning of each pass keep your needle driver in the middle so that you know that you're going to be creating square knots. Okay. The whole goal of an of a of tying sutures whether you're doing it with your hand or with the instrument is that the end result is a bunch of square knots on top of each other so that the suture does not come untied. So needle driver in the middle. You're going to pass over the top of it. And for the first pass, we're going to go over the top of it two times. That's going to help uh the tension uh with this first tie. So then you're going to open your needle driver and grab the tail. And now don't move your your needle driver, but go with your your left hand rather, and pull that off the end of the needle driver. And see now I've got a good uh double throw in my suture. And notice how my hands traded places. My my needle driver is now over here on the left and my my left hand has crossed over to the right so that I can pull that down snug onto the skin. Just like that. Going to let go with my needle driver. And now for our next pass, we need to again start in the middle. So my my uh my needle driver needs to come back to the middle again parallel with the laceration. So that way I know that I'm going to get a good square knot by going over the top. Again, common mistake is that people will come out here and do this and then grab. But if you really look closely, you did not throw a square knot. You threw a slip knot. So start in the middle, come over the top and just once for all subsequent throws. You only do a double on the first one. So then grab it and because my hand is starting over on the left, I'm going to pull off the end of my needle driver and come over to the opposite side. Now I'm over on the this other side. I'm going to pull that down, but not too tight that it bunches up my my suture, but just enough that it's laying nice and snug.
Okay. And then I'm going to pull that off to the side of my laceration. So I'm going to hold now back to the middle for my next throw. with the tail on this side. My left hand over here, I'm going come over the top. Grab. Because I'm starting over here on the the left, I know that my hand needs to go to the right.
Okay. And then back the other direction.
Now, how many times do you do it? My opinion is at least four to get a good long a good strong tie. Uh lots of providers like to go to six. And either way, that's fine. But I in my opinion to get a good strong knot going to at least four is important. But I'm going to keep going to continue to demonstrate. So again in the middle over the top, grab my tail. Pull it over. See that? See the how you're going to be getting a square knot. Every time you pass over, you're going to be getting a square knot.
See that?
And nice and tight. And then you're going to cut your tails. Now, how long do you cut? So that how long do you need to leave these? Well, there's no, you know, law that says how long they need to be left. My opinion is you don't want them to be too short that if that top throw becomes a little loose, then your needle can, excuse me, your knot can come untied. So not too short, but if you go too long, then your tails will get in the way of your next suture that you'll be placing down the laceration.
So hopefully that was helpful for you.
Go ahead and practice. That's the instrument tie.
Up Next
6:40
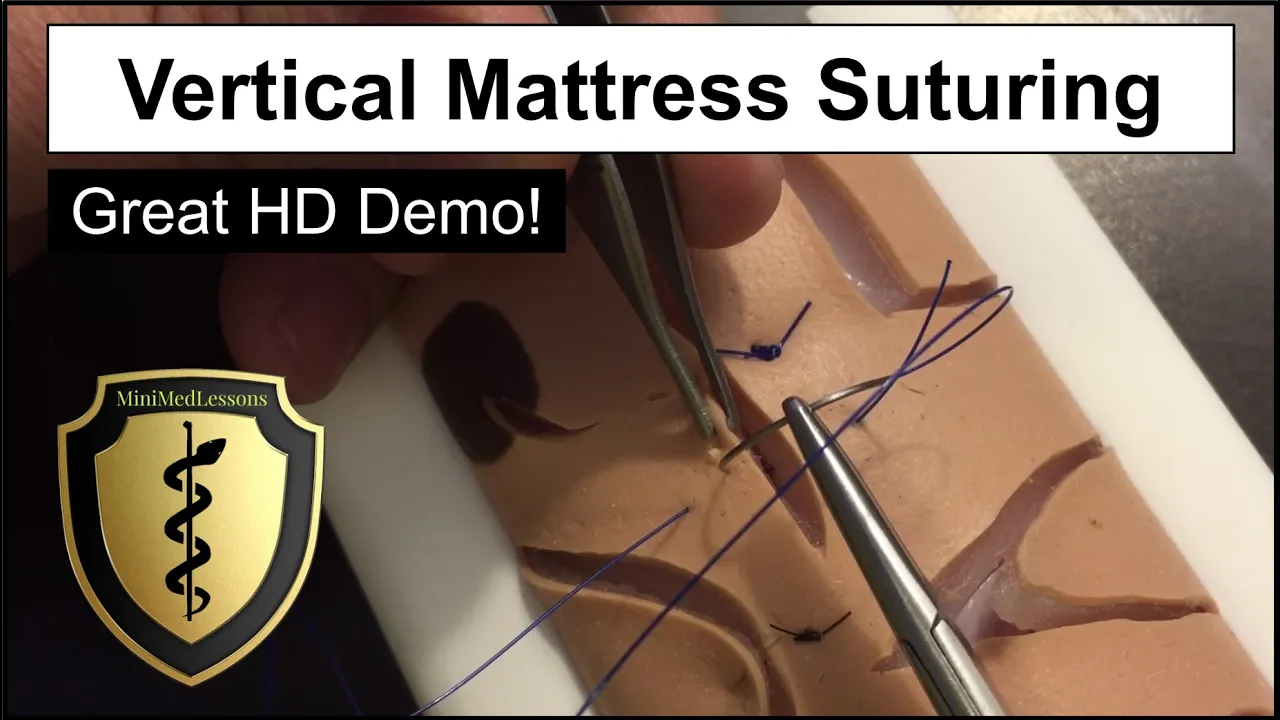
Vertical Mattress Suturing Technique: Step-by-Step Guide
@minimedlessons
186.6K views•2016-07-19

12:54
Triumph of Orthodoxy Icon: Byzantine Art & History Explained
@BenCallan
2.1K views•2024-08-06

12:17
Subcuticular Running Suture Technique: Step-by-Step Guide
@minimedlessons
3.2M views•2016-07-19

1:42
Game of Thrones Opening Credits: A Cinematic Analysis
@gameofthrones
46.3M views•2011-04-18
Related Study Plans & Knowledge Roadmaps
Structured learning paths in General & Interdisciplinary Studies
general-studies
Elevator Engineering: History, Physics & Cities
01From Hoists to Safety Brakes: The Dawn of Vertical Lift
02Hydraulic vs. Traction: The Engineering Physics of Elevators
03Modern Speed, Safety, and Algorithms
+ 2 more learning modules
12h5 modules
Explore Roadmap
general-studies
Rubber: Material Science, History & Geopolitics
01Origins of Natural Rubber & Mesoamerican History
02The Chemistry of Natural Rubber & Vulcanization
03The Geopolitics of the Rubber Boom & Colonization
+ 2 more learning modules
12h5 modules
Explore Roadmap
general-studies
Containerization: Evolution, Logistics & Trade
01Ancient Trade & Bulk Cargo: Amphorae to Barrels
02The Industrial Revolution & Cardboard Packaging
03The Containerization Revolution: Malcom McLean
+ 2 more learning modules
12h5 modules
Explore Roadmap
general-studies
Textile Tech: Evolution, Labor & Global Impact
01Pre-Industrial Textiles: Handloom & Cottage Industry
02Mechanization: The Spinning Jenny to the Power Loom
03The Factory System & Global Labor Transformation
+ 2 more learning modules
10h5 modules
Explore Roadmap