




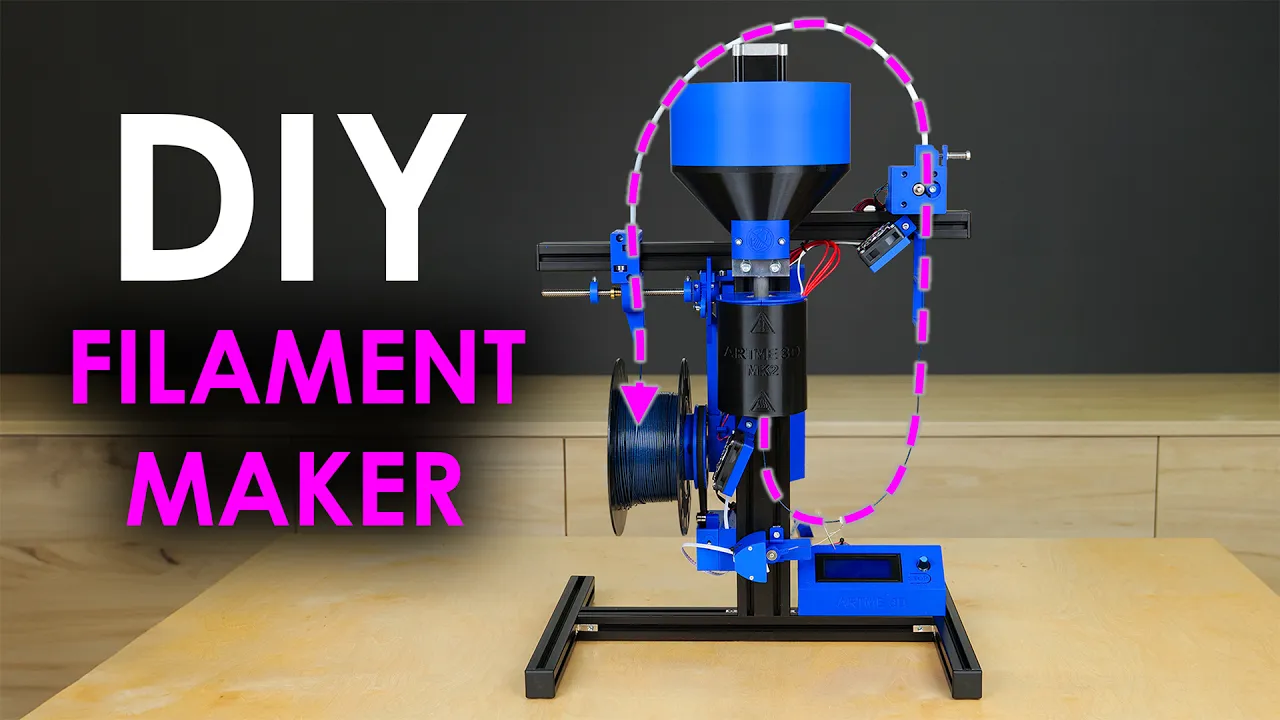

This video demonstrates a DIY PET bottle cutter for converting plastic bottles into 3D printing filament, featuring a chisel slot for label removal and adjustable thickness control via an M5 screw to achieve the optimal 6.5mm width for successful extrusion through a pulltruder.
PET Bottle Cutter & Pultrusion: DIY Filament Production Guide
Added:Basic concepts of Fused Deposition Modeling (FDM) 3D printing and standard filament specifications, such as the standard 1.75mm diameter.
Thermal and physical properties of Polyethylene Terephthalate (PET), including its melting point, glass transition temperature, and crystallization behavior.
Fundamentals of polymer manufacturing processes, specifically distinguishing between extrusion (pushing) and pultrusion (pulling) methodologies.
Basic workshop safety protocols for handling sharp cutting blades and constructing simple mechanical assembly jigs.
Designing and calibrating automated pulling and spooling mechanisms to ensure consistent filament diameter during the pultrusion process.
Optimizing 3D printer slicing configurations (nozzle temperature, cooling, and retraction settings) specifically tailored for recycled PET (rPET) filament.
Implementing electronic quality control systems, such as optical or mechanical filament diameter sensors, for real-time monitoring.
Studying the effects of thermal degradation and moisture absorption on recycled polymers, and methods for drying and storing DIY filament.
23.4K views295likes6:58Original Release: 2023-05-15
okay today I'd like to show you my paultruder setup which is similar to other examples that I've seen online which are very impressive but I've added a couple of unique features myself that I'd be that I'd like for people to see and maybe be able to make use of so here we go um I'll share most of the files or all of the files for for the various parts that I've designed uh when I get around to it this is the bottle cutter and I've already cut a strip I'll cut the beginning of a strip out of the bottom of this bottle so let's start by feeding that in and then we put a weight on top this this weight is a bit too small it's full of rocks and metal nuts uh it's it's too small it needs to be about twice as big to hold enough um I'll put a couple of rolls of tape on top of it for now which I tested before and that makes it about right that's about 900 grams in total which is sort of the minimum you need for this particular Chi plastic bottle um but for other types you you want less than a kilo um so hopefully about 900 grams is about where you want it for most bottles uh but yeah hopefully it works with this one anyway we start pulling start pulling so there's nothing too out of the ordinary about this yet let's just check the thickness I haven't perfectly adjusted this yet as it's beginning to do a particular bottle of thickness will fluctuate a little bit before it sort of settles consistently we're looking for 6.5 millimeters for this exact type of bottle this Chi drink bottle um I've tested already any thicker than that won't fit any wider than that sorry won't fit through the pulltruder but we sort of want it as wide as we can having it fit through the pulltruder we're now at 6.2 millimeters you want 6.5 let's just see if it settles a little bit still at only 6.15 um so we'll adjust this screw here a bit it's an M5 screw and it's it's determining the width 6.43 it's pretty good 6.48 we're almost there 6.49 wow only 0.01 millimeters left to go six by four six oh no we've gone back down okay better just turn that a tiny bit more I can't remember exactly how many uh how many points of a millimeter you get per per turn exactly it's an M5 thread um but you've sort of got to do it experiment with it a little bit anyway okay so hopefully we're getting around 6.5 yeah 6.49 millimeters so this works fairly consistently of course you don't need to get it 100 consistent but the more different phases of the filament production protrusion that I can get as accurate as possible the more accurate the finished filaments will be okay so we're almost getting to the label which you'll notice I haven't removed that's because this bottle cutter has a special feature that I haven't seen elsewhere which is a slot for a chisel to remove the label now obviously you'll see this leaves some residue compared to other methods of washing off the label Gunk with acetone or anything like that but that's far too time consuming in my opinion I wouldn't bother to do this if I had to carefully wash and scrub at every bottle and also since the aim here is to save some plastic from the landfill if I was having to use acetone straight out of another plastic bottle and also more chemicals being released into the environment that would sort of defeat the purpose a little bit in my opinion of trying to do this on on a big-ish scale or at least to actually try and make some usable filament from this with the purpose being to that tiny satisfaction of stopping a little bit of plastic going to the landfill okay so almost at the label got the Chisel in place um now I should add this Chi plastic bottle um the label is actually only just attached with a little bit of glue so this this is way easier than some other bottle labels you'll you'll struggle a little bit um this thumb thumb screw is to adjust the thickness so I have the Chisel blade sits away from from there it's actually a bit of metal I've I've got down there a leftover piece of PCB stencil just to make sure the friction doesn't get on the pla plastic itself um that the bottle cutter is made of uh hopefully I think I've got this thickness around about right but as as you can see mostly the label is just coming off by itself because it's actually not much glue on this bottle at all but you'll see in some places there we go that's where the glue is and it's coming off reasonably well you got to be careful sometimes you cut into the plastic which I've sort of I don't know a bit of label has come through so it takes some experimenting to get everything just right that's better
Up Next

34:24
KINLUOT Grey PETG Filament Review: Print Quality & Results
@printerpr0n
180 views•2023-03-12

12:54
Triumph of Orthodoxy Icon: Byzantine Art & History Explained
@BenCallan
2.1K views•2024-08-06

9:49
FastAPI vs Flask vs Django: Choosing the Right Python Web Framework
@TechWithTim
302.5K views•2024-05-26

1:42
Game of Thrones Opening Credits: A Cinematic Analysis
@gameofthrones
46.3M views•2011-04-18
Related Study Plans & Knowledge Roadmaps
Structured learning paths in General & Interdisciplinary Studies
general-studies
Elevator Engineering: History, Physics & Cities
01From Hoists to Safety Brakes: The Dawn of Vertical Lift
02Hydraulic vs. Traction: The Engineering Physics of Elevators
03Modern Speed, Safety, and Algorithms
+ 2 more learning modules
12h5 modules
Explore Roadmap
general-studies
Rubber: Material Science, History & Geopolitics
01Origins of Natural Rubber & Mesoamerican History
02The Chemistry of Natural Rubber & Vulcanization
03The Geopolitics of the Rubber Boom & Colonization
+ 2 more learning modules
12h5 modules
Explore Roadmap
general-studies
Containerization: Evolution, Logistics & Trade
01Ancient Trade & Bulk Cargo: Amphorae to Barrels
02The Industrial Revolution & Cardboard Packaging
03The Containerization Revolution: Malcom McLean
+ 2 more learning modules
12h5 modules
Explore Roadmap
general-studies
Textile Tech: Evolution, Labor & Global Impact
01Pre-Industrial Textiles: Handloom & Cottage Industry
02Mechanization: The Spinning Jenny to the Power Loom
03The Factory System & Global Labor Transformation
+ 2 more learning modules
10h5 modules
Explore Roadmap