
























A bridge test fixture can be constructed using one 2x4 board and 16 screws, costing under $10, by cutting four 9-inch pieces and two 29.5-inch pieces, drilling pilot holes for screws, and assembling L-shaped pieces with the critical 60-centimeter (23 5/8 inch) spacing between the inner faces to properly support and test bridge models.
How to Build a Cardboard Bridge Testing Fixture for STEM Projects
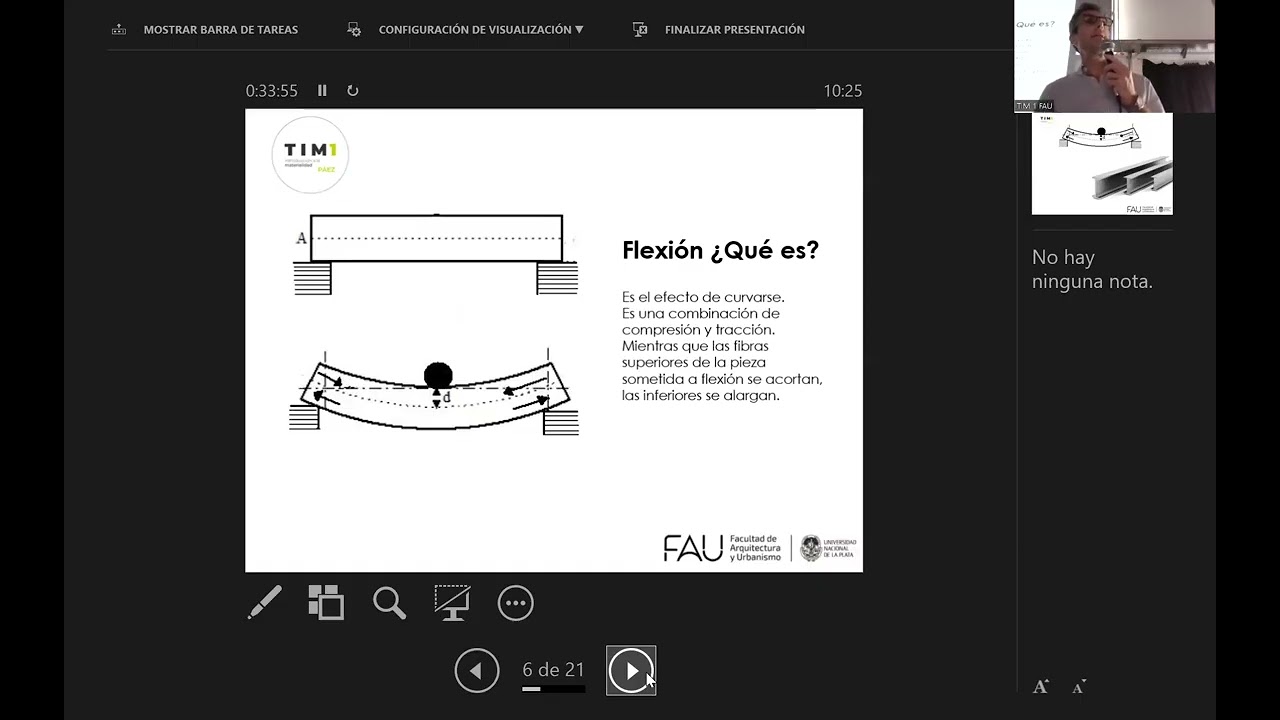
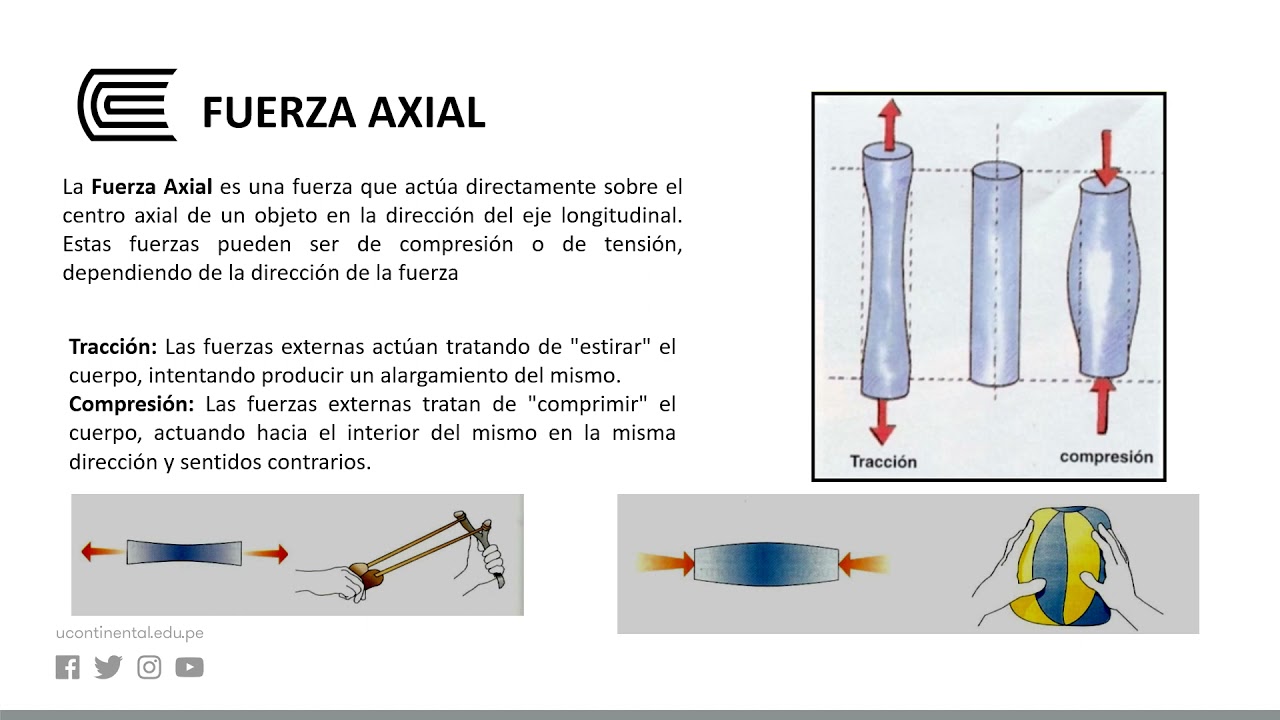
Added:Basic concepts of structural forces, including tension, compression, bending, and shear.
Familiarity with the Engineering Design Process (EDP), specifically the steps of prototyping, testing, and redesigning.
Understanding the material properties of cardboard, such as how corrugation affects strength and directionality of stiffness.
Safe handling of basic crafting tools and adhesives, such as utility knives, hot glue guns, and rulers.
Calculating structural efficiency ratios by comparing the maximum load held to the mass of the bridge itself.
Performing failure analysis to identify weak points, buckling, and joint failures in tested structures.
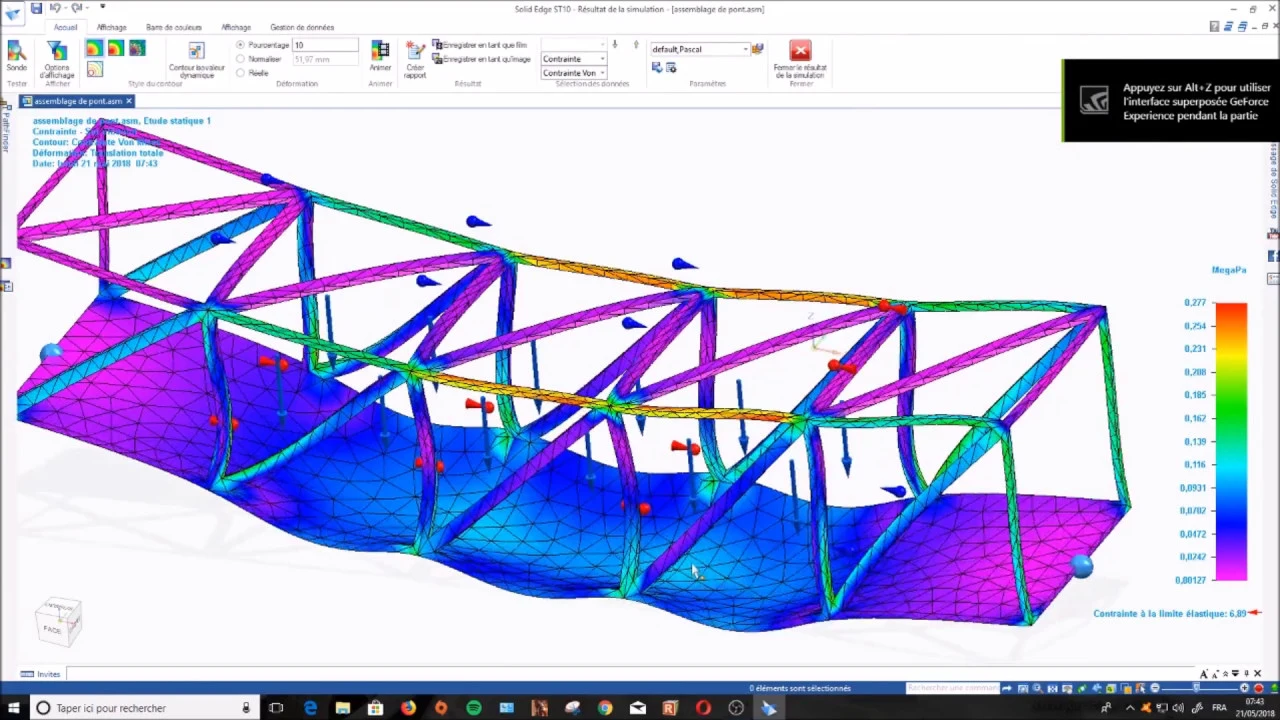
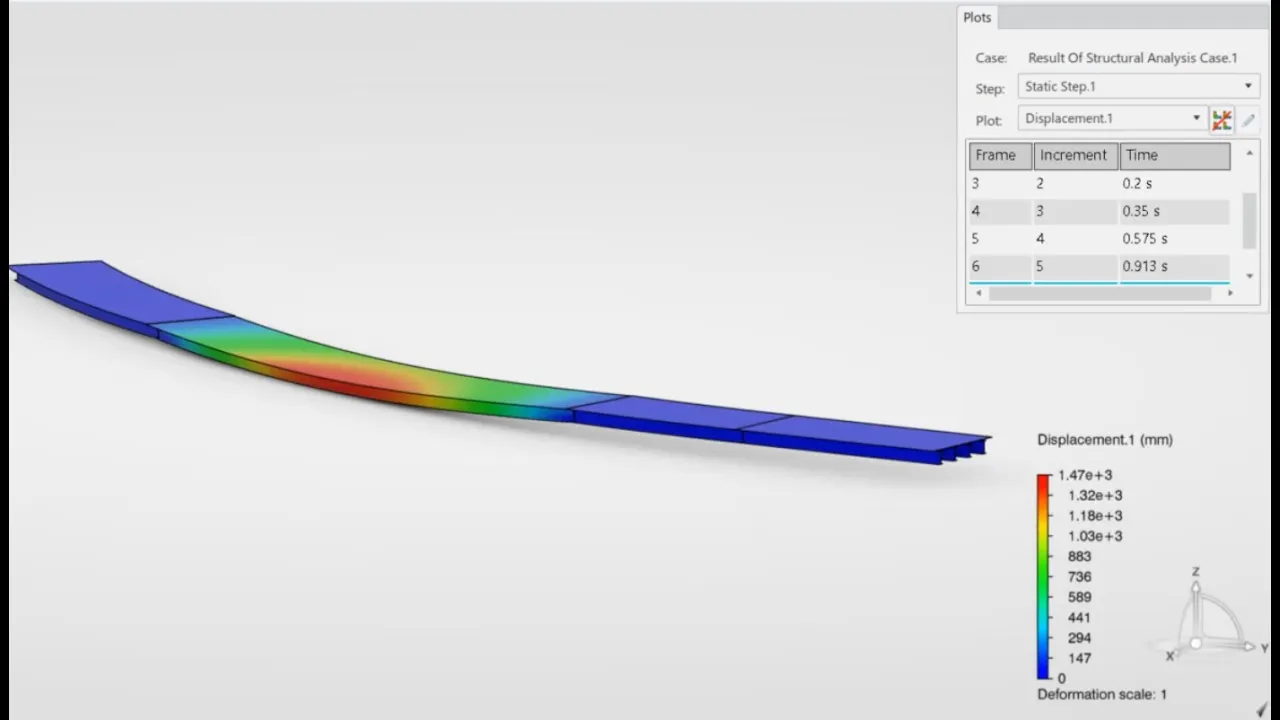
Exploring digital bridge design and stress simulation software to model structures virtually before physical assembly.
Transitioning to advanced modeling materials like balsa wood or basswood, which require different fastening and testing techniques.
Studying real-world civil engineering testing methodologies, such as non-destructive testing (NDT) and structural health monitoring.
104 views1likes19:36Original Release: 2020-04-20
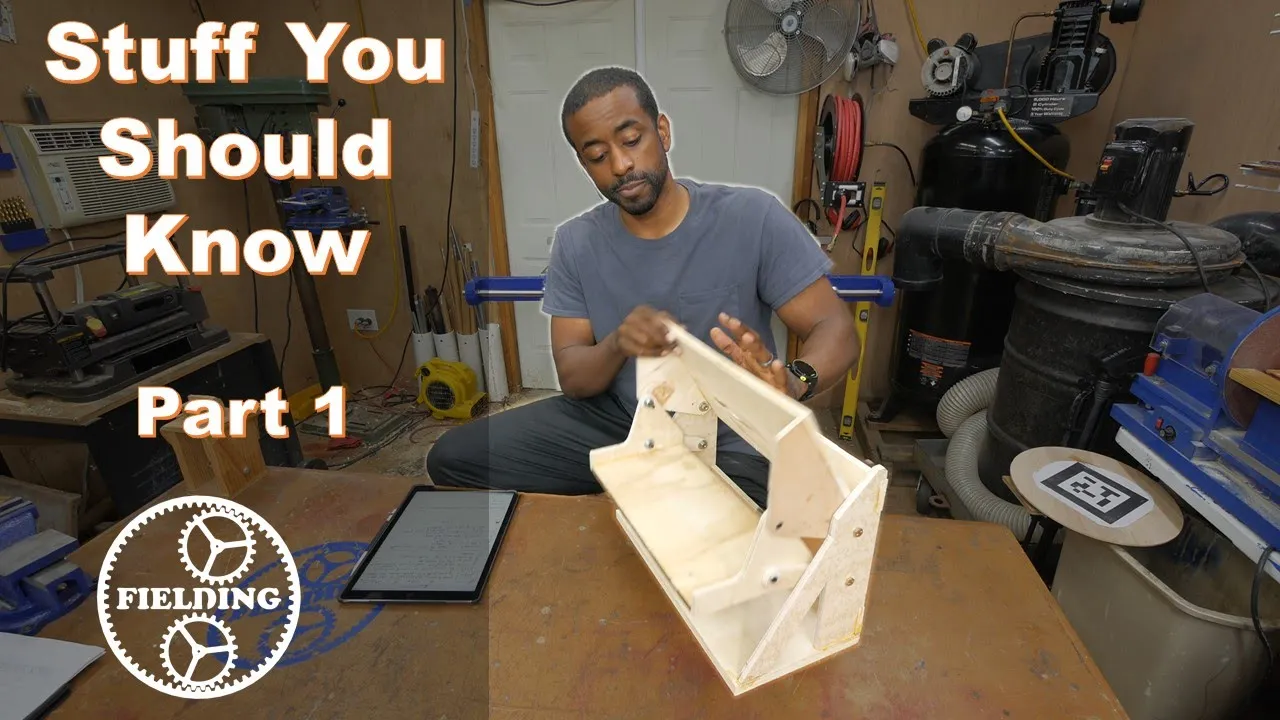
hi Derby students I'm mr. Liggett and this is the cardboard bridge testing fixture all right so this testing fixture we just we're gonna build this testing fixture with you today this fixture is something that we are going to put at the school for students to use but this is something that if you want to build one yourself this is how you can do it we made this with one 2x4 and 16 screws it costs us less than $10 to make and we're going to show you step-by-step how to do this the way this is built is we have two long pieces on each side and they are screwed into two l-shaped pieces these l-shaped pieces this piece is laid on the flat this piece right here is laid vertically the screw goes into this face right here same thing on the other side screw goes into this face so we have two identical pieces and then these two pieces sandwich it all together the materials we use were one two by four one hand saw and if you have it a powered one speed square a pencil a measuring tape 16 two inch screws a 1/8 inch drill bit a cordless drill a drill bit matching the screws and one impact through we're gonna build four nine inch pieces and two twenty nine and a half inch pieces so this is my son he's in sixth grade this is a project that students from sixth grade to eighth grade should be able to do with supervision of their parents so so we're gonna do this together this is something that we're hoping that you and your your parents will be able to do as a project together and it might be kind of fun and there are some tools that are required to build this you will need one 2x4 and a handful of screws to do this but we're going to show you how to do this so Stevie we're gonna be building this piece first so how long is that piece 9 inches long okay so you're going to need a tape measure and let's bring this down alright go ahead and measure it now you're going to want to use either a pencil or a marker to mark onto the board and then if you have one it's nice to use a triangle or a square - to mark a straight line yeah this is going to help you cut a straight line when you're cutting the cord now you might have a power saw that you might have that access to we have one foot we also have this handsaw so we're going to use this hands off make sure you're wearing your safety glasses well you do this now the way to do the first cut is put blade of your saw all the way back on to the line and so what does that do so you have a little indent right at the mark then you can take that indent and start cutting away now that indent when you pull it back pulling doesn't cut it hold on for one second pulling the blade does not really cut anything it will remove a little bit of material but what that does is it makes just a small indent so that your blade isn't going to move on you when you press that's when the blade cuts now you don't want to put too much pressure on the blade when you're cutting you want the weight of the blade sort of carry it through if you feel that you're getting caught and the blades not moving you're probably pressing too hard alright so for now I'm hold the board for him so that he is able to cut it as you get further through the board you're gonna find that you're getting into a very thin piece of board at the bottom you might tilt your blade up so you're cutting across that's in part and it'll cut faster go ahead and sure alright excellent so this is one this is one nine inch piece you need for total of nine inch pieces so we're going to go ahead and cut those we have four nine inch blocks now we're heading onto the 29 inch so yes we have two blocks that are 22 nine and a half inch long so we're going to go ahead and make those okay so we have one twenty nine and a half inch piece and the last piece is a little bit longer so we're gonna cut that last a little bit off there I like to use the factory end so this end right here is the factory end so I'm gonna flip it over we're gonna measure twenty nine and a half inches go ahead and mark it okay we're going to use the triangle to make a straight line and then we're gonna cut this and then our ally then our boards will be finished all of our boards will be cut all right all right so you should have to twenty nine and a half inches long and four that are 9 inches long so next next thing we need to do is we need to put these together but this step is optional there are some holes that we can drill into this a good size would be an eighth inch or smaller than an eighth inch so we're gonna go ahead and drill those into these there are two holes face of this all right in 3/4 of an inch down we have our arms these pilot holes are going to help guide the screws when we're actually going to put them in look at the dimensions to see how they're placed okay so now we're going to go ahead and drill those in the two on the front drill all the way through so you're going to want to get something a piece of scrap wood that you can drill into so you don't drill into your families so we have all four of the nine inch blocks and ready to go now we have twenty nine and a half inch blocks these have three holes in each end these holes go all the way through the board so this is what one end will look like the distance from the end of your board to this is two and three sixteenths the distance from the ends of your board and this mark is going to be eleven sixteenths now the real goal here is that you want this block the inside of this block the inside of the block down here to be sixty centimeters apart which is it's twenty three and five-eighths sixty centimeters and twenty three and five-eighths are about the same so so that's our real goal so I might make adjustments here when we're actually building this but this is really close all right so all right so we have everything drilled now we have our two long pieces which we're going to set aside for now and we have four nine inch pieces come on over now or two of them we have some in the faces like that what's going to happen is there's going to these two pieces are going to be drilled together like this so that this the top of this and the top of this are flush okay and there's gonna be a screw that goes in this face that connects this to it now you can use screws you can use nails if you don't have a drill it's no big deal you can use it like a screwdriver to screw the screws in alright it takes a little more time a little more effort but it's possible we are going to be using drill and we had some deck screws left over some two inch long deck screws however any screws or any nails will work for this as long as they're at least two inches so so what I'm going to do for this is I'm gonna set you up this is gonna go into that and I'm gonna set a second block underneath this just to keep it vertical okay so our goal here is that we want the top of this and the top of this perfectly aligned and the ends to be just right okay so here is screw and here is the impact okay so right here we have one of the l-shaped pieces the bridge is actually going to sit on top of this when we're finished okay this all lined up we have our two end pieces these are the pieces that our bridge is going to sit on top if your bridge goes beneath the surface of the top the inside of your bridge will be up against this portion as well then we're gonna take these two longer pieces and they are going to sit like this okay now the ends of these will actually hang past this board okay this this was so we could make sure we have we can do all of this with a single two by four so we're going to do Stevie like that we're going to line this up just like so okay so that's our first side very strong we're gonna flip this over and we're gonna put this side on next so the most critical part of this whole build is right now this is the top of our bridge picture the bridge is going to sit in here very important that this piece and the inside of this piece are sixty centimeters apart so what we're going to do is we're going to make a special mark we're gonna take our ruler measuring tape we're going to measure twenty three and five-eighths so twenty three and five-eighths is no it's past twenty three and a half it's two marks past twenty three and a half right there see that so what we're going to do is we're going to take our triangle we're gonna draw a straight line there we're gonna use that as a guide I'll have you do the other side [Music] twenty three and five-eighths two marks past twenty three now okay go ahead and use your triangle to draw a nice straight line okay so now that we have this mark in place when we place this in here we're going to want the inside face of this piece to line up with that line okay that's the most important part right there so point two and we want to make sure that the L the top is in the right direction so these are both lined up just said okay so let's go ahead and set it down get it lined up and then I'm gonna have you drill in that side so you want twenty three and five-eighths that looks like twenty three and five-eighths to me and this side also looks like twenty three and five-eighths alright so we have one more screw to put in right there yeah that one all the way okay this is a finished bridge fixture you're going to set your bridge inside of this or on top of this and we're going to be setting things on it you might be able to stand on if you build your bridge strong enough you might be able to stand on it that's the goal so all right thank you very much [Music]
Up Next

42:21
Coral Reef Crisis: OSU Science Panel on Bleaching Solutions
@MACO_OSU
102 views•2019-06-14

12:54
Triumph of Orthodoxy Icon: Byzantine Art & History Explained
@BenCallan
2.1K views•2024-08-06

9:49
FastAPI vs Flask vs Django: Choosing the Right Python Web Framework
@TechWithTim
302.5K views•2024-05-26

1:42
Game of Thrones Opening Credits: A Cinematic Analysis
@gameofthrones
46.3M views•2011-04-18
Related Study Plans & Knowledge Roadmaps
Structured learning paths in General & Interdisciplinary Studies
general-studies
Elevator Engineering: History, Physics & Cities
01From Hoists to Safety Brakes: The Dawn of Vertical Lift
02Hydraulic vs. Traction: The Engineering Physics of Elevators
03Modern Speed, Safety, and Algorithms
+ 2 more learning modules
12h5 modules
Explore Roadmap
general-studies
Rubber: Material Science, History & Geopolitics
01Origins of Natural Rubber & Mesoamerican History
02The Chemistry of Natural Rubber & Vulcanization
03The Geopolitics of the Rubber Boom & Colonization
+ 2 more learning modules
12h5 modules
Explore Roadmap
general-studies
Containerization: Evolution, Logistics & Trade
01Ancient Trade & Bulk Cargo: Amphorae to Barrels
02The Industrial Revolution & Cardboard Packaging
03The Containerization Revolution: Malcom McLean
+ 2 more learning modules
12h5 modules
Explore Roadmap
general-studies
Textile Tech: Evolution, Labor & Global Impact
01Pre-Industrial Textiles: Handloom & Cottage Industry
02Mechanization: The Spinning Jenny to the Power Loom
03The Factory System & Global Labor Transformation
+ 2 more learning modules
10h5 modules
Explore Roadmap