
![#2 Instrucciones Básica [ pinMode, digitalWrite, delay ] - Curso Arduino 💻](https://i.ytimg.com/vi/dwet3or5rmQ/maxresdefault.jpg)













![[자동제어] PID제어](https://i.ytimg.com/vi_webp/Z09AOt0AoOc/maxresdefault.webp)




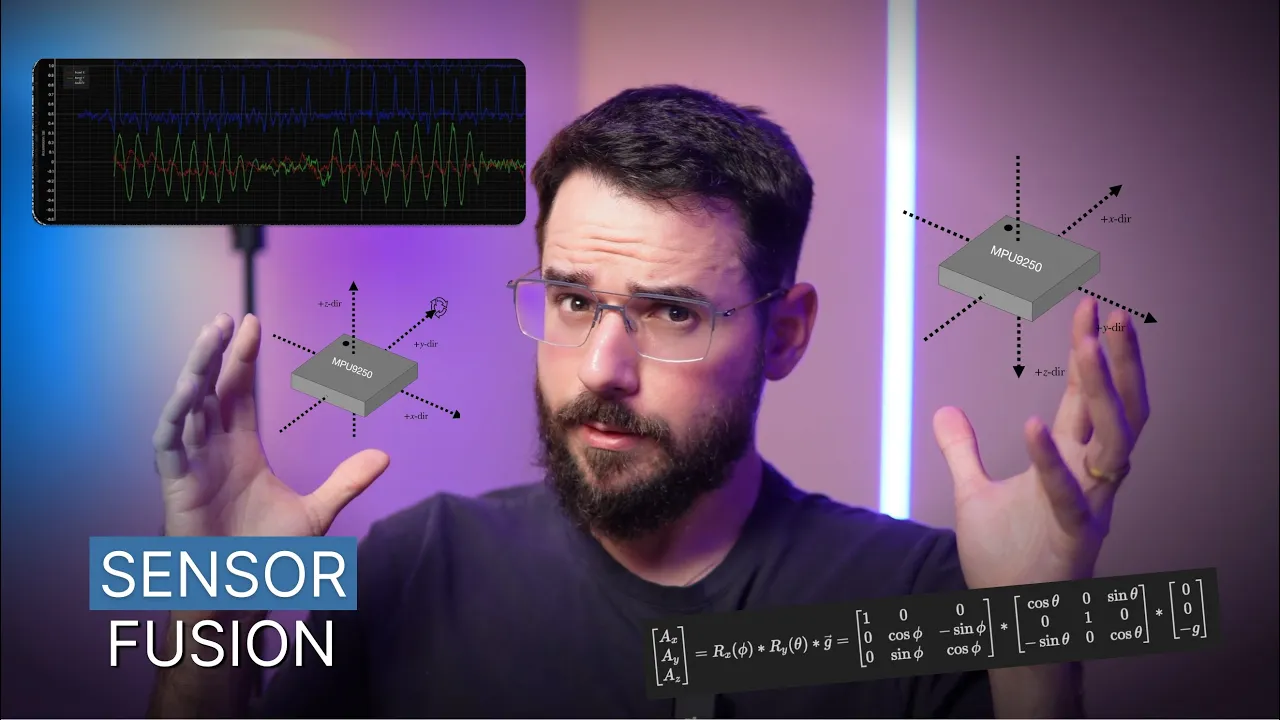

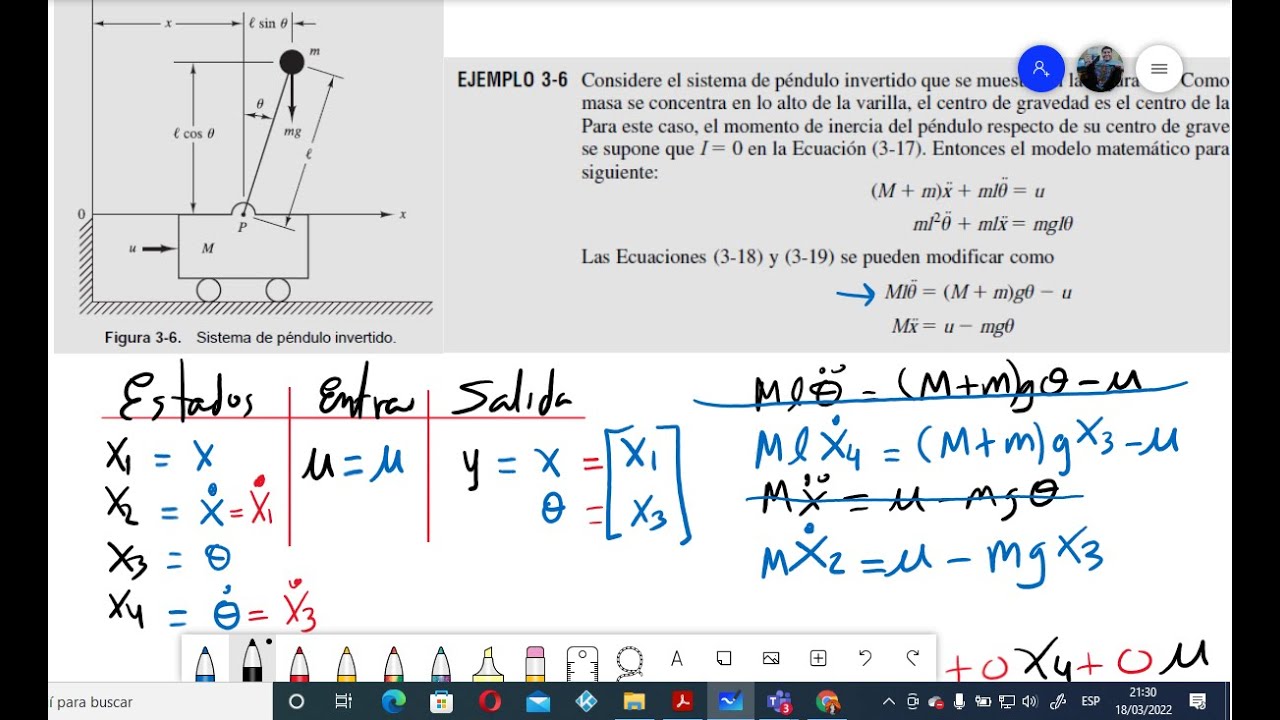




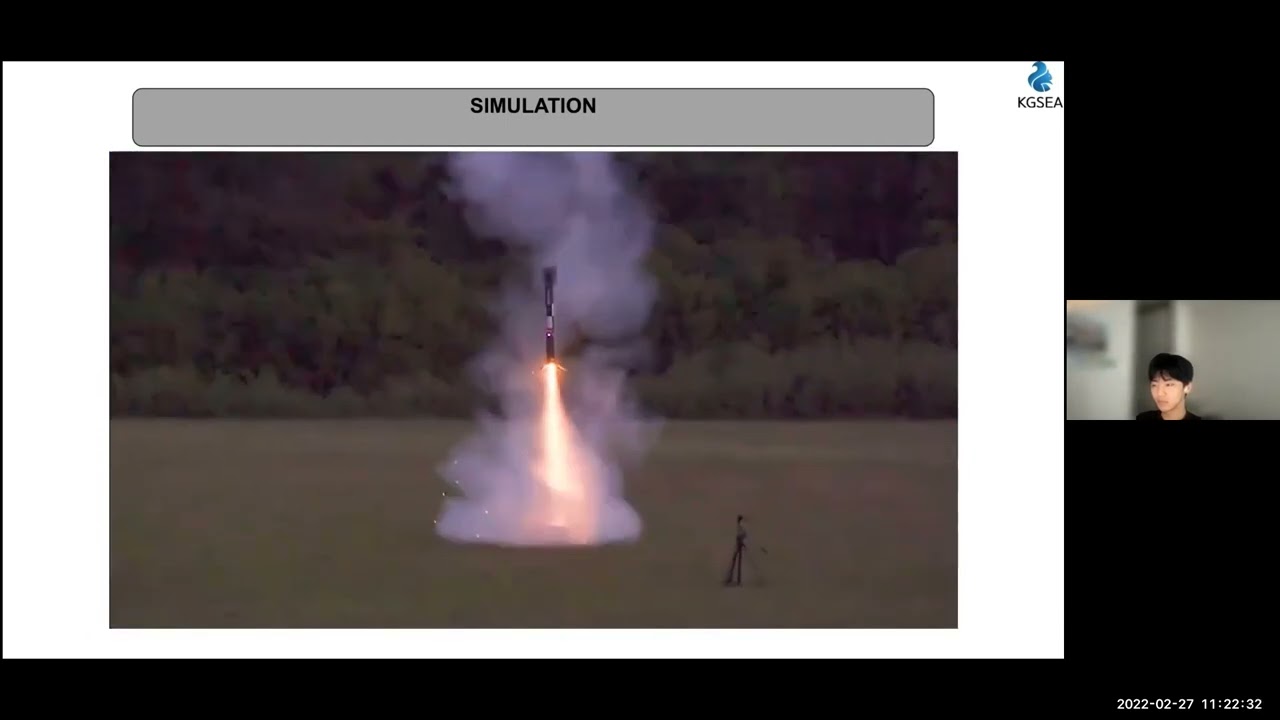







A self-balancing robot can be constructed using an Arduino Uno, L298N motor driver, MPU 6050 accelerometer/gyroscope sensor, and geared motors, where the robot maintains its upright position through feedback control by continuously measuring its tilt angle and adjusting motor speeds accordingly; key considerations include positioning the battery at the lowest point to lower the center of gravity for better stability, calibrating the set-point angle in the code to match the robot's physical characteristics, and adjusting PID control parameters (particularly the proportional gain) to achieve smooth and stable balancing behavior.
Self-Balancing Robot with Arduino and MPU-6050: Full Tutorial
Added:Basic Arduino programming and electronic circuit prototyping, including how to interface with microcontrollers.
Fundamental concept of Pulse Width Modulation (PWM) and how to control DC motors using H-bridge motor drivers.
Working principles of Inertial Measurement Units (IMUs), specifically how accelerometers and gyroscopes measure orientation and angular velocity.
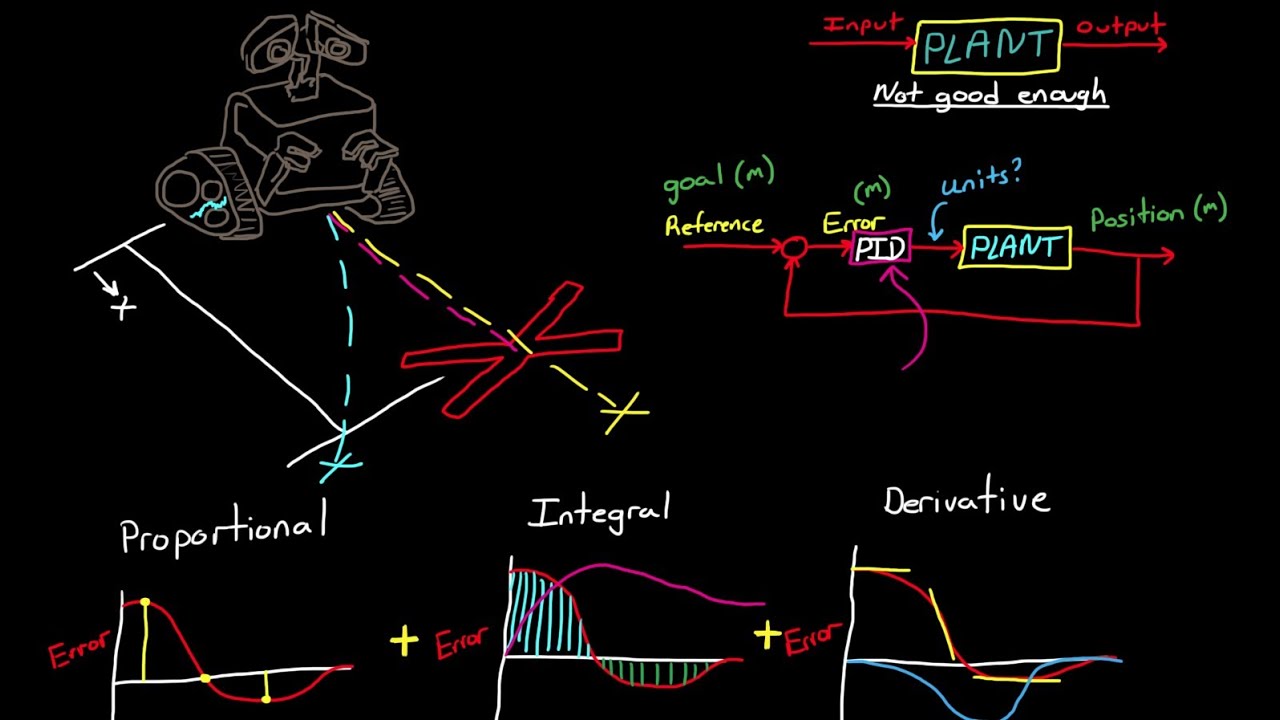
Introduction to feedback control systems, particularly the theoretical concept of Proportional-Integral-Derivative (PID) controllers.
Implementation of sensor fusion algorithms, such as Complementary Filters or Kalman Filters, to obtain noise-free orientation data.
Mathematical modeling of the inverted pendulum system using physics equations (e.g., Lagrangian mechanics) to derive state-space representations.
Exploration of advanced control strategies beyond PID, such as Linear Quadratic Regulator (LQR) or Model Predictive Control (MPC).
Integrating localization and navigation sensors (like encoders and LiDAR) for autonomous path planning and obstacle avoidance on the self-balancing platform.
77.9K views1.5Klikes7:07Original Release: 2024-06-30
Hello friends welcome to another episode of science for you today we will learn how to make a self-balancing robot the robot balances on its own on two wheels and prevents itself from falling down in this project we are using only cheap Bo toy geared motors which is easily available this is in fact a challenging project to make right in the first attempt so I will explain what are the precautions you have to take for the project to work nicely also I am giving a very simple code for this self-balancing robot I will also explain about the settings that we have to change in the code for making this project work so if you like my projects please subscribe to my channel you can also ask any doubts regarding the project in the comments section which I will clarify immediately now let us learn how to make the self-balancing robot for making this project first I 3D printed the required [Music] parts next step was to glue all the parts together to make the frame next we have to attach the gear Motors on both sides as shown I used M3 bolts and nuts to attach the motors to the [Music] frame connect Wheels to both [Music] Motors glue the battery pack in the lower compartment this is also a very important thing to note try to fix the battery at the lowermost point to lower the center of gravity and thus make the balancing robot more stable next take the l298 10 motor driver board and connect the [Music] motors connect the positive wire from the battery pack to 12vt pin of motor driver board and negative wire from Battery to ground pin of motor driver board connect the jumper wire also along with it so that it can be further used for powering the ardino glue the motor driver board in place in the second compartment take the Rino youo and fix that also near the motor driver board connect the extension jumper wires from the 12vt and ground pins of motor driver board board to VN and ground pins of R Dino for powering it take four jumper wires and connect the in1 in2 in in3 and in4 pins of motor driver board to pin number 765 and four of [Music] ardino take another two jumper wires and connect the ENA and DNB pins of motor driver board to pin numbers 11 and 10 of ardino now take the mpu6050 sensor and connect the VCC pin to 5vt pin of ardino ground pin of sensor to ground pin of ardino SD a pin of sensor to analog input four of ardino and SC pin of sensor to analog input pin five of ardino I took a small piece of wood and glued to the mpu6050 sensor and then Glu the sensor to the bottom of the top plate to make it perfectly horizontal try to glue the mpu6050 sensor almost at the middle of the top plate and also nicely aligned and parallel to the plate now we also have to connect the interrupt pin of mpu6050 sensor to pin number two of Rino the connections are all complete next step is to install libraries for the code to work copy the four folders to the library's folder of ardino these folders can be downloaded from the link given in the description now open the code in the ardino software in the code we will have to change some important parameters for the balancing robot to work properly first we have to change the original set point angle this is the angle at which the balancing robot is exactly vertical and balances perfectly you will have to definitely change this value suiting to your robot you can try changing the angle set several times and upload a code to see if it is balancing in the vertical condition only the next settings are the constants for p control varying these numbers changes the sensitivity of the movement of the motors for balancing I did not change these values you can slightly change these values and try if it is improving the balancing of the robot next settings that you have to change are the motor speed factors changing these values will make the motors slower or faster for balancing the robot if you find that the motors are moving very fast for balancing you can try reducing this value in other way also then lastly in this section you have to give the correct PIN numbers in ardino to which the motor driver board enable and input pins are connected those are the only settings we have to change in the code now you can connect the robot to laptop or PC and upload the code the link to down download the code is given in the [Music] description after uploading the code just switch on the battery and keep it gently in the vertical [Music] orientation you can see that it is balancing itself and preventing from falling [Music] down I tried balancing different objects with the robot and it is working nicely [Music] it is working extremely well it is very stable and balancing itself for a long time without falling [Music] down hope you all like this video please subscribe to watch more interesting projects in the future thank you
Up Next

14:57
Rebuilding a Balancing Robot with Position and Velocity Control
@jamesbruton
171.9K views•2022-04-26

58:25
MathWorks Virtual RoboSub Simulation Environment | Webinar 2026
@RoboNationInc
209 views•2026-03-10

11:04
How to Build a Self-Balancing Robot: Arduino Nano & MPU6050
@easytechzones
16.8K views•2022-03-09

25:22
Micromouse: The Fastest Maze-Solving Robots on Earth
@veritasium
23.5M views•2023-05-24
Related Study Plans & Knowledge Roadmaps
Structured learning paths in Robotics
robotics
Building Delta Robots: Kinematics & Pico
01Foundations of Delta Robots & Mechanical Design
02Electronics and Microcontroller Setup with Pi Pico
03Delta Robot Kinematics and Coordinate Math
+ 3 more learning modules
65h6 modules
Explore Roadmap
robotics
Building Ballbots: Dynamics, Kalman & LQR
01Embedded Electronics & Omniwheel Actuation
02Ballbot Kinematics & Rigid Body Dynamics
03IMU Sensors & Kalman Filter State Estimation
+ 2 more learning modules
42h5 modules
Explore Roadmap
robotics
Micromouse: Hardware, PID Control & Flood-Fill
01Electronics & Teensy Microcontroller Basics
02Sensors and Actuators: Motors, Encoders & IR
03Precision Movement: Implementing PID Control
+ 2 more learning modules
35h5 modules
Explore Roadmap
robotics
CDPR: Kinematics, Arduino & Winch Control
01Foundations of Arduino & Basic Electronics
02Stepper Motors and Winch Mechanics
03Kinematics of 2D Cable-Driven Robots
+ 2 more learning modules
28h5 modules
Explore Roadmap