![[Bài 18] Cơ số hai và các phép toán với bit | Bitwise](https://i.ytimg.com/vi/OamZoI-2g1g/maxresdefault.jpg)









![Quello che NESSUNO ti ha MAI spiegato in #POKEMON - MEW GLITCH [Perché c***o funziona? - Ep. 1]](https://i.ytimg.com/vi_webp/p9JPXR-ZUtA/maxresdefault.webp)

![[ أصول البرمجة ] 1- شرح الذاكرة ( RAM ) والمؤشرات ( Pointers )](https://i.ytimg.com/vi_webp/As0e5-oi8lo/maxresdefault.webp)

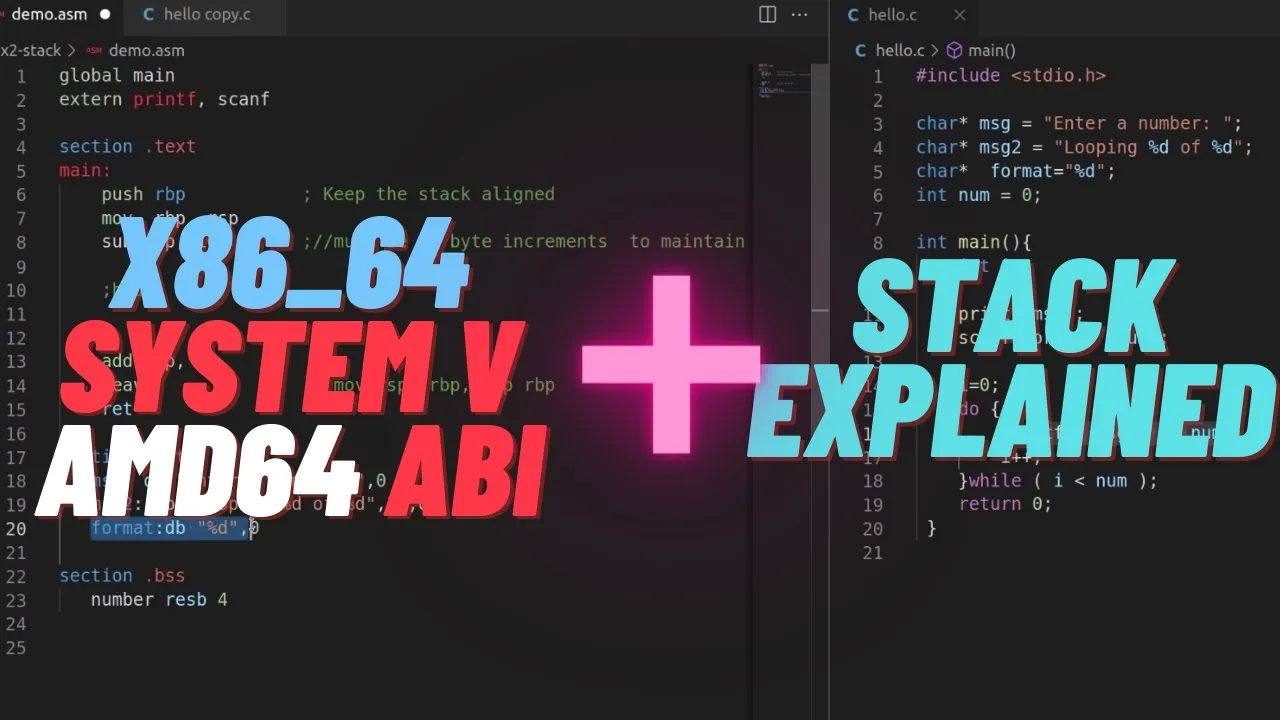

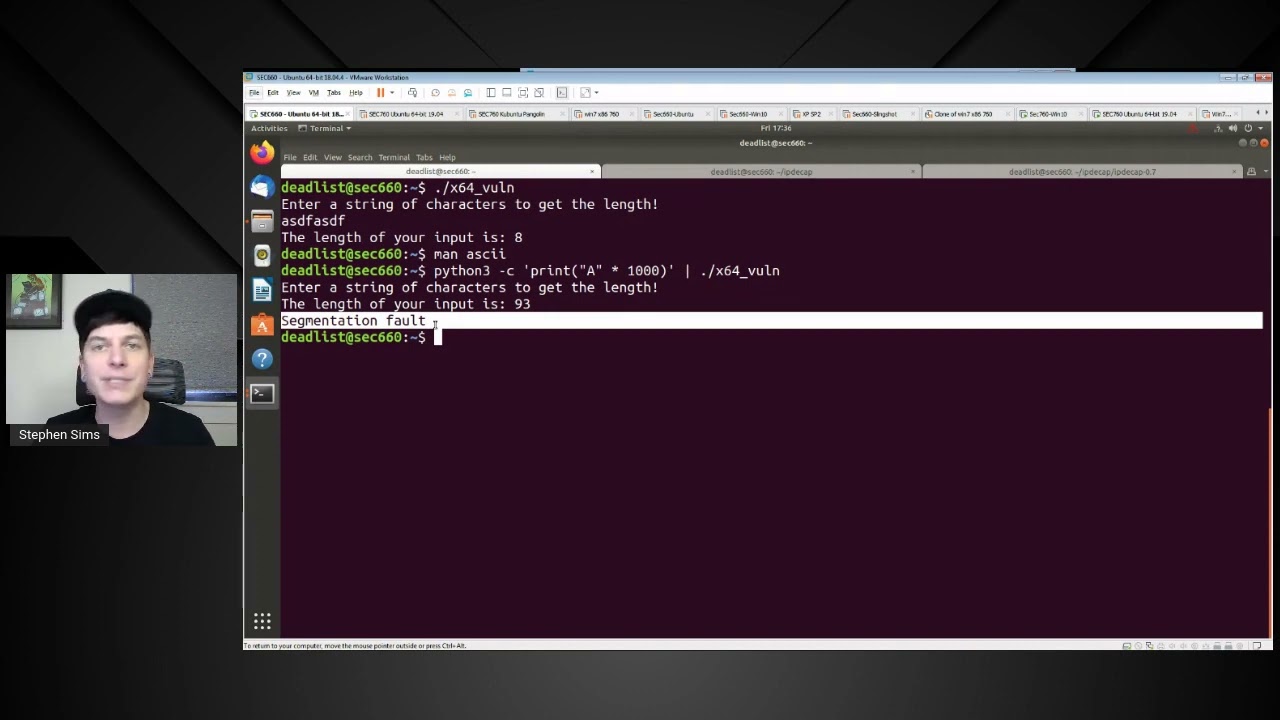


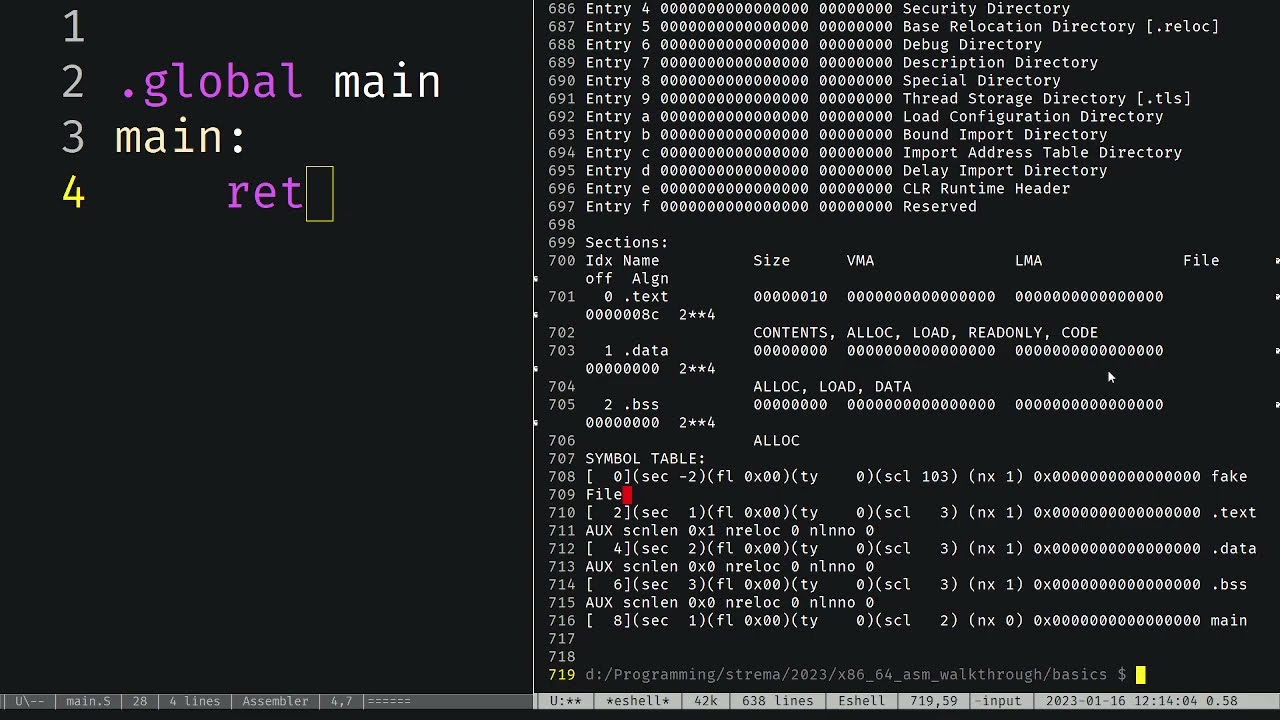


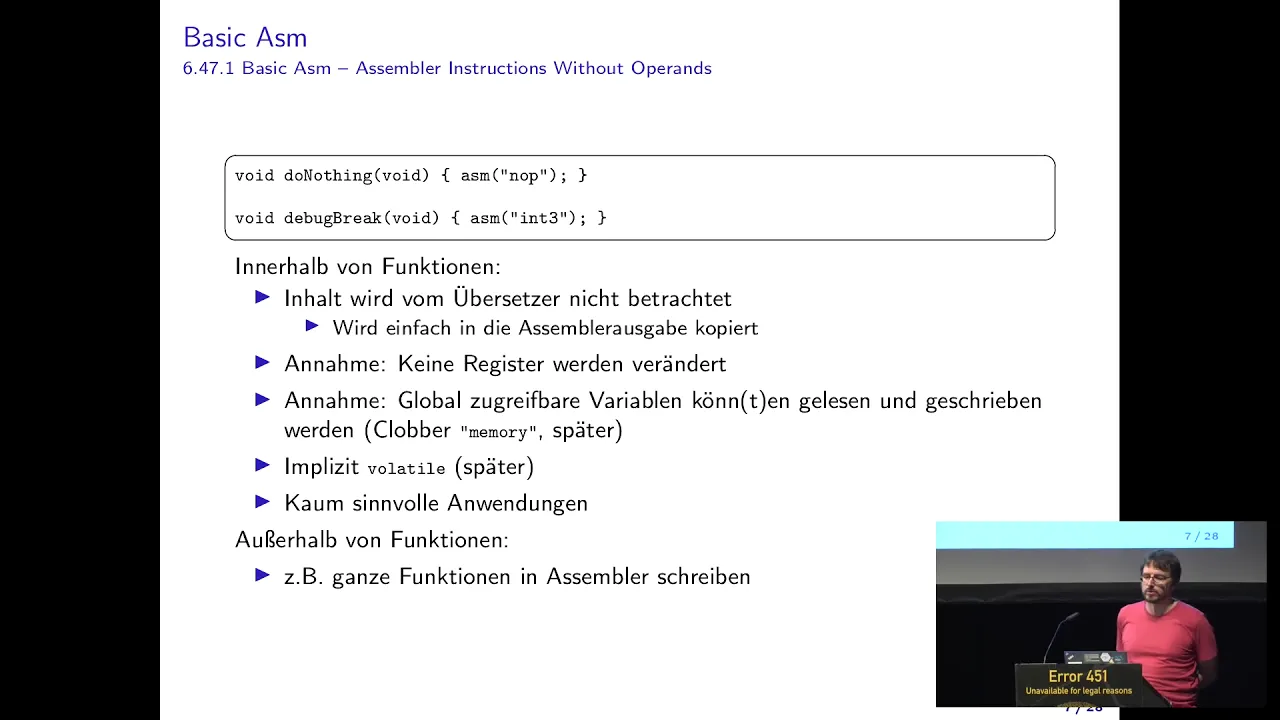










This tutorial introduces x86 assembly language fundamentals for beginners, covering key concepts including CPU registers (EAX for return values, ECX for loop counters, ESP for stack pointer), basic arithmetic instructions (ADD, SUB, MUL, DIV), stack operations (PUSH, POP), labels for memory addressing, conditional jumps using CMP and flags, and loop implementation. The instructor demonstrates practical examples using Visual Studio with MASM assembler, showing how to set up the development environment, write simple programs, debug register values, and understand how assembly serves as a human-readable form of machine code essential for malware analysis and reverse engineering.
x86 Assembly Programming Tutorial for Beginners: Registers, Stack, and Control Flow
Added:Understanding of binary, hexadecimal number systems, and basic bitwise operations.
Basic knowledge of computer architecture, specifically the CPU, registers, and the fetch-decode-execute cycle.
Familiarity with fundamental programming concepts such as variables, loops, and conditional logic in a high-level language like C.
A conceptual understanding of computer memory (RAM) and how data is stored at specific memory addresses.
Study of assembly calling conventions (such as cdecl or fastcall) and how function stack frames are constructed and torn down.
Interfacing assembly code with high-level languages like C/C++ through inline assembly or external linking.
Introduction to reverse engineering and disassembling compiled binaries using tools like GDB, Ghidra, or x64dbg.
Learning how to perform system calls (syscalls) to interact directly with the operating system kernel for I/O operations.
Exploring security concepts such as buffer overflow vulnerabilities and shellcode development.
10.5K views452likes46:25Original Release: 2024-05-19
so I've recently started learning assembly a low-level programming language basically a human readable form of ones and zeros it's super important for malware analysts because with a program called disassembler you can turn any executable any binary into an assembly code and if you know how to read an assembly code then anything is open source to you but it's not all that beautiful assembly can be and is extremely confusing but don't worry in today's video I'm going to give you something foundations and explain some Basics so that you can smoothly start your assembly journey and one more thing before we start if you want to see more hacking and cyber security related stuff check out my Twitter Link in the description and without further Ado let's jump into the registers registers are fast and small storage locations directly within the CPU used to store data that is immediately needed during processing of course amount and types of registers vary among CPUs but in today's video we're going to Focus solely on Intel's x86 architecture the first register I want to show you is called eax it is used to store a return value of a function that's its primary purpose and it is 32 bit long as all the registers in x86 architecture are of course and as you can see there is a way to access a specific parts of each register the naming convention is the same among all of them but I'm just showing it on eax uh example if you remove the e at the beginning and refer in your code just to ax you will be referring to the lower 16 bits of eax and if you go even deeper and refer to Al in your code you will be referring to the lowest 8bit and of course ah is the uh like higher 8bit of ax so it's just a way you know to access certain parts of registers and it may come very handy okay but how do you actually write a value to a register well you do it with move instruction as you can see this syntax is fairly simple first comes the instruction name always this is a convention assembly first thing is the instruction name then there is a destination which is eax in our case of course and then there is a source which can be a value it can be uh another register cuz you can move values from registers to registers it can be uh anything else but right now this is like a value five and this is uh the same as for example eax equals 5 so uh this of course a very simple example you will see a lot more in this video uh but for now I just want you to understand how this syntax work and just you know sort of uh know that this is basically ax equals 5 different registers can have different purposes as I mentioned before eax is used to store a return value of a function ECX is often used as a loop counter ESP is a stock pointer register it basically points to the top of the stock and if you don't know what the stock is don't worry it will be covered later in this video but the idea is that uh you have to learn these purposes and on the screen right now you see a list it's not very big so pause and read through it it's a part of uh assembly cheat sheet it is linked down in the description of this video so you're welcome to download it it's not mine I found it on the internet but it is like open source and for everyone to use so uh I'm sharing it so let me show you how it works in practice uh we have a completely new project in visual studio uh let's right click here on the project and go to build dependencies build customization and select massim here click okay and let me create create a new file let's call it main do ASM and again right click on the file properties and choose item type Microsoft Macro assembler here apply and okay we start by specifying the architecture like this model flat and do code to open a code section inside this code section uh we will write our assembly code we start start by uh creating a procedure we call the procedure main procedures are like functions in high level programming language like like in C you see you have a main function here we have a main procedure so let's do uh first thing uh let's move to eax uh a value of five for example move okay and now uh let's use use the add uh instruction to add eax 8 and now uh as the last thing uh let's move uh the eax value to ebx register like this so you can uh so we can do some uh basic arithmetics and uh so you can see how this move instruction really works and we end the procedure by uh specifying the procedure name and P and as we finish the function also don't forget the red instruction at the end of each procedure and here you type end main like this and it should work let me uh fire up a debugger here a breakpoint here and make sure you have x86 specified on the top and let's compile it all right last thing we want to see the register values like this so let me step over as you can see eax is now five we moved a value five to eax now let's add eight here you can see D which is uh 13 in hexadecimal uh okay next we want to move this value so the D value to ebx so watch how ebx changes we have D so we have the same uh registers and then we return and nothing we don't really catch the return anything anywhere so it will uh throw an error here but basically uh you can see how this add and move instruction work uh let me also maybe modify it here let's go with uh substract ebx uh um seven for example whatever just to show another uh arithmetics uh instruction so uh let's debug debug window registry uh registers okay so again move five here add eight move eight uh move uh D here and substract seven and we have six uh so that's how the move instruction work and let's move on to the next topic let's try some multiplication uh this instruction is a little different uh let me delete this so we have eax and if we let's say move ebx 8 okay and then type mole ebx uh then it means that ebx will be multiplied by eax basically uh the parameter that you specified here will be multiplied but by whatever value is in eax register and the product will be saved in edx and eax in both registers at once and uh why is that because the value the product of multiplication can be significantly bigger than uh the operan so uh you basically need to save some space uh and I will show you how it works so of course uh let's open up a let's fire up a debugger with the correct window like this so we move five to eax we move eight to ebx and you can see that after executing Mo we have into in eax uh the 28 in heximal in heximal of course and edx changed to all zeros that's why that's because the edx uh was reserved uh for the extend if if there is a CA if there's a need to extend the eax it can always be done here and notice that uh after whatever we multiply let's like change the values a little bit whatever we multiply edx is always changing after the multiplication instruction Let's test it again as you can see uh whatever changes it's highlighted in red color all right so DX also changed and but there are all zeros so we need to like make those a little bigger like this maybe so that we exceed the size of 32 bit of one register uh let's try this okay still too little vales maybe like this okay wait I forgot the register window okay and now you can see that uh there was not enough space in eax only so edx helped with uh add by adding additional space and the same principle is used in division uh let me show you we do it like this first you want to add the first you want to modify the value in ebx uh let's uh put 10,000 Here and Now using the div instruction with ebx parameter we basically say that divide whatever is in edx and eax combined by the value in ebx we know that in edx and DX is now uh the value of 10,000 times whatever is here 8 million so now we will uh hopefully have in edx and eex we will have the value of 8 million right because this divided by this will give us this uh so let me fire up a debugger and registers okay uh multiplication goes here we are moving 10,000 here and the division here as you can see those registers were modified indeed let's copy the value of eax and I have a converter somewhere here hexad decimal value is this and we should get 8 million 8 and 6 zeros so everything is working fine so that's how you do a division okay so for this section in the video I want to show two more instructions shift left and shift right they are used to operate on uh bits so uh shift left you just it just shifts all the bits to the left by a specified value so if you have 0 01 uh and shift left one you will have 0 1 0o uh but let me demonstrate it let's move uh zero to ex like this now uh or maybe no let's move 0o one 2 three four five six seven like this in binary and now if you shift left uh if you shift left by one like this it's not going to be very visible in this debugger CU it's an extremely small value it's uh it's one bite in 4 byte register so wait uh debug Windows registry okay as you can see uh this got changed to 7f okay and this uh this is let me go to the converter it's going to be uh better visualize so we go from binary to decimal first it is 127 as you can see and uh this registers this register holds exactly the same value but in HEX decimal 127 now if you shift left by one let's execute this operation we should have completely different value which is 254 and if you think about it if you go to Binary again and we typed 0 1 2 3 4 5 6 7 right it was 126 if you move one bit left and one and zero to on the right cuz uh the shift instruction goes to the side and append zero on the other side I hope you understand it so if you go to to the left we move all the value to the left and add zero on the right so it's 1 2 3 4 5 6 7 8 and if we convert it to 54 and let's do the same but with shift right so if we go shr for shift right uh let me compile it one more time and let's open up registry registers window all right we have the same value 127 and if we shift right we have a different value let's copy it uh to hexa decimal we have 63 and if you look at the decimal one more time we started with 0 1 2 3 4 5 6 7 what we do is shift right by one so we add a zero to the beginning basically and with convert we get 63 now when you have an idea of how basic instructions work let me introduce you to the stock the stack is a data structure that follows last in first out principle think about it like a stack of plates you can only put a plate on top of this stock and you can only remove a plate from the top and your CPU does exactly that with push and Pop instructions you use push instruction to push a value onto the top of the stock and you use pop instruction to remove a value from the top of the stock let me show you an example let's look at this representation of memory we have rows each one is four bytes each each has its own address and we have the ESP register that is pointing to the top of the stock now if we want to push a value four we execute this instruction and we have a value four in our stock now as you can see ESP moved ESP is again pointing to the top of the stock value four is in it and with each next push instruction ESP will be uh moving again to the top to the top to the top why this is so important well if we want to pop a value from the stack if want to remove it from the stock we need to know which one is at the top and ESP tells us exactly this so we use pop instruction and the uh the value that we specify with pop so we we say pop and something this is the destination to where we will save the value from register uh from the stock sorry and uh we want to save it in ebx so let's execute it as you can see ebx is now equal to 20 and ESP the stock pointer was um was again moved to the top of the stock now uh what you can see is that the value 20 remains it remains on the stock it is not deleted but uh it it doesn't remain on the stock it remains in memory but the stock is actually not there anymore the top of the stock is where ESP points to so 20 the value 20 is out of the stock it is now in the ebx register and if we want to pop ECX so we want to pop another value from the top of the stock to ECX we will see this we see that uh oh sorry there's a mistake here there should be uh there should be ECX not ebx uh but as you can see E points to the top of the stock again and these vales values are are in memory cuz no one deleted them but they are not on the stock anymore so it's very important that you understand this convention of pushing and popping and how this works because uh all functions base on the stock uh if you have function arguments they are on the stock local variables are on the stock so this is important that you understand the concept of a stack and of course it will be much easier to see it in action so let me show you okay so we have a clean procedure here and let's start writing some code so whenever you work with a stock you need to write something called stock prologue it looks like this you push EBP and move EBP ESP what does it do first instruction pushes the value from EBP to the stock second instruction moves the value from ESP to EBP or maybe copies the value from ESP to EBP so that they point to the same location right now ESP is a stack pointer as I said sorry EBP is a stack base pointer it always points to the base of the stock it will allow in the more advanced functions which we won't be dealing in this video it will allow for accessing some variables some parameters uh so this is important and at the end of each function you should always write an epilog which is pop EBP and return uh like this and whatever you do with this stack you do uh you do in the middle here uh okay so let me actually demonstrate the push and Pop instructions let's move eax 5 let's say let me push the eax value to the stack and maybe now we can pop the value uh from the stack to ebx and uh this will basically move the value five to the ebx let's uh let's run the debugger registers all right so first we do the prologue we move the value five here we push it to this as you can see the stack pointer changed it is red it changed with this push value and we pop ebx what will it do well it would change the stock pointer and ebx is now five that's so everything works now we pop EBP and return and we finish our uh program so that's how the uh that's how the stru stack structure works that's how those push and pop instruction works is a fairly simple concept but it can take some time to understand and get a hand of now some of you may ask do we have variables in assembly and yes we do have they are called labels uh you will see that later in this video uh labels are referred to both variables and markers in the code uh because they are used basically to Mark a certain location a certain address so if I use uh value which is the label name DW which is a type and then five uh value label will hold an address of a value five somewhere in the memory let me show you okay so let's create a label we do it int data section let's name it value of type dword and uh number five like this so now if we move eax Val we will get let's see uh we will get five in the ax as expected now let's try to get an address of this uh of this uh variable that of this label we do it with Leah instruction load effective address and let's let's check this out let's see what's going to happen if we run the debugger one more time okay now if we step over you can see that instead of a five we get this uh value of e and this is an address in memory where this value five uh resides now what can we do with this address Let's see we can for example move this address to ebx right uh so let's check what's going to happen if we move the address to ebx ebx is here so first step over you see there is this address and step over the same address here as expected nothing nothing new nothing interesting here right now what if we want to cuz now we now we know how from the value we came to the address with the instruction but what if we want to get a value that is under this address well let's try it move ECX and instead of saying eax we want to wrap eax between square brackets just like this now if you restart uh ECX is here so look closely eax ebx has the address and ECX has the actual value okay so square brackets mean that we are referring to the value under this address now let me show you uh a very simple presentation of uh how this works more in depth so here is exactly the case that we just discussed we take the value uh from the address that was specified in ebx and we put it in eax we copy to a x of course we don't delete anything but there is uh another option when e ax is wrapped inside square brackets now what happens then uh see that eax uh holds an address 0 0 0 Etc 8 and ebx is a value this value is not present here if we execute this instruction the value inside ebx will be copied to this address so eax has an address we say move eax ebx so it is like saying move the value from ebx to the address specified by eax okay so this is basically a reverse of this so I hope this is clear but labels have a much greater role they allow us to Mark specified locations inside our code they sort of work like a sign post and they help CPU with conditions and Loops for example let me show you how to build a very simple if statement in assembly let's go back to this code and modify it a little bit uh now compare instruction is for comparing two values eax and value we do it like this so we will compare the value inside eax with value uh label that we specified earlier let's move uh EAA x 6 for example and now the compare instruction works like a substraction but it doesn't save the uh the product anywhere so if we substract eax from value which is 6 minus 5 we will get one and one is not a zero so the nonzero flag will be set now we might ask what is a flag cuz I never mentioned it before well flags are these uh indicators that help operating system determine what's going on sort of they are stored in E flag register 32bit register and uh you have some of them and their purpose on the screen the zero flag that I'm talking about is the one that lets us react on the result of comparison so we can for example make use make use of a jump instruction and jump instruction let us uh move to the other part of the code that we specify so for example if we do jump greater or equal done jump if greater or equal so if eax is greater than value all right we want to jump to Greater label now greater label we can specify down below greater like this and if six is greater than value let's move ebx uh eax and uh if it's not let's move ebx value and here we uh do an unconditional jump so no matter what uh the state of whatever flag is we do make this jump to the label let's call it end and the label end will be here like this uh or maybe ending cuz just end this reserved keyword ending like this and we uh we end our program here so as you can see this uh this part of a code allows us to skip or execute this instruction in a specified case so let's run it let me make a breako here oh wait I have a error somewhere undefined symbol ending uh what do you mean oh uh ending not ending all right uh right now it's working so registers eax is going to be six value is five compare eax to value and let me uh show you the flags here compare after the compare flag you can see that zero value zero flag it's that ER but uh in the cheat sheet uh it's called ZF it was changed to zero because the result of comparison is not zero this might be confusing but zero indicates false one indicates true uh one means true zero means false so if zero flag is false this means that result of comparison is non zero okay so if uh if this is true if this uh comparison fail they are not if they are not equal now we check if uh this is greater than the value we jump to the greater we move ebx eax and we end the program all right so what if ex was four well probably and not probably but uh for sure we will not uh execute this in this jump greater equal than uh equal instruction let's see comparison like this and jump greater equal not ex wasn't executed very uh very very interesting we move value to ebx so ebx is five and we jump to ending and we skip this there are a lot of those uh jump instructions you have jump uh greater equal equal you have jump lower uh jump if less jump if less or equal you have jump uh if above or equals so this is like uh this is so the same you have uh jump if carry the carry flag is uh another flag you have all this in the chat shet uh as you can see we mostly react to this zero flag I'm sorry we mostly react to the zero flag but also there are more mostly to the carry flag and zero flag but there are a lot of those uh jump instructions I'm not going to cover all of them they all have their descriptions that are fairly easy to understand it's just this uh PR principle that we compare two values with compare instruction and we can react with jump instruction based on the result of this comparison that's the um the key the the key idea behind it that's what you need to understand so let's make it the very simple let's make a loop that will increment an eax register certain amount of times so uh let's first move eax Z and let's move ECX 5 why ECX because we want to uh let me make Loop start label like this uh and now let's compare eax to let's compare eax to five and uh increment okay and maybe like this jump equal ending uh if not then increment ax and here we want to go with Loop instruction Loop start like this and let me create this label ending here uh all right so uh what does the loop instruction do it takes ECX register and each time it is executed it makes a jump to the label and substracts one from ECX okay so uh if we now uh run this program debug Windows registers eax Z ECX 5 and we compare eax to 5 it's false so it's going to increment ax now we make uh another loop rotation we go to the beginning we decrement from ECX as you can see we again compare it's not the same we increment this we decrement this and it's going until we see that the ECX uh is five eax is five sorry and ECX is zero so the loop ends uh when ECX is zero or some other condition is met of course and we go to the end uh all right so this is like a very simple example but let me make something uh something better let's say we have an array uh of five Val is 10 20 30 0 40 and we want to check if inside this array is uh zero if it is we want to make eax equal to one let's say and if there is no zero we want e ax to equal to zero how do we do it well first let's move two values one to ebx and it's going to be an offset of value which is basically the address in memory of the first uh of the first first uh element of this array and let's move ECX length of length of value cuz as you remember ECX is going to be uh decremented over time in our Loop so we uh we need it now uh length of uh sorry no uh loop start this is our label and under this we want to compare the board pointer ebx to zero now what does this mean we need to specify inside a comparison like this what we are comparing stuff with because uh if you just pass ebx or more like the value under this address because ebx is an address right now so we want the value uh you don't pass the type it can be whatever it can be a word it can be a dword it can be a bite it can be whatever and as you remember compare the substraction and we can't really substract different types from each other uh so this dword pointer is uh important here that we know that we are comparing a dword uh yeah basically that's that's what it is for so uh if the comparison succeeds so if this is equal uh to zero if the element that we are checking right now is equal to zero we go to uh found label and if it's not we add ebx 4 why four because this is a array of type DW so each element is four bytes long so to if we have an address of the first one and we want to address the second one we need to add four bytes so we jump uh jump like this four bytes 8 bytes and like this8 bytes will be here uh all right so we add four and then we can access the next element in the next Loop of loop iteration and once we do that we Loop we Loop uh we Loop to Loop start and if uh we like uh end up uh if we finish the loop if ECX will be zero we want to unconditionally jump to not found not found like this all right sorry so uh not found we'll uh make an ex we'll execute an instruction like this and uh we going to make an ending label here for a return statement return statement for just a red instruction and here you want found label and move eax one and also unconditional jump to ending because we need to skip this remember these are just labels uh they are not uh instructions just labels so this is not going to be executed like a thing but if you forget this jump you will move from this instruction to this instruction like each instruction is executed one after another um all right so this should work already uh so let me test it compil first time this is nice uh all right so what do we have here we make a comparison of course we should get a the four iteration uh that we found it so not found Loop not found Loop not found Loop now we should find it okay we jump to found we make eax one we jump to ending and we return eax right because eax is a return return value remember it all right so perfect uh let's night let's uh now explore the scenario when there is no zero like this so open up a debugger one more time and what uh as you can see uh ECX was five now it's four cuz we uh moved one rotation but as you can see 1 2 3 4 five so this is the length of uh this array as we specified here okay so uh it wasn't f found it wasn't found it wasn't found one more iteration ECX is zero we exit the loop we execute the unconditional jump not found move eax Z eax is zero and we return the value zero because we didn't find zero inside the array and fairly simple example more complicated than the previous one but I hope uh now you understand the concept of of looping conditions and arrays uh in assembly but I'm always talking about this eax that it holds the r return value but uh I wasn't originally planning to do it but let me show you how to call functions in assembly cuz let's let's make a very simple function cuz this is pretty fun let's call it check like this it's a procedure remember in assembly you have procedures not functions to be really it's just a naming function and we end procedure check procedure with endp let's copy things from the main procedure to the check and in the main let's use uh call instruction to call check function all right and let's uh react to this value remember eax is a returned value so we want to compare against eax if ax is one we want to uh jump to for example is label and if it's not we want to jump to is not label and ending ending here like this okay uh we should probably do some like uh stuff that makes sense but uh obviously not to make this video uh any longer I will just just uh do uh I will just maybe move some value to another register I know uh so if jump not equal because this will be uh better jump not equal is not so if it is equal it will execute just the next instruction and if it's not equal if it will move here so let's now move ebx one for example and jump to ending and here let's uh move wait let's move ebx uh zero whatever you should probably do something that makes sense here but this is just to show you the call instruction so let's make a breakpoint here debugger and if we check registers you see ex is some random value and there is no zero inside this array okay so we call check function and ex is zero and now we react to eax it's zero so ebx is going to be zero if you go here and uh type zero restart debug Windows registers eex is again some random value we call check and ex is one because there is zero inside this array so we called an ex uh a function inside our main procedure uh and then we can react to the value that it returns of course uh as you know from other programming languages functions may have parameters may have local variables uh they are fairly complicated um stuff and this is a little teaser for the next video because in the next assembly video I'm going to show you how to use functions in Windows API in assembly so Windows API functions inside assembly this is uh this is going to be a part video to this one and to the windows API video that I made uh couple weeks before so definitely uh go check it out if you don't know what a Windows API is for example uh but yeah so stay tuned and uh subscribe so you don't miss it but the most important thing that you need to remember is that people learn by practice if you watch this video to the end and you think that you now know assembly uh well you don't you need a lot of practice as I do because I learned for example by explaining things to the others so I've learned a ton just by doing this video but I also wrote a lot of this code much more that you see in the video so that I can explain it to you and you should do it the same write code uh make uh your own versions of the examples that I showed you build upon them if I was checking for the zero inside the array check if there is any negative value inside this array or I don't know check for instead of for numbers check for Strings cuz you can do it too and uh so the most important thing is practice without practice uh you can do nothing pretty much so doesn't matter how many courses you watch how many hours of videos or how many books you read you need practice and with that in mind leave a like and a comment under this video so that I know if you liked it uh or not if you have any feedback or maybe you didn't like this video also tell me in the comments and see you soon [Music] [Music] [Music]
Up Next

8:01
x86 Operating Systems: BIOS Interrupt 0x10 to Print a Boot Message
@olivestemlearning
7.3K views•2023-08-27

87:26
Introduction to Secure Multiparty Computation with Yehuda Lindell
@fhe_org
7.7K views•2021-02-04

4:55
HTTP Requests Explained: GET, POST, PUT, DELETE
@codecademy
103.1K views•2021-10-07

19:25
Enigma Machine Mechanics: WWII Encryption Explained
@JaredOwen
13.2M views•2021-12-11
Related Study Plans & Knowledge Roadmaps
Structured learning paths in Computer Science
computer-science
Container Runtimes: Namespaces, Cgroups & Go
01Linux Systems & Go Programming Foundations
02The Core of Isolation: Chroot and Filesystems
03Linux Namespaces: Process Isolation
+ 3 more learning modules
32h6 modules
Explore Roadmap
computer-science
Building a CHIP-8 Emulator: Rust & CPU Basics
01Computer Architecture Foundations (Bits & Bytes)
02Rust Programming for Systems Development
03CHIP-8 Virtual Hardware Specifications
+ 2 more learning modules
32h5 modules
Explore Roadmap
computer-science
Building BitTorrent: Go, P2P & Concurrency
01Go Fundamentals & Concurrency
02Networking Foundations & P2P Architecture
03Bencode Parsing & Torrent Metadata
+ 3 more learning modules
26h6 modules
Explore Roadmap
computer-science
Actor Models (C++ Concurrency & Lock-Free)
01C++ Multi-Threading Foundations
02Thread Pools and Task Scheduling
03Atomics and Lock-Free Queue Design
+ 3 more learning modules
45h6 modules
Explore Roadmap