





















This tutorial demonstrates how to program a robot for pick and place operations using ABB RobotStudio, covering key steps including setting up the robot and controller, creating work objects and gripper frames, teaching target positions for pick and drop operations, configuring paths with proper instruction sequencing (home, before_pick, pick, after_pick, before_drop, drop, after_drop), adding digital output signals for gripper control, and implementing logic components like attacher, detacher, and positioner to coordinate the robot's interaction with objects.
Pick and Place Robot Programming in ABB RobotStudio | Simulation Tutorial
Added:Basic understanding of industrial robot kinematics, including coordinate systems (Cartesian, Joint) and the concept of Tool Center Point (TCP).
Fundamentals of digital Input/Output (I/O) signals and how sensors and actuators interface with automation controllers.
Elementary programming logic, including conditional statements (IF-THEN), loops, and variable declarations.
Familiarity with navigating 3D modeling or CAD software environments.
Advanced RAPID programming syntax, including custom routines, error handling, and data declarations (robtarget, tooldata, wobjdata).
Designing and scripting RobotStudio 'Smart Components' to simulate complex physical behaviors and custom gripper mechanisms.
Configuring industrial communication protocols (e.g., PROFINET, EtherNet/IP) to interface the robot controller with external Programmable Logic Controllers (PLCs).
Implementing dynamic conveyor tracking and integrating machine vision systems for automated sorting applications.
The physical deployment workflow, including safety protocols, calibration procedures, and transferring offline programs to physical ABB robot controllers.
4.1K views0likes14:51Original Release: 2025-06-08
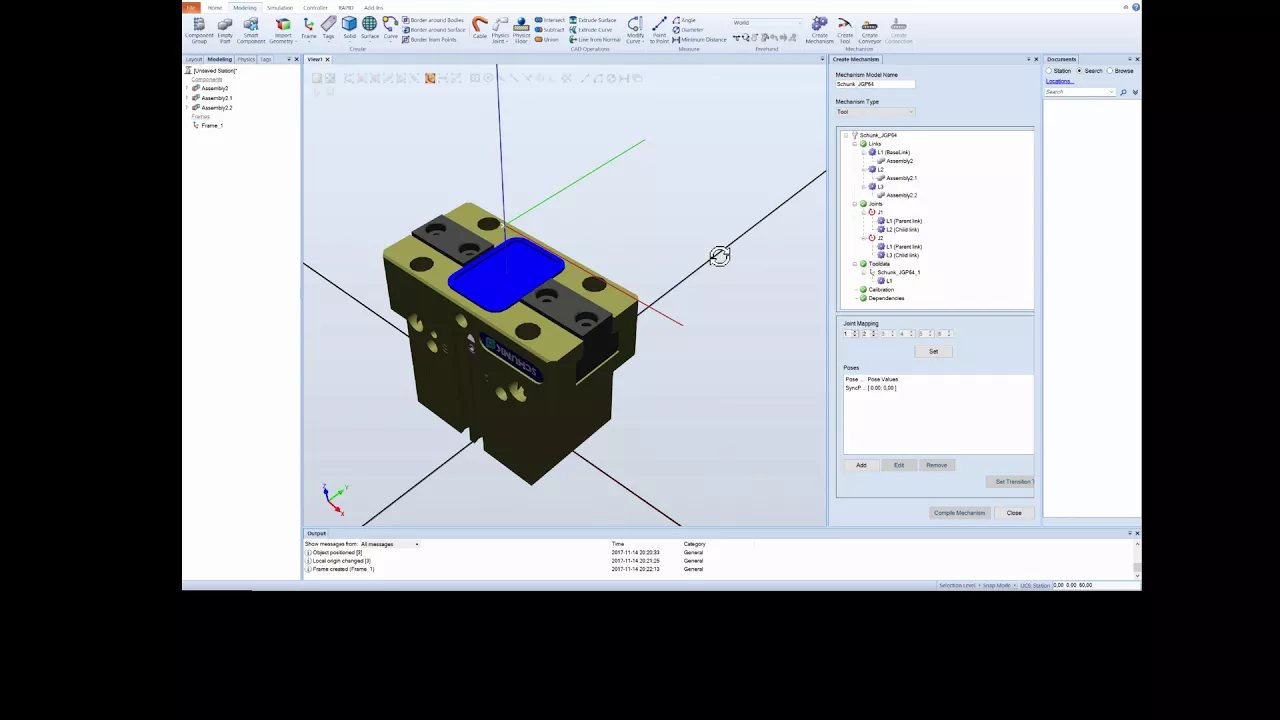
Rename the project as pick and place. Create the project. We'll add the necessary robot and we'll add the controller from the layout. And we'll just import necessary objects and training tools, the table and the gripper. We'll have to ensure that the table is inside the working envelope of the robot. And we'll attach the gripper to the robot.
We'll have to joint jog revert to 90.
And we'll just create a box model to drop and pick of length 50 and width 50 and height 100. Just create it and close it.
and drag it just inside table. Now it's completely fine. And we'll have to create a work object of this table. For that we'll go to home and we'll create a work object named table and we'll have to set a frame. Before that we'll have to select a necessary selection tools and we'll just select the corner table accepted and create. So ready. We'll just open the gripper by mechanism joint job. And we'll have to ensure that this user frame is offseted over the tip of the gripper.
So for that we'll have to offset the position to 20 and we'll just close it. So now the frame is up adjusted to the tip of the sero gripper. Now we'll set the targets for the box. Create target.
here to here and just create a close it and we'll also teach instruction I mean teach target as home position. So this is our home and this is our pick and this is drop. We'll just duplicate this pick and offset it for minus 100. No, plus 100. And we'll just apply it. Close. And we'll just change the orientation.
of this target. We're modifying it and rotating it now 180° along Yaxis. Close it. So now this target is ready to pick. And we'll just copy the same orientation to others as well. And we'll just apply it. We'll also offset the position of this.
We'll make it inside the table by minus 50 + 50 and uh 100 minus 100. We'll just apply it. Now the bot is ready to drop. Just close it. And we'll also duplicate another one and name it as of before drop. And we'll just offset it to minus 50. And we'll just apply and close it.
And we'll rename this part as pick this as drop and this as before pick. I'm sorry.
So now we'll add this to the path a new path and we'll make sure proper arrangement and which will be in a proper order home before pick and also another before pick after the pick and Home and then before drop, drop and also after drop which will be same as before drop. And at last another home position. So this is the thing and we'll just modify the instructions the speed for around 100 and the zone as fine. And we'll just simulate it and we'll see.
So now the simulation is ready. We'll just add the controllers by going to configuration and input and output system. We'll add the signals. We'll add a new signal which is D001. And the type of the signal will be digital output. And we'll just okay. And another signal D0002. And we'll add the type of signal as digital output. And we'll just press okay.
Okay. And after this we'll have to restart.
So after the controller status is green, we'll just go to simulation station logic and we'll have to select which we have inserted D001 and D002. Now the important part comes here.
We'll have to add by going to compose. We'll have to add the components attacher. The parent will be the robot IRB 1090 and the child will be the part mean the box. And we'll just apply it and close it. And we'll have the detacher. We'll we'll have to detach the part which is the box and apply it and close it. And we'll have to add the another component the logic gate. The logic gate will be not gate and also the delay will be 1 second and apply it and close. We'll have to add another component which is the positioner.
Before that we'll have to note down some coordinates. We'll have to go to the home and we'll have to go to the view and go to the layout and see the box and we have to go to position set position and zoom it. See that we have to mark it at the top mid of the box and note on the coordinates. I'll just open the notepad and I'll just note down all these coordinates the x y z coordinates and I'll just close it.
nothing applying and go to the simulation. Go to station logic and add the component positioner. After opening this, we'll have to add the coordinates from here. The x coordinate, the ycoordinate, and the set coordinate. and just apply it and close it. So now we have added the components.
We'll go to the design and we'll have to navigate all this. We'll arrange all this just like this. So we'll connect the D001 to execute zero and one more to input A.
And this output will be navigated to the execute zero. And the D002 of the controller one will be navigated to execute zero. Just note on this navigation it should be proper and we'll go to the view. Now since all arrangements have been done, we'll just uh go to modeling I mean home parts and targets. We'll have to set instructions action instructions. So for home we'll have to insert instructions.
We'll have to insert pulse dooo and the signal should be d002 and create it. And also we have to create another instruction called wait time and the time should be 1 second.
Create it and just close it. After this you go pick and you'll have to create another insert action and the template instruction template should be set do and the signal should be d001 and the value should be 1. Create it and close it.
So create uh just copy that wait time and just paste it over here. And at last for the drop one you'll have to go to the insert action instruction again and select set do and the signal should be D 01 and the value now should be zero.
So just create it and close it. And also copy the wait time and just paste it over here. Now it's ready. You just do nothing. You'll just go to the simulation. Now just synchronize first to rapid. Just select all and just do okay. And go to rapid. Enter the module and copy the path and just paste it in the main with proper syntax and just apply it Now go to home and just see it's proper and go to simulation and just play it. Now the controller starts from home.
and go to before pick and just it picks the box just we have added layer according to this arrangement it goes. So this is the pick and place. Thank you.
Up Next

32:58
How Glass Shaped Civilization: A History of Innovation
@Kingofhistory-q1m
116 views•2025-10-28

12:54
Triumph of Orthodoxy Icon: Byzantine Art & History Explained
@BenCallan
2.1K views•2024-08-06

9:49
FastAPI vs Flask vs Django: Choosing the Right Python Web Framework
@TechWithTim
302.5K views•2024-05-26

1:42
Game of Thrones Opening Credits: A Cinematic Analysis
@gameofthrones
46.3M views•2011-04-18
Related Study Plans & Knowledge Roadmaps
Structured learning paths in General & Interdisciplinary Studies
general-studies
Elevator Engineering: History, Physics & Cities
01From Hoists to Safety Brakes: The Dawn of Vertical Lift
02Hydraulic vs. Traction: The Engineering Physics of Elevators
03Modern Speed, Safety, and Algorithms
+ 2 more learning modules
12h5 modules
Explore Roadmap
general-studies
Rubber: Material Science, History & Geopolitics
01Origins of Natural Rubber & Mesoamerican History
02The Chemistry of Natural Rubber & Vulcanization
03The Geopolitics of the Rubber Boom & Colonization
+ 2 more learning modules
12h5 modules
Explore Roadmap
general-studies
Containerization: Evolution, Logistics & Trade
01Ancient Trade & Bulk Cargo: Amphorae to Barrels
02The Industrial Revolution & Cardboard Packaging
03The Containerization Revolution: Malcom McLean
+ 2 more learning modules
12h5 modules
Explore Roadmap
general-studies
Textile Tech: Evolution, Labor & Global Impact
01Pre-Industrial Textiles: Handloom & Cottage Industry
02Mechanization: The Spinning Jenny to the Power Loom
03The Factory System & Global Labor Transformation
+ 2 more learning modules
10h5 modules
Explore Roadmap