


![[Bài 3] - Hướng dẫn may các đường may cơ bản (phần 1) | Học may online | Học May Cơ Bản](https://i.ytimg.com/vi/ujKQd8ck3JQ/maxresdefault.jpg)
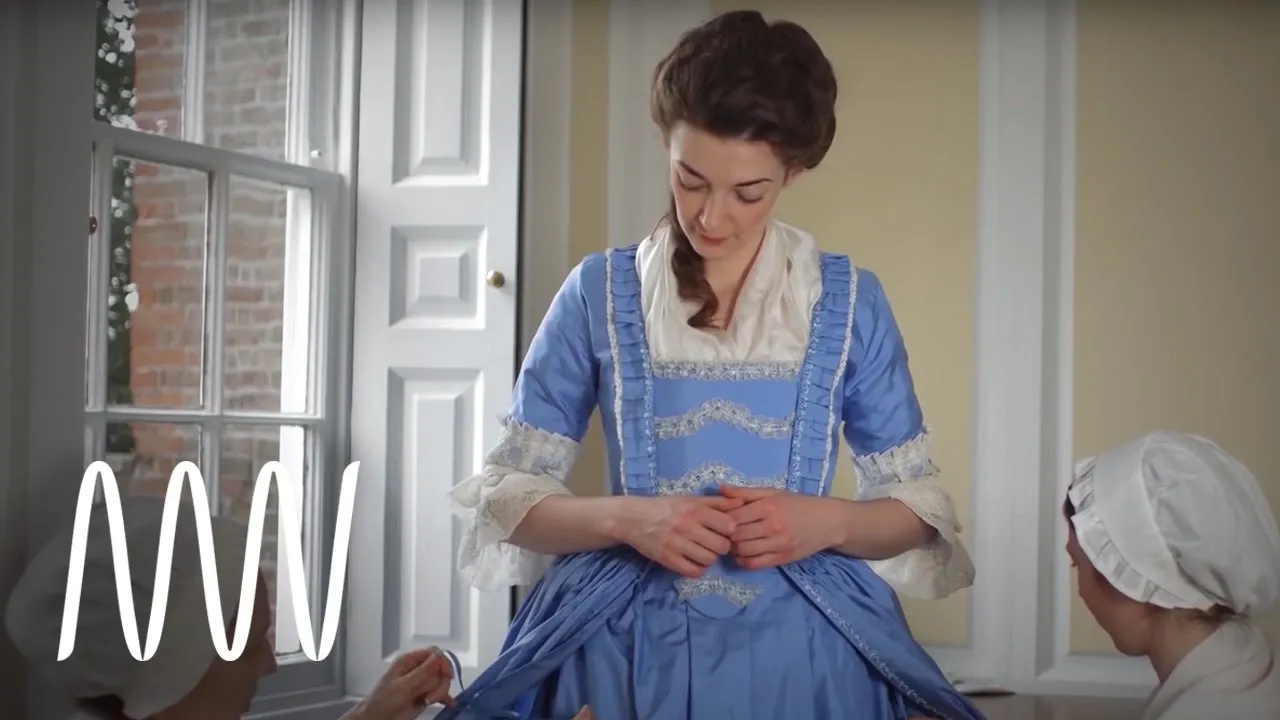

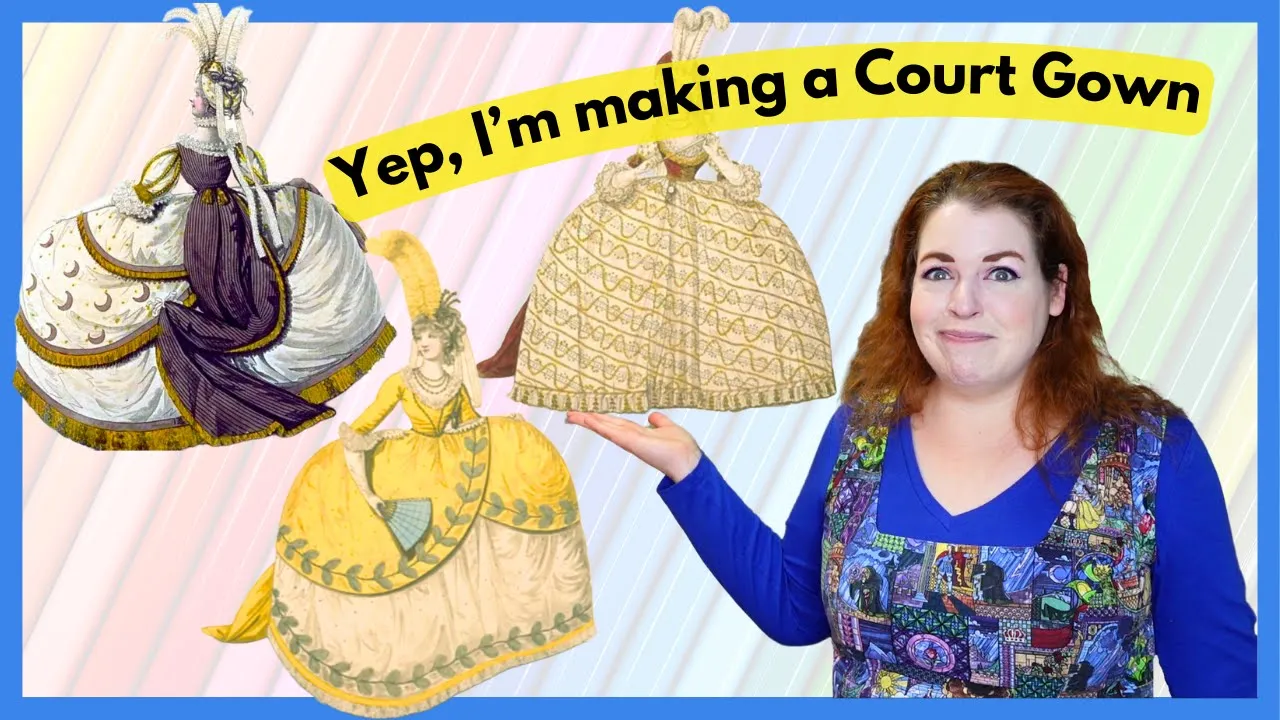






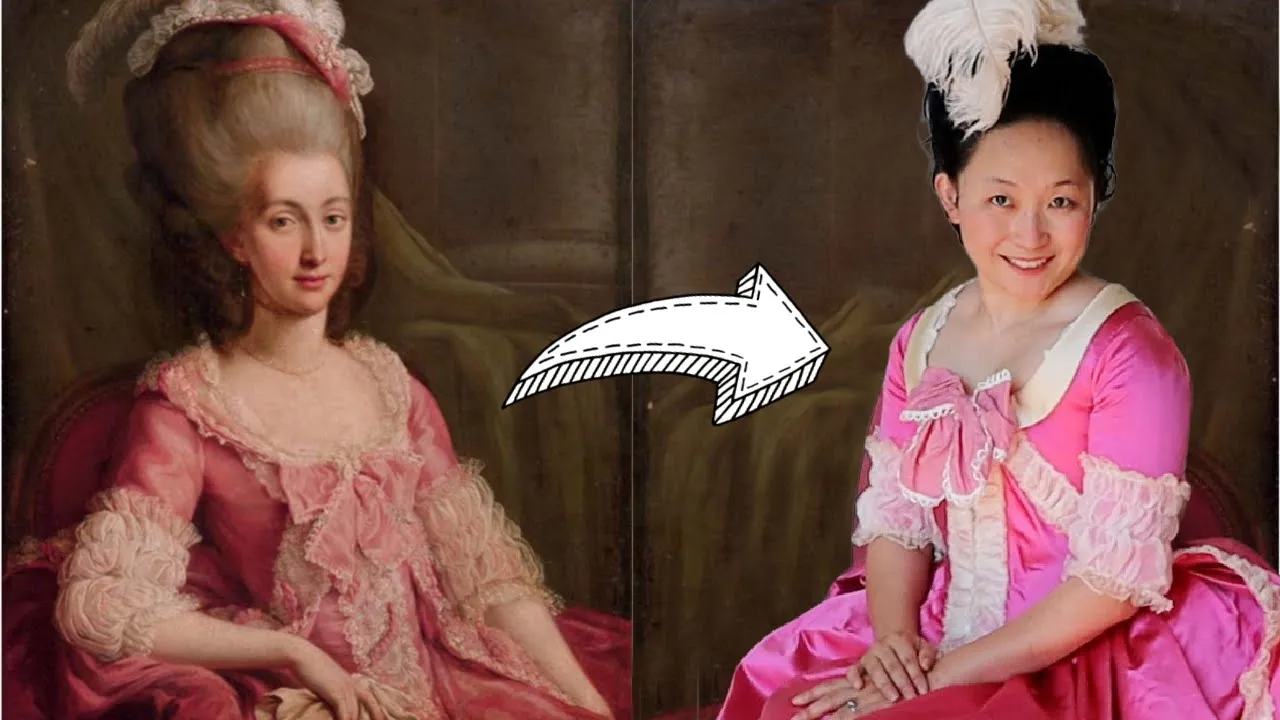

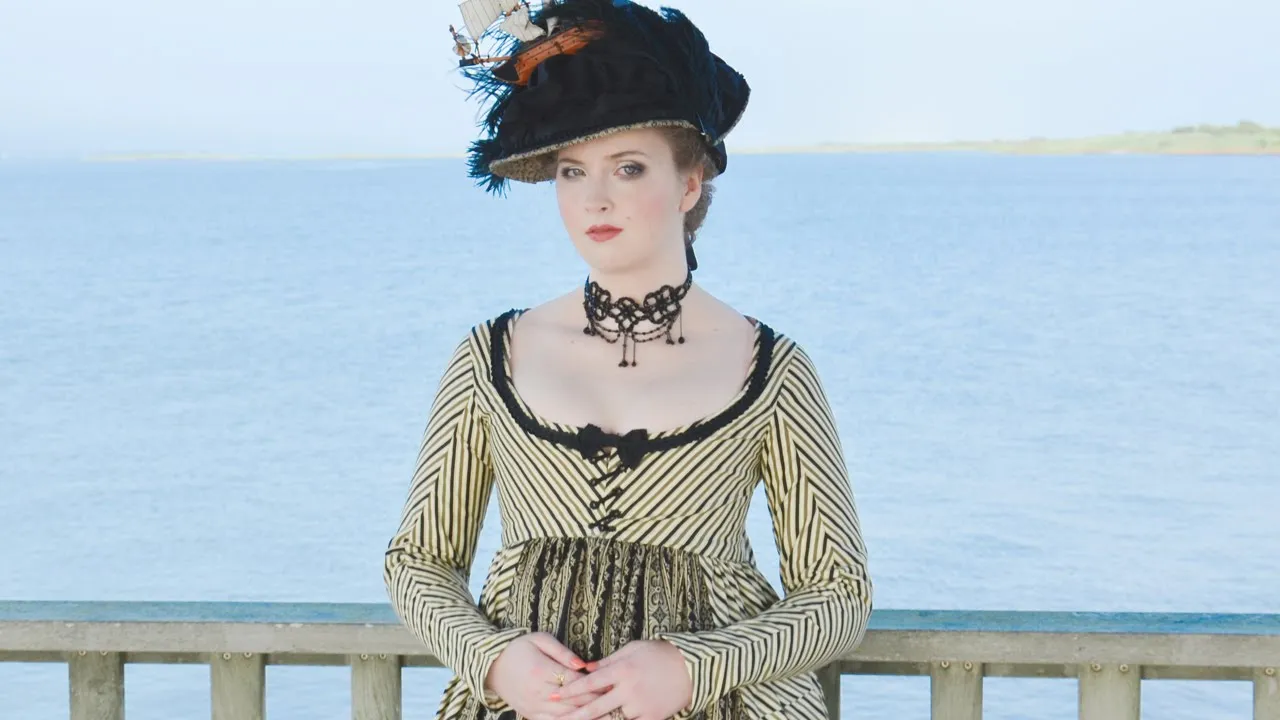



This video demonstrates a collaborative costume design process where the creator asked viewers to design a costume through a survey, resulting in a Rococo-inspired fairy tale costume featuring a floor-length skirt, long sleeves, dark green/purple/yellow color palette, lace fabric, smocking technique, and a mask, with the creator adapting the design to avoid unintended Mardi Gras aesthetics while incorporating viewer-selected elements.
Designing an 18th Century Subscriber-Driven Gown | Costume History & Sewing Tutorial
Added:Basic garment construction and sewing terminology, including fundamental hand-sewing stitches and fabric grain alignment.
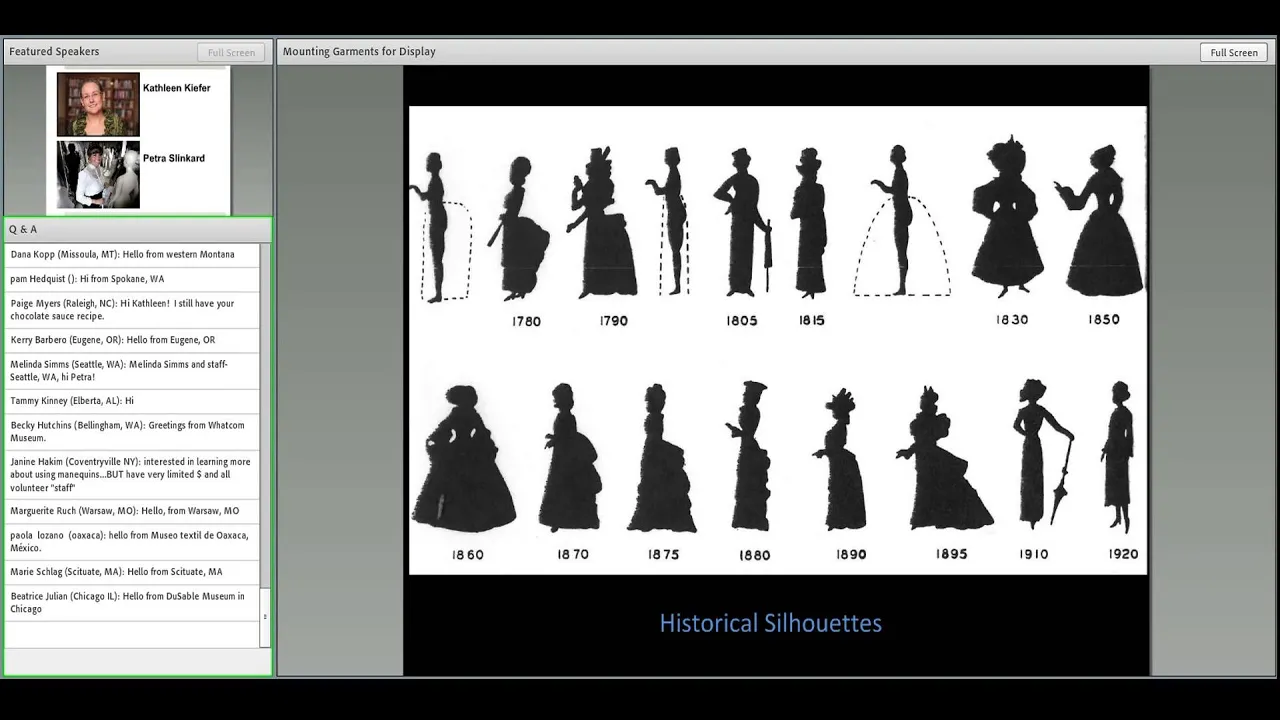
The anatomy of the 18th-century silhouette and the essential role of historical undergarments, such as stays and pocket hoops, in shaping gowns.
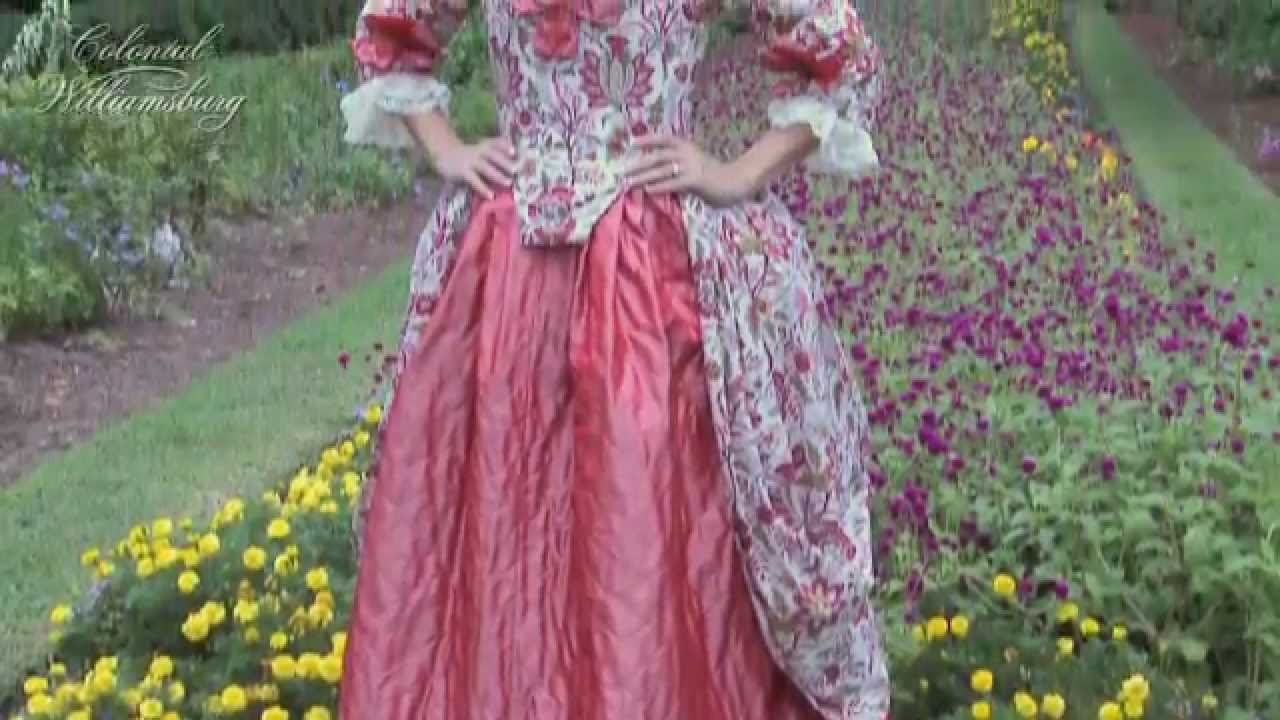
An overview of the Rococo art and fashion movement (circa 1730–1780), characterized by pastel palettes, floral motifs, and elaborate ornamentation.
Fundamentals of textile science, specifically how natural fibers like silk, wool, and linen react differently to various dye types.
Advanced historical pattern drafting and draping on a dress form, such as creating a 'Robe à l'Anglaise' or 'Robe à la Française'.
The chemistry and application of historical natural dyeing processes using mordants and organic matter like cochineal, indigo, and madder root.
Specialized historical needlework techniques, including tambour embroidery, goldwork, and intricate cartridge pleating.
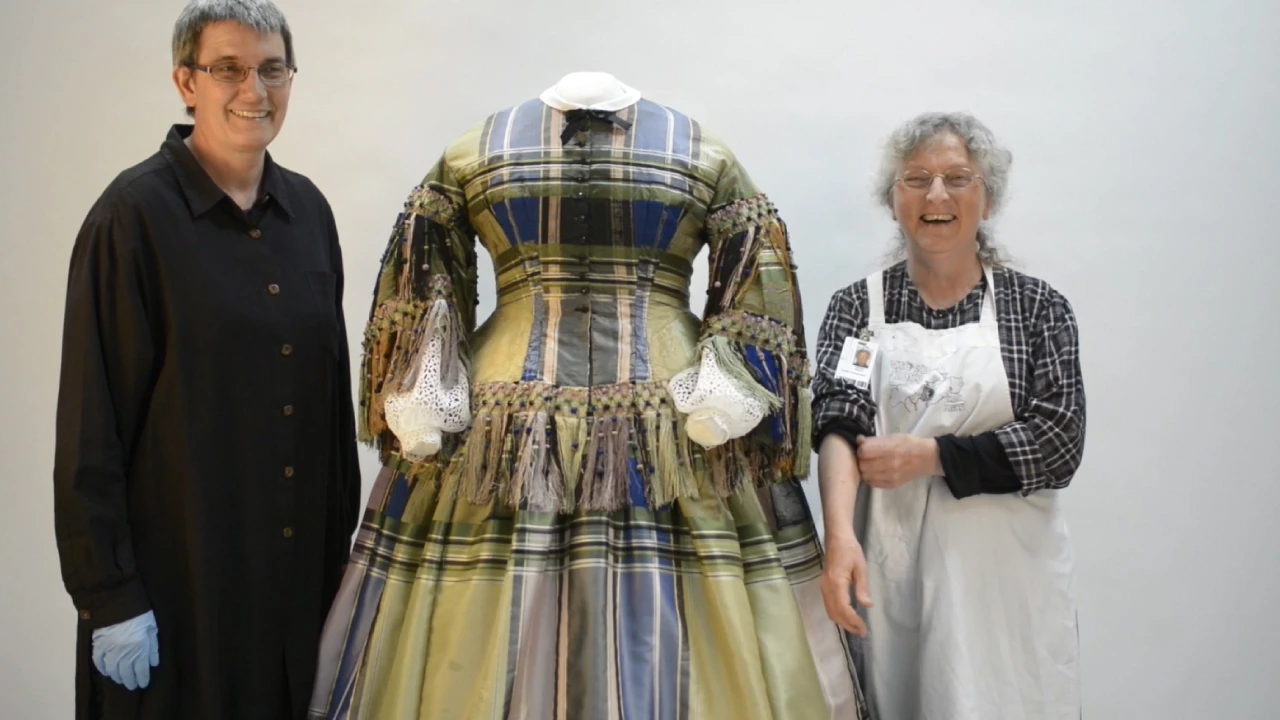
Textile conservation and curatorial practices for preserving and displaying delicate, historical, or replica garments in museums.
3.4K views551likes40:19Original Release: 2026-07-24
One of the biggest questions I'm constantly asking myself when I make these videos is what do people want to watch? I have so many different project ideas that I'm excited about that I want to make, but what do you guys want to see me make? So, for today's video, I am going straight to the source and asking you to design me a costume. I made a survey for you guys, my viewers, to fill out with 10 questions about different design elements that I will have to combine into one cohesive look. That survey has been up for 2 weeks now, so it's time to take a look at the results.
Okay, so the survey period has just ended. I've just closed it. So now it's time to go through and look at all the responses and see what everyone has selected and what sort of costume I will be designing. I have not been looking at the results for the past 2 weeks-ish. I was keeping up with them for the first day just out of curiosity. Um, and uh, if- if they haven't changed since then, uh, I'm- I'm a little scared. I'm a little worried, but the number of responses has doubled since then. Um, it's currently at 1,261 responses, which is a lot of people. I'm very curious to see what they have chosen for me. So, let's take a look. [imitating a drumroll] Okay, so skirt length coming in at 35.1%. Our winner is floor length, so we're going to be doing a full long skirt.
How long should the sleeves be? Our winner with 29.1% is long sleeves. So, we're going to have a high coverage outfit here. That's interesting cuz those were both the winning options for the survey last year. So, I'm really curious how similar our responses are going to be. Color palette. Ooh, landslide win. 45.8% voted for a dark color palette. Again, that's what it was last year, so I'm sensing some themes, some consistencies. Okay, main colors to choose. For this question, I had people pick three options from a list, so the percentages don't add up to 100. But our number one pick with 42.1% which is 531 votes is green which I'm quite pleased with, as as we all know.
I like the color green. So, I love to see that. Number two with 41.4% or 522 votes is yellow. And then our number three with 35.4% or 446 votes is purple. So that is very close to the color palette from last year. Last year it was green, purple, and blue. So this year it's green, purple, and yellow, which green, purple, and yellow are kind of like Mardi Gras colors in my mind. So I'm going to have to be careful with avoiding- avoiding making a Mardi Gras costume cuz I don't really want to do that. Okay, historical time period. And as I said in the survey, this is not going to be a historically accurate costume. This is just for the vibes, the energy. I'm not going for 100% accuracy here. This one's a bit closer, but winning with 25.7% is Rococo. So, um I fear that's not going to help them Mardi Gras problem. Central motif or theme. Ooh, that's really close.
So, Celestial came in at 23% or 290 votes, but just beating it out with 23.3% or 294 votes is mythical/ fairy tale. Four people, four people [laugh] picked mythical/fairytale over celestial, and that tipped the scales. That's crazy. Okay, an accessory I must include. The winner with 26.6% 6% is a mask, which I think will work really well with the Rococo theme as well. So, I'm glad to see that. A fabric texture to include. Now, this is where you guys can be really mean to me cuz there's a lot of fabrics I really don't enjoy working with. And yes, I did include them on the survey, which is my own fault. We're going to see how how kind and loving my subscribers are and considerate of my mental health and well-being. Ooh, by a large margin, 35.2% the winner is lace. Thank you for not choosing satin, or velvet, or stretch fabric, or fur, or sheer, which- that's every other option. Thank you for picking lace. Thank you for being nice to me. Next up, a technique that I will have to use. Okay, again, it's kind of close, but coming in at 25.5% is smocking, which is going to be very interesting. And then our last question, pick an unusual source for a material that I will have to incorporate. This was a new question that I added on to the survey this year. Curious to see what Wow. Again, kind of a wide margin with 37.9% of the vote. We have something from a friend's craft supply stash. So, these results are interesting.
These are very close to what they were uh, on day one, so they haven't changed too much. The Mardi Gras thing was the thing I was worried about when I said I was nervous. It was that. Okay, so our final costume is going to have a long skirt, long sleeves, dark colors in green, purple, and yellow. It's going to be inspired by Rococo fashion and mythical/fairytale motif. It's going to include a mask. It's going to have lace. It'll have smocking. And I will have to use some sort of material from a friend's craft supply stash. So, that is our criteria. So, it's time to come up with a design. Okay. So, I've spent some time thinking about the results of the survey, collecting some inspiration, sketching out ideas. I've made a mood board to kind of collate all of my ideas and get a general sense of the overall vibe that I'm going for with this project. From all of that, I have created this sketch of my design for this project, which I'm going to try and recreate. It's very dark Rococo, of course. Uh, I'm going for a robe a la francaise design, which is a historical type of gown. Um, that feels very like quintessentially Rococo to me. Um, I also want to do a very big Marie Antoinette style wig, just like absolutely ridiculously big. I also want to have pieces of a fairy tale castle like emerging through the hair. I've been very inspired by different references I found in my research of these sorts of hairstyles that have like ships or like bird cages worked into the bouffant. Uh, so what- so why not a castle? That'll also pull in the fairy tale theme to the whole look. So, I think that's going to be really fun to work on. So, the dress is going to be done in dark colors, mainly purple and green with yellow as more of an accent color just here and there. I think I've managed to skirt around and avoid the Mardi Gras aesthetic that I was I was concerned about. Hopefully, we stay away from that and I don't look like I- I belong on a parade float throwing beads. The dress will have long skirt, long sleeves, there will be lace, there will be smocking in a few different places. I will be making a masquerade style mask, which I think will work really well with the overall Rococo aesthetic. I think those two vibes mesh together really well. For the item from a friend's stash, I'm not totally sure what I want to do. I have to see what people have. I'm I'm hoping I could find some sort of a trim that I can include somewhere. Um, but we'll have to see what I can find. So, that is the overall plan. I think I want to start out with the wig since that's like the most outside of my wheelhouse. I- I want to be able to like tackle that first and get it out of the way.
Um, but one thing with the wig is I want parts of the castle on the wig to match the color of the dress. I want them to be the same shade of purple. And the fabric that I'm planning on using for the dress is not currently purple. So, before I can start on the wig, I need to dye the dress fabric.
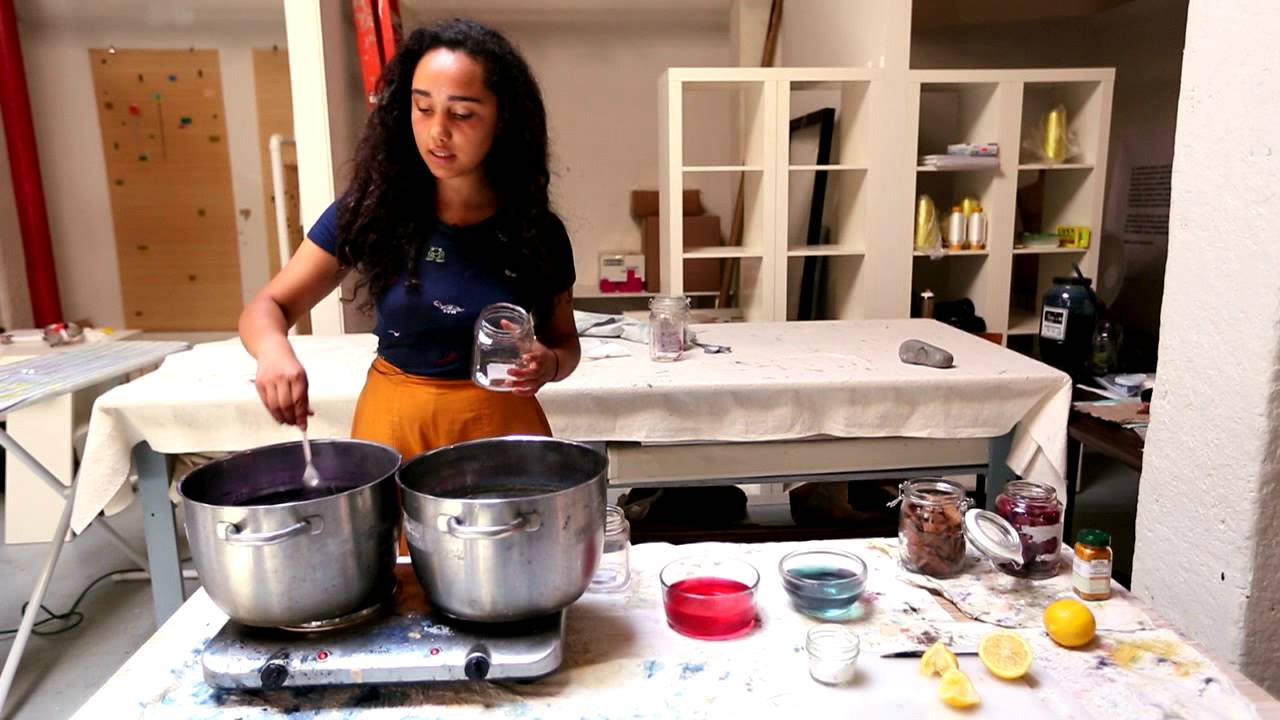
So, that's going to be step one. The fabric dying process was certainly... a process. I wanted to use these two king-size cotton bed sheets that I had in my stash since I knew I would need a fair bit of fabric for this gown, and I didn't want to have to buy a ton of new material. But, as you may have noticed, these sheets are different colors. One is white and the other is a midtone slate blue.
It wouldn't be difficult to get either of these colors to a dark purple, but getting them to be the same dark purple is a different matter. Another issue was the quantity of the fabric.
Two king-size sheets were not going to fit in my normal dye pot. Luckily, cotton doesn't need constant heat to dye, so I could use some old IKEA trash cans that I happen to have for the dye bath.
These were still not really big enough. You're supposed to have enough room for your fabric to move freely through the bath. And the trash cans weren't quite roomy enough for that, but they got the job done. After the first round of dyeing, the fabric was too light, blotchy, and the colors definitely didn't match. So, I ended up doing three more rounds. This took multiple days working outside in the Florida summer and several trips to the craft store, but in the end, I got a really nice deep purple color that even an Ancient Phoenician dye merchant could be proud of.
And I spent less money on dye than I would have if I'd bought new fabric in the right color. So, I'd call that a win. The dye job isn't perfect. It's definitely still a little uneven, but I think it looks kind of like a watercolor painting. So, it's actually a reference to classic fairy tale story book illustrations. So there. With the fabric dyed, I could finally get started on the wig, which was such a process that I had to make it into its own video. I'll link that down below in the description if you want to know more about it. But in summary, it's big, it's fluffy, and now you know why my hands were purple in all of the close-up shots. Okay, so for this project, I am going for a Rococo inspired look, which has a very specific silhouette created by the undergarments that were worn in that time period. And luckily, I already have most of the undergarments that I'm going to need. Um, I have a shift or chemise that I made in my Halloween video last year for the Telltale Heart ball gown. I actually never got the chance to wear this in that video because uh, it didn't work with the off-the-shoulder dress that I made, but it should work with this design, so I'm probably going to get to wear it. Um, and then I have a set of stays and a set of panniers or pocket hoops. I made both of these several years ago now before I started doing YouTube.
Uh, following the uh American Duchess McCall's pattern. It's it's the one with Abby Cox on the front. So the chemise is a base layer that goes underneath everything to keep it from being in contact with your skin. The stays are like the precursor to a corset. They're much more heavily boned and they are designed to create more of a like flat conical shape as opposed to the more like hourglass shape you see with uh, more modern corsets. And then the panniers or also known as pocket hoops uh, create the shape of the skirt that sort of wide and flat silhouette. They just tie around the waist. They would go on over top of the stays. I feel like mine are kind of low, but I- I feel like they should be more like that. So, I think I need to tweak these. I should try them on with the stays. That means I have to lace up the stays, [sighs] which is a process. [Energetic, hectic music] Okay, there's the stays and that's the silhouette. And yeah, I definitely need to tweak these a little bit. I want them to sit more like this. So, I'm just going to take this top section of the fabric above the first hoop and kind of like pleat it down like an inch at the front and the back and then just tack that down. In addition to the tweaks to the panniers, I also had to do some surgery to the stays. The little nubbins at the top edge where you can connect straps were spaced a little too far apart and were poking into my underarm. So, I ripped open the center seam, removed the bones from either side of that seam, then resewed the seam with a bigger allowance to shrink the width of the center panel. That moved the nubs a little closer together and made them less of a nuisance. And then the other thing that I need is a petticoat to go over the pocket hoops to kind of smooth everything out so you're not getting the outline of the understructure showing through on the outer layer of the gown. The petticoat was super simple, just two big rectangles that I French seamed together at the sides, leaving gaps at the top of the seams to be able to get the skirt on and off. I hemmed the bottom edge, then pleated down the top to match my waist measurement, and bound that edge with twill tape, which extended off at the sides to make the ties.
With all the underpinnings done, I can move on to the underskirt, which goes over all of the stuff I just talked about, which is a little confusing, but stay with me. The underskirt is basically a fancy version of the petticoat that I just made. It'll be fully floor length, heavily decorated, and visible through the center front opening of the overgown, hence it being called an underskirt. See, I told you it would make sense. It started out again with two big rectangles of fabric that I French seamed together at the sides, leaving slashes at the side to make it possible to get the skirt on and off and for access to the pockets. I want this underskirt to be made out of these dark green cotton bed sheets that I got from the thrift store. They fit perfectly with the chosen color palette, but I didn't have much of this material, and the pieces were pretty raggedy.
Plus, I want to use it elsewhere in the design. So, to conserve fabric, I'm making the back half of the skirt out of a different bed sheet. The back of the underskirt won't be visible. It'll be covered by the overgown eventually, so it can be made out of anything. This was also something that was done historically. Often, the fronts of these skirts would be made out of an expensive silk fabric, and the back would be a cheaper linen. Not that I'm being historically accurate, but it makes me feel more justified, at least. For the back, I'm using this floral duvet cover that I have in my stash, which actually fits in with the project really well. The pattern is mainly green, purple, and yellow, so it matches the color palette, and it's a really pretty print, but it's not something that I'd want to wear as clothing. So, I'm glad to find a use for it beyond mockup fabric. So, I had my big rectangles cut out, which did involve some piecing for the green fabric. I had to add a few more inches of material to the bottom edge, which I did with flat felled seams. Then, I could sew up the side seams and then press and stitch the hem. I tried the skirt on with all the underpinning so that I could adjust the waistline to get a level hem. The fabric at the sides has to be longer to go over the panniers. So, if I were to just use a straight rectangle, the hem would dip down a bit at the front and back. To avoid that, I trimmed away the excess material at the top edge, then pleated it up to fit my waist measurement with a bit of overlap at the sides. I bound the pleat with strips of green fabric to finish that edge and to create the ties, just like before, and now it was time to get to the heavily decorated part. I started out by dyeing some lace fabric. Though, this is a clip of me dying a t-shirt in the leftover dye bath because I forgot to film the lace. Then I used a compass and a heat erase pen to mark out two scalloped lines across the underskirt as a guide to attach the lace. The trim doesn't need to go all the way around the skirt or even across the whole front half since most of the underskirt will be covered by the over gown. So the lines that I marked only cover the middle third or so. I fussy cut the lace fabric into strips, then trimmed the top edge to be straight, sewed the strips together into two long pieces, then gathered those down and stitched them to the skirt. The top stitching here was not very nice to look at, so I covered it with a ruffle made from green organza ribbon. There wasn't enough ribbon for both rows of scallops, but it was fairly wide, so I cut the whole length in half with pinking shears, then gathered each half up and stitched it to the skirt over the top edge of the lace swags. For the peaks of the swags, I wanted some sort of yellow medallion shape so the skirt wasn't just solid green. I made little leaves out of strips of gold satin that I had in my stash following this tutorial that I found on Pinterest. I handstitched those to the skirt along with some of the sparkly novelty yarn that my mom had in her stash. And I consider my mom a friend, so I'm counting this as something from a friend's stash. I did couching stitches to secure that along the center of the ruffle. And that completed the underskirt.
Okay, so I've got the underskirt all complete. All of the trim is on. I also made another modification to the pocket hoops. Um, I did this off camera cuz I was so frustrated I didn't want to film it. I kept having issues with them collapsing under the weight of the petticoat and the overkirt. I remembered when I made these a few years ago, I used zip ties as the bon. Um, and I just think that's not sturdy enough to support the weight of the skirts. Um, and then I remembered I have I have hoop steel left over from the big hoop skirt that I made last year. So, I added that in. I didn't even remove the zip ties. I just added steel boning in along with the zip ties that were existing and that fixed it. Shockingly, when you use the correct materials for something, it works better. So, they're staying up a lot better now and I'm much more happy with it. So, now that the pocket hoops are fixed and the underskirt is done, it's time to move on to the over gown, which I'm nervous about. Uh, cuz I don't really know what I'm doing. I don't really know why I'm so nervous about this. It doesn't seem too terribly complicated. It's essentially just like a long jacket basically that's got a lot of material pleated up at the center back to get that kind of like long train effect. They're called Watteau pleat if we're being fancy about it.
I've been looking at a lot of examples online and they don't seem too complicated, but it just seems like a big task to get it like fitting right and everything. So, I'm- I'm nervous about it, but I think I'll be able to figure it out. I'm going to try and do some draping on the dress form, make a mockup, see what I can do, um, and then hopefully move on to cutting into my actual fabric. So, I'll admit I'm definitely no expert when it comes to draping. I'm basically just smoothing fabric over the dress form and hoping for the best. But the pattern for the overgown bodice actually came out pretty good on the first try, which was a welcome surprise. There were a few tweaks that I needed to make. I had to lengthen the front and back by a few inches. The arm side needed to be trimmed down and I had to add some small darts to the back at the shoulders to fix some gaping, but with those fixes, the bodice was fitting quite nicely. Then I attempted to pattern the sleeves by just... taping some fabric to my arm? I think? I'm honestly not sure what I did, but whatever it shockingly worked and I managed to get a pretty smooth fitted sleeve with a decent range of motion. They're not perfect. The gown ended up being a tiny bit snug in the shoulders and there's some wrinkling around the armscye, but all things considered, I'm pretty happy. Normally fitted sleeves are my arch nemesis. I mean, just look at them. Pure evil. With the sleeves sorted, next I had to work out the Watteau pleat, the big layered pleats at the center back that flow down into the train of the skirt. One of the hallmarks of a robe a la francaise. I made a paper template to work out how big to make the pleats and how exactly I wanted to stack them. And then I tried to transfer the same design to fabric. Okay, so I've been working on the mockup and I got the main overall bodice shape to fit really nicely. I'm really happy with how that works and I'm decently happy with the sleeves. So now I've been figuring out the Watteau pleat and I got the overall shape into a place that I like. It's like a box plate and then two knife pleats that layer under the box pleat and then there's two sets of those to create that extra volume at the back. And I'm really happy with how that looks. I've been trying to figure out how to integrate that into the bodice in a way cuz I think the like way these dresses were made in history was it was just one panel of fabric from shoulder to hem. There wasn't a waist seam. So then there's a lot of weird shaping you have to do with the skirt to get it to fit over the panniers. I think, again, don't know what I'm doing.
And the Watteau pleats go from like the back of the bodice and like meld into the skirts. I'm trying to figure out how to like make that work and everything. And then I realized I- I don't care.
I already said I wasn't going to do a historically accurate design. So why am I bothering? So I'm just going to make the Watteau pleat as a separate panel and then attach that to the bodice and like tack the edges down so that they like meld into the skirts. But I think I've got pretty much everything worked out. I haven't really patterned out the skirt, but I'm pretty sure I'm just going to do big rectangles and pleat them down to fit and then cover any problems with a ruffle cuz I'm over it. [laughter] So, I think the mockup phase is done and I can move on to the actual fabric. Now, I could finally cut into my newly purpleled fabric, which I did try to show you, but evidently my tripod knows who the real star of the show is. But, I cut out all my bodice pieces, including a lining layer of black cotton. I assembled all the pieces for both layers, starting with the darts on the back, then sewing up the shoulder seams, then the side seams. Next, I assembled the sleeves, which were unlined, so I made sure to pink the seam allowance. I set them into the armscye of the outer layer, pleating the excess fabric at the sleeve head to ease it in and to create a slight puff shape. Then I attached the outer layer and the lining right sides together by sewing all along the front edges and the neckline, leaving the bottom edge and the armscye open.
I under stitched the seam allowance to keep the lining from showing around the edges. Then turn the raw edges under around the armscye and stitched it down by hand. With the bodice assembled, I could try it on with all of the underpinning so I could check the fit and get a measurement for the length of the Watteau pleat panel. I already knew the width that I needed thanks to the paper template that I made. So now I can just cut a rectangle at those dimensions, which did require a bit of piecing. Next, I finished the sides and the bottom hem. Then I could set the pleat at the top edge.
This required all of my brain cells to get right, which is why I did the cape before the skirt. I didn't want to waste all of my good thinking energy on the skirt pleats, which could be much less precise. I sewed the pleated edge of the cape to the inside of the bodice along the back neckline. Then I flipped it over to the outside to get a clean edge. Then I can move on to the skirt, which was made from three big rectangles, two for the front and one for the back. I seamed up the sides, leaving slashes at the top 8 in or so for pocket access. Then I pleated the top edge down to fit the waistline of the bodice. I stitched the skirt to the outer layer of the bodice, then secured the lining by turning the raw edge under and stitching in the ditch from the right side. Then I could try the gown on again to judge the length before hemming. But I also realized that it didn't have any sort of closure. I had just been securing it by pinning it onto the stays. I think that is something that was done regularly in history, but I decided to add some ties to the center front of the bodice, which will get covered by the stomacher later on. Then I just needed to hem the skirt and the gown was ready for trim. I wanted to have intertwining swoops of ruffles going along the center front opening of the skirt. So I made a paper template to mark the placement, which does kind of look like a toilet seat, but let's not worry about that. Okay, so the base gown is all done. I've marked out the placement of my design for the trim.
I just ate some pierogis, so I'm all fueled up. So, it's time to start doing the decoration on the main over gown. [Smack] That was a transition. That was- when I hit it, go like [smack] [Intense, dramatic music] As you just saw, I wanted some gathered yellow medallions at the center of each ruffle swoop, similar to the leaf shapes that I put on the underskirtt. I tried the same technique, but I didn't like how it looked here. So, I experimented for a bit and came up with something different. I cut rectangles roughly 6x3 inches, then ran some gathering stitches down the center lengthwise. I folded it right sides together along that line of gathering stitches. Then, I curved it into a U shape so that the short ends are lined up with the folded edges touching. Then, I stitched across the top of the U to close the ends. And when I turned it out, I got a little gathered puff. Okay, so I'm working on doing all the decoration and trimming for the over gown right now. Uh, and I'm thinking I'm not going to be able to do quite as much as I had planned. Uh, just because I don't think I'll have the time to really do it all, um, and really give it like the amount of care that I would want to. Basically, in order to get the video out on time, I need to have the whole project, all of the sewing and the filming and the editing and everything done by Wednesday night of next week. And it's currently Thursday, so just less than a week to get this all done. Um, and I still have quite a bit left to do. Like, I have the gown to finish. And it's it's basically done. It's wearable. Like, it's all like hemmed and everything. It's just the decoration that I have left to do. But other than that, I also have to do the stomacher, which is going to have all of the smocking. So, that's going to take a while. I want to do some separate unders sleeves, which would also have smocking on them, hopefully. So, that would take time. Um, I still have to make the mask, and I have an idea for the mask that I really, really want to do, but say it with me now. It's going to take a lot of time. I'm hopeful I'll be able to do that, but we shall see. I need to try and account for all of this other stuff. So, I'm having to reconsider what all I want to do for the decoration on the gown. I'm giving myself the rest of today. It's like 5:30 now. So, I'll have the rest of this evening to do what I can in terms of decoration. And then tomorrow morning, I'm going to move on to the stomacher and the mask hopefully. I really hope I get to do the mask in the way that I want to cuz it's going to be really cool if I can. I'm going to add more trim and I'm going to keep going and do as much as I possibly can and see where that gets me. Where it got me was finishing up all those yellow medallion puffs and adding some lace frills to the sleeves. This was the same lace that I used on the underskirt. I dyed it purple along with the dress fabric back before I'd even started on the wig. These pieces were left over from a previous project, so they were already cut up into strips and had been dyed a very light lavender color, but I redyed them to be a matching dark purple. I also added some more ruffles and more of that sparkly yarn along the cuff, but that was all the trim that I had time for. My original design had more layers of ruffles and a whole border design on the hem, but alas, I had to move on. Okay, so it is the next day and I'm working on the stomacher, now, that's the little false front piece that goes on the front of the bodice to cover the gap where the over gown is open. I've already gone ahead and made the base structure for that. It's just two layers of a cotton canvas drop cloth that I have on hand uh, with some channels for zip tie boning to add some structure and reinforcement. So now I'm working on the decorative outer layer which is where I want to showcase the smocking because that was the uh, fabric manipulation technique that was selected on the survey. So, smocking is a fabric manipulation technique that creates uh, decorative gathers basically onto a garment or any piece of fabric really. There are several different types of smocking that use different methods to create different sorts of textures, but what I'm going for with this piece is called direct smocking or also North American smocking or also Canadian smocking. It has a lot of names because everything in fiber arts does. It's like a complicated Russian novel.
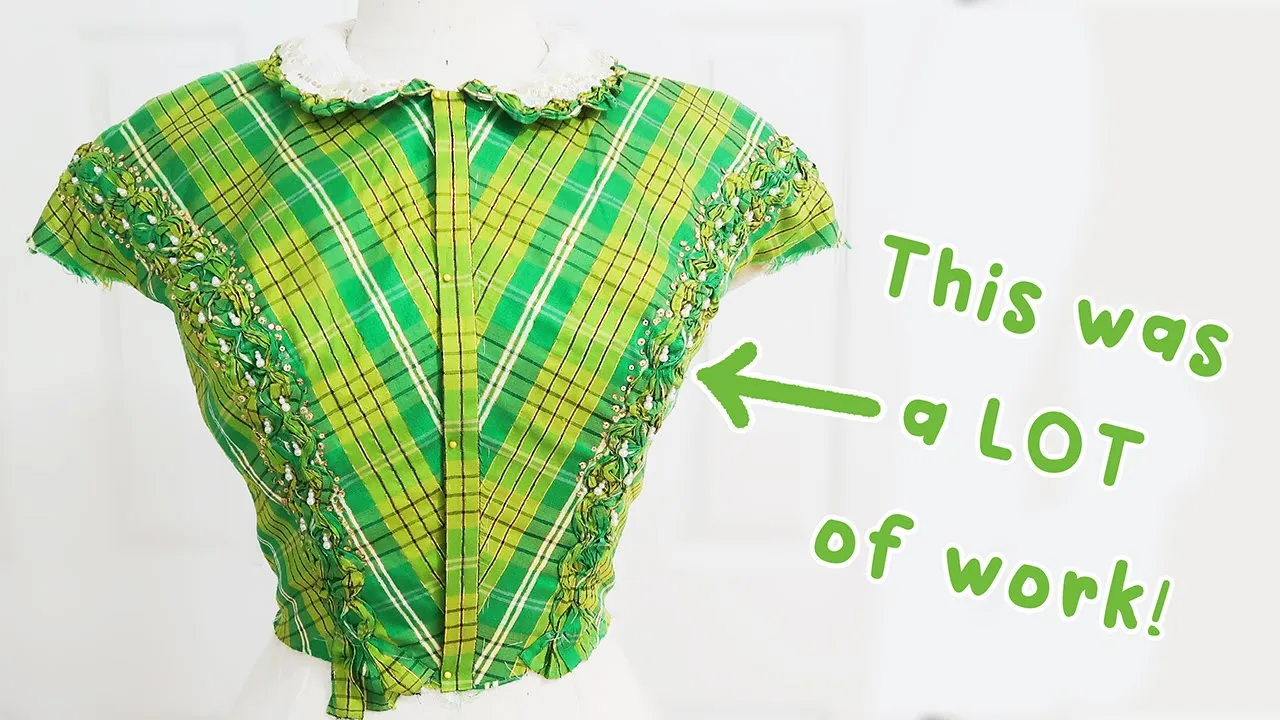
Everyone's got nine different names. So, I'm doing direct smocking, which involves using a needle and thread to gather between specific points on a grid to create a decorative geometric pattern. I looked at a bunch of different references online to find different patterns that I could use for this process. And I landed on this one. Uh, it's a sort of flower pattern. I did a little sample swatch a while ago to test it out and see if I could make it work and how I liked it. And I really, really like the way it turned out. And with the sample, I did a 1 inch by 1 inch grid. And I thought that was just a little bit too big for this application. So, I'm going to do a half inch grid. So, I am marking that out now. It is going to take forever. Thank you for asking.
[Intense orchestral music] Once I had the fabric fully gridded, I also marked every other box in every other row to indicate where I needed to do my smocking stitches. For this pattern, you start with your thread tied off on the underside of the fabric at one corner of the first marked box. Then from the right side, you go around the square making small running stitches at each corner, only passing under a few threads of the fabric for each stitch. Once you get back to the starting corner and make a fourth running stitch, you pull the thread to gather all the corners together. and then tie the thread off. I carried my thread along the back of the smocking to avoid cutting and retying a knot after every gather. I just brought the needle up at the corner of the next square, then repeated the process. It doesn't matter which corner you start with or if you go around clockwise or counterclockwise. You just need to go in order, make a stitch at all four corners, including the one you start with where the thread is tied off and make sure that you tie off at the start and after you do the gather. Then you just spend the next 10 hours doing the exact same thing over and over. Yes, literally 10 hours.
I did this from 10:00 a.m. to 8:00 p.m. with some breaks. So, probably more like 9 hours, but still.
Once all the smocking stitches were done, I had this, which was not looking very floral. So, then I had to go in and poke out all the little gathers to sit correctly with the knitting needle.
And I finally had my smocked fabric done. I gave it a light steam with the iron and pressed the ruffly excess fabric at the edges into something resembling pleats before trimming it down to just an inch or so bigger than the interlining. I folded the edges over to the back of the inter lining and stitched them down. Then I went and covered a good chunk of all that tedious work with another ruffle made from the yellow satin. This time I took a long strip and coiled it into a sort of mutated infinity symbol, like a double infinity, or more like a 1 and 1/2 infinity, I guess. That just got tacked on by hand and that finished the stomacher. I didn't put any sort of closure or attachment to get it onto the dress because in most of the examples I had found in my research, the stomacher just attaches to the stays with sewing pins. That did work for me. Though I think in the future I want to add some hooks and eyes just to simplify things. So the next piece I need to work on is the mask. And I have an idea for this piece that I'm very excited about and really hope I can pull off in the way that I want it to work. So I want to go for like a simple masquerade, domino mask style thing. So, I've made a little paper template. I took some measurements on my face and sketched out a shape that works. And I'm planning on making this whole thing out of paper because my plan is to make multiple different masquerade masks and stack them up together and attach them down the middle with like a book binding stitch and have like a little book of different masks. And I can like have it attached however and then just like flip and then that would be another different mask and I can flip and that's a different mask.
I figure I'll do like some sort of ribbon or elastic band to attach it to the back of my head. Though that will have to contend with the wig. So, we'll see how that works. But then also, I'll put like some small magnets at the temples so that when I flip it, it'll like stick and stay uh, flipped to whatever mask I have it set to. Initially, I was thinking of doing different like fairy tale character archetypes like the princess, the knight, evil witch, the dragon, like different like stock characters you'd see in a fairy tale. But I've really been struggling figuring out how to capture all of these different characters in just a domino mask. Like if I wanted to do a knight, I would represent that with like a knight's helmet. And you can't really put that in just just this amount of real estate. You need a more full face thing. But I don't want to do a full face thing. I want it to be a masquerade mask. And then like, you know, it it it wasn't working out. So, I'm thinking now I'm just going to do different designs themed around various fairy tales and do some sketching and doodling and figure out what exactly I want to do, what fairy tales I want to represent, how many I'm thinking at least three would be a good start. Um, I would love to do this as like a fabric piece and do like a bunch of really intense embroidery and applique and all of this. Um, I do not have the time for that. I need to get this done today. Okay, I'm thinking just like pen and ink illustrations, maybe a little bit of watercolor here and there, so it really looks like pages of a story book. So now I'm going to start working out all my designs. I did some sketching and I flipped through some of the Andrew Lang fairy books to get some inspiration for the stories and the art style. Then I traced my mask template onto some paper and started sketching the final illustrations. Drawing and painting used to be the primary mediums I worked in once upon a time before I fell down the well of fiber arts. I'm definitely a little out of practice, but I still quite like how these turned out. I lightened the pencil sketches with a kneaded eraser, then inked over them with some Micron fine liner pens. Then I added in some color with watercolor paint, keeping to the green, purple, and yellow palette. I think the painting overall is a bit too light. The colors aren't nearly as dark as the rest of the costume, and I think that they needed more contrast in the color values, but they came out okay in the end. This paper was not meant for watercolors, so I ironed my paintings on low heat to reduce the warpiness. Then I cut the masks out and began gluing them together so that half of the back of one mask was attached to half of the back of the next and so on. I also added some thin magnets between the layers of paper, being careful to make sure that they were all facing the right way so the pages would attract and not repel. Once all the pages were assembled, I reinforced the back with packing tape to prevent the paper from tearing.
Then I just needed to cut out the eye holes and add some ribbon ties. And the mask was done.
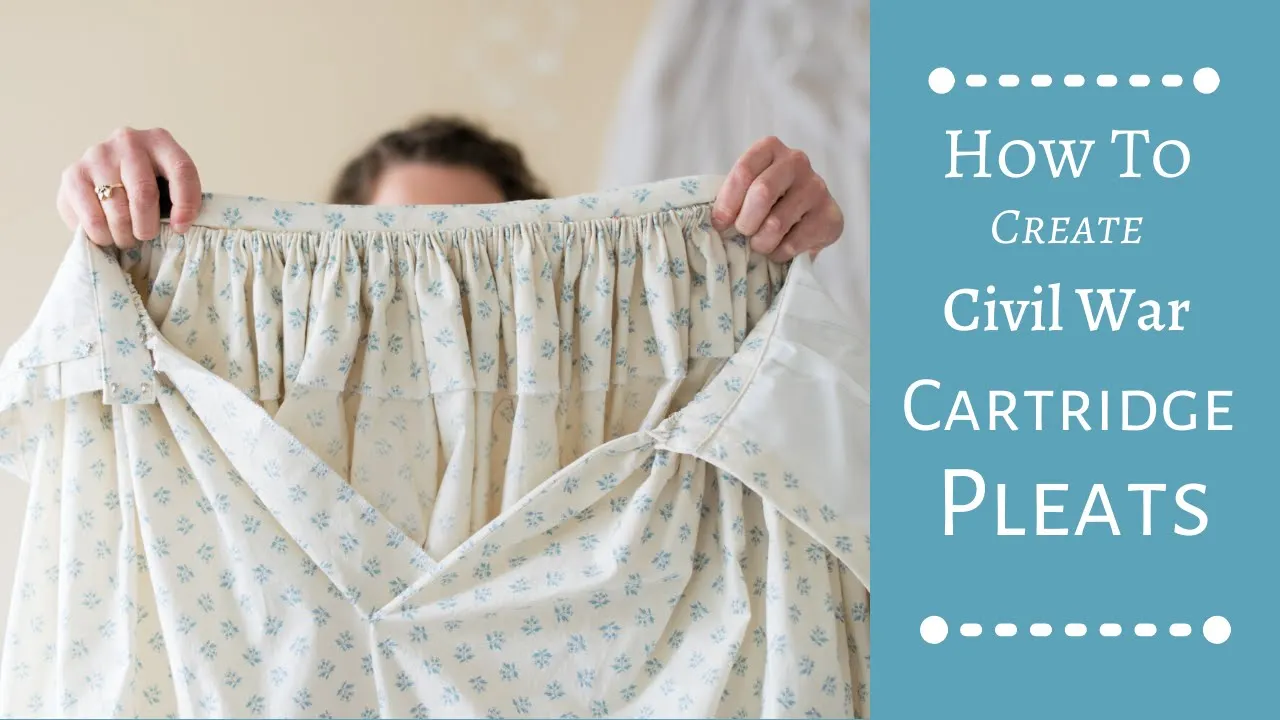
The final piece for this project was the under sleeve, since, as you may have noticed, the sleeves on the gown are elbow length, but the survey demands long sleeves. My solution was to make some very fancy arm warmers that would cover from elbow to wrist. And I had apparently recovered enough from my 10-hour smocking episode the other day because I did more smocking on the sleeves. I did English smocking this time, which requires you to pre-gather your fabric into cartridge pleats first. Then you embroider on the surface of those pleats to create a stretchy gathered fabric. I just did two narrow bands of smocking on each sleeve spaced apart to create little puffed tiers. This style is featured in the fairy tale illustrations of Walter Crane, who is one of my favorite artists, so it felt like it fit the brief in multiple ways. With the smocking done, I could sew up the side seams to make a tube. Then fold down and stitch the top edge to make a channel for the elastic to keep the sleeves up while I wear them. That completed the final element. So, it is time to take a look at the costume that you designed for me.
[Ethereal music] I've got my glasses like, precariously wedged on under my wig and they do not sit correctly. So, we're going to do this as fast as possible. That is it. That is the full project. I am very happy with how all of this came out. There are a few things here and there that I don't love necessarily, but overall I'm really happy. I really like how the dress came out. I was pretty bummed about not getting to all of the trimming that I had planned originally. Uh, but once I like got everything on, I kind of feel like now it doesn't need much more. I think it would start to get a little bit too dense. I'm still very happy with the wig. Um, the little half sleeves, I really like how they came out. They're super cute. They are a little bit too short. Um, I was thinking the sleeves on the main dress came down to my elbows and then the lace came further, not that the lace came to my elbows. So, I made them a little bit too short, so there's a bit of a gap. But, I think if I were to wear this dress to an event or something, I would wear it without the little sleeves. I think it looks a bit better like this. But, I still really like these. I think I can work them into other outfits as just like little add-on sleeves here and there. The sizing is also a little bit off with the stomacher. It's a little bit too wide. So, it's not sitting super well. It's kind of gaping a little bit at the top, but that's definitely fixable. I just need to unpick some seams and trim some stuff down, and then it will fit quite nicely. The one piece that I'm not really that happy with is the mask. I- I really like the concept. I think it's really cool. I just I don't love the execution.
Um, I think the watercolor paintings came out pretty light, so it doesn't really fit in with the darker color palette of the rest of the costume. So, that's, you know, um, and then the magnets that I used uh, to keep the pages shut uh, were not very strong, so they didn't really hold in place as well as I would have liked. I still like it. I like- I like the way it looks. It's just I really, really was excited about the concept and so it's- it's just the execution's falling a little bit short for me. So that just is kind of disappointing. I would really like to revisit the concept someday when I have the time to be able to dedicate to it and make it like as good as I would like it to be. The one other thing that's kind of like a critique of the overall costume um, is I don't know if it feels fairy tale. I- I don't know if I mentioned this earlier in the video, but I was been really struggling with nailing down a fairy tale aesthetic that is distinct enough from a general fantasy aesthetic because fairy tale and fantasy are certainly very close to each other, very similar. Uh, but they're they're different in my mind, and I'm really having a difficult time figuring out what exactly makes them different. I think I think my overall thoughts is this costume, this character that I've created here doesn't not belong in a fairy tale setting, but I don't look at this costume and think fairy tale first off. I mean, um, the castle and the wig definitely brings fairy tale vibes. And then the mask has very direct references to very specific fairy tales, so that brings that in as well, but beyond those two accessories, it doesn't really scream fairy tale to me. So, so I don't know. I'd love to hear you guys' thoughts. I still really like the costume. I feel like I'm being really negative and like nitpicking, but I really, really like how it turned out. I think it looks incredible. It's one of those things where like I like it so much that the small things that are wrong really stick out to me. So, I like feel the need to comment on them. But overall, I'm super happy with this whole costume, and I'm really excited to have it done.
I'm going to have to try and find some sort of event to wear this out to. Perhaps not with the wig, cuz the wig is... just a bit much. Just a little bit much. The rest of the costume, that's fine.
Could wear this to the grocery store. But that is it for today's video. I hope you enjoyed. Uh, thank you to everyone who filled out the survey. I hope I- I lived up to your dreams when you were filling it out. Um, I am considering making this kind of like a yearly tradition. Um, I did this last year as well at around the same time during the summer. That video and this one were meant to be like celebrating milestones on subscriber counts, which this this video was supposed to be like a a celebration for hitting 30,000 subscribers and we're very close to 40,000 now. So, uh, thank you guys, but also these things take a while. Um, [laughs] so maybe it just becomes kind of like a regular yearly thing cuz they are really really fun for me.
I really enjoy the challenge of being given a set of criteria and then having to make it work into something cohesive that I like as well. So, if you're interested in this becoming a yearly thing, let me know in the comments and I would definitely like to make that happen. But other than that, that is it for today. Thank you so much for watching. I hope you enjoyed. Thank you to all of the patrons over on Patreon, especially those in the magnanimous maelstrom tier. Hollis Morelle, froggieinluv, Marijean Rue, Oscar, Evelyn, Obi-Knit Kenobi, Bear Hardy, and Perfect Primrose. Your guys' support makes projects like this possible. But that is it for today. Thank you so much for watching. I hope you enjoyed, and I will see you in the next video. Goodbye.
[Ethereal music]
Up Next
7:52
Hollywood Costume Design: Behind the Scenes of Ironhead Stud
@tested
219.6K views•2017-04-15

12:54
Triumph of Orthodoxy Icon: Byzantine Art & History Explained
@BenCallan
2.1K views•2024-08-06

9:49
FastAPI vs Flask vs Django: Choosing the Right Python Web Framework
@TechWithTim
302.5K views•2024-05-26

1:42
Game of Thrones Opening Credits: A Cinematic Analysis
@gameofthrones
46.3M views•2011-04-18
Related Study Plans & Knowledge Roadmaps
Structured learning paths in General & Interdisciplinary Studies
general-studies
Elevator Engineering: History, Physics & Cities
01From Hoists to Safety Brakes: The Dawn of Vertical Lift
02Hydraulic vs. Traction: The Engineering Physics of Elevators
03Modern Speed, Safety, and Algorithms
+ 2 more learning modules
12h5 modules
Explore Roadmap
general-studies
Rubber: Material Science, History & Geopolitics
01Origins of Natural Rubber & Mesoamerican History
02The Chemistry of Natural Rubber & Vulcanization
03The Geopolitics of the Rubber Boom & Colonization
+ 2 more learning modules
12h5 modules
Explore Roadmap
general-studies
Containerization: Evolution, Logistics & Trade
01Ancient Trade & Bulk Cargo: Amphorae to Barrels
02The Industrial Revolution & Cardboard Packaging
03The Containerization Revolution: Malcom McLean
+ 2 more learning modules
12h5 modules
Explore Roadmap
general-studies
Textile Tech: Evolution, Labor & Global Impact
01Pre-Industrial Textiles: Handloom & Cottage Industry
02Mechanization: The Spinning Jenny to the Power Loom
03The Factory System & Global Labor Transformation
+ 2 more learning modules
10h5 modules
Explore Roadmap