






















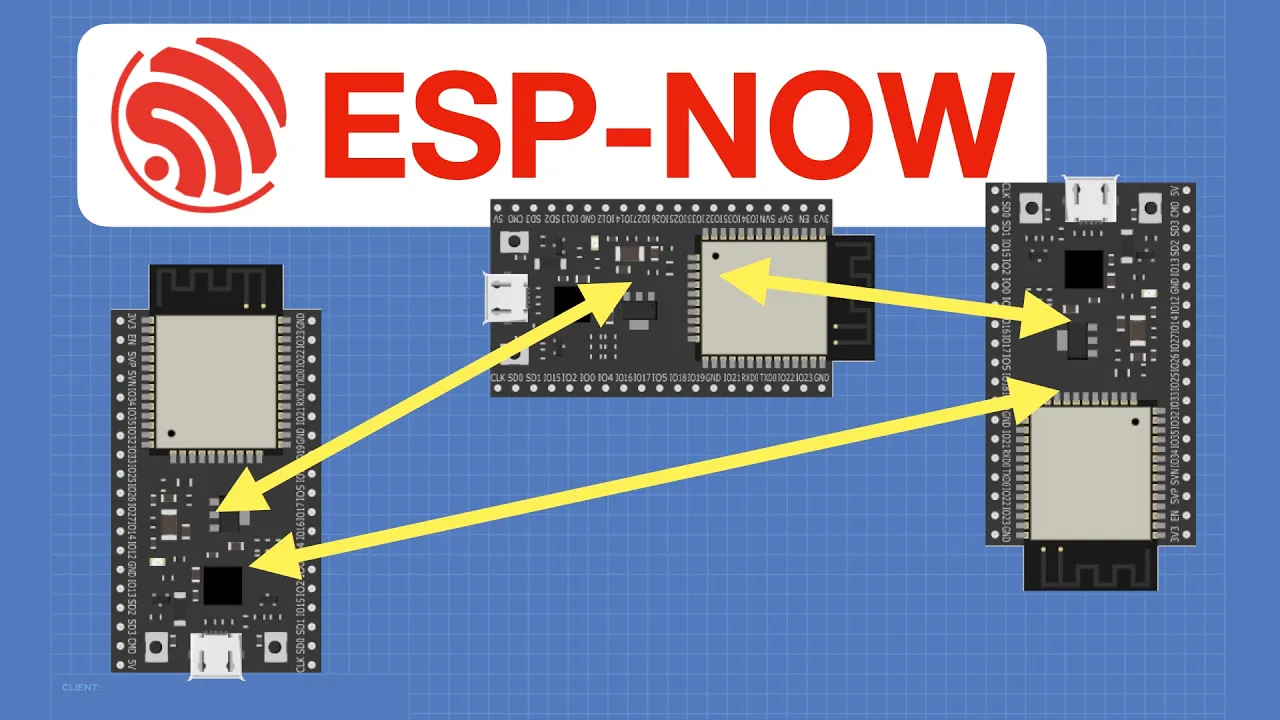


![Hand Gesture detection using ESP8266 and Machine Learning [Arduino IDE]](https://i.ytimg.com/vi/NuA1YfmMS0w/sddefault.jpg)



This tutorial demonstrates how to control a servo motor using the MyoWare muscle sensor by Advancer Technologies, which reads muscle signals from the bicep and translates them into servo movements through an Arduino UNO board. The circuit connects the MyoWare sensor to the Arduino's 3.3V output, ground, and A3 analog input, while the servo connects to pin 9, 5V, and ground. The Arduino program reads muscle activation values from A3 and moves the servo to different positions based on a threshold value (typically around 250), allowing users to control the servo by flexing their bicep.
DIY EMG Servo Control: MyoWare Muscle Sensor with Arduino UNO
Added:Basic Arduino programming and the use of the Arduino IDE, including concepts of analog inputs (analogRead) and controlling servo motors using the standard Servo library.
Fundamentals of circuit design, including breadboard prototyping, shared grounds, and safe power supply distribution between microcontrollers and motors.
The biological basis of Electromyography (EMG), specifically how skeletal muscle contractions generate detectable electrical signals (microvolts) on the surface of the skin.
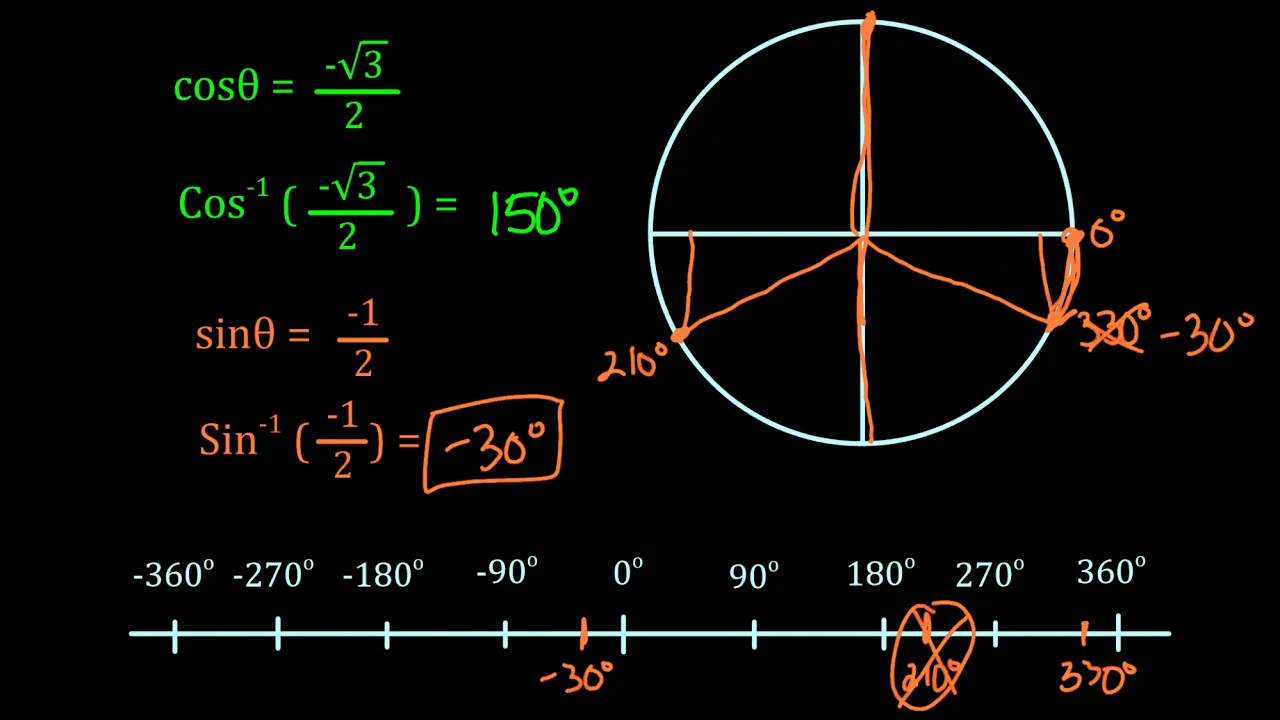
Basic mathematical scaling and trigonometric concepts required to calibrate, map, and translate variable analog sensor outputs into precise angular degrees (0 to 180).
Digital Signal Processing (DSP) techniques, such as implementing moving average filters or threshold-detection algorithms in code to smooth out noisy EMG sensor data.
Multi-channel EMG control systems to manage multiple servos simultaneously, enabling complex, multi-degree-of-freedom movements for robotic hands or limbs.
Integration of wireless communication protocols (such as Bluetooth Low Energy or ESP-NOW) to create wearable, untethered muscle-controlled human-machine interfaces.
Exploring Machine Learning (ML) on microcontrollers (TinyML) to classify distinct muscle contraction patterns for advanced gesture-recognition systems.
63.9K views803likes7:01Original Release: 2016-01-30
hello today I'm going to teach you how to control the servo using the myow work sensor by advancer [Music] [Applause] Technologies so today I'm using an uino UNO a my our muscle sensor a high torque Servo angled header pins a 9.6v butterfly type battery with a small type toia connector an adapter to attach my b battery to the board three electrodes male to male jumper wires female to male jumper wires a soldering iron and some solder and a helping hand to help me solder so here we have the myoware muscle sensor by advancer Technologies here I have three header pins which I'm going to solder onto the myoware so first I'm going to attach my battery adapter to the Arduino Uno board to do this I'm going to attach the positive end to the VN and the negative end to ground now if I attach my butterfly type battery the boore should power up now to attach the my to the ardino board first I'm going to get the positive lead and attach that to the 3.3 Vol output on the Arduino board then I'm going to get the negative lead and attach that to ground and lastly I'm going to attach the signal lead to the A3 Port under the Arduino board this is all we have to do to attach our myoware to the Arduino board here I have my Servo and attached to it are three M toale jumper wires so first I'm going to get the signal and attach it to pin 9 I'm going to get the positive lead and attach it to the 5V output and then I'm going going to get my negative lead and attach it to the ground this is all you need to make this circuit work here is the program that I wrote to work with my myoware circuit first I included the servo library then I named my Servo then I created a constant integer value called thresh value I'll go more into what this does in a second in the setup I attach my Servo to pin N9 in the Arduino board in the loop I create an integer called value which is equal equal to the analog read of pin A3 on the Arduino board pin A3 is the same pin that myoware is attached to so in this if statement it says if the value of the myoware is less than this thresh value that we created up here then it'll tell the servo to move to a certain position to move the servo I chose to write in micros seconds this best suited my needs so if the value is not less to this thresh value then it'll go to the else and move to this position here for this thres value it varies from person to person my thres value was 250 with this program and the mware attached to your bicep you'll be able to manipulate the servo by flexing your bicep now it's time to upload the program to the Arduino and then we can test it out now the final step is to attach the mware to your bicep or whatever muscle you prefer and then attach the battery to the battery adapter now whenever I flex the servo will [Music] move I can even hold the servo to its Max position then let go
Up Next
8:01
Kwawu 3.0 Prosthetic Hand Stringing Tutorial and Assembly Guide
@JacquinBuchanan
2.3K views•2022-04-07

12:54
Triumph of Orthodoxy Icon: Byzantine Art & History Explained
@BenCallan
2.1K views•2024-08-06

9:49
FastAPI vs Flask vs Django: Choosing the Right Python Web Framework
@TechWithTim
302.5K views•2024-05-26

1:42
Game of Thrones Opening Credits: A Cinematic Analysis
@gameofthrones
46.3M views•2011-04-18
Related Study Plans & Knowledge Roadmaps
Structured learning paths in General & Interdisciplinary Studies
general-studies
Elevator Engineering: History, Physics & Cities
01From Hoists to Safety Brakes: The Dawn of Vertical Lift
02Hydraulic vs. Traction: The Engineering Physics of Elevators
03Modern Speed, Safety, and Algorithms
+ 2 more learning modules
12h5 modules
Explore Roadmap
general-studies
Rubber: Material Science, History & Geopolitics
01Origins of Natural Rubber & Mesoamerican History
02The Chemistry of Natural Rubber & Vulcanization
03The Geopolitics of the Rubber Boom & Colonization
+ 2 more learning modules
12h5 modules
Explore Roadmap
general-studies
Containerization: Evolution, Logistics & Trade
01Ancient Trade & Bulk Cargo: Amphorae to Barrels
02The Industrial Revolution & Cardboard Packaging
03The Containerization Revolution: Malcom McLean
+ 2 more learning modules
12h5 modules
Explore Roadmap
general-studies
Textile Tech: Evolution, Labor & Global Impact
01Pre-Industrial Textiles: Handloom & Cottage Industry
02Mechanization: The Spinning Jenny to the Power Loom
03The Factory System & Global Labor Transformation
+ 2 more learning modules
10h5 modules
Explore Roadmap