







![2# Anatomía de muñeca [Curso Imagen en patología de muñeca y mano]](https://i.ytimg.com/vi/SJP2LHwL5gI/maxresdefault.jpg)


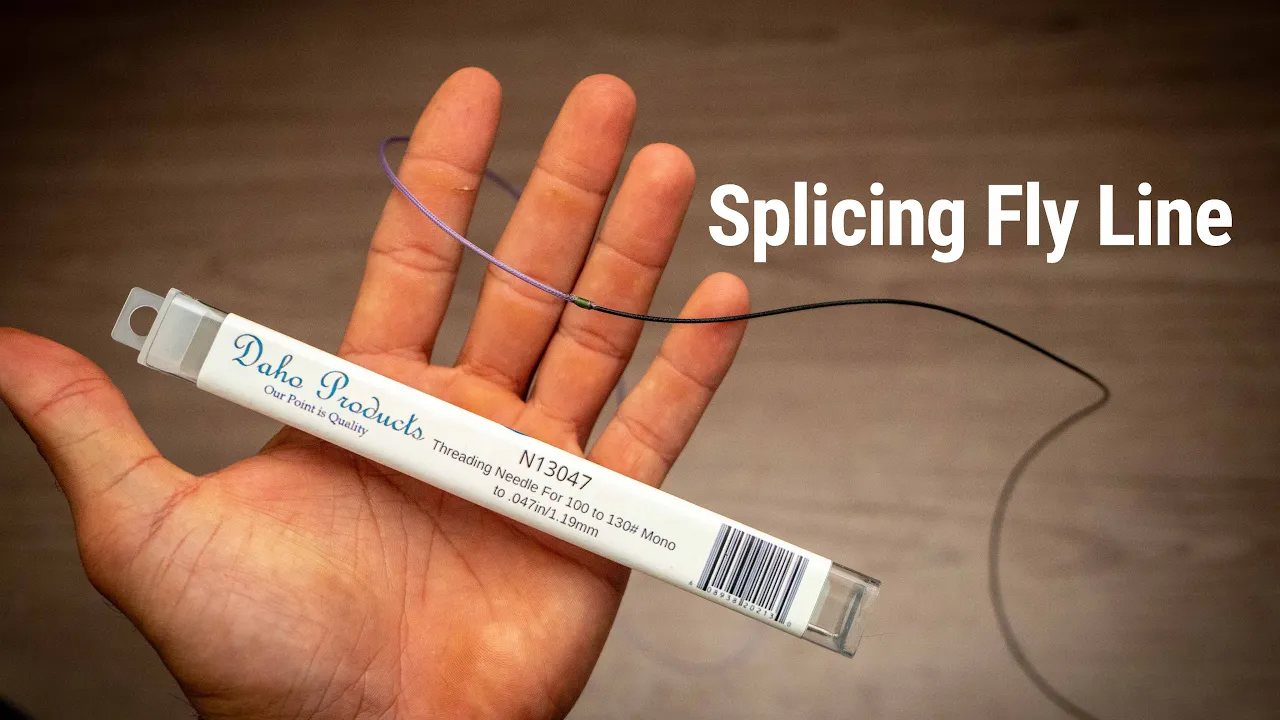





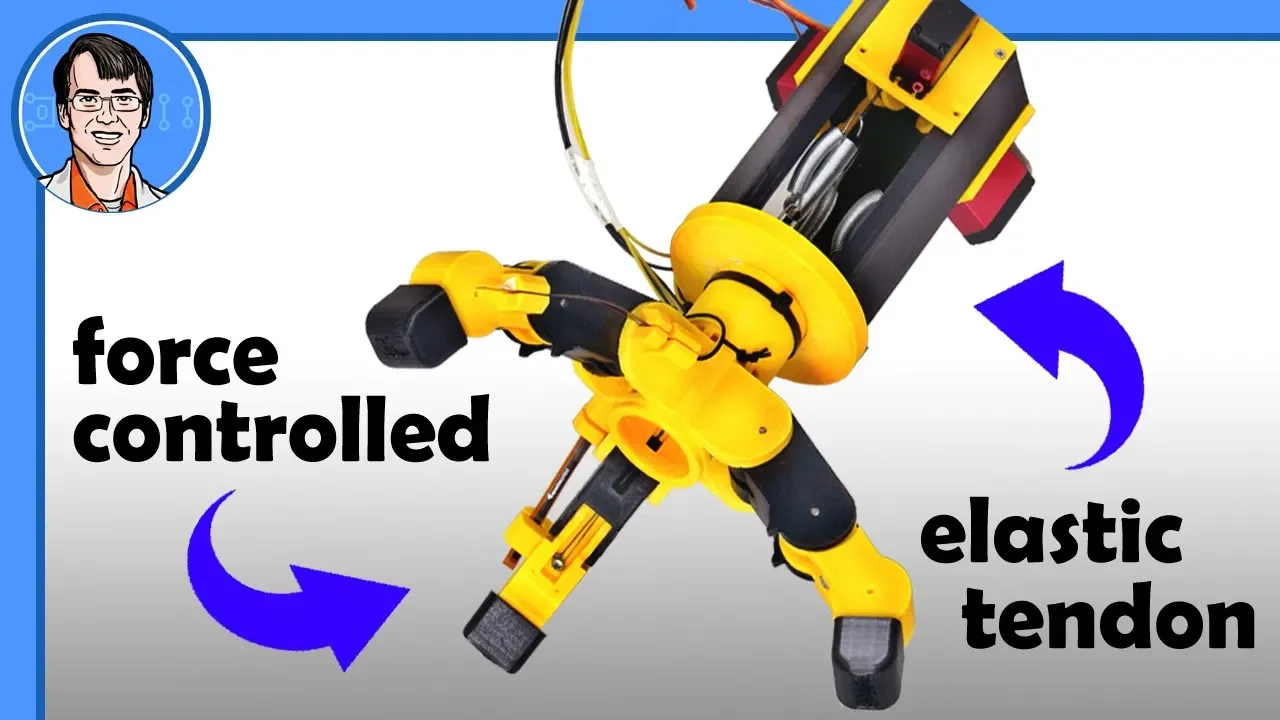





When stringing a prosthetic hand, pull the string through the Whipple tree and tie it off at the finger ends while holding the fingers in their maximum open position, ensuring the string is pulled as tight as possible to achieve even tension across all fingers and create a flat, functional hand.
Kwawu 3.0 Prosthetic Hand Stringing Tutorial and Assembly Guide
Added:Understanding of body-powered prosthetics and tendon-driven mechanism design.
Basic knowledge of 3D printing post-processing, including clearing print channels and assessing part tolerances.
Anatomical concepts of hand biomechanics, specifically how flexor and extensor tendon systems facilitate grasping.
Familiarity with high-strength tensioning materials, such as Spectra or Dacron lines, and secure knot-tying techniques.
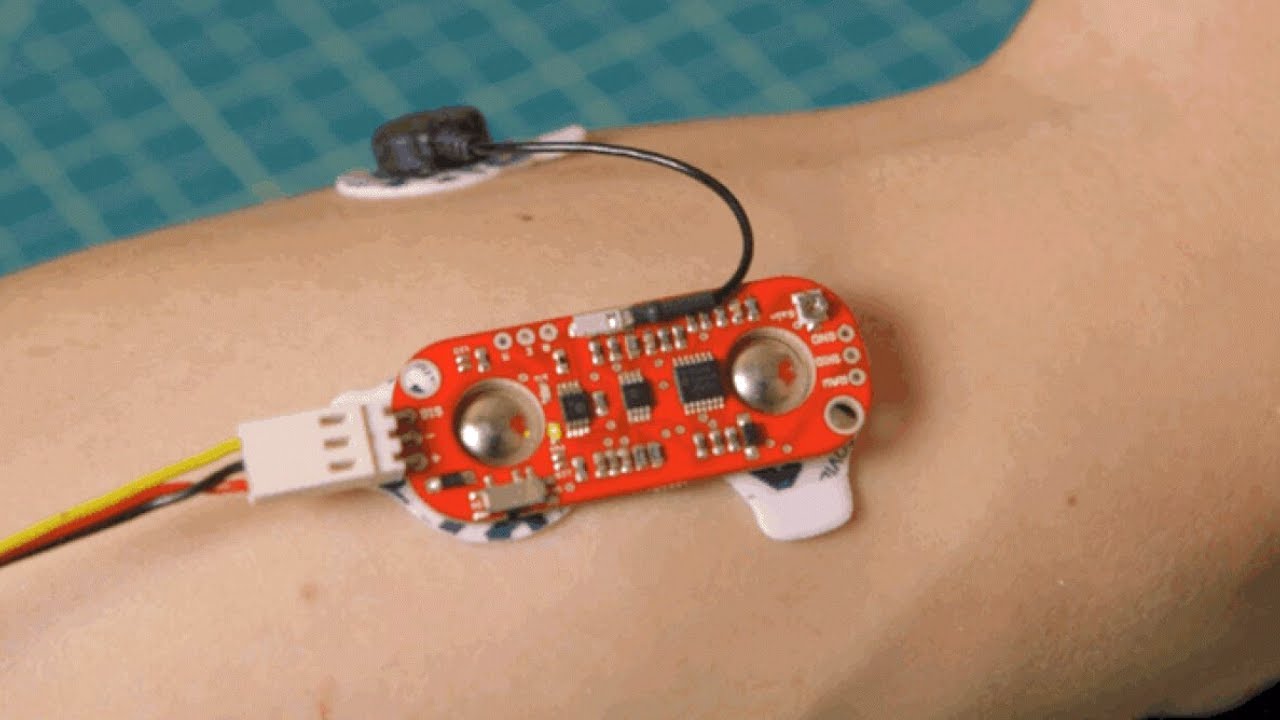
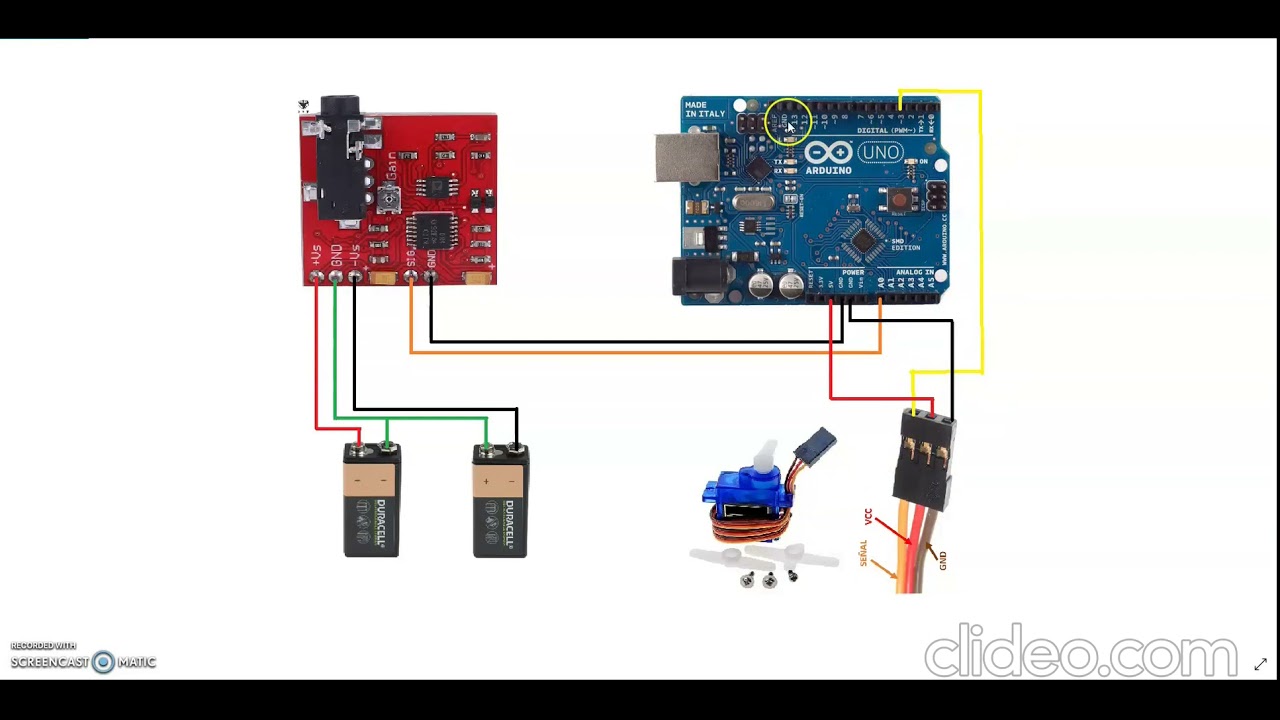
Integration of myoelectric control systems, including EMG sensors, microcontrollers, and servo motors, for active actuation.
Quantitative evaluation of prosthetic grip strength, force distribution, and mechanical efficiency using sensors.
Advanced material selection for artificial tendons, studying wear resistance, tensile strength, and creep under cyclic loading.
Clinical customization protocols, including thermoforming wrist sockets and tailoring tension for individual patient kinematics.
2.3K views39likes8:01Original Release: 2022-04-07
hey I want to do another quick video of showing you how to string this hand this is a small child's hand it should be the smallest size that the quu 3 will print and so I thought i' would do that as the example of stringing um it's a lot easier to string the qua 3 than it was the quu 2 so I just wanted to show that real quick um before I do the stringing I just wanted to make a note about um the fingers by this point when you're getting ready to string you want to make sure that these fingers are really easy to bend right these should just these just should bend and snap back really easy I have for example here um uh an older Phoenix and and right it should be easier to bend than these right this this takes me you know these Bend fine and everything but but but these should be easier and and balance about the same um one Improvement I made on the quao 3 over the quu 2 is um the shore a hardness of these hinges you can see the little um rectangular hinges that that form the uh the actual bending point this hand here is in a sure a hardness 95 which is about the stiffest I would recommend you go it still bounces pretty good um but it works and that's an improvement I changed the shape of these Knuckles and hinges so that it works better with that hardness um this is a sure a hardness 82 um I still think it works better if you can print an 82 um it's a little springier soft softer um then do it it's going to you're going to get better results but nowadays you know if all you can do is 95 it's still going to work it's going to work fine um so again let's um go ahead and string this hand um so the big difference between AAA two and a three is when we string the Ripple tree we're only going one time through it's going to go up um each fingers then tie off in the finger ends again similar to the the Phoenix hand style as opposed to going back into the palm and tying off there which the quao too did right the easiest way I found to do this to feed the string through the Whipple tree um for two of the fingers and I'm going to start with these two um fingers on the outside edge now I've pulled the string all the way through you can see it's a single string that goes down one finger through the Whipple tree and up the other finger now what I'm going to do is tie it off at this uh Center finger I've just got two half pitches there for now and pull it tight and now I'm going to put a I so I've only got one half inch in there right now um but I'm going so I'm explain the idea of what I want to do I want to pull this um to get the tension right I'm going to pull this string pretty much as hard as I can right now my Whipple tree is going to touch up against the inside there when I pull hard and so what I want is this string to be I'm going to hold these two fingers straight it's kind of hard to see the way the camera is but what I'm going to do is hold these two fingers straight out so it's their maximum openness and I want to tie as tight as I can the string while they're maximally open which will of course pull the Whipple tree as tight as it can go so that's as far as open as the fingers can go but that's straight out which is the the goal I'm looking for right so I'm going to pull this string tight while the fingers are held straight out and then at that position I'm going to go ahead and tie it off now I would air on the side of a little extra tight right um because I find that this string you know the knot always slips slightly as I'm working it and or the string stretches a little bit later so if anything on the the thing I just told you about tying it with the finger straight I go a little bit tighter than that right um a little bit more so I'm going to pull that hold these straight and pull that pretty much as tight as I can get it right so now with those fingers straight right the Whipple tree is tied up against the inside and I'm going to finish that off with a third half itch each side before I'm ready to put some CA glue on it all right now I'm going to do the um the second two fingers I'm going to do the same technique little the Whipple trees already in there and two of the fingers so I'm just going to do the same thing again all right so now I've got those two strings pulled all the way through I'm going to tie off um this finger here slide that knot up as tight as I can get it I just like to do that now again the the goal is to stretch these fingers straight and tie this one as tight as I can get it while these fingers are held straight all right there we go so now when I hold these fingers straight the Whipple tree is tight up against the inside so again that's the maximum that you can open the hand um but that's it gives everything nice and even all the fingers are even um and everything is tight that's what I want to say it's nice flat hand and everything is tight nothing one finger isn't bent more than the other when I make them off flat like this all right now I'm going to do the thumb it's the same technique I'm going to tie the thumb off and then bend it back as far as I can while the string is tight so first I'm going to tie it inside all right got that knot as tight as I can um one thing here before if I hadn't said already when you're tying these two Whipple trees together you're tying them in this structure um the the long thumb end is here the short end is there and there's a little arrow over here that um is printed in that that points to the thumb so you want to make sure that you get right that little arrow points to the thumb this Whipple tree is not the same length on each side it's slightly off center to make the um index and thumb close first all right so I've got the string pulled through it's tied tight on the inside I am going to go ahead and put two half inches here on the outside so again I'm pulling that as tight as I can and holding the thumb straight in the most open position so that the the piece will butt up against as far as it can go and the thumb is in the and I'm holding the thumb in the most open position that's how you get it the right tension on the string all right I've got that where I like it um so again these are tensioned right the thumb is tensioned right you can flatten the hand out and everything is touching inside that's where I like it so I'm going to dot a little CA glue on each of these knots all over the hand and uh let the CA glue set and then I'll um cut these extra bits off all right thank you very much that was um um stringing the new quao 3 hand and then stringing up the Palm uh sorry up with the arm as a whole another video thank you
Up Next
17:23
3D Printed Iron Man MK85 Suit Build: Hand and Torso Construction
@FranklyBuilt
72.3K views•2019-10-30

12:54
Triumph of Orthodoxy Icon: Byzantine Art & History Explained
@BenCallan
2.1K views•2024-08-06

9:49
FastAPI vs Flask vs Django: Choosing the Right Python Web Framework
@TechWithTim
302.5K views•2024-05-26

1:42
Game of Thrones Opening Credits: A Cinematic Analysis
@gameofthrones
46.3M views•2011-04-18
Related Study Plans & Knowledge Roadmaps
Structured learning paths in General & Interdisciplinary Studies
general-studies
Elevator Engineering: History, Physics & Cities
01From Hoists to Safety Brakes: The Dawn of Vertical Lift
02Hydraulic vs. Traction: The Engineering Physics of Elevators
03Modern Speed, Safety, and Algorithms
+ 2 more learning modules
12h5 modules
Explore Roadmap
general-studies
Rubber: Material Science, History & Geopolitics
01Origins of Natural Rubber & Mesoamerican History
02The Chemistry of Natural Rubber & Vulcanization
03The Geopolitics of the Rubber Boom & Colonization
+ 2 more learning modules
12h5 modules
Explore Roadmap
general-studies
Containerization: Evolution, Logistics & Trade
01Ancient Trade & Bulk Cargo: Amphorae to Barrels
02The Industrial Revolution & Cardboard Packaging
03The Containerization Revolution: Malcom McLean
+ 2 more learning modules
12h5 modules
Explore Roadmap
general-studies
Textile Tech: Evolution, Labor & Global Impact
01Pre-Industrial Textiles: Handloom & Cottage Industry
02Mechanization: The Spinning Jenny to the Power Loom
03The Factory System & Global Labor Transformation
+ 2 more learning modules
10h5 modules
Explore Roadmap