![GRUA con ARDUINO || PROYECTO con servomotores || Para principiantes [Explicado paso a paso]](https://i.ytimg.com/vi_webp/B2lwaLmHDEI/maxresdefault.webp)








![[۱۶] دورهی آموزشی میکروکنترلر STM32: شکلدهی سیگنال آنالوگ (Signal Conditioning)](https://i.ytimg.com/vi/HRqFgbb1zj8/maxresdefault.jpg)


![FREEEMG | Surface EMG fundamentals [Lesson 1]](https://i.ytimg.com/vi_webp/epvErjJoA3Q/maxresdefault.webp)
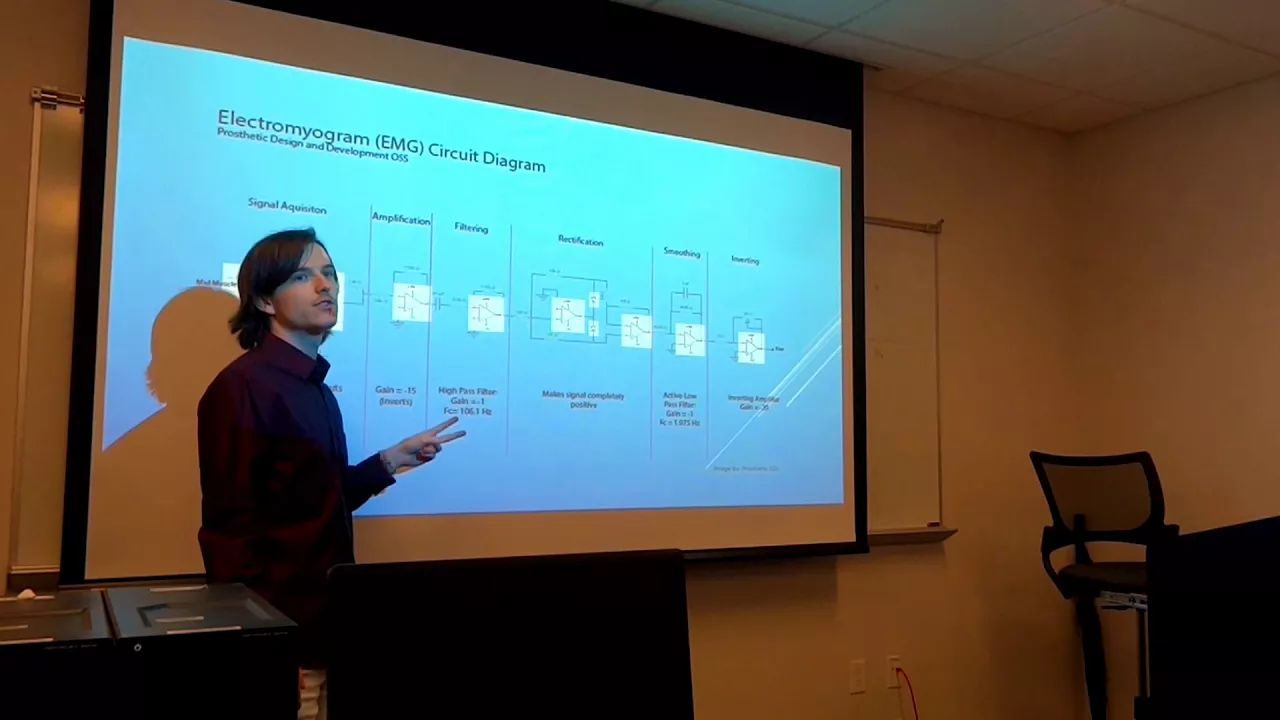












An EMG (Electromyogram) sensor measures muscle electrical activity through surface electrodes, producing a signal that indicates muscle contraction or relaxation; this module requires a dual power source of +9V and -9V connected to an Arduino board, where the signal pin connects to analog input A0, allowing real-time monitoring of muscle activity through serial plotter and enabling applications in medical equipment, robotics, and gaming through signal mapping to control external devices like servos.
Muscle Activity Monitoring with Arduino EMG Sensor | Electromyography Tutorial
Added:Basic Arduino programming and hardware interfacing, specifically how to read analog signals (ADC) and control actuators like servo motors via PWM.
Fundamentals of Electromyography (EMG) and muscle physiology, including how muscle contractions generate microvolt-level electrical signals (action potentials).
Understanding of dual-rail power supplies (positive, negative, and ground references) which are commonly required for operational amplifiers in biopotential sensing.
Basic concepts of analog signal conditioning, such as amplification (gain) and noise filtering to isolate weak biological signals from ambient electrical noise.
Advanced digital signal processing (DSP) techniques for bio-signals, such as digital filtering (notch, bandpass), rectification, and calculating the Root Mean Square (RMS) of EMG data.
Development of Myoelectric Prosthetics and orthotic devices, exploring how to map complex muscle trigger patterns to multi-DOF (degree of freedom) robotic limbs.
Multi-channel EMG systems and pattern recognition algorithms (including Machine Learning) for gesture control in gaming, Virtual Reality (VR), and Human-Computer Interaction (HCI).
Clinical and biomechanical analysis applications, such as evaluating muscle fatigue, gait analysis, and targeted physical rehabilitation therapies.
129.4K views1.8Klikes6:43Original Release: 2023-03-24
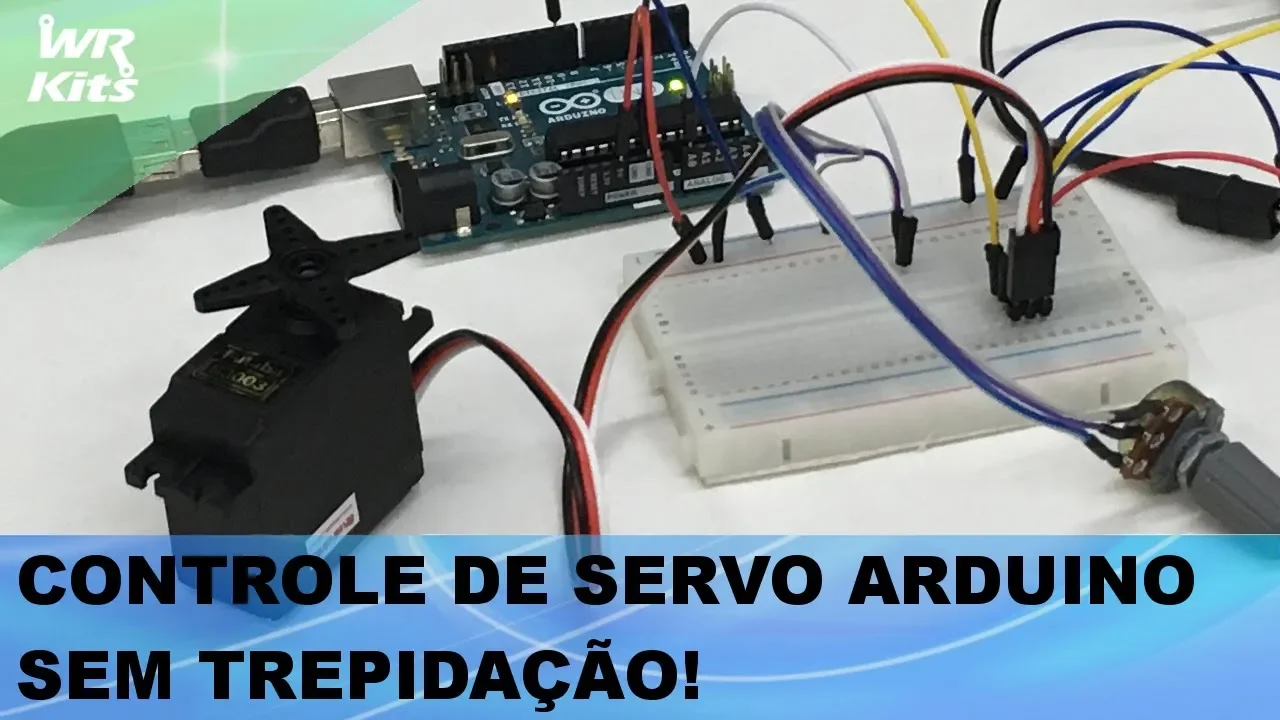
hello all this video is on EMG muzzle sensor with Arduino EMG is electromyogram which measures the muscle activity and produces a signal to show the amount of expansion of contraction of the muscle it has got a red amplifier board and a 3.5 ohm Jack the other end of 3.5 mm Jack is connected with three electrodes these are all surface electrodes for transmitting the electrical signals generated by the muzzle movement the board has got a signal amplifier signal processing IC and then an instrumentation amplifier mostly it is ad8226 which produces an amplification factor of 2000 it has got signal pins and power source pins it requires dual power source now let us see how to make the power source for this you require two numbers nine volt batteries to produce plus nine oh zero and minus 9 volt you record three numbers connectors like this take one connector and join both the wires of the first connector connect positive of first battery to the to the negative of the second battery like this so the center pins are connected together and it forms the electric ground for our power source now one positive is left out and the negative is left out connect the negative of first battery which forms the minus 9 volt you can use the second tag like this now one wire is left out so we'll cut the red wire as we are going to make it as minus 9 volt we'll cut the red wire and strip the black wire this forms the minus 9 volt the other end left out is Plus and you connect the third snap on the now we will cut the black wire yes we are going to use it as plus 9 volt it is the red wire is now plus nine the center is zero the other end black is minus nine volt so this is the Dual Source now let us check with the multimeter let us keep the black probe and the black wire with black wire it shows minus 10 volt the red wire it shows plus 10 volt as it is fresh battery so nine zero nine plus nine all zero minus 9 all dual power source and let us connect female bug wires so that we can fix it to the amplifier board we are using Arduino you know with this EMG module the signal pin of the EMG module goes to a0 that is analog zero pin of Arduino underground to ground these are the two pins at the top of the AMG module now we have to connect the dual power source that we have created now we have generated the power source Plus 90 and -9 volt using two nine volt batteries the three pins are together on the EMG board the power ground that is a center pin is connected to the center pin of the Dual batteries and plus vs2 plus 9 volt and minus vs2 minus 9 volt take caution to connect only the plus vs to plus and minus es2 minus do not reverse it now we have got the three electrodes there is a green red and yellow electrodes the 3.5 mm Jack can be connected to the EMG PCB and if you want you can connect the server to digital pin 9.
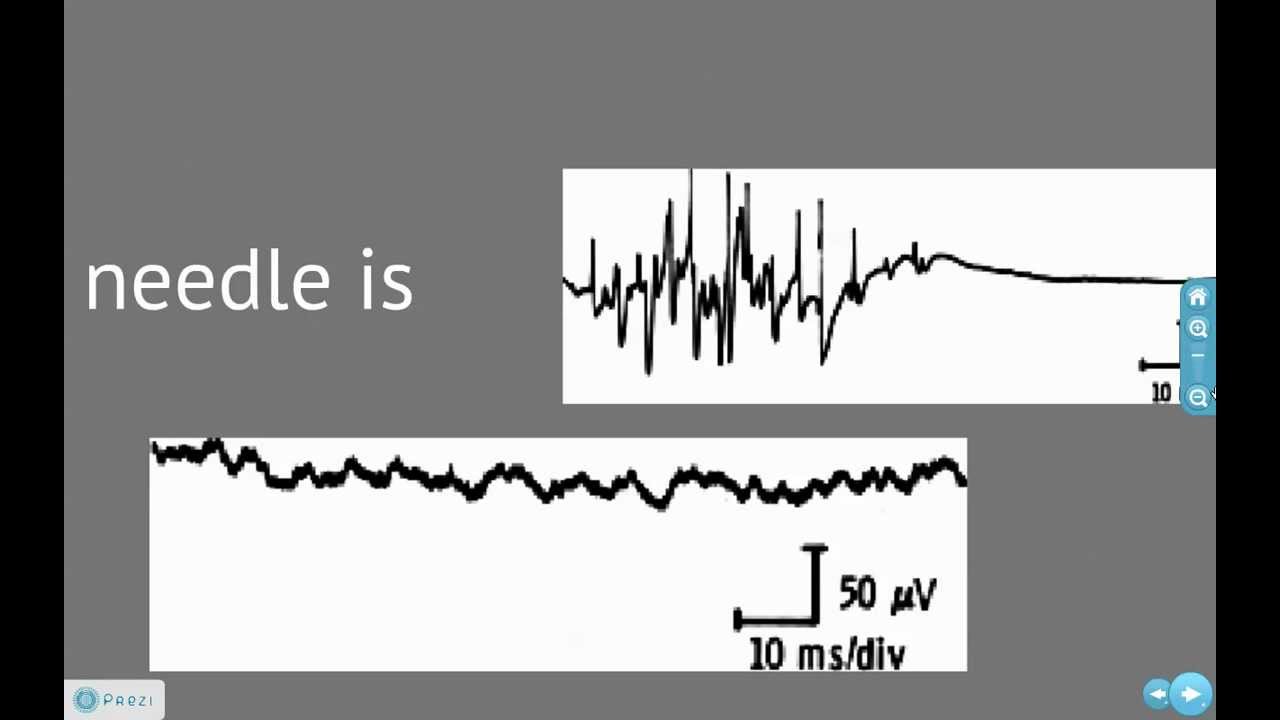
now let us see the Arduino code this very simple code we have seen the a0 analog pin 2 EMG pin and then we use an integer variable stored in the analog value underwired setup we start the serial dot begin and under wide Loop we use the analog read function to read the values and assign it to the EMG value integer open the serial monitor now we get to only the maximum value another value one zero two three as we are not connected the electrodes it now let us connect the electrodes to the muzzle path first is the yellow electrode that is connected to the boonie noun muscle Part near the desired muzzle and then the red then green to the design muzzle parts this is all we have to connect yellow always say support electrode now you can see the value changes and the serial plot in the Arduino serial monitor open the Series monitor you can see the analog values changing from 0 to 1 0 2 3 when there is no movement it is maximum value analog value is one zero two three and when there is moment the analog value is below thousand and you can open the serial plotter also to see the graph according to the muzzle moment you can see the graph so with these analog values you can connect you can use this EMG sensor with the for medical equipments robotics or even video games in ideal condition the value is one zero two three now let us connect a Servo to the Arduino at a digital pin 9 let us connect the servo and we declare the server pin S9 and we can attach that so open and inside while loop will use an integer variable and then we map the values there is analog values the return analog values will map from 0 to 1023 to 0 to 180 and then we use the serial dot right to write to the servo position now fix the electrodes and then you can see the movement of the so according to the muzzle muzzle movement thank you for watching
Up Next

14:31
Getting Started with Arduino: Complete Beginner's Tutorial
@sciguy14
2.6M views•2011-01-02

12:54
Triumph of Orthodoxy Icon: Byzantine Art & History Explained
@BenCallan
2.1K views•2024-08-06

9:49
FastAPI vs Flask vs Django: Choosing the Right Python Web Framework
@TechWithTim
302.5K views•2024-05-26

1:42
Game of Thrones Opening Credits: A Cinematic Analysis
@gameofthrones
46.3M views•2011-04-18
Related Study Plans & Knowledge Roadmaps
Structured learning paths in General & Interdisciplinary Studies
general-studies
Elevator Engineering: History, Physics & Cities
01From Hoists to Safety Brakes: The Dawn of Vertical Lift
02Hydraulic vs. Traction: The Engineering Physics of Elevators
03Modern Speed, Safety, and Algorithms
+ 2 more learning modules
12h5 modules
Explore Roadmap
general-studies
Rubber: Material Science, History & Geopolitics
01Origins of Natural Rubber & Mesoamerican History
02The Chemistry of Natural Rubber & Vulcanization
03The Geopolitics of the Rubber Boom & Colonization
+ 2 more learning modules
12h5 modules
Explore Roadmap
general-studies
Containerization: Evolution, Logistics & Trade
01Ancient Trade & Bulk Cargo: Amphorae to Barrels
02The Industrial Revolution & Cardboard Packaging
03The Containerization Revolution: Malcom McLean
+ 2 more learning modules
12h5 modules
Explore Roadmap
general-studies
Textile Tech: Evolution, Labor & Global Impact
01Pre-Industrial Textiles: Handloom & Cottage Industry
02Mechanization: The Spinning Jenny to the Power Loom
03The Factory System & Global Labor Transformation
+ 2 more learning modules
10h5 modules
Explore Roadmap